
1. Introduction
The APNX V2 ATX Case is designed for high-performance PC builds, featuring an X-Pand Flow Dual Airflow system and extensive compatibility for modern components. This manual provides instructions for assembly, operation, and maintenance to ensure optimal performance and longevity of your system.
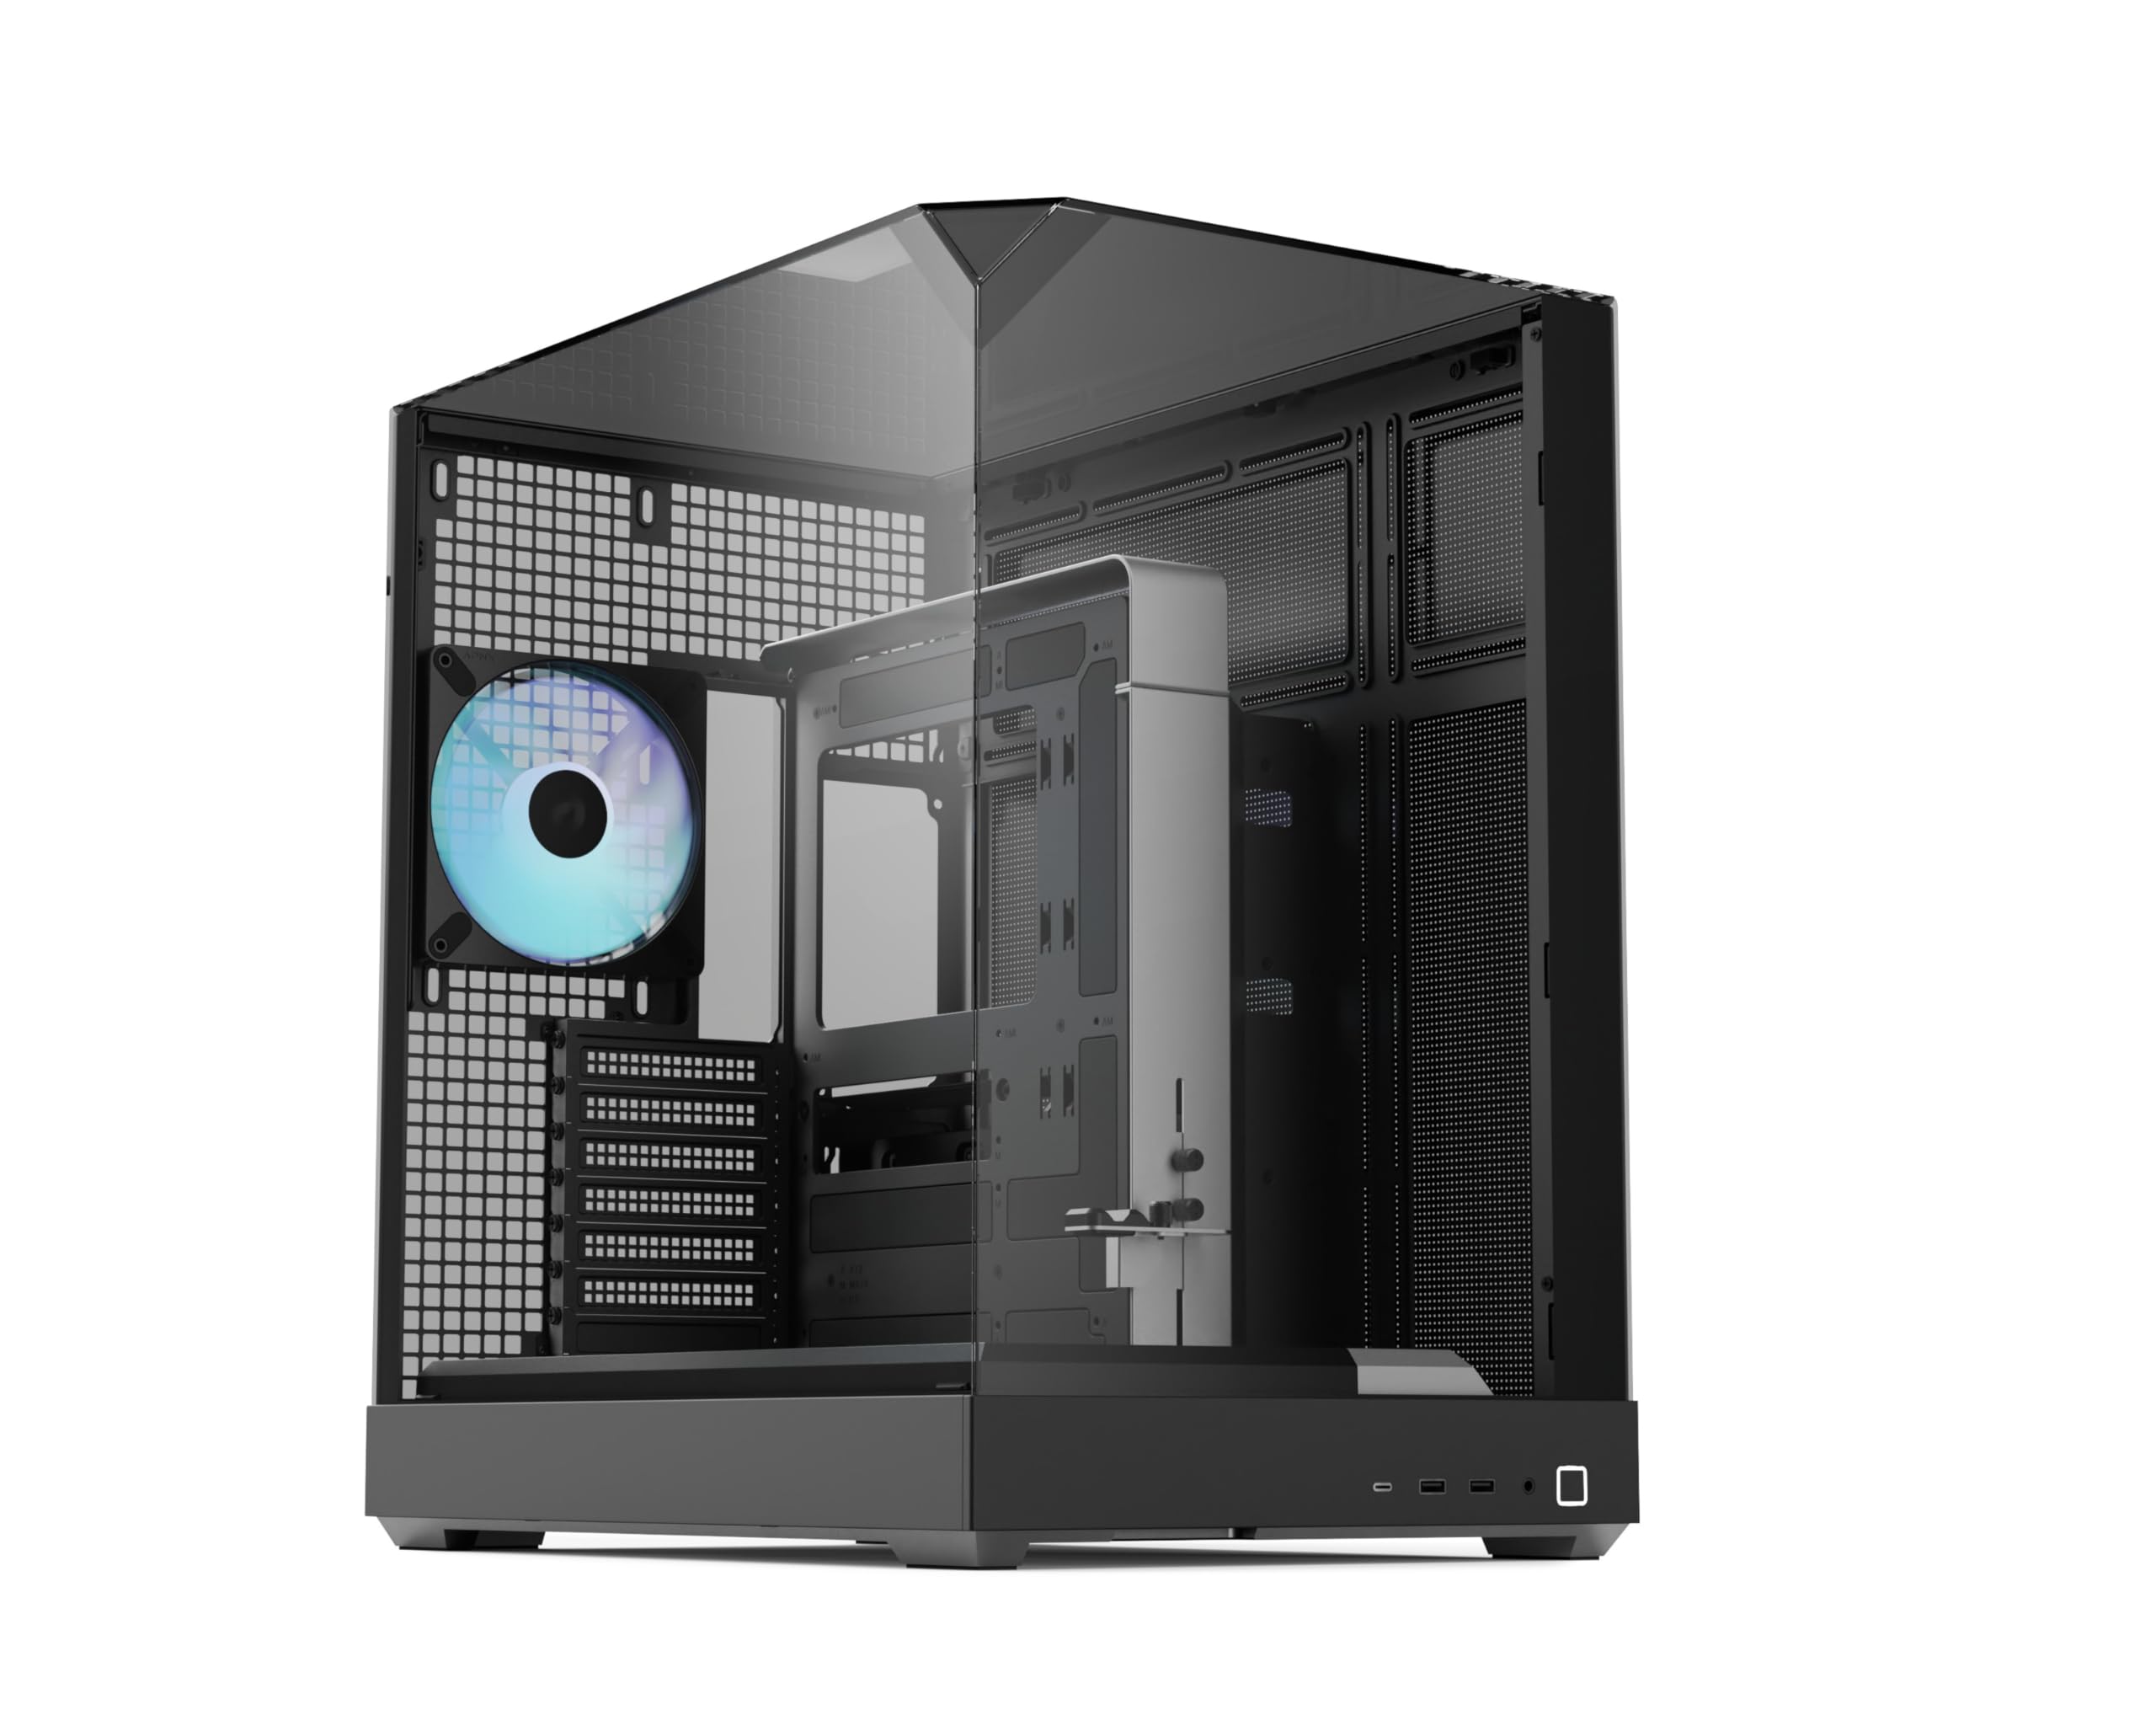
Figure 1: APNX V2 ATX Case overview, showcasing its spacious interior and tempered glass panels.
Key Features:
- X-Pand Flow Dual Airflow Design: Separates GPU and PSU cooling zones for enhanced thermal performance.
- Premium Cooling Support: Accommodates up to two 160mm and seven 140mm fans, with dual 360mm radiator support. Includes four pre-installed 140mm fans.
- Next-Gen Compatibility: Supports vertical and reverse-layout motherboards, along with modular PSU and HDD trays.
- ARGB Control Hub: A 10-port ARGB PWM hub is included for synchronized lighting and fan management.
- 3-Sided Tempered Glass Panels: Removable front, side, and top glass panels provide a panoramic view and easy access.
2. Setup and Installation
Follow these steps for proper assembly and installation of components within your APNX V2 ATX Case.
2.1 Unpacking and Initial Access
- Carefully remove the case from its packaging.
- Locate and remove the captive thumb screws securing the top and side tempered glass panels. Gently lift and remove these panels.
- The front tempered glass panel is secured by four small screws. Remove these screws to detach the front panel for full access.
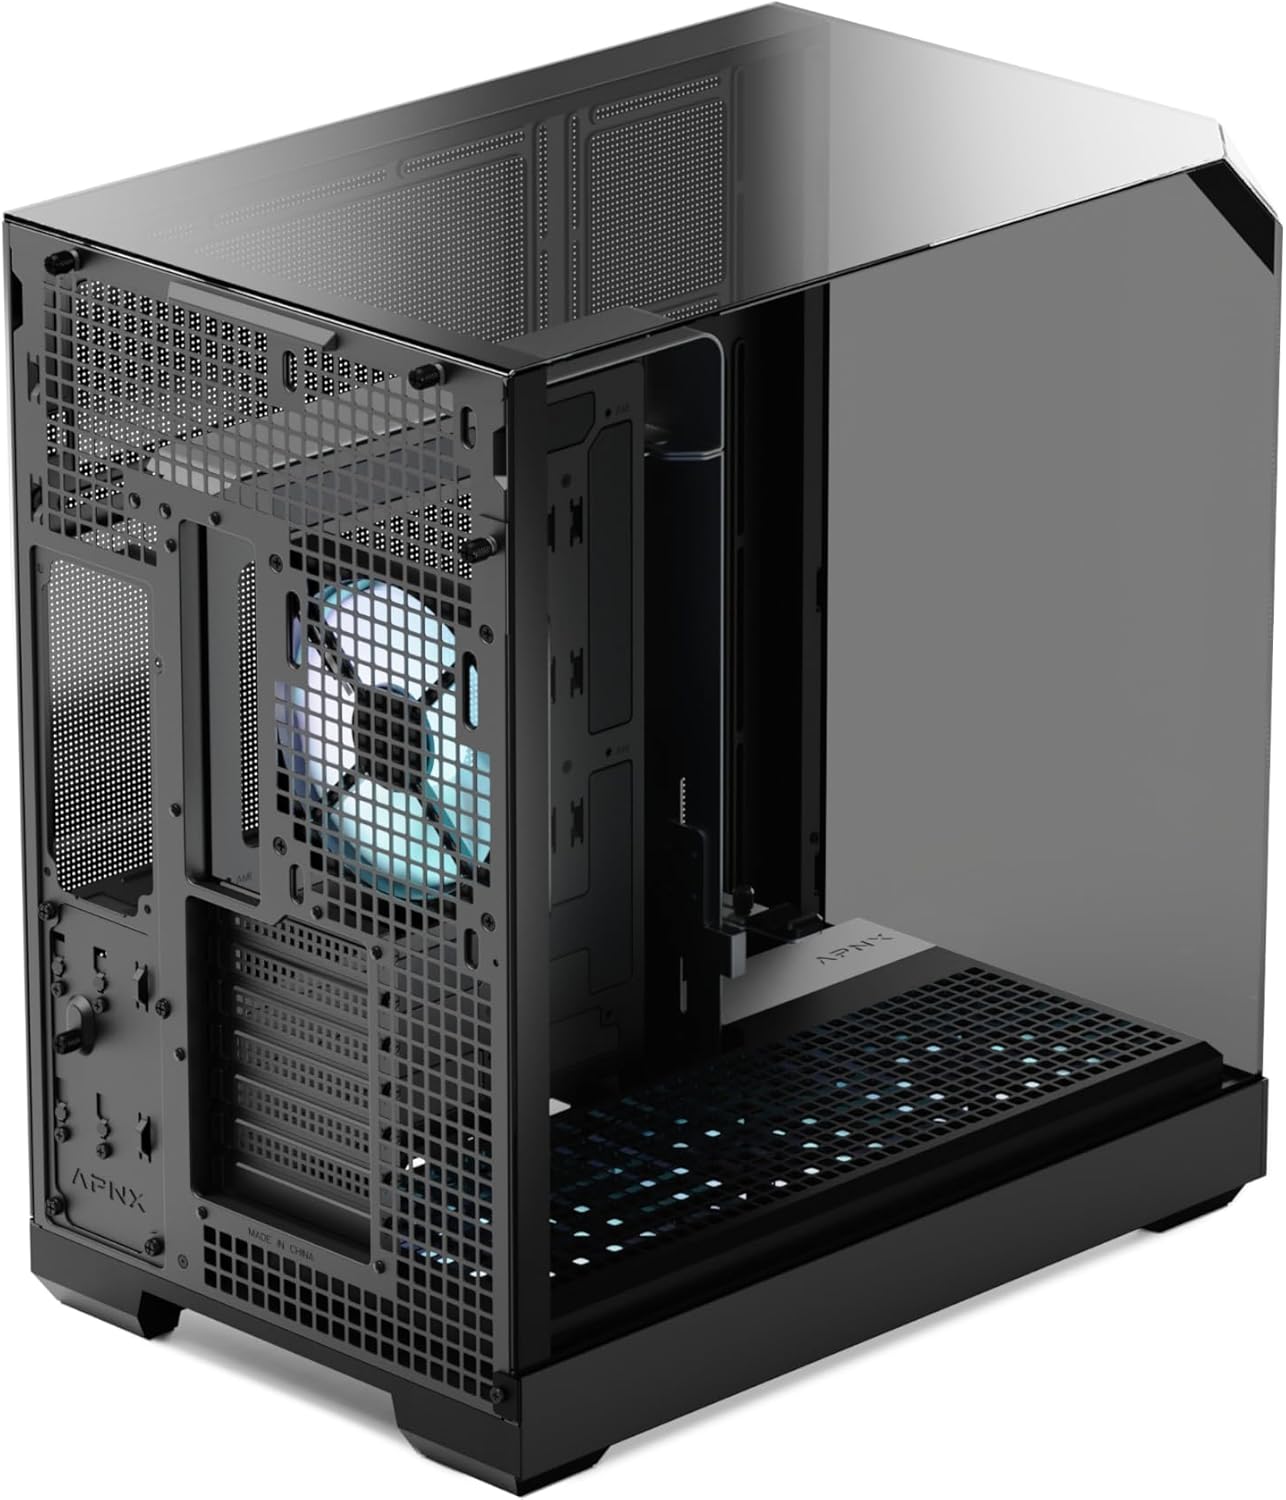
Figure 2: Rear view of the APNX V2 case, showing the removable side panel and fan mounting options.
2.2 Motherboard Installation
- Ensure the correct standoffs are installed for your motherboard form factor (ATX, Micro ATX).
- Carefully place your motherboard into the case, aligning it with the standoffs and I/O shield opening.
- Secure the motherboard with the provided screws.
- For reverse-layout motherboards, refer to your motherboard's manual for specific installation guidance.
2.3 Power Supply Unit (PSU) Installation
- The PSU slot can be adjusted to two different locations for optimized cable management. Choose the desired position.
- Mount the PSU into its designated bay, typically at the bottom rear of the case.
- Secure the PSU with screws from the rear of the case.

Figure 3: Internal layout highlighting modular PSU and HDD trays for flexible configuration.
2.4 Cooling System Installation (Fans & Radiators)
- The case comes with four pre-installed 140mm fans (three bottom intake, one rear exhaust).
- Additional fans (up to two 160mm and seven 140mm total) can be installed on the top, side, and bottom mounts.
- Radiators up to 360mm can be mounted on the top and side positions.
- Connect all fan cables to the included 10-port ARGB PWM hub, then connect the hub to your motherboard's fan and ARGB headers.

Figure 4: View of the case interior showing the bottom intake fans, part of the X-Pand Flow design.
2.5 Graphics Card (GPU) Installation
- Remove the necessary PCIe slot covers from the rear of the case.
- Insert your GPU into the PCIe slot on the motherboard and secure it with screws.
- Utilize the built-in GPU sag bracket to support heavier graphics cards. This bracket is adjustable vertically and horizontally.
2.6 Cable Management
- Route cables through the designated cutouts and channels behind the motherboard tray.
- Use the included Velcro straps and cable ties to secure cables neatly.
- The modular PSU and HDD trays also aid in managing cables effectively.
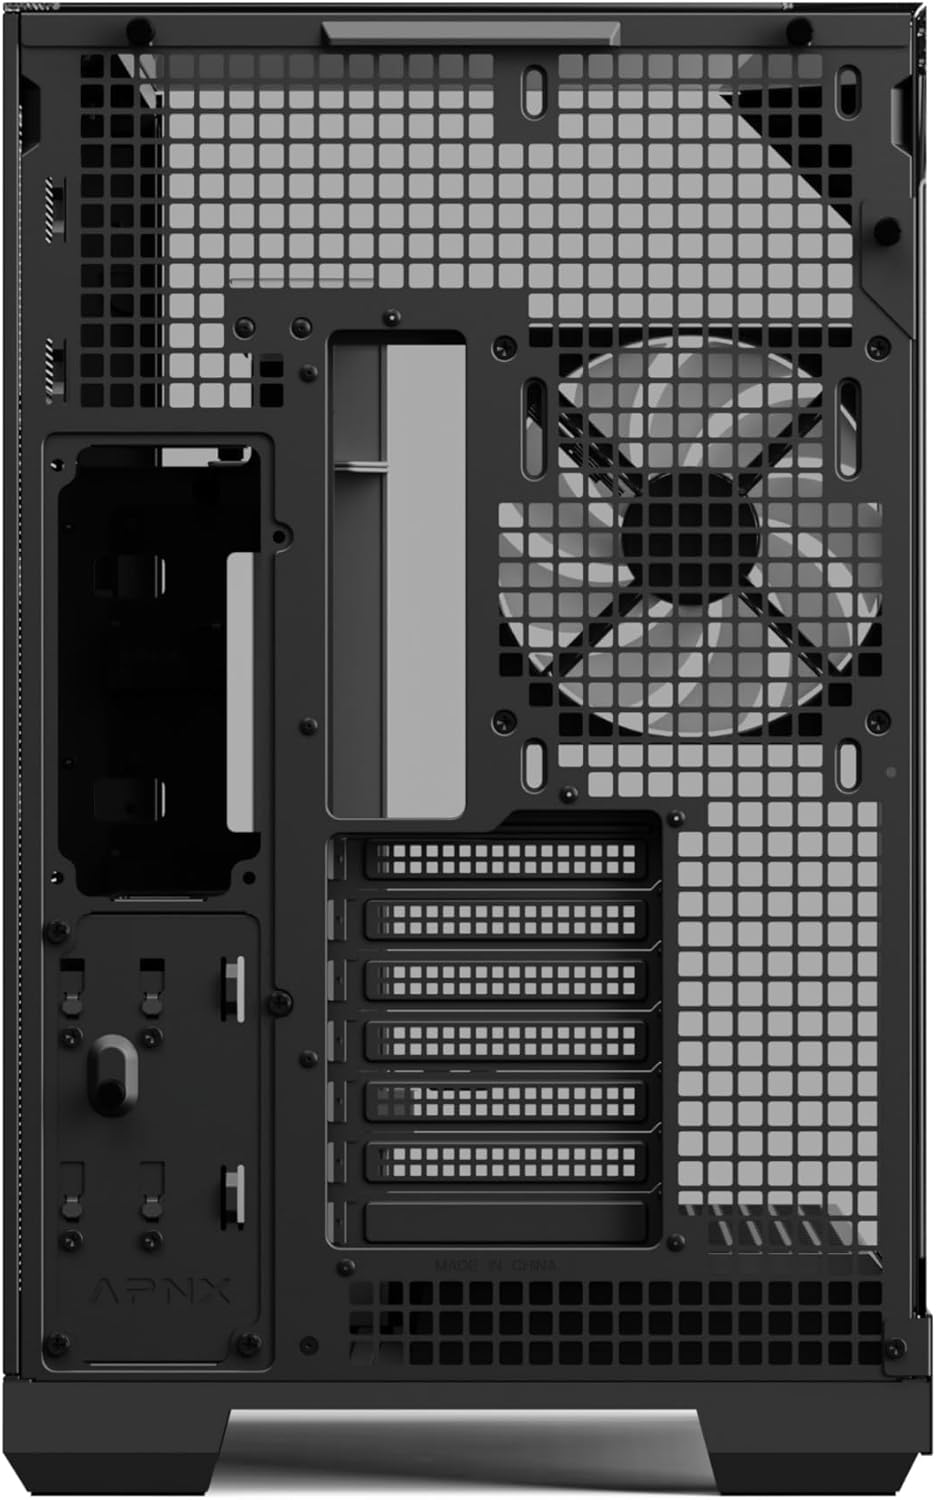
Figure 5: Rear interior view, illustrating the space and features for cable management.
3. Operation
Understanding the operational aspects of your APNX V2 ATX Case.
3.1 Powering On
- Ensure all components are correctly installed and connected.
- Connect the power cable to your PSU and a wall outlet.
- Press the power button located on the front I/O panel.

Figure 6: Close-up of the front I/O panel, including power button and USB ports.
3.2 Airflow Management (X-Pand Flow)
The X-Pand Flow design optimizes cooling by separating airflow paths for the GPU and PSU. The pre-installed bottom fans act as intake, directing cool air directly to the GPU, while the rear fan exhausts hot air. Additional fans can be configured to further enhance this airflow.
3.3 ARGB Lighting Control
The included 10-port ARGB PWM hub allows for centralized control of your case fans' speed and ARGB lighting. Connect the hub to your motherboard's ARGB header and use your motherboard's software (e.g., ASUS Aura Sync, MSI Mystic Light, Gigabyte RGB Fusion) to customize lighting effects and fan curves.
Video 1: Official APNX V2 ATX Case overview, demonstrating features like dual AIO support, ARGB hub, and modular trays.
4. Maintenance
Regular maintenance helps preserve the performance and appearance of your PC case.
4.1 Dust Filter Cleaning
- The APNX V2 case features removable dust filters, typically located at the bottom (under the PSU and intake fans).
- Gently slide out the dust filters.
- Clean the filters using compressed air or by rinsing them with water. Ensure they are completely dry before re-installing.
- Regular cleaning (e.g., monthly) is recommended to maintain optimal airflow and prevent dust buildup.

Figure 7: Close-up of the removable dust filter, demonstrating ease of access for cleaning.
4.2 Tempered Glass Panel Cleaning
- Use a soft, microfiber cloth and a non-abrasive glass cleaner to clean the tempered glass panels.
- Avoid harsh chemicals or abrasive materials that could scratch the glass.
- Ensure the panels are dry before reattaching them to the case.
5. Troubleshooting
Common issues and their potential solutions.
5.1 Fans Not Spinning or ARGB Not Lighting Up
- Check Connections: Ensure all fans are securely connected to the ARGB PWM hub. Verify the hub is connected to both a SATA power connector from the PSU and the appropriate fan/ARGB headers on the motherboard.
- Motherboard Software: Confirm that your motherboard's fan control and ARGB software is installed and configured correctly.
- Power Cycle: Turn off your PC, unplug it from the wall, wait 30 seconds, then plug it back in and restart.
5.2 High Component Temperatures
- Dust Buildup: Clean all dust filters and internal components as described in the Maintenance section.
- Fan Configuration: Ensure fans are installed with correct airflow direction (intake/exhaust). The bottom fans should be intake, and the rear fan exhaust.
- Cable Management: Poor cable management can obstruct airflow. Re-route cables to minimize obstruction.
- Component Clearance: Verify that large components (e.g., CPU cooler, GPU) are not obstructing critical airflow paths.
5.3 Front I/O Ports Not Functioning
- Internal Connections: Check that the front I/O cables (USB, audio, power/reset switches) are correctly connected to the corresponding headers on your motherboard.
- Driver Installation: Ensure all necessary motherboard drivers, especially for USB controllers, are installed.
6. Specifications
| Feature | Detail |
|---|---|
| Brand | APNX |
| Model Name | APNX V2 |
| Case Type | Mid Tower |
| Motherboard Compatibility | ATX, Micro ATX (supports Reverse BTF Motherboards) |
| Material | SGCC, Tempered Glass |
| Color | Black |
| Cooling Method | Air |
| Pre-installed Fans | 4 x 140mm (3 bottom intake, 1 rear exhaust) |
| Max Fan Support | Up to 2 x 160mm, 7 x 140mm |
| Radiator Support | Dual 360mm (Top, Side) |
| GPU Clearance | Up to 445mm |
| CPU Cooler Height | Up to 183mm |
| Internal Bays | 3 (modular HDD/SSD trays) |
| Front I/O Ports | 2 x USB 3.0, Audio Jacks, Power Button |
| Special Features | X-Pand Flow Dual Airflow, 3-Sided Tempered Glass, ARGB Control Hub, GPU Bracket |
7. Warranty and Support
7.1 Warranty Information
The APNX V2 ATX Case comes with a Limited Warranty. Please retain your proof of purchase for warranty claims. For specific terms and conditions, refer to the warranty card included with your product or visit the official APNX website.
7.2 Customer Support
For technical assistance, troubleshooting, or inquiries regarding your APNX V2 ATX Case, please visit the official APNX Store or their official website for contact information and support resources.


