
1. Introduction
Thank you for choosing the kpasafe SH-JL 3.4 Cuft Digital Home Safe. This manual provides essential information for the proper setup, operation, and maintenance of your new safe. Please read these instructions carefully before use to ensure optimal security and functionality. Keep this manual for future reference.
Safety Precautions
- Do not store emergency keys inside the safe. Keep them in a secure, separate location.
- Ensure the safe is securely mounted to a wall or floor to prevent unauthorized removal.
- Replace batteries promptly when the low battery indicator appears to avoid being locked out.
- Avoid using rechargeable batteries, as they may not provide consistent power.
- Do not mix old and new batteries, or different types of batteries.
2. Product Overview
The kpasafe SH-JL is a robust digital home safe designed to protect your valuables. It features a digital keypad for secure access, an emergency key override, and an alarm system for enhanced security.
Key Features
- Dual Access: Digital keypad with a customizable 3-8 digit code and two emergency keys.
- Alarm System: Activates after three incorrect code attempts, locking the safe for 20 seconds or 5 minutes after six attempts.
- Silent Mode: Option to disable keypad sounds for discreet operation.
- Spacious Interior: 3.4 Cuft capacity with a detachable steel shelf for organized storage.
- Reinforced Construction: Crafted from heavy-duty alloy steel with 30mm anti-pry door bolts.
- Bolt-Down Ready: Pre-drilled mounting holes and expansion screws included for secure installation.
- Fireproof Bag: Includes an extra fireproof and waterproof document bag for added protection.
Included Components
- Safe Box (1)
- Emergency Key (2)
- Fireproof Bag (1)
- Clamping Screws (4)
- Expansion Bolts (4)
Product Dimensions

Figure 2.1: Exterior dimensions of the kpasafe SH-JL 3.4 Cuft Digital Home Safe. Exterior: 12.2"D x 13.8"W x 19.7"H; Interior: 11.4"D x 13.0"W x 18.9"H. Capacity: 3.4 Cuft.
Internal Structure

Figure 2.2: The safe features a removable steel shelf, allowing customization of the interior space for various items.
Security Features
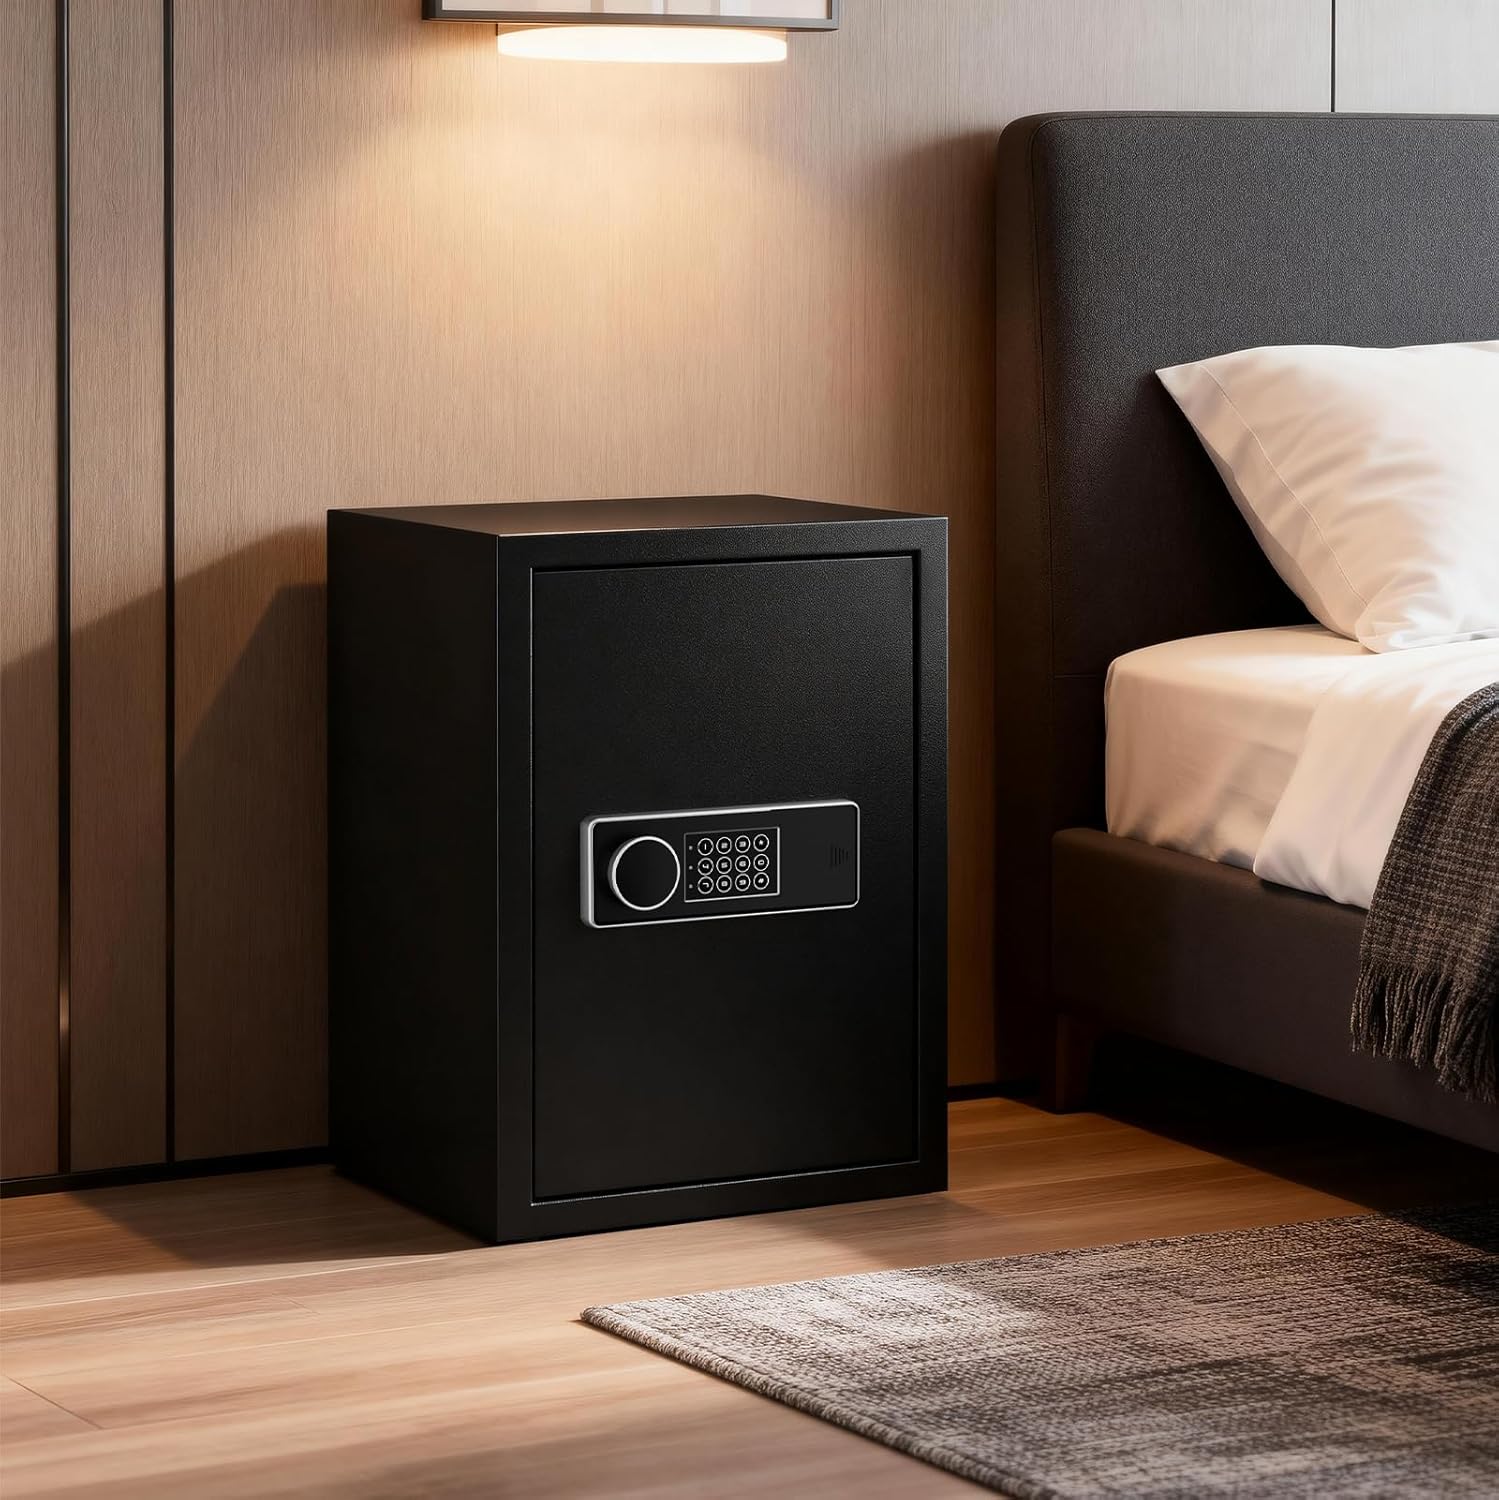
Figure 2.3: The safe is constructed with heavy-duty alloy steel, featuring a thickened door and solid 30mm anti-pry bolts for enhanced security against drilling, prying, and theft.
3. Setup
3.1 Initial Opening (First Use)
Upon receiving your safe, you will need to open it using the emergency key for the first time to install batteries and set your personal code.
- Locate the emergency keys provided in the accessory box.
- Gently remove the emergency lock cover located on the digital keypad panel.
- Insert one of the emergency keys into the keyhole and rotate it counter-clockwise.
- While holding the key in the counter-clockwise position, turn the knob on the keypad clockwise to open the safe door.
- Once the door is open, remove the emergency key and replace the lock cover. Store the emergency keys in a safe place outside the safe.

Figure 3.1: The digital keypad with the emergency key slot exposed for initial opening or in case of battery failure.
3.2 Battery Installation
The safe requires 4 AA batteries (not included) to power the digital keypad. The battery compartment is located behind the keypad panel.
- With the safe door open, locate the battery compartment on the back of the keypad panel.
- Insert 4 new AA batteries, ensuring correct polarity (+/-).
- Close the battery compartment cover securely.
3.3 Setting Your User Code
You can set a personal user code (3 to 8 digits) for daily access.
- With the safe door open, press the red reset button located on the inner side of the safe door, near the hinge. You will hear a beep and the yellow light on the keypad will illuminate.
- Enter your desired 3 to 8 digit code on the keypad.
- Press the "#" button to confirm your new code. You will hear a confirmation beep.
- Test your new code with the door open first to ensure it works correctly. If the code is not accepted, repeat the steps.
Video 3.1: This video demonstrates the initial setup process, including opening the safe with the emergency key, installing batteries, and setting a new user code. (Source: KPA SHOP)
3.4 Mounting the Safe
For maximum security, it is highly recommended to bolt the safe to a floor or wall.
- Choose a suitable location for mounting.
- Use the pre-drilled holes at the back or bottom of the safe as a template to mark drilling points on the wall or floor.
- Drill holes using an appropriate drill bit for your surface.
- Align the safe with the drilled holes and secure it using the provided expansion bolts or clamping screws. Ensure all bolts are tightened firmly.
4. Operating Instructions
4.1 Opening the Safe with Your User Code
- Enter your 3 to 8 digit user code on the keypad.
- Press the "#" button to confirm. The green light will illuminate, indicating the safe is unlocked.
- Within 6 seconds, turn the knob clockwise and pull the door open.
4.2 Closing and Locking the Safe
Simply close the safe door firmly. The safe will automatically lock.
4.3 Alarm System
The safe is equipped with an anti-theft alarm system:
- If an incorrect code is entered three times consecutively, the system will lock down for 20 seconds and emit a short beep every second.
- If an incorrect code is entered six times consecutively, the system will lock down for 5 minutes. During this time, the keypad will be unresponsive, and the alarm will sound.
- The alarm will also trigger if the safe experiences strong vibrations or tampering attempts.
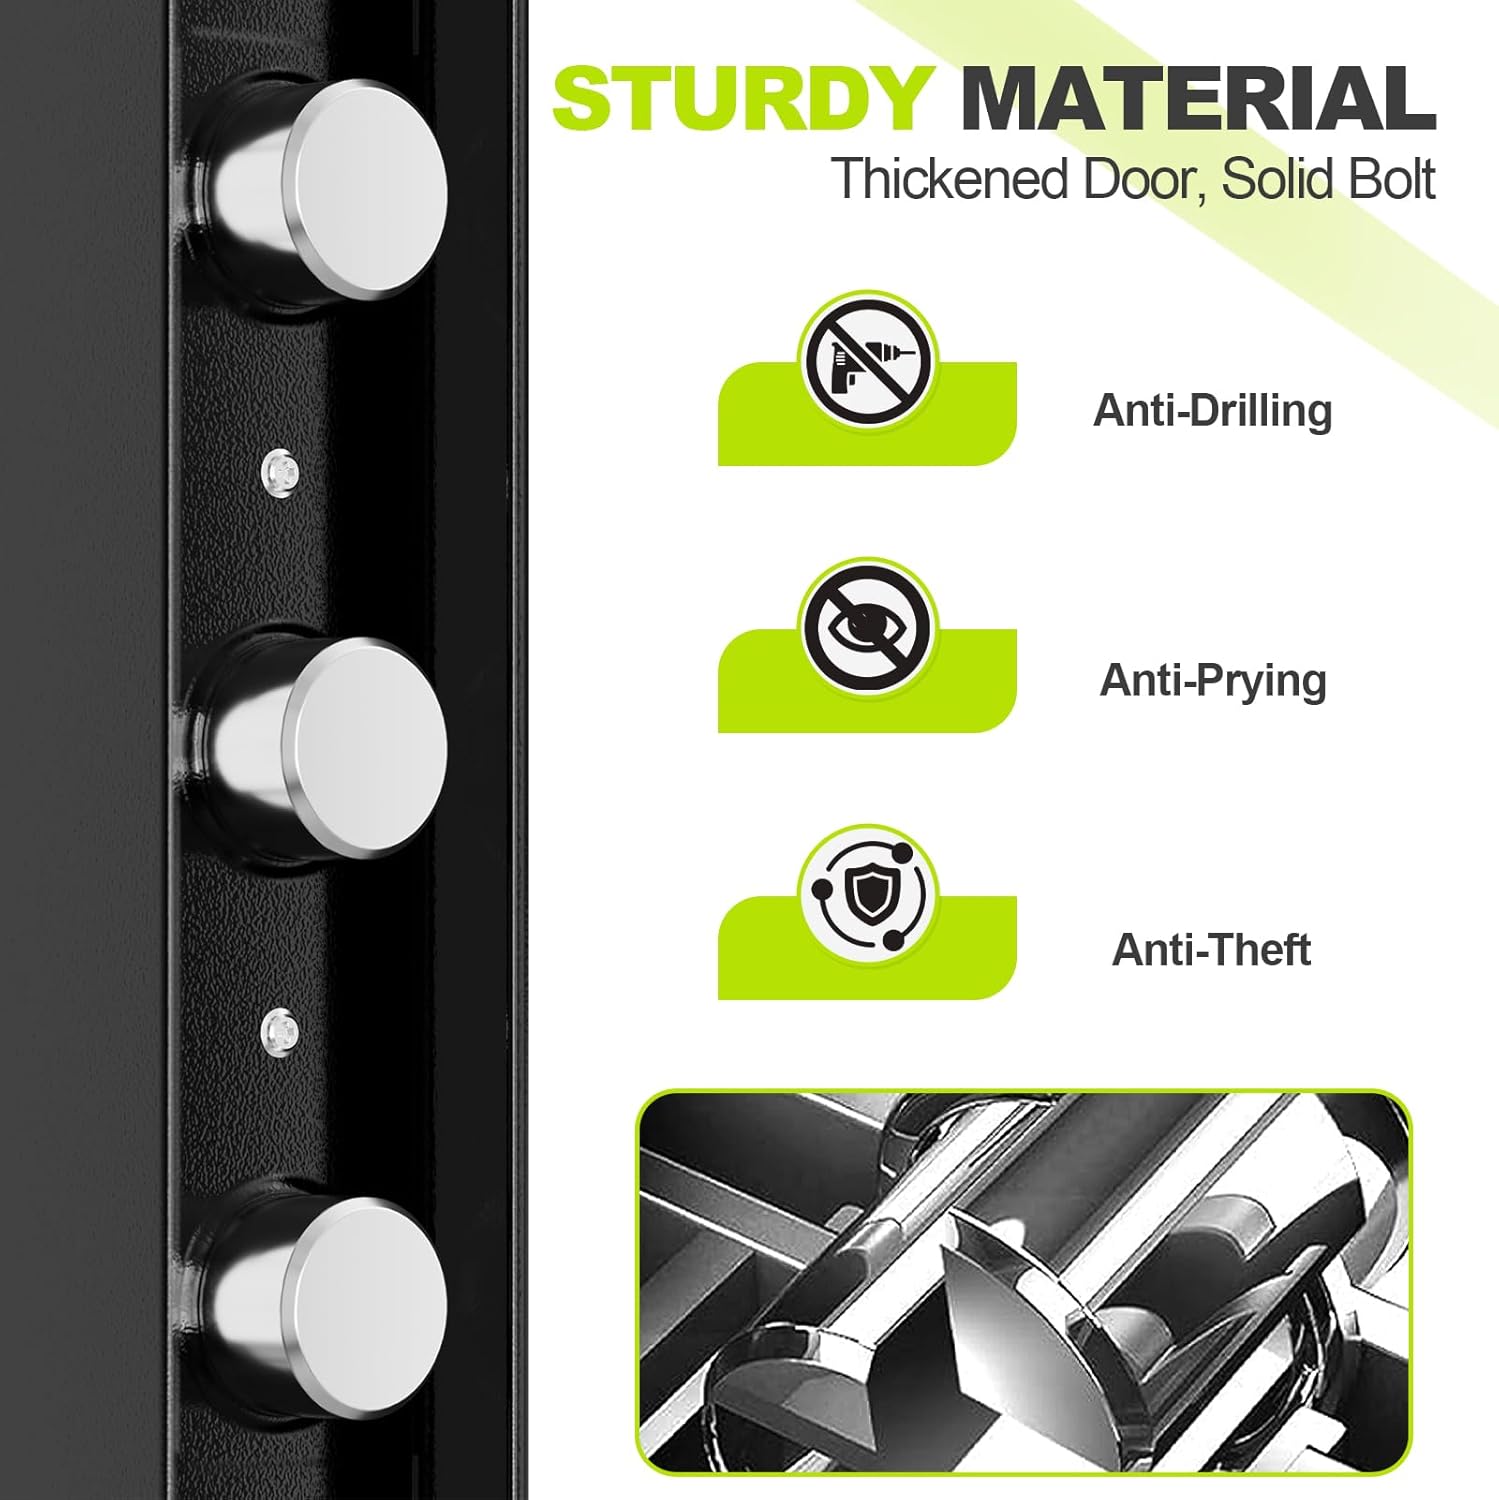
Figure 4.1: The safe's alarm system activates upon multiple incorrect code entries or tampering, deterring unauthorized access.
4.4 Silent Mode
To activate or deactivate Silent Mode (disabling keypad sounds):
- With the safe door open, press the "*" button.
- Then press the "#" button.
- The keypad sounds will be toggled on or off.
5. Maintenance
5.1 Battery Replacement
When the batteries are low, the red light on the keypad will flash and the safe will beep during operation. Replace all 4 AA batteries promptly.
- Open the safe door.
- Locate the battery compartment on the back of the keypad panel.
- Remove the old batteries and insert 4 new AA batteries, observing correct polarity.
- Close the battery compartment cover. Your user code will be retained during battery replacement.
5.2 Cleaning
Wipe the safe's exterior with a soft, damp cloth. Avoid abrasive cleaners or solvents that could damage the finish or electronic components.
5.3 Emergency Key Storage
Always store your emergency keys in a secure location away from the safe and out of reach of unauthorized individuals. Do not store them inside the safe.
6. Troubleshooting
| Problem | Possible Cause | Solution |
|---|---|---|
| Safe does not open with user code. | Incorrect code entered; Low batteries; Keypad malfunction. | Re-enter code carefully. Replace batteries. Use emergency key to open. Contact customer support if issue persists. |
| Keypad is unresponsive. | Dead batteries; Safe is in lockdown mode. | Replace batteries. Wait for lockdown period to expire (20 seconds or 5 minutes). |
| Alarm sounds unexpectedly. | Tampering detected; Strong vibrations. | Ensure safe is securely mounted and not subject to accidental impacts. The alarm will reset after a short period. |
| Cannot set new user code. | Red reset button not pressed correctly; Code not confirmed with '#'. | Ensure the red reset button is pressed until the yellow light illuminates. Confirm the new code by pressing '#'. Test with door open. |
7. Specifications
| Feature | Detail |
|---|---|
| Brand | kpasafe |
| Model Number | SH-JL |
| Product Dimensions (Exterior) | 12.2"D x 13.8"W x 19.7"H |
| Capacity | 3.4 Cubic Feet |
| Lock Type | Electronic Combination Lock |
| Material | Alloy Steel |
| Color | Black |
| Special Features | Alarm System, Anti-Theft, Removable Shelf |
| Mounting Type | Floor Mount |
| Item Weight | 29.1 Pounds |
| Batteries Required | Yes (4 x AA, not included) |
8. Warranty and Support
Warranty information for the kpasafe SH-JL Digital Home Safe is not explicitly provided in this manual. For details regarding warranty coverage, technical support, or any product-related inquiries, please contact kpasafe customer support directly through their official channels or the retailer where the product was purchased.