1. Introduction
This manual provides detailed instructions for the installation, operation, and maintenance of your DTXMYT A215P 4K Dash Cam. Please read this manual thoroughly before using the device to ensure proper functionality and safety. The DTXMYT A215P is a dual-channel dash camera system designed to record high-resolution video footage from both the front and rear of your vehicle, featuring GPS tracking, Wi-Fi connectivity, and advanced parking surveillance capabilities.
2. Package Contents
Verify that all items listed below are included in your package:
- 1x DTXMYT A215P 4K Dash Cam (Front Camera)
- 1x 1080P In-car Rear Camera
- 1x 32GB High-Endurance MicroSD Card (pre-formatted)
- 1x 11.5ft Power Supply Cable with Car Charger
- 1x 21.3ft Rear Camera Cable
- 1x Suction Cup Mount with Built-in GPS
- 1x User Manual

Image: Contents of the DTXMYT A215P Dash Cam package, including the main camera, rear camera, power cable, and mount.
3. Product Overview
The DTXMYT A215P features a 2.89-inch IPS screen, a 170° wide-angle front lens, and a 150° rear lens for comprehensive coverage. It supports 4K (3840x2160P) front recording and 1080P rear recording, enhanced by Super Night Vision and WDR technology for clear footage in various lighting conditions.

Image: Illustration of the dual-channel recording capability, showing 4K front and 1080P rear camera views with wide angles.

Image: Visual representation of the 170-degree wide-angle view provided by the front camera, capturing a broad perspective of the road.
4. Setup
4.1 MicroSD Card Insertion
- Ensure the dash cam is powered off.
- Locate the MicroSD card slot on the side of the dash cam.
- Insert the provided 32GB MicroSD card with the gold contacts facing the screen until it clicks into place.
- Upon first use, it is recommended to format the MicroSD card via the dash cam's settings menu.
4.2 Mounting the Dash Cam
- Clean the windshield area where you intend to mount the dash cam.
- Attach the suction cup mount to the windshield, ensuring it does not obstruct your view.
- Slide the dash cam onto the mount until it securely locks.
- Adjust the camera angle to ensure the lens captures the road ahead clearly.

Image: Visual guide demonstrating the compact size, 2.89-inch screen, detachable bracket, adjustable angle, and hidden installation of the dash cam.
4.3 Connecting Power and Rear Camera
- Connect the 11.5ft power supply cable to the dash cam's power input port.
- Plug the car charger end into your vehicle's 12V power outlet.
- Connect the 21.3ft rear camera cable to the main dash cam and route it to the rear of your vehicle.
- Mount the rear camera on the rear windshield, ensuring a clear view.
4.4 GPS Functionality
The built-in GPS in the suction cup mount automatically records driving routes, locations, and speed data. This information is embedded in the video files and can be viewed via the mobile app or dedicated PC player.

Image: A smartphone screen showing GPS tracking data, including route and speed, with a car on a scenic road in the background.
4.5 Wi-Fi and App Control (FinalCamX)
- Download the "FinalCamX" app from the App Store (iOS) or Google Play Store (Android).
- Turn on the dash cam and enable Wi-Fi in its settings.
- On your smartphone, connect to the dash cam's Wi-Fi network (SSID and password typically displayed on the dash cam screen).
- Open the FinalCamX app to view live footage, adjust settings, download recordings, and share videos.

Image: A smartphone screen showing the FinalCamX app, illustrating how to view, download, and share dash cam videos via social media platforms.
5. Operating Instructions
5.1 Automatic Recording
Once powered on, the dash cam will automatically begin recording. Videos are saved in segments (e.g., 1, 3, or 5 minutes) using loop recording. When the MicroSD card is full, the oldest unlocked files will be overwritten by new recordings.
5.2 G-Sensor (Emergency Recording)
The built-in G-sensor detects sudden impacts or collisions. When triggered, the current video segment is automatically locked and saved to a protected folder, preventing it from being overwritten by loop recording.
5.3 Parking Monitoring
The 24/7 Parking Monitoring feature allows the dash cam to continue recording in time-lapse mode or trigger emergency recording if an impact is detected while the vehicle is parked. Note: A hardwire kit (not included) is required for continuous power to enable 24/7 parking mode.
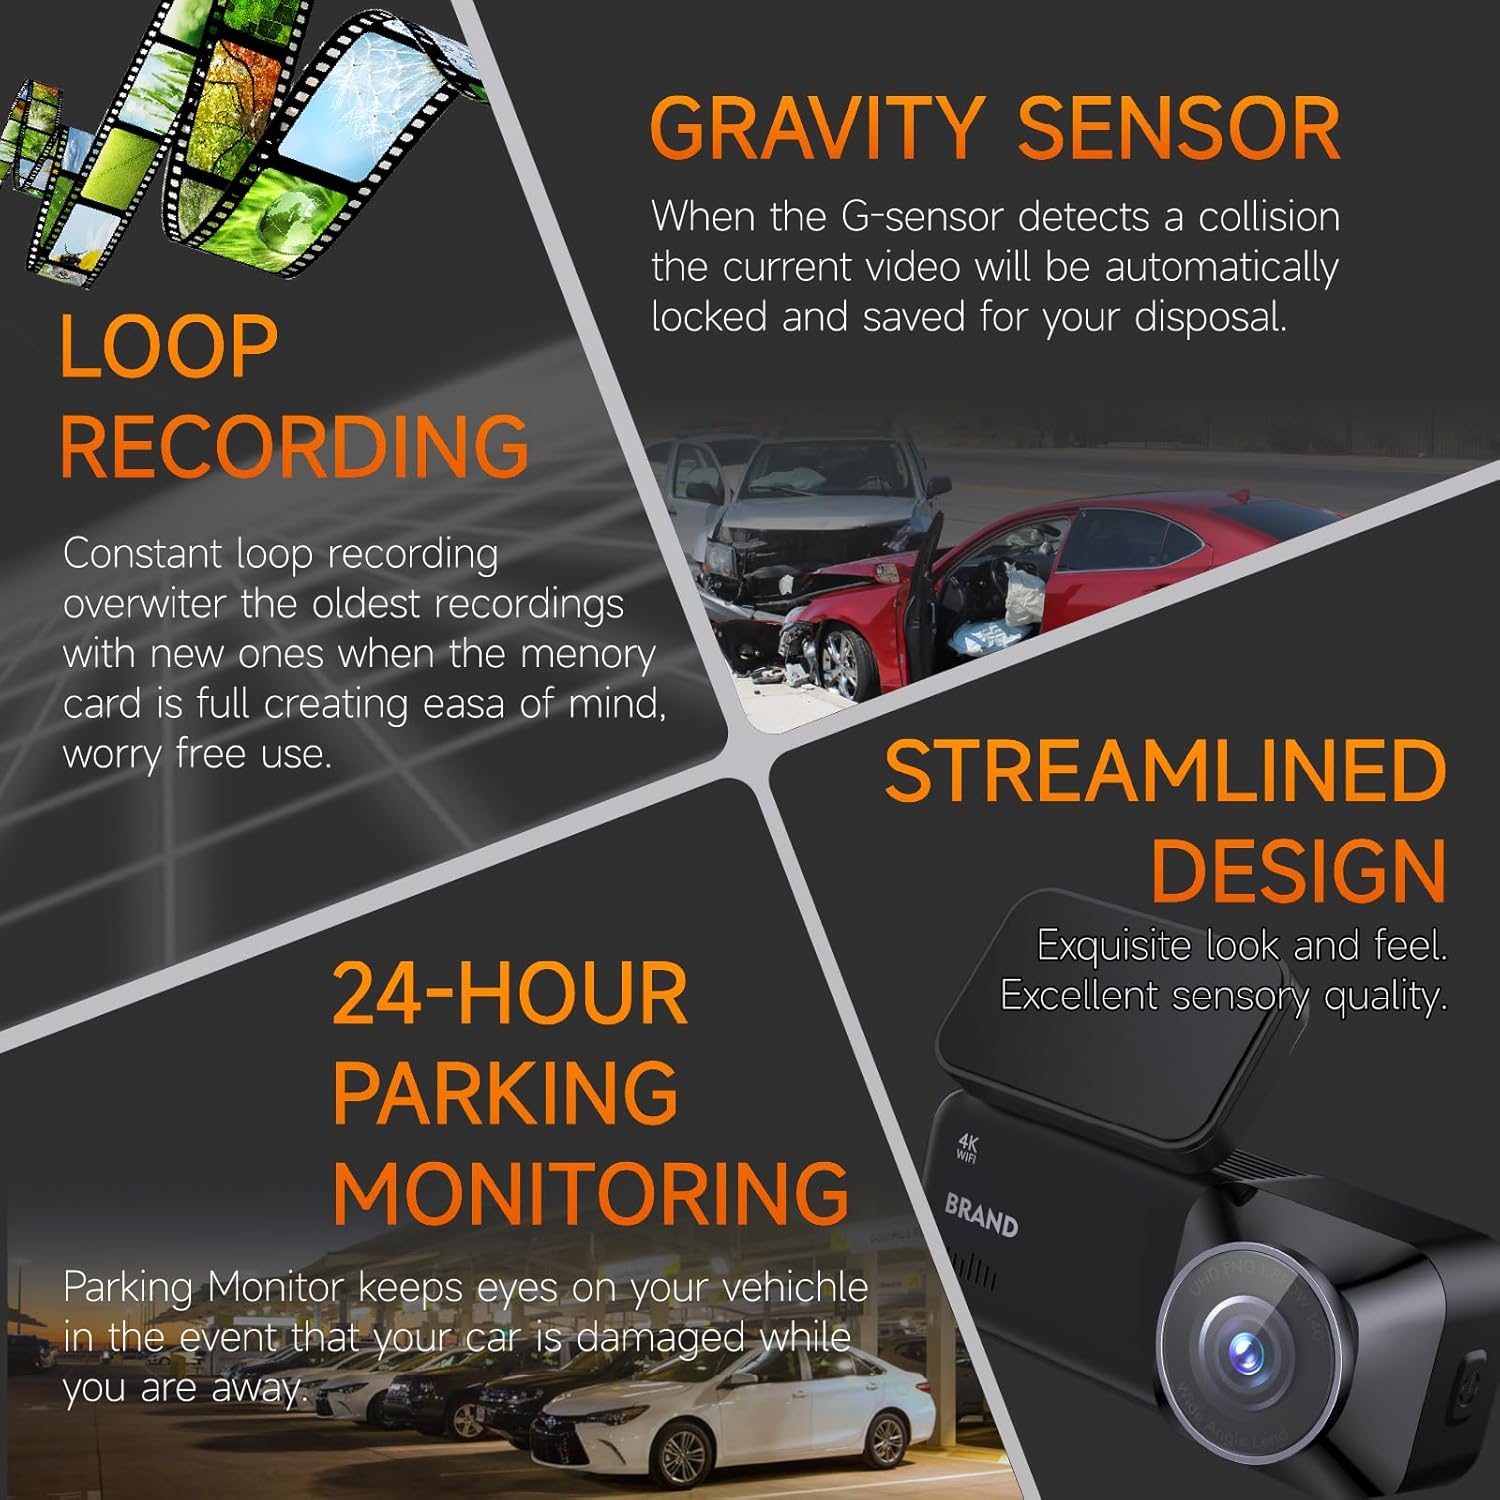
Image: Infographic detailing key features: G-Sensor for collision detection, Loop Recording for continuous footage, 24-hour Parking Monitoring, and the streamlined design of the dash cam.

Image: Graphic illustrating the 24-hour parking monitor feature, showing a car being monitored in a parking lot, with time-lapse recording capability.
5.4 Screen Display Control
Press and hold the designated button on the dash cam to switch between front camera view, rear camera view, or picture-in-picture display on the 2.89-inch IPS screen.

Image: A hand pressing a button on the dash cam, with text indicating to "Long press the button to switch the screen display" between front and rear camera views.
6. Maintenance
6.1 Cleaning the Device
Use a soft, dry cloth to clean the dash cam's lens and screen. Avoid using abrasive cleaners or solvents that could damage the surfaces.
6.2 MicroSD Card Management
To maintain optimal recording performance, it is recommended to format the MicroSD card every 2-4 weeks. This can be done through the dash cam's settings menu or via the FinalCamX app. Regularly back up important footage to a computer or cloud storage.
6.3 Firmware Updates
Periodically check the manufacturer's website or the FinalCamX app for available firmware updates. Keeping your dash cam's firmware up-to-date ensures optimal performance and access to new features.
7. Troubleshooting
| Problem | Possible Solution |
|---|---|
| Dash cam does not power on. |
|
| Recording stops unexpectedly. |
|
| Wi-Fi connection issues. |
|
| GPS not tracking location. |
|
| Poor video quality. |
|
8. Specifications
| Feature | Detail |
|---|---|
| Model | A215P |
| Front Camera Resolution | 4K (3840x2160P) |
| Rear Camera Resolution | 1080P |
| Front Camera Viewing Angle | 170° |
| Rear Camera Viewing Angle | 150° |
| Display Screen | 2.89-inch IPS LCD |
| Connectivity | Built-in Wi-Fi (5.8GHz), Built-in GPS |
| Storage | Supports MicroSD card (32GB included) |
| Special Features | Loop Recording, G-Sensor, Parking Monitor, Night Vision (HDR/WDR), App Control |
| Operating Temperature | -20°C to 80°C |
| Power Source | Car Charger (12V) |
| Dimensions | 3.6 x 8.6 x 6 cm |
| Weight | 442 g |
9. Warranty and Support
Your DTXMYT A215P Dash Cam includes a 2-year replacement warranty. For any technical assistance, installation guides, settings optimization, or troubleshooting, please contact customer support via Amazon Messages. Lifetime expert technical assistance is available.