1. Introduction
Thank you for choosing the DIYtoolifz 1/4-inch Cordless Brushless Impact Driver. This manual provides essential information for the safe and efficient operation, maintenance, and troubleshooting of your new tool. Please read this manual thoroughly before use and keep it for future reference.
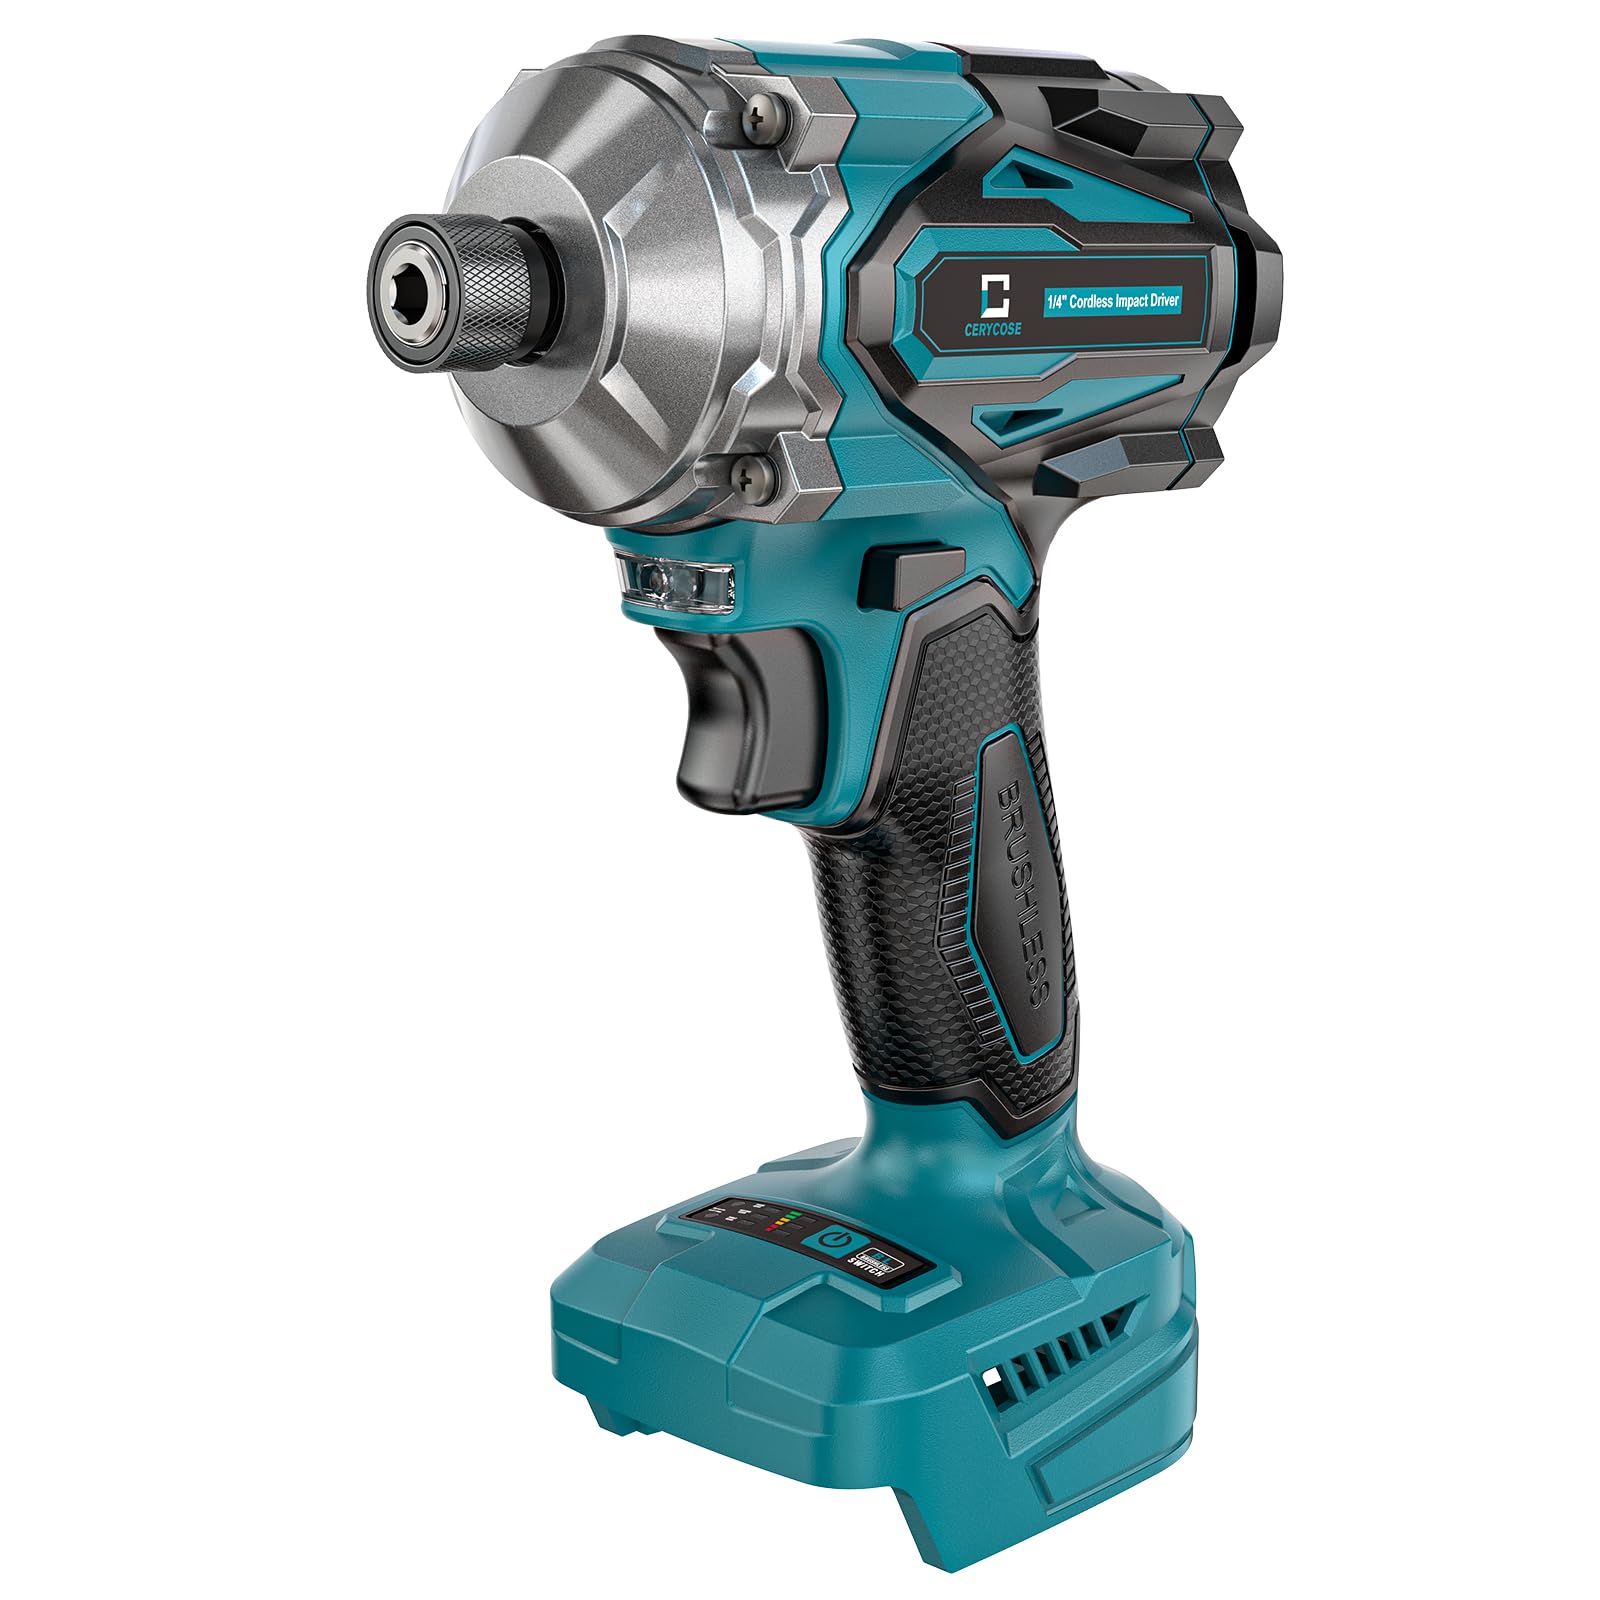
Figure 1: DIYtoolifz 1/4-inch Cordless Brushless Impact Driver
2. Safety Information
Always observe basic safety precautions to reduce the risk of fire, electric shock, and personal injury. Keep this manual handy for quick reference.
- Work Area Safety: Keep your work area clean and well-lit. Cluttered or dark areas invite accidents. Do not operate power tools in explosive atmospheres, such as in the presence of flammable liquids, gases, or dust.
- Electrical Safety: Power tool plugs must match the outlet. Never modify the plug in any way. Do not expose power tools to rain or wet conditions.
- Personal Safety: Always wear eye protection. Use hearing protection when operating the tool for extended periods. Dress properly; avoid loose clothing or jewelry.
- Tool Use and Care: Do not force the power tool. Use the correct power tool for your application. Disconnect the battery pack from the power tool before making any adjustments, changing accessories, or storing power tools.
- Battery Safety: This tool is compatible with Makita 18V Max lithium-ion batteries. BATTERY NOT INCLUDED. Use only the specified battery type. Do not incinerate or expose battery packs to high temperatures.
3. Product Overview
The DIYtoolifz 1/4-inch Cordless Brushless Impact Driver is designed for efficient fastening and loosening tasks. Its compact design and powerful motor make it suitable for various applications.
Key Features:
- Brushless Motor: Equipped with a high-efficiency brushless motor for longer life, cooler operation, and extended runtime.
- High Torque: Delivers an impressive 2800 in-lbs of max torque for heavy-duty applications.
- 4-Speed Settings: Offers 4 precision-tuned speed settings (up to 3900 RPM) for maximum control and versatility.
- Auto-Stop Function: Smart auto-stop feature detects resistance and halts rotation to prevent stripping screws or damaging materials.
- Compact & Comfortable: Designed for one-hand operation with zero strain, ready whenever you are.
- Makita 18V Battery Compatibility: Works with all Makita 18V Max lithium-ion batteries (battery not included).
- Bright LED Work Light: Illuminates your work area for improved visibility.
- 1/4 In. Quick-Connect Hex Chuck: For easy and quick bit changes.
- Ergonomic Grip: Provides comfortable handling during prolonged use.
- Power & Gear Display: Integrated display for monitoring battery status and selected speed mode.
Visual Components:
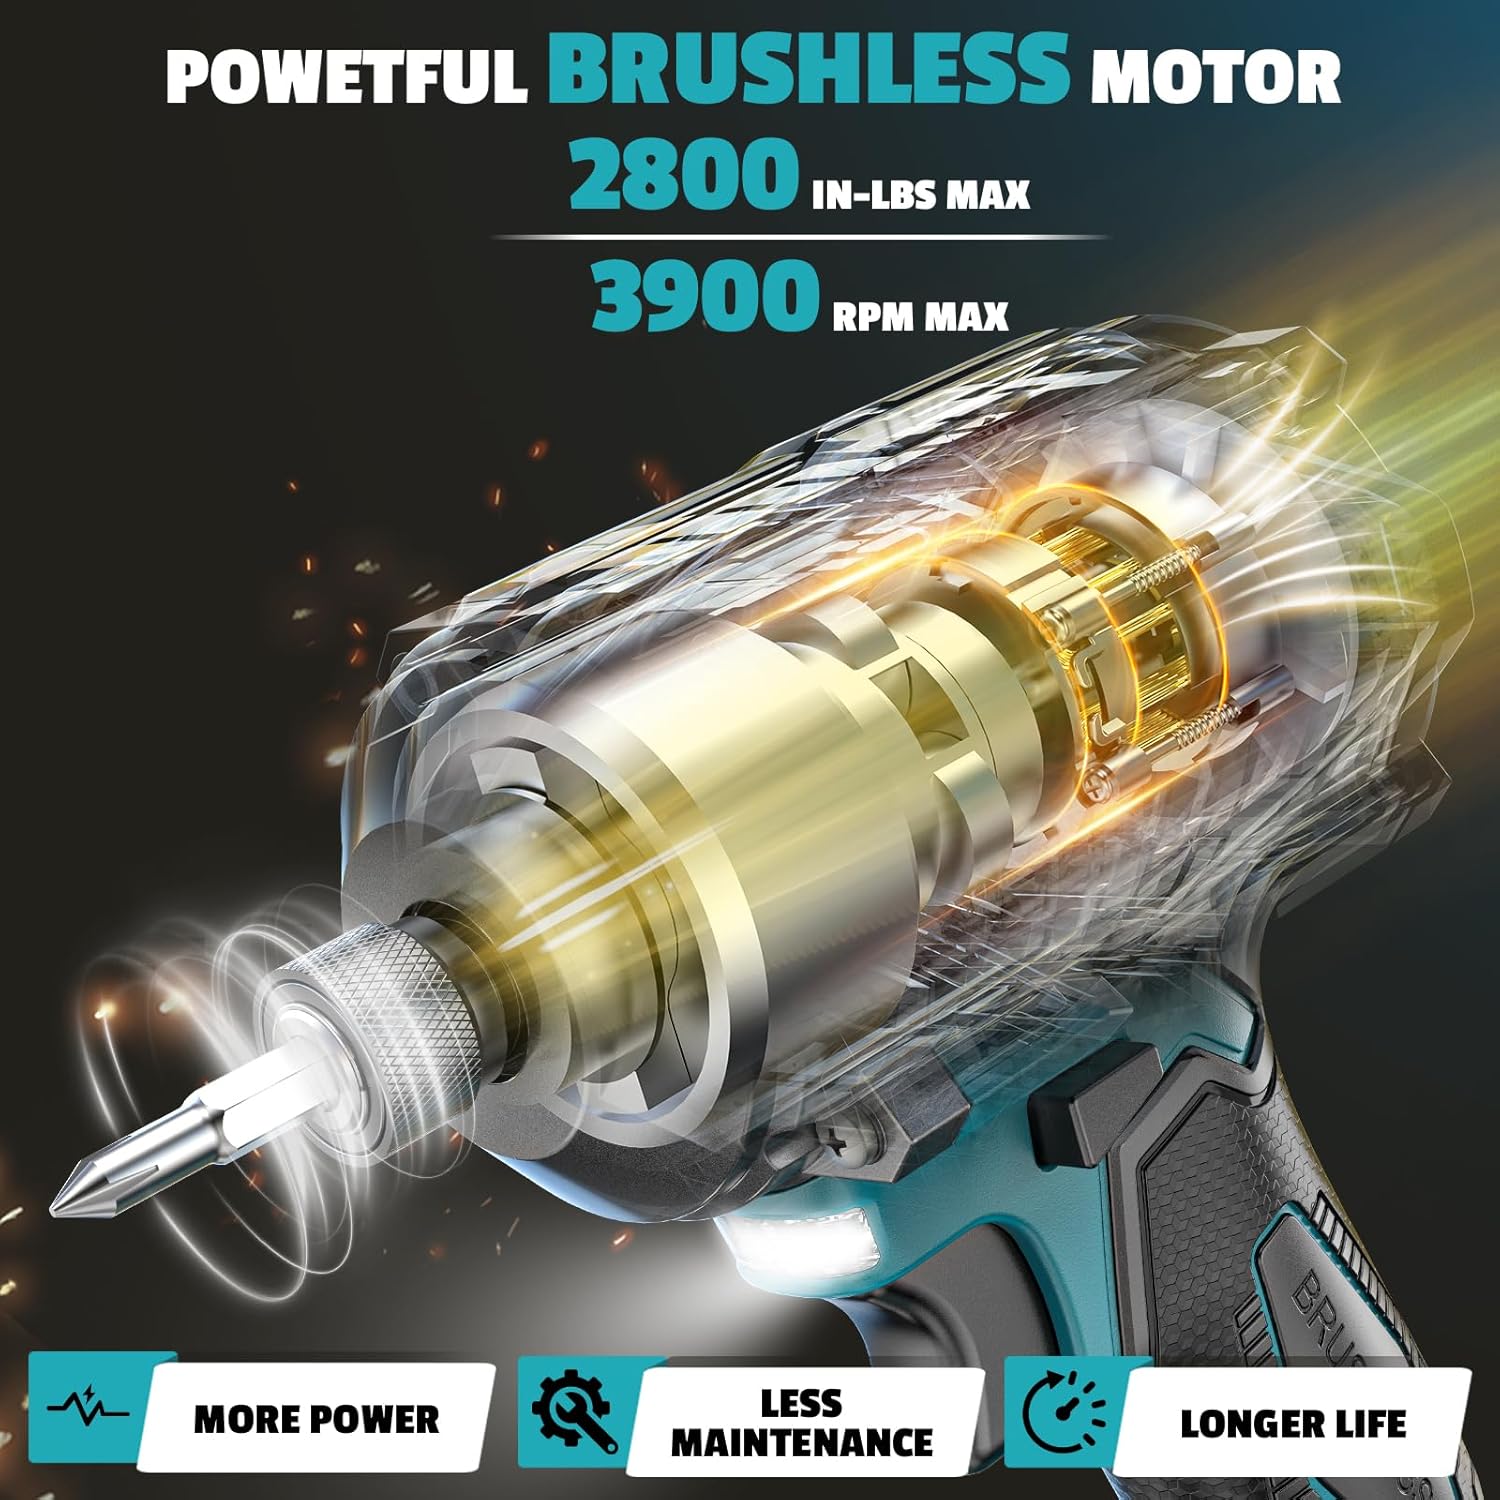
Figure 2: Internal view of the powerful brushless motor.

Figure 3: Illustration of the 4-speed settings for various tasks.

Figure 4: Visual explanation of the auto-stop function to prevent stripping.

Figure 5: Demonstrating the compact and comfortable design for easy handling.

Figure 6: Showing compatibility with Makita 18V batteries (battery not included).

Figure 7: The Reverse Self-Stop feature for safety and preventing screws from flying off.

Figure 8: The integrated bright LED work light illuminating the work area.

Figure 9: Details on the 1/4-inch quick-connect hex chuck, ergonomic grip, and power/gear display.
4. Setup
4.1. Attaching/Removing the Battery
- To Attach: Align the battery pack with the base of the tool. Slide the battery pack into the tool until it clicks securely into place.
- To Remove: Press the battery release button (usually located on the front or sides of the battery pack) and slide the battery pack out of the tool.
4.2. Inserting/Removing Bits
- To Insert: Pull the quick-connect hex chuck collar forward. Insert the 1/4-inch hex shank bit fully into the chuck. Release the collar to lock the bit in place. Tug on the bit to ensure it is securely fastened.
- To Remove: Pull the quick-connect hex chuck collar forward and pull the bit out.
5. Operating Instructions
5.1. Powering On/Off and Direction Control
- To Power On: Squeeze the trigger switch. The tool will start rotating.
- To Power Off: Release the trigger switch.
- Forward/Reverse: Use the forward/reverse selector switch, typically located above the trigger, to choose the desired rotation direction. Push left for forward, right for reverse. Center position locks the trigger.
5.2. Adjusting Speed Settings
This impact driver features 4-speed settings to match the task at hand. Use the speed selector button (refer to Figure 3 for location) to cycle through the available speeds:
- Speed 1 (Low): For delicate fastening or starting screws.
- Speed 2 (Medium): For general driving tasks.
- Speed 3 (High): For high-torque applications and faster driving.
- Speed 4 (Max): For maximum power and speed, up to 3900 RPM.
5.3. Using the Auto-Stop Function
The auto-stop function is designed to prevent over-tightening and stripping. When engaged, the tool will automatically stop rotation once it detects sufficient resistance, indicating the fastener is snug. This feature is particularly useful for precision work or when working with delicate materials.
5.4. Practical Demonstrations
Demonstration: Removing and Fastening Lug Nuts
Video 1: This video demonstrates the impact driver's capability in removing and fastening lug nuts on a vehicle, showcasing its power and efficiency for automotive tasks.
Demonstration: Impact Wrench for Car Tire
Video 2: Watch the impact driver in action as it is used as an impact wrench for changing a car tire, highlighting its versatility and strength.
Demonstration: Heavy-Duty Machinery Applications
Video 3: This video illustrates the impact driver's robust performance on heavy-duty machinery, demonstrating its capability for demanding tasks.
6. Maintenance
Regular maintenance ensures optimal performance and extends the life of your tool.
- Cleaning: Keep the tool's ventilation openings clear and free of debris. Use a soft, damp cloth to clean the exterior. Do not use harsh chemicals or abrasive cleaners.
- Storage: Store the tool and battery in a cool, dry place, away from direct sunlight and extreme temperatures. Ensure the battery is disconnected from the tool during storage.
- Inspection: Periodically inspect the chuck for wear and tear. Ensure all screws are tight. If any damage is observed, discontinue use and contact customer support.
7. Troubleshooting
If you encounter issues with your impact driver, refer to the following common problems and solutions:
| Problem | Possible Cause | Solution |
|---|---|---|
| Tool does not start | Battery not charged or improperly inserted; Trigger lock engaged. | Charge battery and ensure it is securely inserted. Disengage trigger lock. |
| Reduced power/torque | Low battery charge; Incorrect speed setting; Worn bit. | Recharge battery. Select a higher speed setting. Replace worn bit. |
| Bit not holding securely | Chuck collar not fully released; Damaged chuck. | Ensure collar is fully released after inserting bit. If problem persists, chuck may need replacement. |
If the problem persists after trying these solutions, please contact DIYtoolifz customer support.
8. Specifications
| Feature | Specification |
|---|---|
| Manufacturer | DIYtoolifz |
| Model | 1/4'' Impact Driver for Makita Battery |
| Max Torque | 2800 in-lbs |
| Motor Type | Brushless |
| Speed Settings | 4 (up to 3900 RPM) |
| Chuck Size | 1/4 inch Hex Quick-Connect |
| Battery Compatibility | Makita 18V Max Lithium-Ion (Battery Not Included) |
| Item Weight | 1.2 kg |
| Product Dimensions | 14 x 7 x 20 cm |
| Country of Origin | China |
9. Warranty and Support
For warranty information, product support, or to purchase replacement parts, please visit the official DIYtoolifz website or contact their customer service department. Keep your purchase receipt as proof of purchase for warranty claims.