
Important Safety Instructions
When using electrical appliances, basic safety precautions should always be followed, including the following:
- Read all instructions before operating the toaster.
- Do not touch hot surfaces. Use handles or knobs.
- To protect against electrical shock, do not immerse cord, plugs, or toaster in water or other liquid.
- Close supervision is necessary when any appliance is used by or near children.
- Unplug from outlet when not in use and before cleaning. Allow to cool before putting on or taking off parts.
- Do not operate any appliance with a damaged cord or plug, or after the appliance malfunctions or has been damaged in any manner.
- The use of accessory attachments not recommended by the appliance manufacturer may cause injuries.
- Do not use outdoors.
- Do not let cord hang over edge of table or counter, or touch hot surfaces.
- Do not place on or near a hot gas or electric burner, or in a heated oven.
- To disconnect, press the "Cancel" button, then remove plug from wall outlet.
- Do not use appliance for other than intended use.
- Oversize foods, metal foil packages, or utensils must not be inserted in a toaster as they may create a fire or risk of electric shock.
- A fire may occur if toasters are covered or touching flammable material, including curtains, draperies, walls, and the like, when in operation.
- Do not attempt to dislodge food when toaster is plugged in.
- Do not operate unattended.
- The toaster is designed with a cool-touch exterior, but internal components become hot during operation. Exercise caution.
Product Overview
Components
Familiarize yourself with the parts of your Mecity 2-Slice Toaster:

This image displays the Mecity 2-Slice Toaster with labels for its main components: 1. Toasting Slots, 2. Touch Screen, 3. Stainless Steel Body, 4. Ventilation Holes, 5. Crumb Tray, and 6. Anti-Slippery Pads.
- Toasting Slots: Two wide slots designed to accommodate various bread types.
- Touch Screen: Digital interface for selecting bread types, shade levels, and functions.
- Stainless Steel Body: Durable and cool-touch exterior.
- Ventilation Holes: Located on the top and sides for heat dissipation.
- Crumb Tray: Removable tray at the bottom for easy cleaning of crumbs.
- Anti-Slippery Pads: Located on the base to ensure stability during use.
Key Features
- Motorized Auto-Lift: Automatically lowers and raises bread without a lever.
- Large Touch Screen: Intuitive display for easy selection of settings.
- 8 Bread Types: Dedicated settings for White, Pastry, Grain, Gluten Free, Bagel, Waffle, English Muffin, and Sweet Breads.
- 5 Shade Levels: Adjustable browning control for desired toast crispness.
- 1200W High Power: Ensures fast and even toasting.
- Exclusive Keep Warm Function: Keeps toast warm for up to 30 minutes without over-browning.
- Reheat Function: Reheats toast with a single touch.
- Cool-Touch Body: Heat-insulated layer for safe operation.
- Convenience Design: Includes Memorial Function (records last setting) and Sleep Mode (turns off after 10 minutes of inactivity).
Setup
- Unpacking: Carefully remove the toaster and all packaging materials. Retain packaging for future storage or transport.
- Placement: Place the toaster on a stable, flat, heat-resistant surface, away from flammable materials such as curtains or walls. Ensure adequate ventilation around the appliance.
- First Use: Before first use, operate the toaster without bread on the highest shade setting to burn off any manufacturing residues. A slight odor or smoke may be present; this is normal. Ensure the area is well-ventilated.
- Power Connection: Plug the power cord into a standard 120V AC electrical outlet.
Operating Instructions
Basic Toasting
Follow these steps for general toasting:

This image illustrates the three steps for operating the toaster: Step 1 shows placing bread into the slots, Step 2 shows selecting bread type and browning level on the touch screen, and Step 3 shows the toaster automatically lowering and raising the bread.
- Insert Bread: Place slices of bread into the toasting slots. For bagels, ensure the cut side faces outward.
- Select Settings: Use the touch screen to select your desired bread type (e.g., White, Bagel, Waffle) and browning level (1-5).
- Start Toasting: Press the "START" button. The toaster will automatically lower the bread and begin the toasting cycle.
- Completion: Once the toasting cycle is complete, the bread will automatically lift from the slots.
Bread Type Selection
The toaster offers 8 preset bread programs for optimized results:

This image shows the toaster's touch screen interface with icons for 8 different bread types: White Bread, Pastry, Grain, Gluten Free Bread, Bagel, Waffle, English Muffin, and Sweet Bread.
- White Bread: Standard setting for white bread slices.
- Pastry: Ideal for pastries like pop-tarts.
- Grain: Optimized for whole grain or multi-grain breads.
- Gluten Free: Specific setting for gluten-free bread.
- Bagel: Toasts the cut side of bagels while warming the outer side.
- Waffle: Perfect for frozen or fresh waffles.
- English Muffin: Tailored for English muffins.
- Sweet Breads: Suitable for sweeter bread varieties.
Browning Levels
Choose from 5 shade levels to achieve your preferred toast crispness. Level 1 is the lightest, and Level 5 is the darkest.
Special Functions
- Keep Warm Function:
After toasting, select the "WARM" mode to keep your toast warm for up to 30 minutes without further browning. The toaster will cycle heating to maintain warmth.

This image highlights the toaster's "Keep Warm" function, showing the toaster on a kitchen counter with a timer indicating 30 minutes, and a text bubble explaining that the toaster will lift and heat bread in cycles for 30 minutes without darkening.
- Reheat Function:
If your toast has cooled, use the "REHEAT" function to warm it up without initiating a full toasting cycle. This function is typically a shorter cycle at a lower heat.
- Cancel Function:
Press the "CANCEL" button at any time to stop the toasting cycle and automatically lift the bread.
Motorized Auto-Lift
The toaster features a motorized auto-lift mechanism, eliminating the need for a manual lever. Bread is gently lowered and raised automatically.
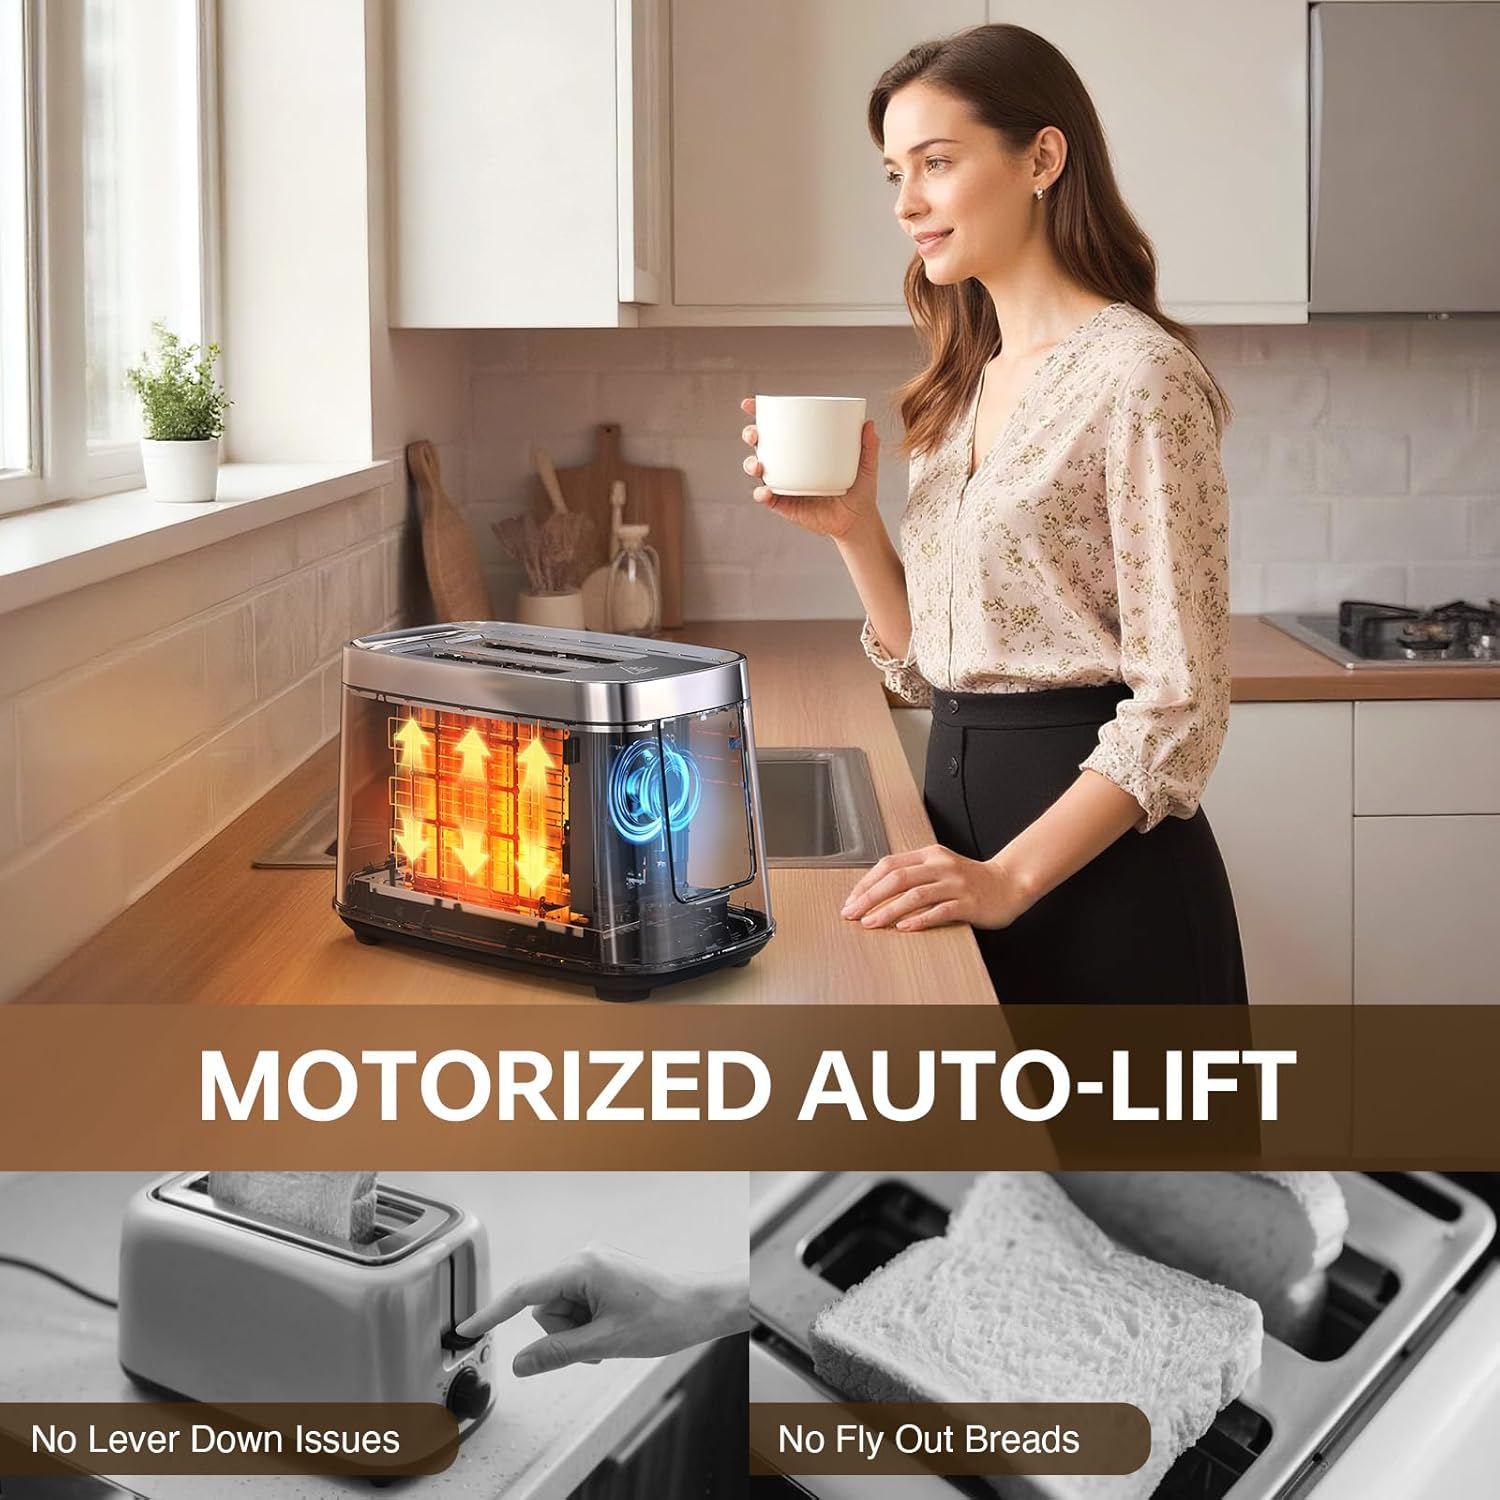
This image shows the Mecity 2-Slice Toaster with bread being automatically lowered into the slots, illustrating the motorized auto-lift feature. It also highlights "No Lever Down Issues" and "No Fly Out Breads".
Convenience Features
- Memorial Function: The toaster remembers the last used setting for quick recall.
- Sleep Mode: To conserve energy, the toaster will enter sleep mode and turn off after 10 minutes of inactivity.
- Smart Management: Advanced heating technology ensures even toasting results.

This image shows a child enjoying toast, with text explaining the toaster's convenience features: Memorial Function, Sleep Mode, and Smart Management for even toasting.
Official Product Video: Mecity Smart Toaster with Auto Lift Keep Warm mode
This video demonstrates the Mecity Smart Toaster's auto-lift mechanism and the Keep Warm mode in action, showcasing its user-friendly features.
Maintenance and Cleaning
Regular cleaning ensures optimal performance and extends the life of your toaster.
- Unplug Before Cleaning: Always unplug the toaster from the power outlet and allow it to cool completely before cleaning.
- Crumb Tray:
Locate the removable crumb tray at the bottom of the toaster. Pull it out to remove accumulated crumbs. Discard crumbs and wipe the tray clean with a damp cloth. Ensure the tray is completely dry before reinserting it.
- Exterior Cleaning:
Wipe the exterior of the toaster with a soft, damp cloth. Do not use abrasive cleaners or metal scouring pads, as these can scratch the stainless steel finish. For stubborn spots, a mild detergent can be used, followed by wiping with a clean, damp cloth and drying thoroughly.
- Interior Cleaning:
Do not insert any objects into the toasting slots to clean them. If food becomes lodged, unplug the toaster and carefully invert it to shake out the food. Never use metal utensils to remove food from the slots.
- Storage: When not in use, store the toaster in a clean, dry place.
Troubleshooting
If you encounter issues with your toaster, refer to the following common problems and solutions:
| Problem | Possible Cause | Solution |
|---|---|---|
| Toaster does not turn on. | Not plugged in; power outage; faulty outlet. | Ensure the toaster is securely plugged into a working outlet. Check your circuit breaker. |
| Bread does not lower automatically. | Toasting cycle not initiated; power issue. | Ensure you have selected a bread type and shade level, then press "START". Check power connection. |
| Uneven toasting. | Inconsistent bread thickness; incorrect bread type setting. | Ensure bread slices are of uniform thickness. Select the appropriate bread type setting for best results. |
| Error code E01 displayed. | Indicates a thermal sensor issue. | Unplug the toaster and allow it to cool completely for at least 30 minutes. Plug it back in and try again. If the error persists, contact customer support. |
| Toast is too light or too dark. | Incorrect shade level selected. | Adjust the browning level on the touch screen for your next toasting cycle. Experiment to find your preferred setting. |
Specifications
Technical details for the Mecity 2-Slice Touch Screen Toaster (Model T-90-GY):
- Brand: Mecity
- Model Number: T-90-GY
- Color: Grey
- Material: Acrylonitrile Butadiene Styrene (ABS), Stainless Steel
- Product Dimensions (D x W x H): 10.4" x 6.2" x 7"
- Wattage: 1200 watts
- Voltage: 120V
- Slot Count: 2
- Browning Levels: 5
- Bread Programs: 8 (White, Pastry, Grain, Gluten Free, Bagel, Waffle, English Muffin, Sweet Breads)
- Special Features: Built-In Timer, Removable Crumb Tray, Retractable Power Cord, Rust Proof, Variable Browning Control, Motorized Auto-Lift, Keep Warm Function, Reheat Function, Touch Screen Control, Cool-Touch Body.

This image shows the Mecity 2-Slice Toaster with its dimensions clearly marked: 10.2 inches in length, 6.1 inches in width, and 7.1 inches in height.
Warranty and Support
Mecity products are designed for reliability and performance. For warranty information, product support, or service inquiries, please refer to the warranty card included with your purchase or visit the official Mecity website.
Online Support: Visit the Mecity Store on Amazon