Introduction
This manual provides essential instructions for the safe and efficient operation, installation, and maintenance of your ICEVOKE 3-in-1 Water Dispenser with Ice Maker. Please read this manual thoroughly before using the appliance and retain it for future reference.
The ICEVOKE water dispenser offers hot, cold, and room-temperature water, along with an integrated ice maker. It is designed for use with 3 or 5-gallon water bottles and features a child safety lock for hot water dispensing.
Safety Information
To prevent personal injury or property damage, observe all safety precautions listed below:
- Always place the dispenser on a flat, stable surface.
- Do not operate the dispenser with a damaged power cord or plug.
- Keep the dispenser away from direct sunlight and heat sources.
- Ensure proper ventilation around the unit.
- Do not immerse the appliance, cord, or plug in water or other liquids.
- Supervise children when they are near the dispenser, especially when dispensing hot water.
- Unplug the dispenser before cleaning or performing any maintenance.
- This appliance is for indoor use only.
- Use only potable water in the dispenser.
Product Overview
The ICEVOKE 3-in-1 Water Dispenser combines a water cooler and an ice maker into a single unit, providing hot, cold, and room temperature water, along with bullet-shaped ice cubes.
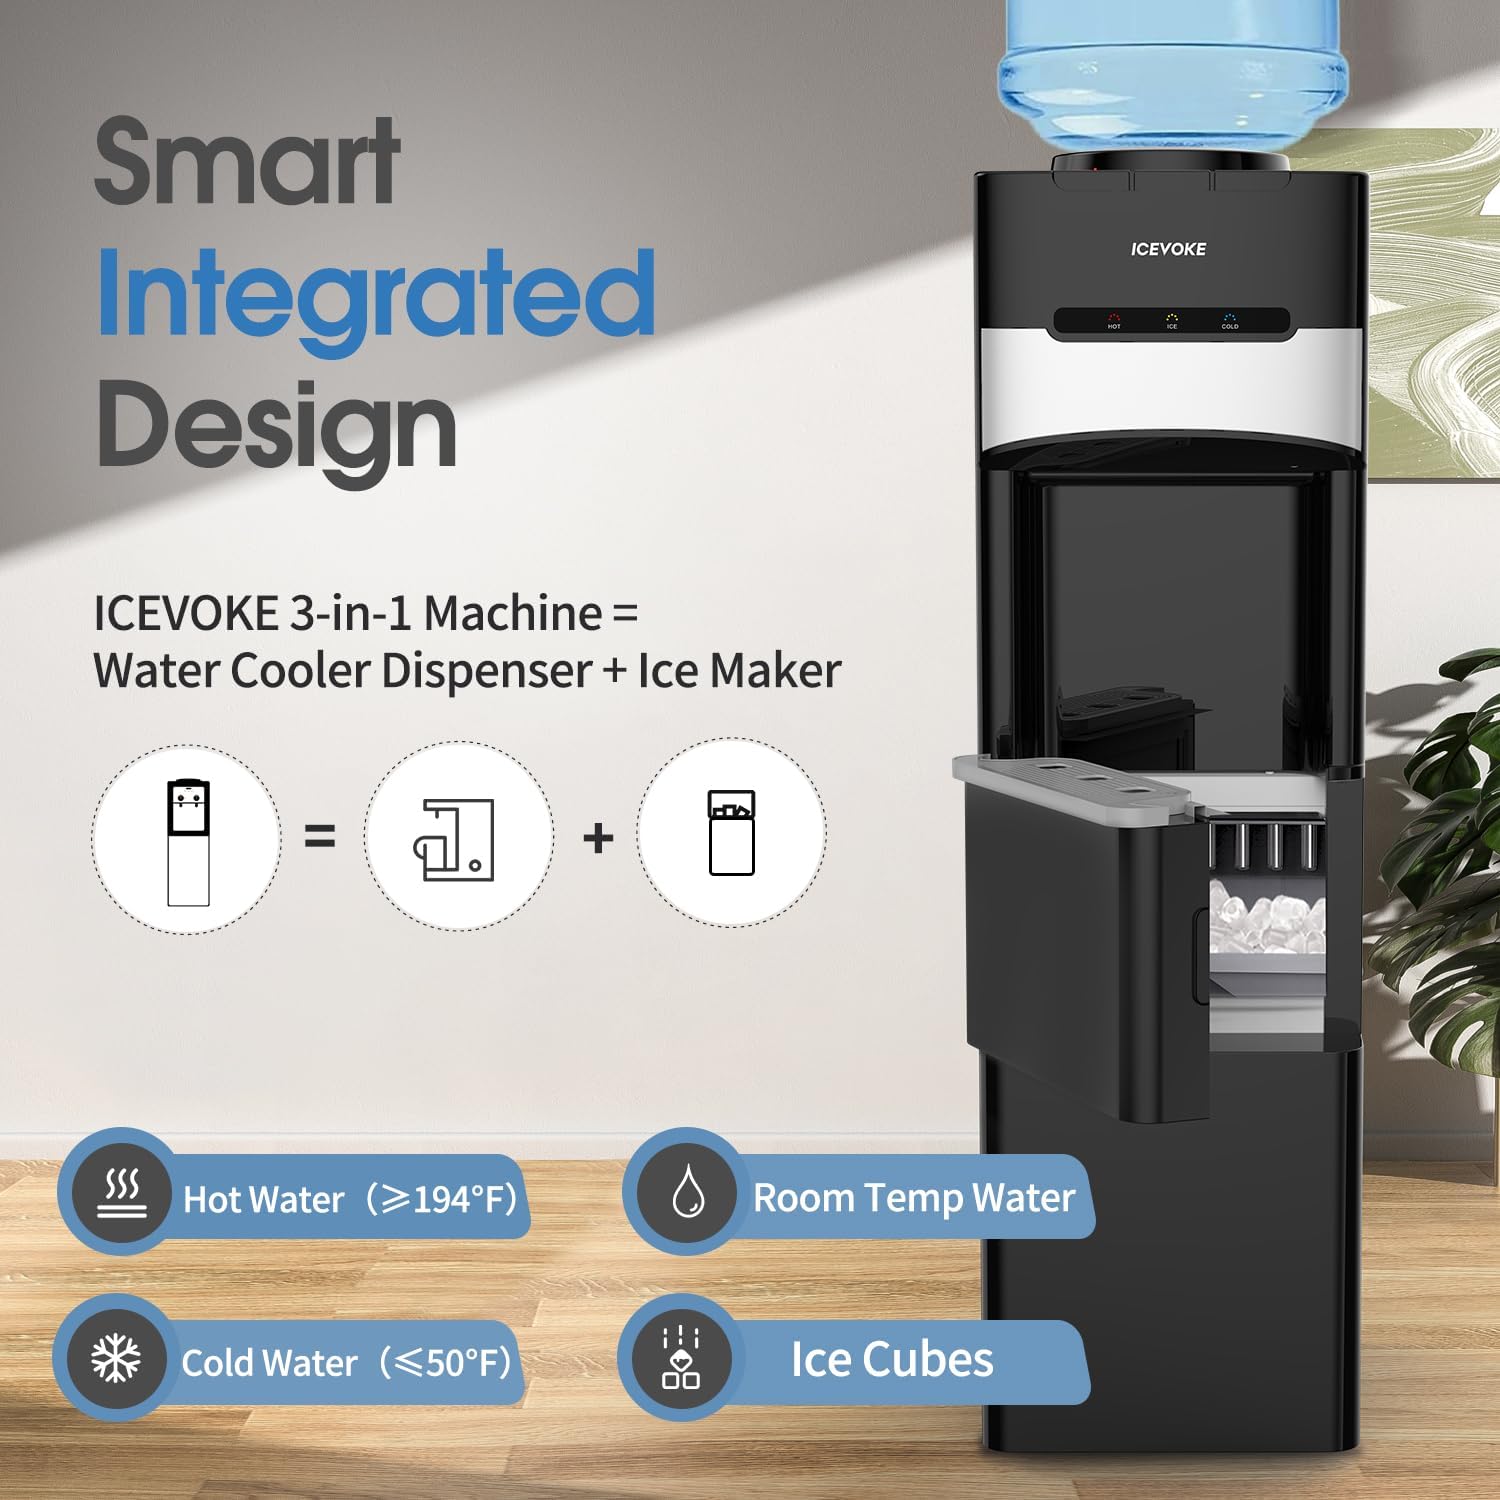
Figure 1: Overview of the ICEVOKE 3-in-1 Water Dispenser, highlighting its integrated design for hot, cold, room temperature water, and ice cubes.

Figure 2: Key features of the ICEVOKE 3-in-1 Water Cooler Dispenser, including multi-temperature water, rapid ice production, quiet operation, and ETL certification.
Setup
1. Unpacking
Carefully remove the dispenser from its packaging. Inspect for any damage during transit. Retain packaging materials for future transport or storage.
2. Placement
Place the dispenser on a level, sturdy surface. Ensure there is at least 4 inches (10 cm) of clearance from the back and sides of the unit to allow for proper ventilation. Avoid placing it near direct sunlight or heat-generating appliances.

Figure 3: Product dimensions and ETL certification for the ICEVOKE water dispenser, indicating it fits standard 3-5 gallon bottles.
3. Water Bottle Installation
This dispenser is designed for top-loading 3 or 5-gallon water bottles. Remove the protective seal from the water bottle cap. Lift the bottle and carefully place it onto the support collar on top of the dispenser. Ensure the bottle is seated firmly and water begins to flow into the internal reservoir.

Figure 4: Illustration of water supply methods: manually adding water for ice making and using a top-loaded barreled water supply.
4. Initial Cleaning and Flushing
Before first use, it is recommended to flush the system. Dispense at least 1 liter of water from each tap (hot, cold, and room temperature) to ensure any manufacturing residues are cleared. Discard this water.
5. Power Connection
Plug the power cord into a grounded electrical outlet. Allow the unit to stand for at least 30 minutes before turning on the heating or cooling functions to allow refrigerants to settle.
Operating Instructions
Control Panel and Switches
The dispenser features a user-friendly control panel and switches for various functions.

Figure 5: Control panel details, including the child safety lock and power switches for cold/hot water and ice making.

Figure 6: LED indicators for Hot, Ice, and Cold functions, and the child safety lock for hot water dispensing.
On the back of the unit, locate the green "ON/OFF" switch for cooling and the red "ON/OFF" switch for heating. There is also a separate switch for the ice making function.
Video 1: An overview of the ICEVOKE 3-in-1 Water Dispenser, demonstrating its features and controls.
1. Dispensing Hot Water
To dispense hot water, first ensure the hot water switch on the back of the unit is in the "ON" position. Wait approximately 15-20 minutes for the water to heat up. To dispense, press the child safety lock button located above the hot water tap, then press the hot water dispensing button. Hot water temperature is typically above 194°F (90°C).
2. Dispensing Cold Water
To dispense cold water, ensure the cold water switch on the back of the unit is in the "ON" position. Wait approximately 15-20 minutes for the water to cool. Press the cold water dispensing button. Cold water temperature is typically below 50°F (10°C).
3. Dispensing Room Temperature Water
To dispense room temperature water, simply press the room temperature water dispensing button. No heating or cooling is applied to this water.

Figure 7: Temperature ranges for hot, room, and cold water dispensing.
4. Ice Making Function
To activate the ice maker, ensure the ice making switch on the back of the unit is in the "ON" position. The unit will begin producing ice. The first batch of ice typically takes 7-15 minutes. The ice maker can produce up to 9 bullet-shaped ice cubes per cycle and approximately 28 lbs of ice per day. The ice basket has a capacity of 3 lbs. The ice maker will automatically stop when the ice basket is full.

Figure 8: Details on the ice making speed and capacity of the dispenser.

Figure 9: Visual representation of the fast ice making process and bullet-shaped ice cubes.
Video 2: Demonstration of the ice making process within the dispenser.
Maintenance
Regular cleaning and maintenance will ensure the longevity and optimal performance of your water dispenser.

Figure 10: Features designed for easy cleaning, including the removable drip tray and stainless steel components.
1. Cleaning the Drip Tray
The drip tray is removable for easy cleaning. Periodically remove the tray, empty any collected water, and wash it with mild soap and water. Rinse thoroughly and dry before reinserting.
2. Cleaning the Water Dispenser
- Exterior: Wipe the exterior surfaces with a soft, damp cloth. Do not use abrasive cleaners or solvents.
- Interior (Water Tanks): For thorough cleaning, unplug the unit and remove the water bottle. Drain all water from the hot and cold tanks using the drain plugs located at the back of the unit. Prepare a cleaning solution (e.g., a mixture of water and white vinegar or a food-grade dispenser cleaning solution). Pour the solution into the top reservoir and allow it to sit for 15-20 minutes. Dispense the solution through all taps. Rinse thoroughly by filling and draining with clean water several times.
3. Cleaning the Ice Maker
Regularly clean the ice maker compartment. Unplug the unit. Remove any remaining ice. Wipe the interior with a clean cloth dampened with mild soap and water. Rinse with a clean, damp cloth. Ensure all components are dry before resuming operation.
4. Descaling
Over time, mineral deposits may accumulate, especially in the hot water tank. To descale, use a descaling solution specifically designed for water dispensers or a mixture of citric acid and water. Follow the product instructions for the descaling agent. Always rinse thoroughly after descaling.
Troubleshooting
| Problem | Possible Cause | Solution |
|---|---|---|
| No water dispensing | Water bottle empty or not properly seated. Airlock in the system. | Replace water bottle. Remove and re-seat bottle. Dispense water from all taps to release air. |
| No hot water | Hot water switch is OFF. Heating element malfunction. | Turn ON the hot water switch on the back. If problem persists, contact support. |
| No cold water | Cold water switch is OFF. Cooling system malfunction. | Turn ON the cold water switch on the back. If problem persists, contact support. |
| Ice maker not producing ice | Ice making switch is OFF. Water reservoir empty. Ice basket full. Ambient temperature too high. | Turn ON the ice making switch. Ensure water bottle is full. Empty ice basket. Ensure proper ventilation. |
| Water leaking | Water bottle cracked or improperly seated. Drain plug loose. | Check water bottle for cracks and proper seating. Tighten drain plugs. |
Specifications
| Feature | Detail |
|---|---|
| Model Number | BYCZ1180B-0717 |
| Brand | ICEVOKE |
| Dimensions (D x W x H) | 14"D x 12.1"W x 41.4"H |
| Material | Acrylonitrile Butadiene Styrene (ABS), Stainless Steel |
| Water Bottle Capacity | 3 or 5 Gallons |
| Hot Water Temperature | ≥ 194°F (90°C) |
| Cold Water Temperature | ≤ 50°F (10°C) |
| Ice Production Rate | 9 cubes in 7-15 minutes; 28 lbs per day |
| Ice Basket Capacity | 3 lbs |
| Certifications | ETL, FCC, UL |
Warranty and Support
This ICEVOKE product comes with a manufacturer's warranty. Please refer to the warranty card included with your purchase for specific terms and conditions. For technical support, troubleshooting assistance, or warranty claims, please contact ICEVOKE customer service through the retailer where the product was purchased or visit the official ICEVOKE website.
Please have your model number (BYCZ1180B-0717) and purchase date available when contacting support.