1. Introduction
Thank you for choosing the TTBKA Heavy Duty 10x12 FT Metal Storage Shed. This manual provides essential information for the safe assembly, operation, and maintenance of your new storage shed. Please read all instructions carefully before beginning assembly and retain this manual for future reference.
2. Safety Information
Your safety is paramount. Please observe the following safety precautions:
- Assembly: Assembly requires at least two people. Do not attempt to assemble alone. Wear protective gloves during assembly to prevent cuts from metal edges.
- Location: Choose a level, stable surface for installation. Ensure adequate clearance around the shed for assembly and future access.
- Anchoring: Securely anchor the shed to the ground using the provided expansion screws to prevent wind damage.
- Protective Film: Remove the protective film from all steel surfaces carefully during assembly.
- Weight Capacity: Do not exceed the roof weight capacity of 30 pounds per square foot (or 120 pounds per square foot as indicated in some product details) to prevent structural damage.
- Children: Keep children away from the assembly area. Do not allow children to play inside or around the shed unsupervised.
- Tools: Use appropriate tools as specified in the assembly instructions.
3. Package Contents
Before starting assembly, verify that all parts are present. The package includes:
- 0.25mm thick color steel plates for walls and roof
- Structural frame components (alloy steel)
- Two daylight windows
- Door components
- 8 expansion screws for anchoring
- Protective gloves
- Screwdriver head
- Wrench
- All necessary fasteners and small parts
If any parts are missing or damaged, please contact customer support.
4. Specifications
| Feature | Specification |
|---|---|
| Model Number | 10x12ft |
| Overall Dimensions (D x W x H) | 138.97" x 113.77" x 79.52" |
| Storage Space | 876 cubic feet |
| Floor Area | 120 Square Feet |
| Material | 0.25mm Color Steel Plate, Alloy Steel Frame |
| Door Style | Single Door |
| Door Opening (W x H) | 40.94" x 65.74" |
| Windows | Two daylight windows |
| Roof Weight Capacity | 30 lbs/sq ft (or 120 lbs/sq ft as per some descriptions) |
| Water Resistance Level | Waterproof |
| Assembly Required | Yes (Two people recommended) |
Refer to the image below for detailed product dimensions.

5. Setup and Assembly
Assembly of this storage shed requires careful attention to detail and the assistance of a second person. Please follow the step-by-step instructions provided in the separate assembly guide included with your product. The following are general guidelines:
- Site Preparation: Ensure the chosen site is level and clear of debris. A solid, flat foundation (e.g., concrete slab, treated wood base) is recommended for optimal stability and longevity.
- Unpacking: Carefully unpack all components. Identify and sort parts according to the assembly guide.
- Protective Film Removal: Before assembling each panel, gently peel off the protective film from the steel surfaces. This film is designed to prevent scratches during transit.
- Base Assembly: Assemble the base frame first, ensuring it is square and level.
- Wall Panel Installation: Attach the wall panels to the base frame, following the sequence in the assembly guide. Pay attention to the orientation of panels, especially those with window openings.
- Roof Assembly: Construct the roof frame and attach the roof panels. Ensure all fasteners are tightened securely to maintain waterproof integrity.
- Door Installation: Install the door and its hardware, ensuring smooth operation.
- Anchoring: Once fully assembled, use the provided expansion screws to anchor the shed firmly to your prepared foundation. This is crucial for stability, especially in windy conditions.
The reinforced frame design contributes to the shed's stability and durability.

6. Usage and Operation
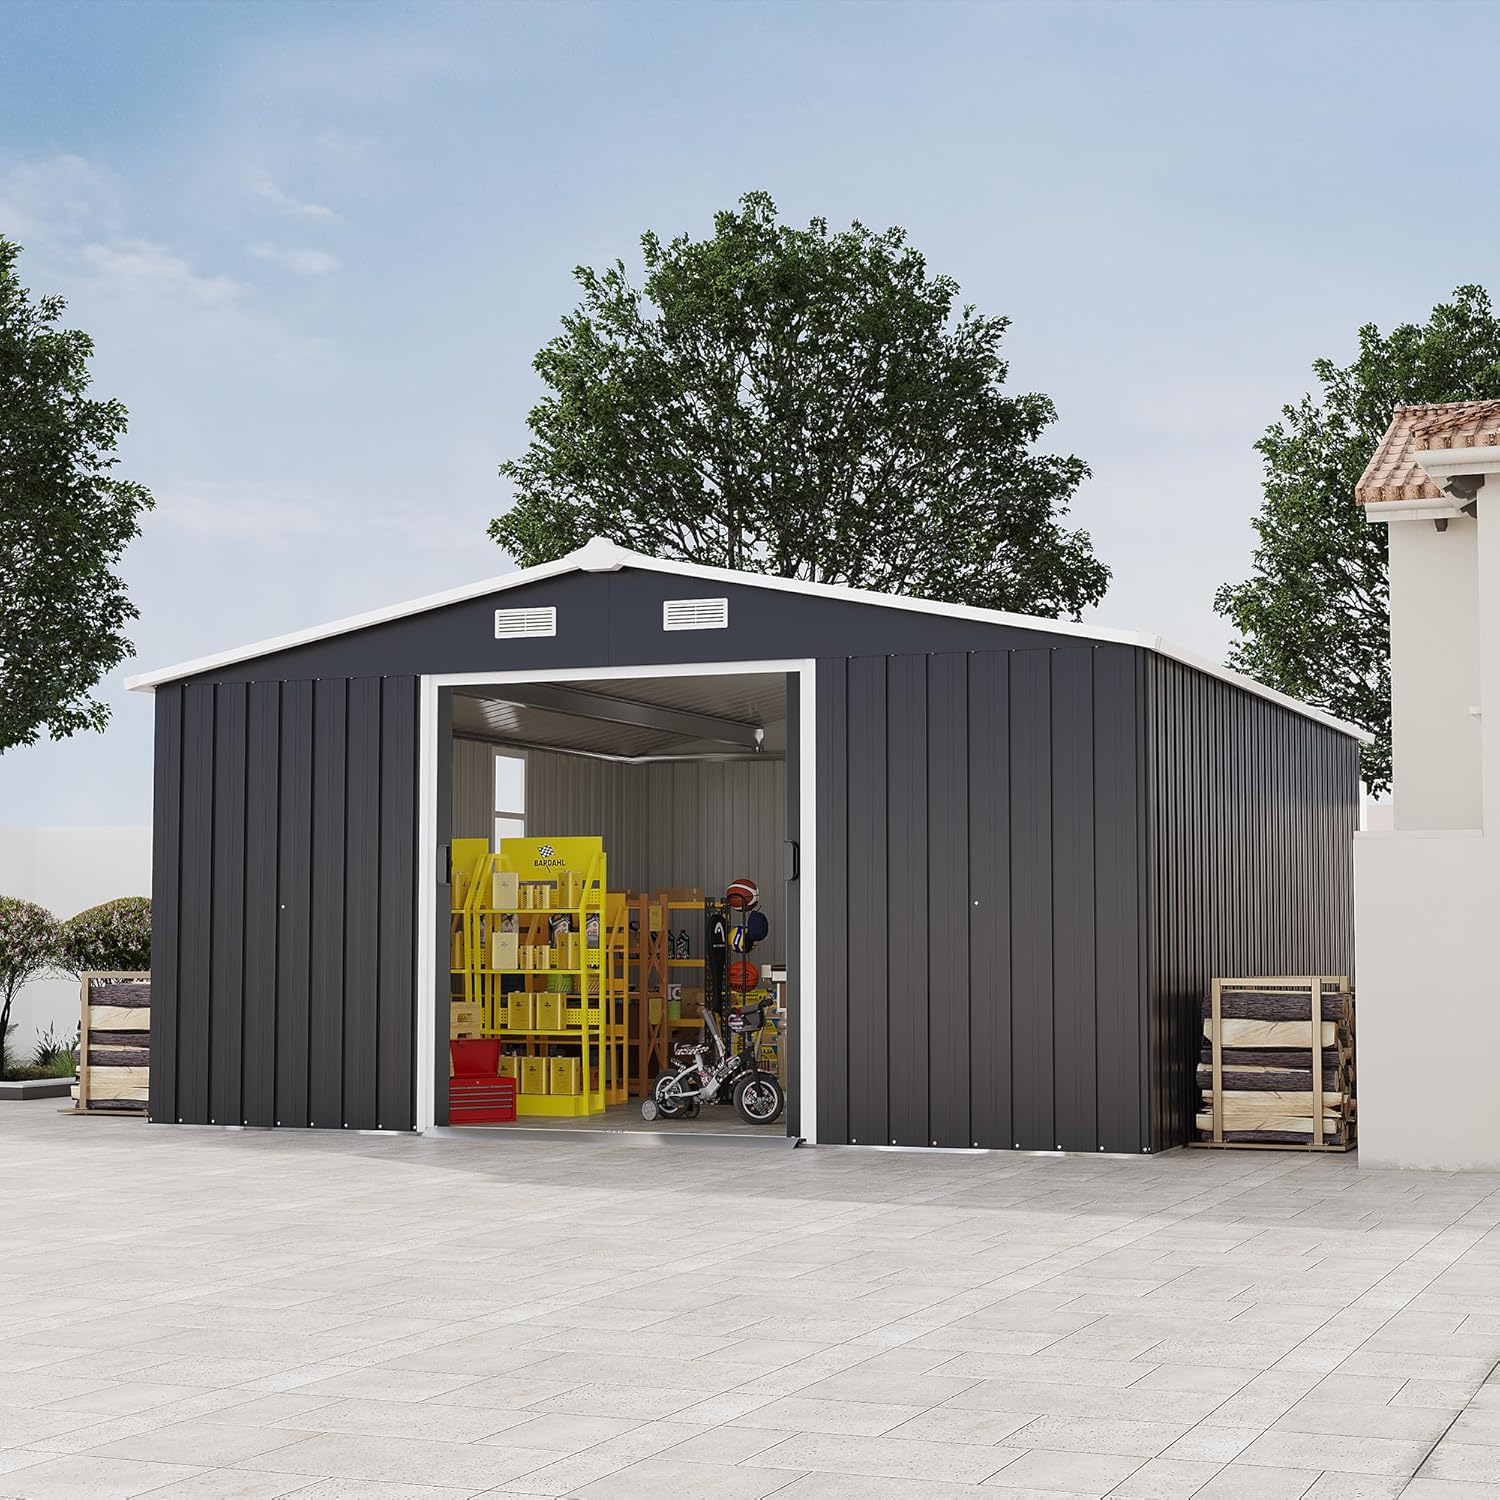
Your TTBKA Metal Storage Shed is designed for versatile outdoor storage. Its large capacity and robust construction make it suitable for various items.
- Storage: Utilize the 876 cubic feet of space for garden tools, lawnmowers, bicycles, outdoor furniture, and other equipment. The 120 sq ft floor area provides ample room.
- Access: The wide door opening (40.94"W x 65.74"H) allows for easy entry and exit of large items.
- Natural Light: The two daylight windows on one side maximize natural light penetration, creating a brighter interior environment for easier organization and access during the day.
- Security: Ensure the door is properly closed and secured to protect your belongings from weather and unauthorized access. Consider adding a padlock (not included) for enhanced security.

7. Maintenance
Regular maintenance will ensure the longevity and optimal performance of your storage shed.
- Cleaning: Clean the exterior surfaces periodically with mild soap and water. Avoid abrasive cleaners or harsh chemicals that could damage the finish.
- Inspection: Annually inspect all fasteners, bolts, and anchors for tightness. Re-tighten if necessary. Check for any signs of rust or damage to the steel panels.
- Drainage: Ensure that water drains away from the shed's base to prevent pooling and potential moisture issues.
- Snow Removal: In areas with heavy snowfall, regularly clear snow from the roof to prevent exceeding the roof's weight capacity.
- UV Protection: The color steel plates are UV protected, but prolonged exposure to extreme sunlight may still cause minor fading over many years.

8. Troubleshooting
Here are some common issues and their potential solutions:
- Water Leakage:
- Check all roof and wall panel overlaps to ensure they are correctly aligned and sealed.
- Verify that all screws and fasteners are tight.
- Inspect the foundation for cracks or unevenness that might allow water ingress.
- Door Sticking/Misalignment:
- Ensure the shed is assembled on a perfectly level surface. Uneven ground can cause the frame to twist.
- Check door hinges and tracks for debris or damage. Lubricate if necessary.
- Adjust door hardware as per the assembly guide.
- Shed Instability:
- Confirm that the shed is securely anchored to the ground using all provided expansion screws.
- Verify that all frame connections and panel fasteners are tightened.
9. Warranty and Support
For warranty information or technical support, please refer to the documentation provided at the time of purchase or contact the seller directly. Keep your purchase receipt as proof of purchase.