1. Introduction
The Sony RX1R III is a full-frame premium compact camera designed for photographers seeking exceptional image quality in a portable form factor. It features a 61 MP CMOS sensor, a high-quality ZEISS Sonnar T* 35mm F2 lens, the advanced BIONZ XR™ processor, and AI-based subject recognition for precise autofocus and tracking. This manual provides essential information for setting up, operating, and maintaining your camera.
2. Setup
2.1. Unpacking and Initial Inspection
Carefully remove all components from the packaging. Ensure the following items are present:
- Sony RX1R III Camera Body
- Rechargeable Battery Pack (NP-FW50)
- AC Adaptor
- USB Type-C Cable
- Shoulder Strap
- Lens Cap
- Shoe Cap
- Eyepiece Cup
- Instruction Manual (this document)
Inspect the camera and accessories for any signs of damage. If any items are missing or damaged, contact your retailer.
2.2. Attaching the Shoulder Strap
Attach the provided shoulder strap to the camera's strap lugs for secure handling.

Image: User attaching a wrist strap to the camera, demonstrating how to secure it for carrying.
2.3. Charging the Battery
Insert the NP-FW50 rechargeable battery pack into the camera. Connect the camera to the AC adaptor using the USB Type-C cable, then plug the AC adaptor into a wall outlet. The charging indicator will light up during charging and turn off when complete. A full charge takes approximately 150 minutes.
Note: The camera is compatible with NP-FW50 rechargeable battery packs, offering up to 300 images on a single charge (CIPA standard, using LCD monitor). Fast charging via USB Power Delivery (PD) is supported with an 18 W (9 V/2 A) or higher output capacity USB Type-C cable.
2.4. Inserting a Memory Card
Open the memory card/battery cover. Insert a compatible SD card (sold separately) into the memory card slot with the label facing the front of the camera until it clicks into place. Close the cover securely.
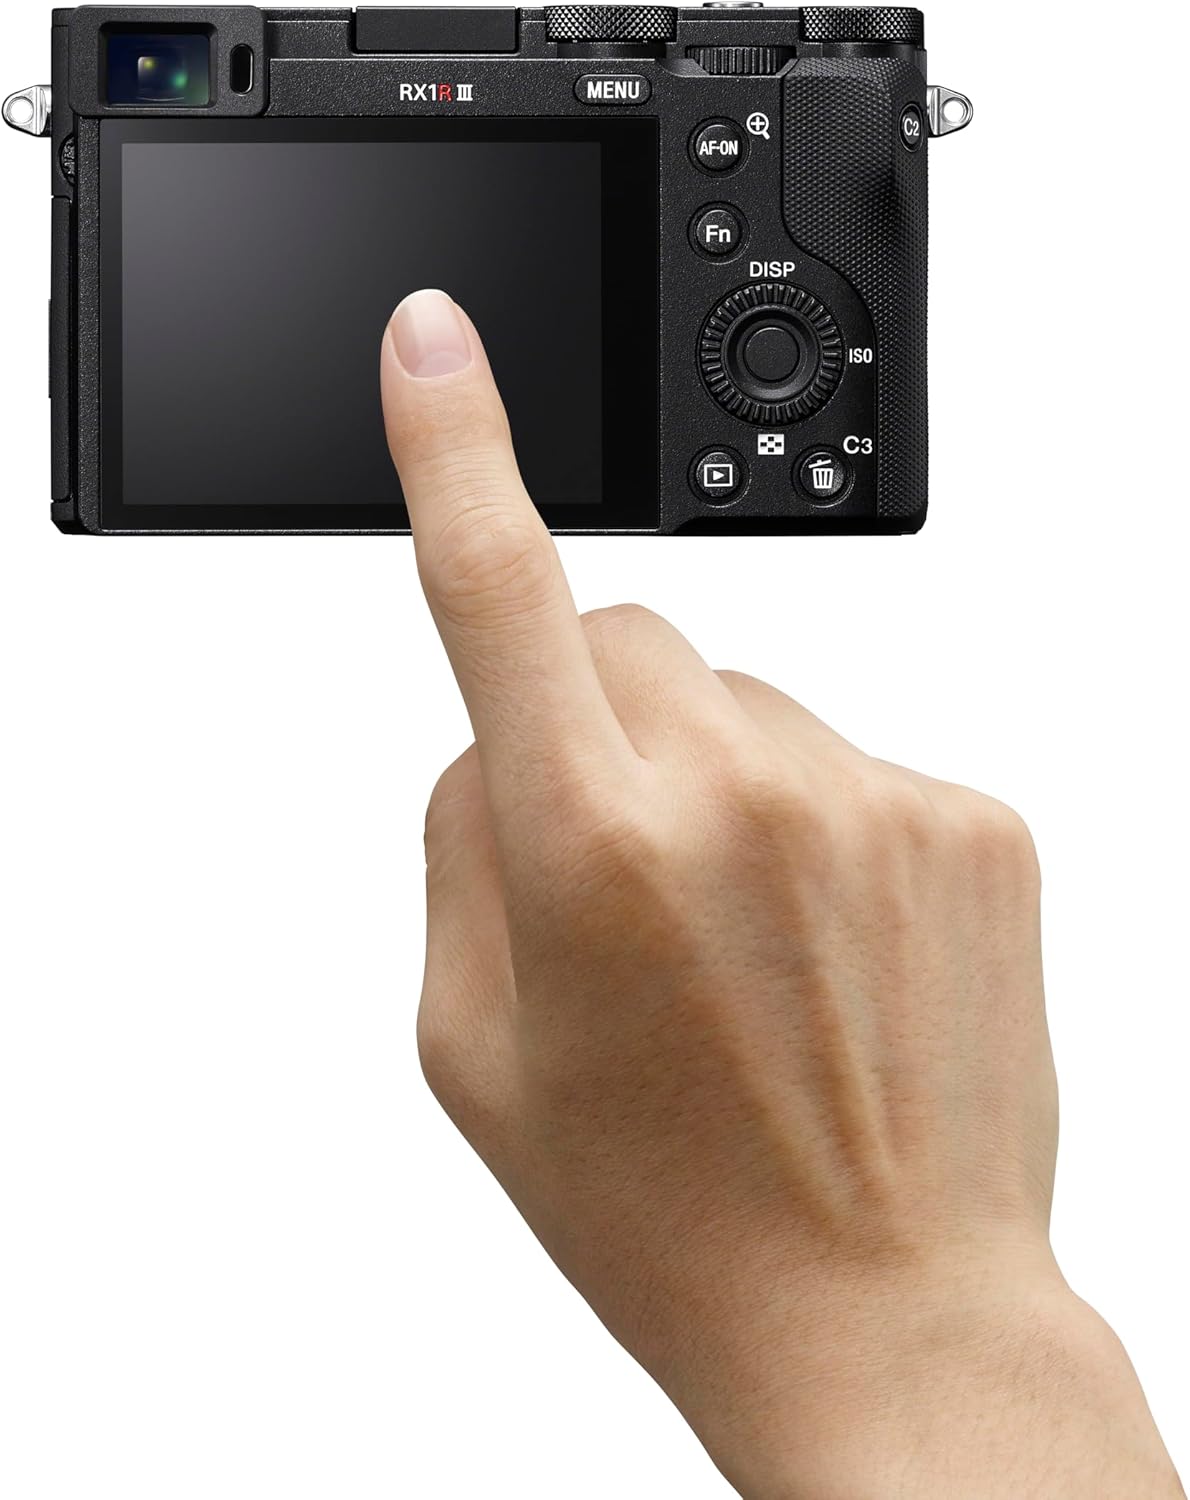
Image: Rear view of the Sony RX1R III, showing the LCD screen and control buttons. The memory card slot is typically located near the battery compartment on the bottom or side.
2.5. Initial Power On and Settings
Turn the camera on using the ON/OFF switch. Follow the on-screen prompts to set the language, date, time, and time zone. These settings are crucial for proper image metadata.
3. Operating the Camera
3.1. Basic Photography Modes
The RX1R III offers various shooting modes accessible via the mode dial on the top of the camera:
- Program Auto (P): The camera automatically sets aperture and shutter speed for optimal exposure.
- Aperture Priority (A): You set the aperture, and the camera adjusts the shutter speed. Ideal for controlling depth of field.
- Shutter Priority (S): You set the shutter speed, and the camera adjusts the aperture. Ideal for controlling motion blur.
- Manual Exposure (M): You control both aperture and shutter speed.
- Auto (AUTO): Fully automatic mode for quick shooting.
- Scene Selection: Pre-set modes for specific scenes like Portrait, Landscape, Sports.

Image: Top view of the Sony RX1R III, highlighting the mode dial, shutter button, and exposure compensation dial.
3.2. Autofocus (AF) System
The camera features an advanced 693-point phase-detection AF system with AI-based subject recognition and real-time tracking. This allows for fast and precise focusing on a wide range of subjects, including humans, animals, and birds.
- Real-time Tracking: The camera recognizes color, pattern, and spatial data to track subjects accurately.
- Subject Recognition: Automatically detects and focuses on human eyes/faces, animal eyes/bodies, and bird eyes/bodies.
- AF-ON Button: Use the dedicated AF-ON button to activate autofocus independently from the shutter button.
Video: Official Sony RX1R III Product Feature Video. This video demonstrates the camera's key features, including its advanced autofocus system and image quality.
3.3. Step Crop Shooting
Leverage the camera's 61 MP sensor with Step Crop Shooting to achieve different focal lengths without changing lenses. This feature allows you to crop images to 50mm equivalent (29 MP) or 70mm equivalent (15 MP) from the native 35mm lens, providing flexibility in composition. This function is not available for movies.
3.4. Creative Look Modes
The RX1R III includes Creative Look modes for expanded in-camera expression. These modes allow you to apply various stylistic effects to your photos directly, such as Standard, Portrait, Neutral, Vivid, Film, Instant, Soft Highkey, Black & White, and Sepia.
3.5. Video Recording
The camera supports high-quality video recording:
- 4K Video: Record stunning 4K video at 30 frames per second (4K/30p).
- Full HD Video: Capture smooth Full HD video at up to 120 frames per second (1080p/120fps) for slow-motion effects.
- XAVC Format: Videos are recorded in the XAVC format for high quality.
3.6. Connectivity
The RX1R III offers versatile connectivity options:
- Wi-Fi & Bluetooth: Connect wirelessly to your smartphone for remote control, image transfer, and direct upload to Creators' App or Creators' Cloud Web.
- USB Type-C: For fast data transfer and charging.
- HDMI Output: Connect to an external display for video playback.
4. Maintenance
4.1. Cleaning the Camera
- Camera Body: Wipe the camera body with a soft, dry cloth. For stubborn dirt, use a cloth lightly dampened with water or a mild cleaning solution.
- Lens: Use a lens brush to remove dust, then gently wipe with a lens cleaning cloth and lens cleaning fluid. Avoid touching the lens surface with your fingers.
- Sensor: Cleaning the image sensor should only be performed by authorized service personnel to prevent damage.
4.2. Battery Care
To prolong battery life, avoid exposing the battery to extreme temperatures. Store batteries in a cool, dry place when not in use. Fully charge the battery before extended shooting sessions.
4.3. Storage
When storing the camera for extended periods, remove the battery and memory card. Store the camera in a dry, well-ventilated area, preferably in a camera bag with desiccant to prevent mold and mildew.
5. Troubleshooting
If you encounter issues with your Sony RX1R III, refer to the following common troubleshooting tips:
- Camera does not power on: Ensure the battery is fully charged and correctly inserted.
- Images are blurry: Check your focus mode and ensure the subject is within the camera's focusing range. Verify shutter speed is fast enough to prevent motion blur.
- Memory card error: Ensure the memory card is inserted correctly and is not full or corrupted. Try formatting the card (this will erase all data).
- Connectivity issues: Check Wi-Fi/Bluetooth settings on both the camera and your smart device. Ensure the Creators' App is up to date.
For more detailed troubleshooting, please visit the official Sony support website or consult the comprehensive online manual.
6. Specifications
| Feature | Detail |
|---|---|
| Model Name | DSCRX1RM3B |
| Photo Sensor Resolution | 61 MP (Effective Still Resolution: 60 MP) |
| Photo Sensor Size | Full Frame (35mm) |
| Lens Type | ZEISS Sonnar T* 35mm F2 lens (Fixed Focal Length) |
| Maximum Aperture | F2 |
| Image Stabilization | Digital |
| Processor | BIONZ XR™ |
| Autofocus Points | 693 (Phase Detection) |
| Video Resolution | 4K (30p), 1080p (120fps) |
| Screen Size | 3 Inches |
| Connectivity | Bluetooth, Wi-Fi, USB Type-C, HDMI |
| Battery | NP-FW50 Rechargeable Battery Pack |
| Item Weight | 1 Pounds |
7. Warranty and Support
7.1. Warranty Information
This Sony RX1R III camera comes with a 1-year limited warranty from the date of purchase. This warranty covers defects in materials and workmanship under normal use. Please retain your proof of purchase for warranty claims.
7.2. Customer Support
For further assistance, technical support, or service inquiries, please visit the official Sony Support website:
You can also find additional resources, FAQs, and software updates on the support page.