
Introduction
Thank you for choosing the LINKHOO 12x10 FT Outdoor Storage Shed. This manual provides essential information for the safe assembly, operation, and maintenance of your new storage shed. Please read this manual thoroughly before beginning assembly and retain it for future reference. This durable metal shed is designed to provide ample storage space for your tools, equipment, and outdoor essentials, featuring a robust galvanized steel construction and convenient sliding doors.

Image: The LINKHOO 12x10 FT Outdoor Storage Shed, showcasing its spacious design and integrated windows, situated in a typical backyard environment.
Safety Information
Always prioritize safety during assembly and use. Failure to follow these instructions may result in injury or damage to the product.
- Read All Instructions: Before assembly, carefully read and understand all instructions and warnings.
- Wear Protective Gear: Always wear gloves, safety glasses, and appropriate footwear during assembly. Metal edges can be sharp.
- Two-Person Assembly: Assembly typically requires two or more people for safety and ease.
- Choose a Level Site: Select a firm, level surface for installation to ensure stability and proper door operation.
- Secure Foundation: Ensure the shed is securely anchored to the ground to prevent wind damage.
- Ventilation: The shed includes vents for airflow. Do not block these vents.
- Children and Pets: Keep children and pets away from the assembly area. Do not allow them to play inside or around the shed unsupervised.
- Weight Distribution: Distribute stored items evenly to maintain stability. Do not overload shelves or walls.
- Electrical Safety: Do not install electrical wiring or appliances inside the shed unless done by a qualified professional and in compliance with local codes.
Package Contents
Before beginning assembly, verify that all parts are present and undamaged. Refer to the parts list provided in your packaging. If any parts are missing or damaged, contact customer support immediately.
- Galvanized Steel Panels (Walls, Roof)
- Aluminum Alloy Frame Components (Beams, Supports)
- Sliding Door Assembly
- Window Panels (4 units)
- Hardware Kit (Screws, Nuts, Washers, Anchors)
- Assembly Manual
Setup and Assembly
Assembly of the LINKHOO storage shed requires careful attention to detail. Follow the numbered steps in your included assembly manual for precise instructions. The following provides a general overview of the process.
1. Site Preparation
Choose a flat, level, and well-drained area for your shed. Clear any debris, rocks, or vegetation. A concrete slab or a treated timber foundation is recommended for optimal stability and longevity.

Image: The assembled shed positioned on a prepared, level surface, demonstrating proper site selection.
2. Base Frame Assembly
Assemble the base frame according to the diagrams in your manual. Ensure all corners are square and the frame is level before proceeding. This forms the foundation for the entire structure.
3. Wall Panel Installation
Attach the galvanized steel wall panels to the base frame. Work systematically around the perimeter, ensuring panels are correctly aligned and secured with the provided hardware. The shed features four light-transmitting windows, two on each side, which should be installed as per the manual's instructions.

Image: An angled view of the shed, highlighting the placement of the light-transmitting windows on the side panels and the double sliding doors.
4. Roof Structure and Panel Installation
Assemble the roof support beams and attach them to the top of the wall panels. The aluminum alloy frame provides a strong and stable structure. Once the frame is secure, install the roof panels, ensuring proper overlap for weather resistance. The shed is designed with vents for continuous airflow.
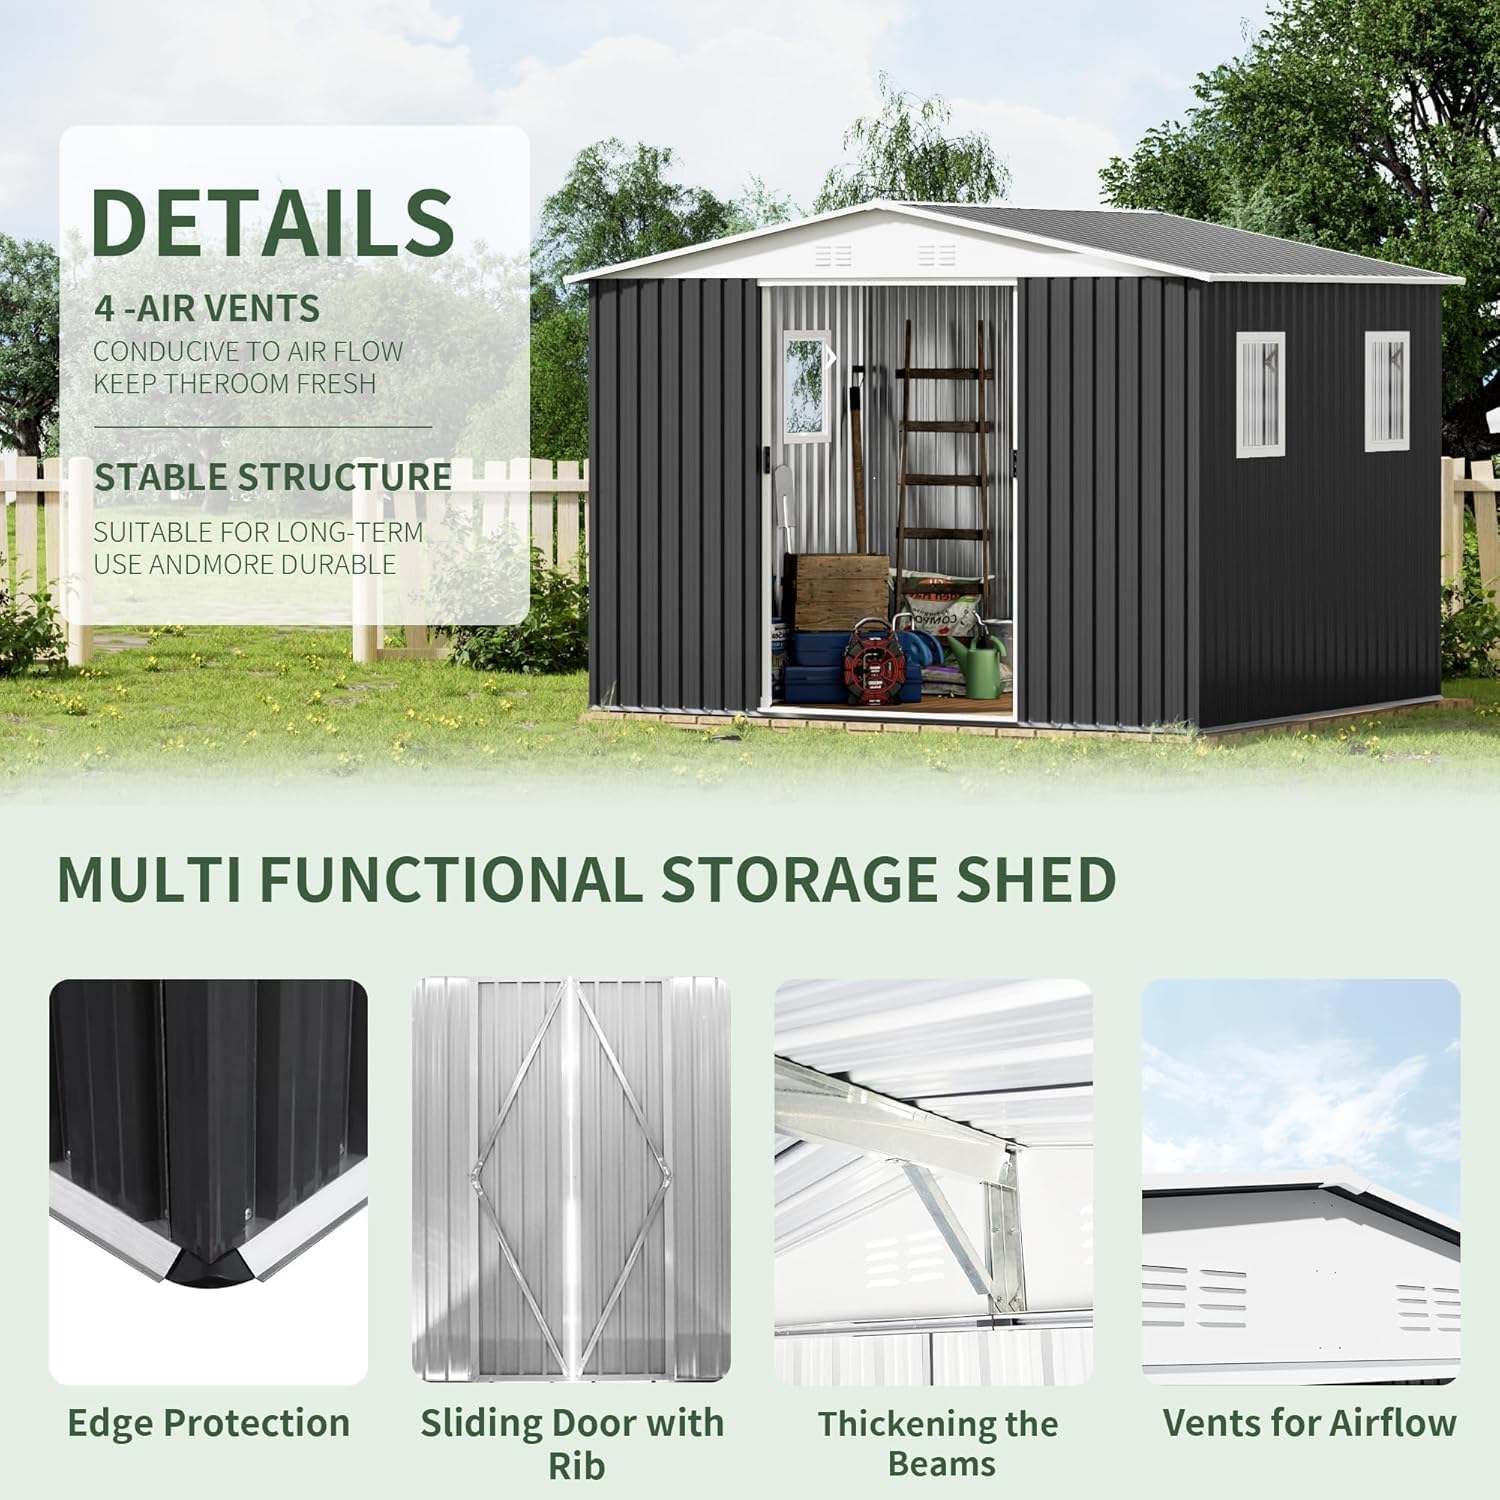
Image: A close-up illustrating key structural details such as the four air vents for improved airflow, the stable structure, thickened beams for enhanced durability, and the design of the sliding door with a reinforcing rib.
5. Door Assembly and Installation
Assemble the sliding doors and install them onto the designated tracks. Ensure the doors slide smoothly and the locking mechanism functions correctly. The doors are designed to be lockable for enhanced security.
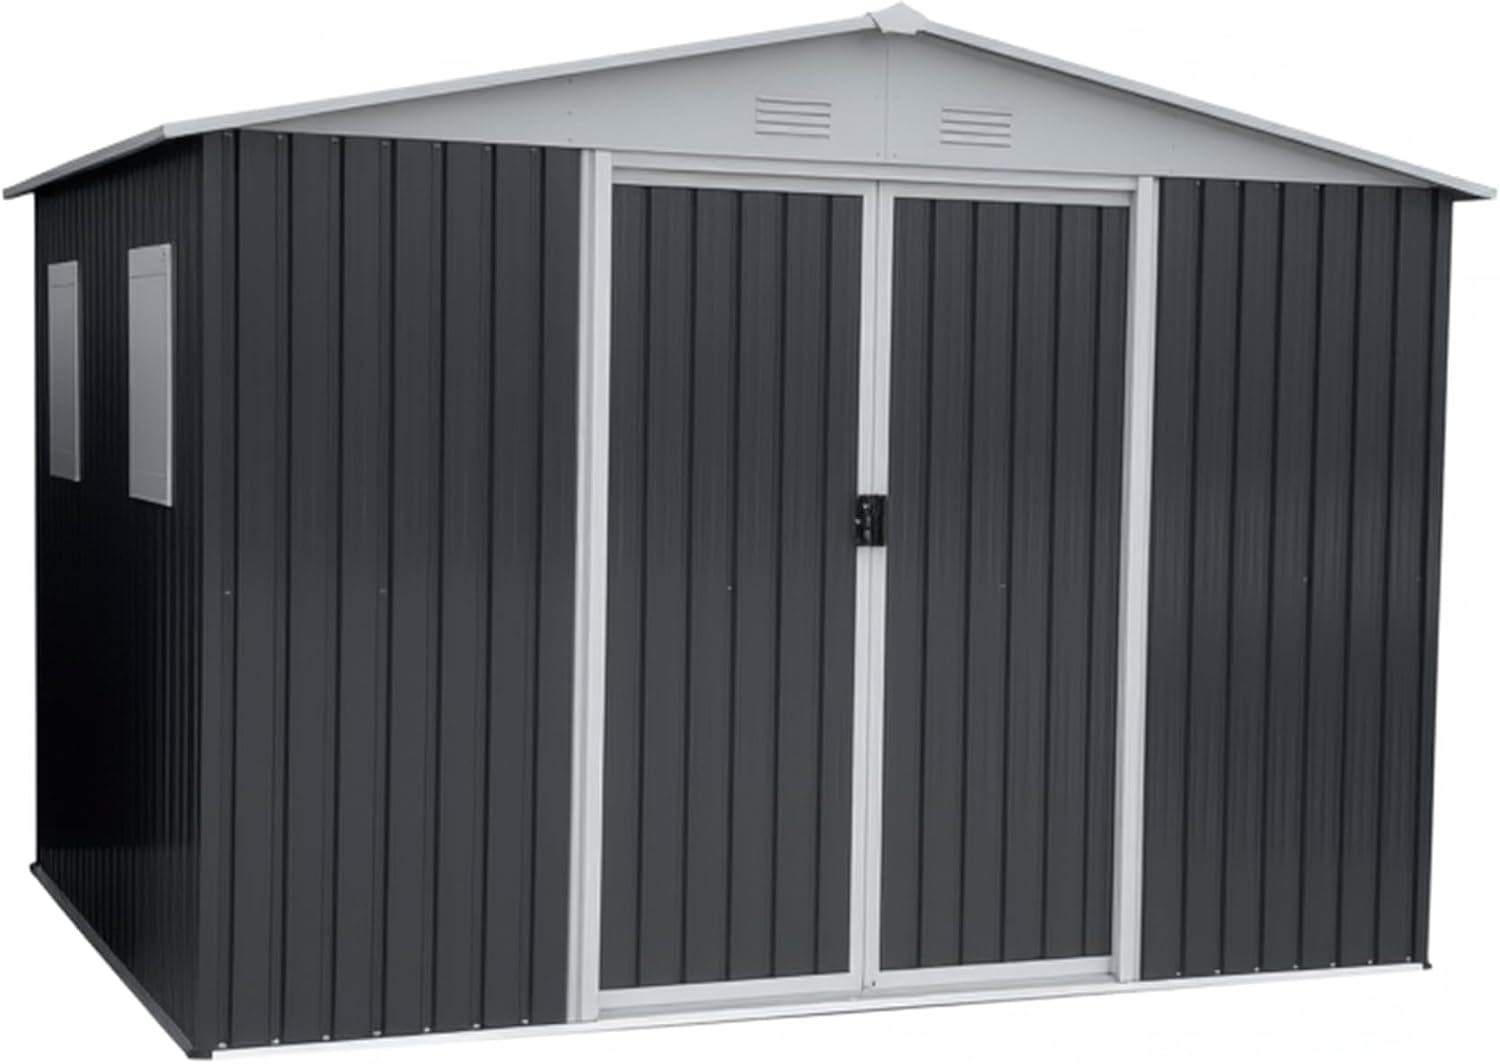
Image: A direct front view of the shed, showing the double sliding doors in a closed position, ready for securing.
6. Final Securing and Inspection
Once all components are assembled, tighten all screws and bolts. Anchor the shed to the ground using appropriate methods for your chosen foundation. Perform a final inspection to ensure all parts are secure and the shed is stable.
Operation
The LINKHOO storage shed is designed for straightforward operation.
- Access: The double sliding doors provide wide access for storing and retrieving items.
- Security: Utilize the integrated locking mechanism on the doors to secure your belongings. A padlock (not included) can be added for extra security.
- Natural Light: The four light-transmitting windows allow natural light to illuminate the interior, reducing the need for artificial lighting during the day. Note that these windows are fixed and cannot be opened.
- Ventilation: The built-in air vents ensure proper air circulation, helping to prevent moisture buildup and maintain a fresh interior environment.

Image: Visual examples demonstrating the versatility of the shed for various storage needs, such as organizing tools, functioning as a general storeroom, or housing outdoor items.
Maintenance
Regular maintenance will extend the life and appearance of your LINKHOO storage shed.
- Cleaning: Clean the exterior periodically with mild soap and water. Avoid abrasive cleaners or harsh chemicals that could damage the galvanized steel finish.
- Door Tracks: Keep the sliding door tracks clear of dirt and debris to ensure smooth operation. Lubricate tracks annually with a silicone-based spray if needed.
- Fasteners: Periodically check all screws and bolts for tightness and re-tighten as necessary.
- Rust Prevention: While the shed is made of rust-proof galvanized steel, inspect for any scratches or damage to the coating. Touch up any exposed metal with rust-inhibiting paint to prevent corrosion.
- Snow Removal: In areas with heavy snowfall, remove accumulated snow from the roof to prevent excessive weight buildup.
Troubleshooting
Refer to the following common issues and their solutions:
| Problem | Possible Cause | Solution |
|---|---|---|
| Doors stick or do not slide smoothly. | Debris in tracks, misaligned doors, or uneven foundation. | Clean tracks, check door alignment, ensure shed is on a level surface. Lubricate tracks. |
| Water leakage inside the shed. | Improper panel overlap, loose fasteners, or damaged seals. | Inspect panel overlaps and tighten all fasteners. Check for any damaged seals and apply silicone sealant if necessary. Ensure proper drainage around the shed base. |
| Shed feels unstable or wobbly. | Not properly anchored, uneven foundation, or loose frame components. | Ensure the shed is securely anchored to the ground. Verify the foundation is level. Tighten all frame bolts and screws. |
Specifications
Key specifications for the LINKHOO 12x10 FT Outdoor Storage Shed:
- Model: B0FHJTN4F5
- Brand: LINKHOO
- Material: Galvanized Metal (Steel)
- Color: Gray
- Product Dimensions (L x W x H): 141.2"D x 120.4"W x 86.7"H (358.7 cm D x 305.9 cm W x 220.3 cm H)
- Window Size: 18.1" x 20.6" (46 cm x 52.5 cm) - 4 windows total
- Item Weight: Approximately 124.5 pounds
- Assembly Required: Yes
- Features: 4 Light-Transmitting Windows, Lockable Sliding Doors, Aluminum Alloy Frame, 4 Air Vents, UV Protection.

Image: A detailed diagram illustrating the external dimensions of the shed, including length, width, height, and individual window measurements.
Warranty and Support
LINKHOO stands behind the quality of its products. For specific warranty details, please refer to the warranty card included with your purchase or contact LINKHOO customer support. If you encounter any issues or have questions regarding your storage shed, please reach out to our customer service team for assistance.
Customer Support: Refer to your purchase documentation for contact information or visit the official LINKHOO website.