
1. Introduction
This manual provides comprehensive instructions for the assembly, operation, and maintenance of your LINKHOO 14 x 12 FT Outdoor Storage Shed. Please read this manual thoroughly before beginning assembly or use to ensure proper installation and safe operation. Retain this manual for future reference.
2. Safety Information
- Always wear appropriate safety gear, including gloves and eye protection, during assembly.
- Assembly requires at least two adults. Do not attempt to assemble alone.
- Ensure the shed is assembled on a level, stable surface to prevent structural instability.
- Keep children and pets away from the assembly area.
- Do not climb on the shed roof.
- Secure the shed to the ground using appropriate anchoring methods to prevent wind damage.
- Periodically check all fasteners for tightness and re-tighten as necessary.
3. Package Contents
Before beginning assembly, verify that all components listed in the packing list (typically found in the product packaging) are present and undamaged. If any parts are missing or damaged, contact customer support immediately.
- Metal panels (walls, roof)
- Aluminum frame components
- Door assembly
- Fasteners and hardware kit
- Instruction manual
4. Setup
Proper site preparation and careful assembly are crucial for the shed's stability and longevity.
4.1 Site Preparation
- Choose a level, well-drained area for the shed.
- Clear the area of any debris, rocks, or vegetation.
- Consider a foundation such as a concrete slab, wooden platform, or gravel base for optimal stability and moisture protection.
4.2 Assembly Steps
Follow the detailed step-by-step instructions provided in the separate assembly guide included with your product. General steps include:
- Assemble the base frame on your prepared foundation.
- Attach the wall panels to the base frame, ensuring they are correctly oriented.
- Install the roof support beams and then the roof panels, paying attention to the sloped design for water drainage.
- Mount the door frame and hang the doors, adjusting for smooth operation.
- Secure all fasteners and anchor the shed to the ground.

Figure 4.1: Illustration of shed components during the assembly process.

Figure 4.2: The LINKHOO 14 x 12 FT Outdoor Storage Shed fully assembled.
5. Operating
5.1 Doors
The shed features hinged doors for easy access. To open, unlatch the door and pull outwards. To close, push the door shut and engage the latch mechanism. Ensure the doors are fully closed and latched to protect contents from weather and unauthorized access.
5.2 Locking Mechanism
The doors are equipped with a lockable latch system. A padlock (not included) can be used to secure the shed. Always ensure the padlock is properly engaged when the shed is unattended.
5.3 Ventilation
Integrated perforated vents provide air circulation. Do not block these vents to maintain proper airflow and reduce condensation inside the shed.

Figure 5.1: Shed with doors open, showing interior storage capacity.
6. Maintenance
Regular maintenance will extend the life of your storage shed.
- Cleaning: Clean the exterior of the shed periodically with mild soap and water. Avoid abrasive cleaners or harsh chemicals that could damage the finish.
- Inspection: Annually inspect all bolts, screws, and fasteners for tightness. Re-tighten any loose hardware. Check the roof for any signs of damage or leaks, especially after severe weather.
- Drainage: Ensure the area around the shed remains clear of debris to allow for proper water drainage from the sloped roof.
- Winter Preparation: In areas with heavy snowfall, consider removing excessive snow accumulation from the roof to prevent structural stress.
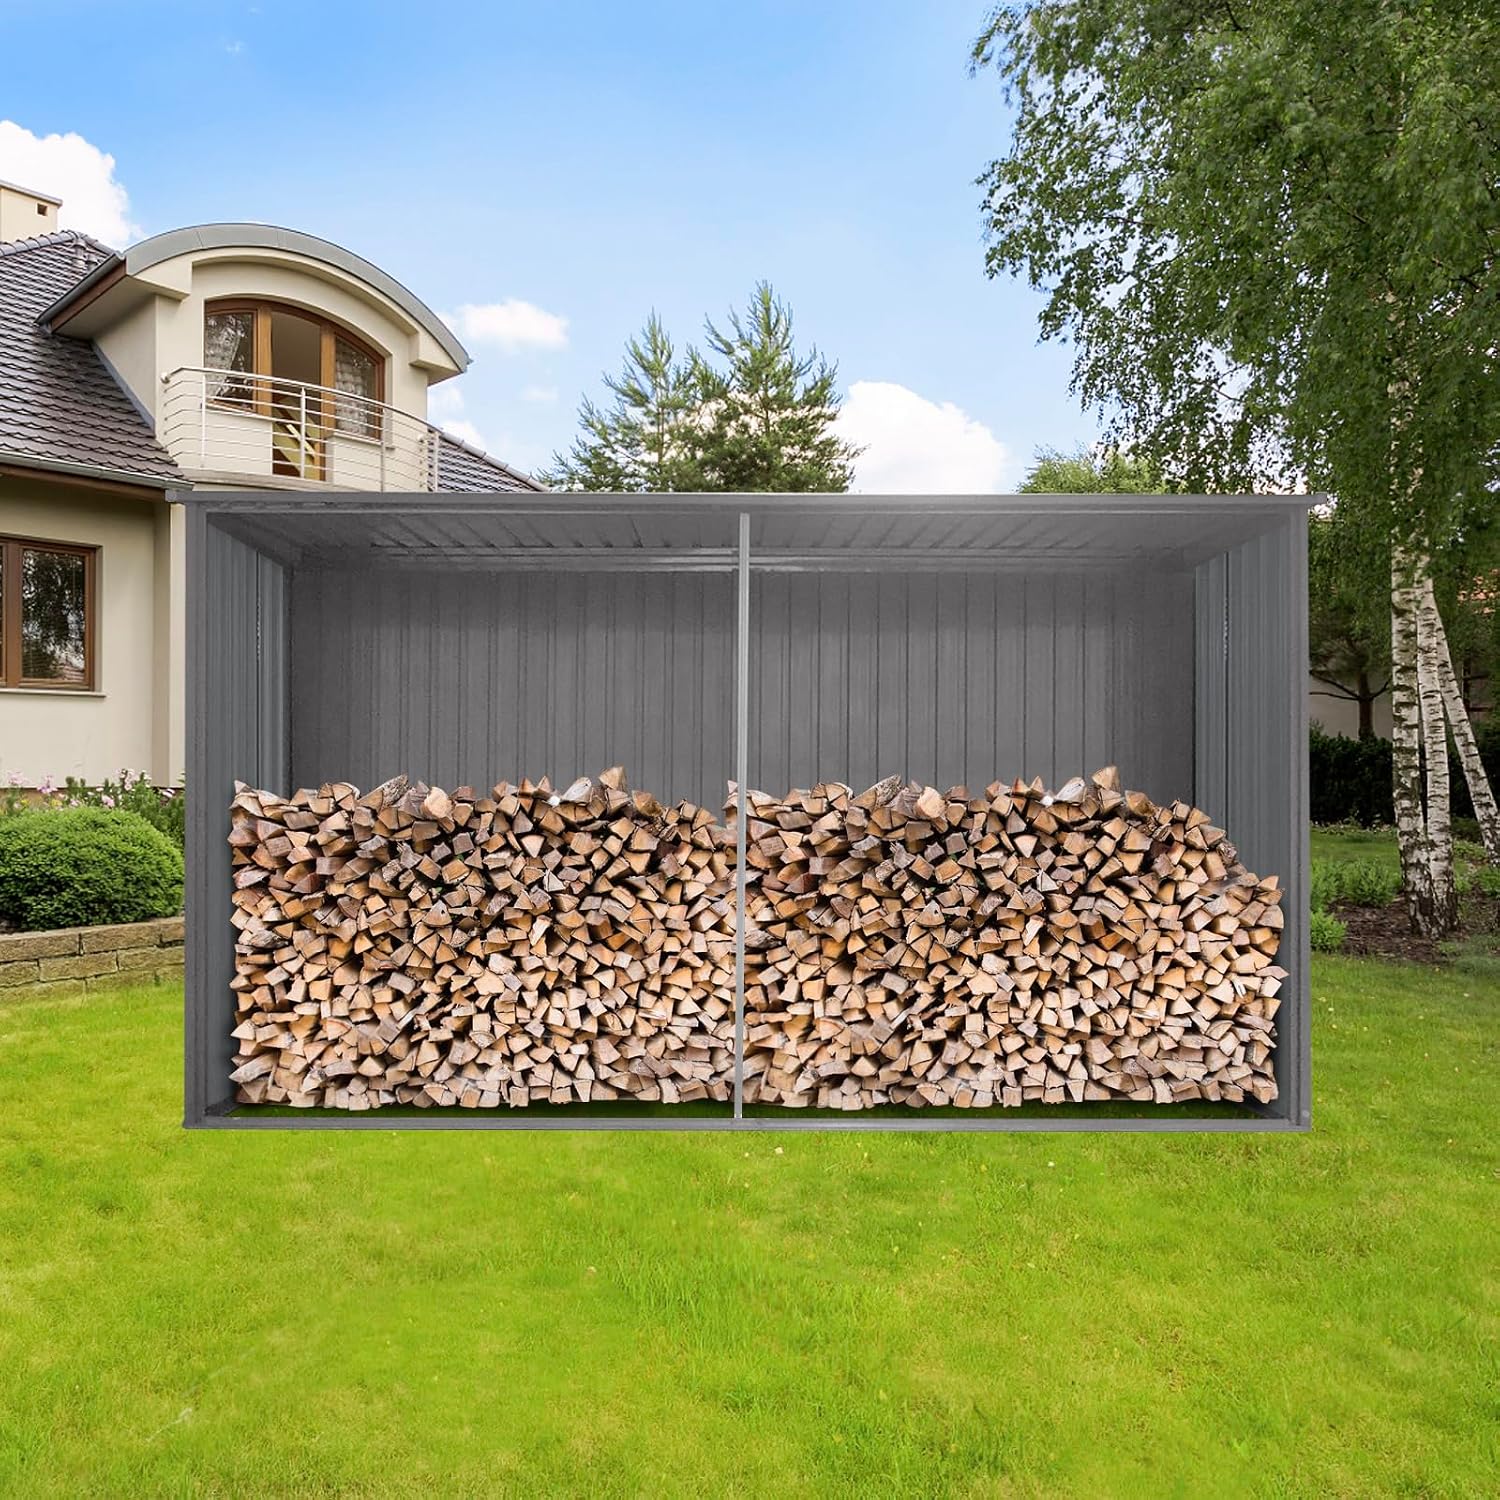
Figure 6.1: Visual representation of the shed's sun protection and rainproof capabilities.
7. Troubleshooting
- Leaking: Check all roof panel overlaps and fasteners. Ensure the shed is on a level surface, as uneven ground can cause panel misalignment. Verify that the sloped roof is clear of debris.
- Door Misalignment: If doors do not close smoothly, check the base frame for levelness. Adjust hinges if necessary, ensuring all screws are tight.
- Instability: Ensure the shed is properly anchored to the ground. Verify all frame connections and panel fasteners are securely tightened.
- Condensation: Ensure vents are not blocked. Proper ventilation is key to reducing internal condensation.
8. Specifications
| Feature | Detail |
|---|---|
| Brand | LINKHOO |
| Model Number | YSY-610Storage Shed-25 |
| Color | Gray |
| Material | Metal (Alloy Steel) |
| Product Dimensions (D x W x H) | 172.4"D x 141.4"W x 81.6"H |
| Style | Cottage |
| Top Material Type | Metal |
| Water Resistance Level | Waterproof |
| Door Style | Hinged Doors |
| Assembly Required | Yes |
| Item Weight | 106.3 pounds |
| UPC | 782097953345 |

Figure 8.1: Detailed dimensions of the LINKHOO Storage Shed.
9. Warranty and Support
For warranty information, please refer to the warranty card included with your product or contact LINKHOO customer support directly. If you encounter any issues or have questions not covered in this manual, please reach out to the manufacturer's customer service for assistance.
Contact information for customer support can typically be found on the product packaging or the manufacturer's official website.