
1. Product Overview
The Rolife Sweet Shack Miniature House Kit is a DIY wooden dollhouse designed for adults and teens aged 14 and above. This kit allows you to construct a detailed miniature candy shop, complete with LED lighting, creating a charming display piece. It is ideal for hobbyists interested in 3D wooden puzzles and miniature crafting.
- Minimalist Mini Christmas House: This kit features a miniature candy shop design, including a Santa Claus figure and various colorful candies, evoking a festive, fairy-tale atmosphere.
- LED Lighting: The assembled dollhouse includes LED lighting that requires two AA batteries (not included) to illuminate the interior, enhancing its visual appeal, especially in low light.
- Easy Assembly: Designed for straightforward assembly, this kit typically takes approximately 2 hours to complete. The finished dimensions are 6.69 x 4.49 x 6.30 inches.
2. What's in the Box
The Rolife Sweet Shack Miniature House Kit includes all necessary components for assembly. Please verify all parts are present upon opening the package.
- Pre-cut wooden pieces for the house structure and furniture.
- Decorative paper elements for details and accessories.
- LED light components.
- Assembly tools (e.g., tweezers, sandpaper, glue - specific tools may vary, refer to the included manual).
- Detailed instruction manual with illustrations.

Image: All materials included in the kit, ready for assembly. Note: 2x AAA batteries are required but not included.
3. Assembly Instructions
Follow these steps carefully to assemble your Rolife Sweet Shack Miniature House Kit. It is recommended to read through all instructions before beginning.
- Preparation: Unpack all components and organize them according to the provided numbering or categories. Ensure you have a clean, well-lit workspace.
- Review Instructions: Carefully examine the included instruction manual. Pay close attention to diagrams and part numbers.
- Component Identification: Identify each wooden piece and paper cutout. Some pieces may be delicate; handle with care.
- Step-by-Step Assembly: Assemble the kit following the sequential steps outlined in the manual. Use the provided glue or recommended adhesive sparingly and allow adequate drying time.
- LED Installation: Integrate the LED lighting components as instructed. Ensure wires are properly connected and concealed.
- Battery Insertion: Once assembly is complete, insert two AA batteries (not included) into the designated battery compartment for the LED lights.
- Final Touches: Apply any remaining decorative elements and ensure all parts are securely attached.

Image: A user assembling a component of the miniature house kit, demonstrating the hands-on process.
4. Operating Instructions
The Rolife Sweet Shack Miniature House Kit features integrated LED lighting to enhance its display.
- Powering the Lights: Ensure two AA batteries are correctly installed in the battery compartment.
- Activating Lights: Locate the small switch, typically on the back or base of the model, to turn the LED lights on or off.
- Battery Replacement: If the lights dim or stop working, replace the AA batteries with new ones. Ensure correct polarity (+/-).
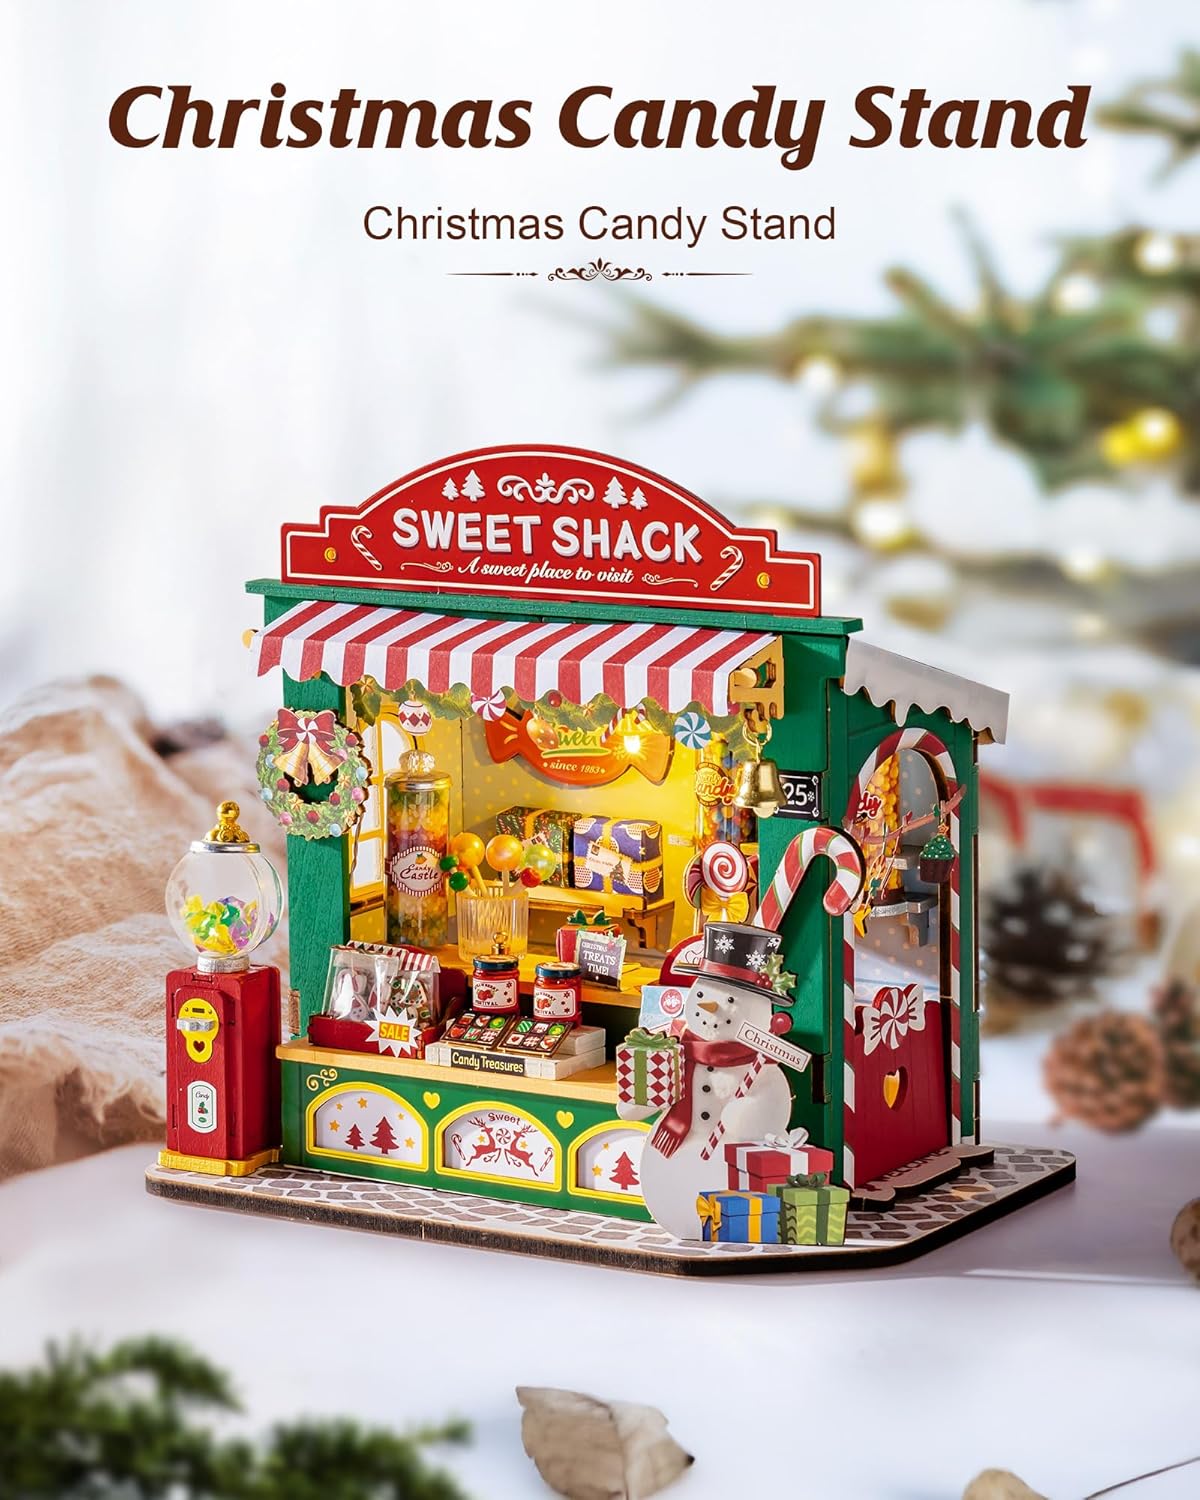
Image: The assembled Sweet Shack with its LED lights on, highlighting the interior details.
5. Maintenance
To ensure the longevity and appearance of your miniature house kit, follow these maintenance guidelines:
- Cleaning: Gently dust the model with a soft, dry cloth or a soft brush. Avoid using water or cleaning solutions, as they may damage the wooden and paper components.
- Storage: Store the miniature house in a dry environment, away from direct sunlight and extreme temperatures, to prevent warping or fading of materials.
- Handling: Handle the assembled model with care to avoid dislodging small parts.
- Battery Care: Remove batteries if the model will not be used for an extended period to prevent leakage and damage.
6. Troubleshooting
If you encounter any issues during assembly or operation, refer to the following common solutions:
- Pieces Not Fitting:
- Double-check the instruction manual to ensure you are using the correct pieces for the current step.
- Verify the orientation of the pieces. Many parts are designed to fit in only one specific way.
- Gently sand edges if a piece is slightly too tight, but avoid removing too much material.
- LED Lights Not Working:
- Ensure batteries are inserted correctly with the proper polarity (+/-).
- Replace old batteries with new ones.
- Check all wire connections to ensure they are secure and not damaged.
- Verify the power switch is in the "ON" position.
- Missing or Damaged Parts:
- Carefully re-check all packaging materials. Small parts can sometimes be overlooked.
- Contact Rolife customer support with details of the missing or damaged part, referencing your model number (US03-DS043).
7. Specifications
| Feature | Detail |
|---|---|
| Brand Name | Rolife |
| Model Number | US03-DS043 |
| Age Range Description | Adult (Manufacturer Minimum Age: 168 months / 14 years) |
| Assembly Required | Yes |
| Included Components | Wood (pre-cut pieces) |
| Scale | 1:12 |
| Item Dimensions (L x W x H) | 6.69" x 4.49" x 6.3" (17cm x 11.4cm x 16cm) |
| Material Type | Wood |
| Theme | Christmas |
| Power Source for LED | 2x AA Batteries (not included) |

Image: Product dimensions and key features displayed alongside the assembled miniature house.
8. Safety Information
WARNING:
- Do not swallow small parts. This kit contains small components that may pose a choking hazard. Keep out of reach of young children.
- Do not approach open flames. Keep the product away from heat sources and open flames to prevent fire hazards.
- Adult supervision is recommended during assembly, especially for younger users within the recommended age range.
9. Additional Product Views
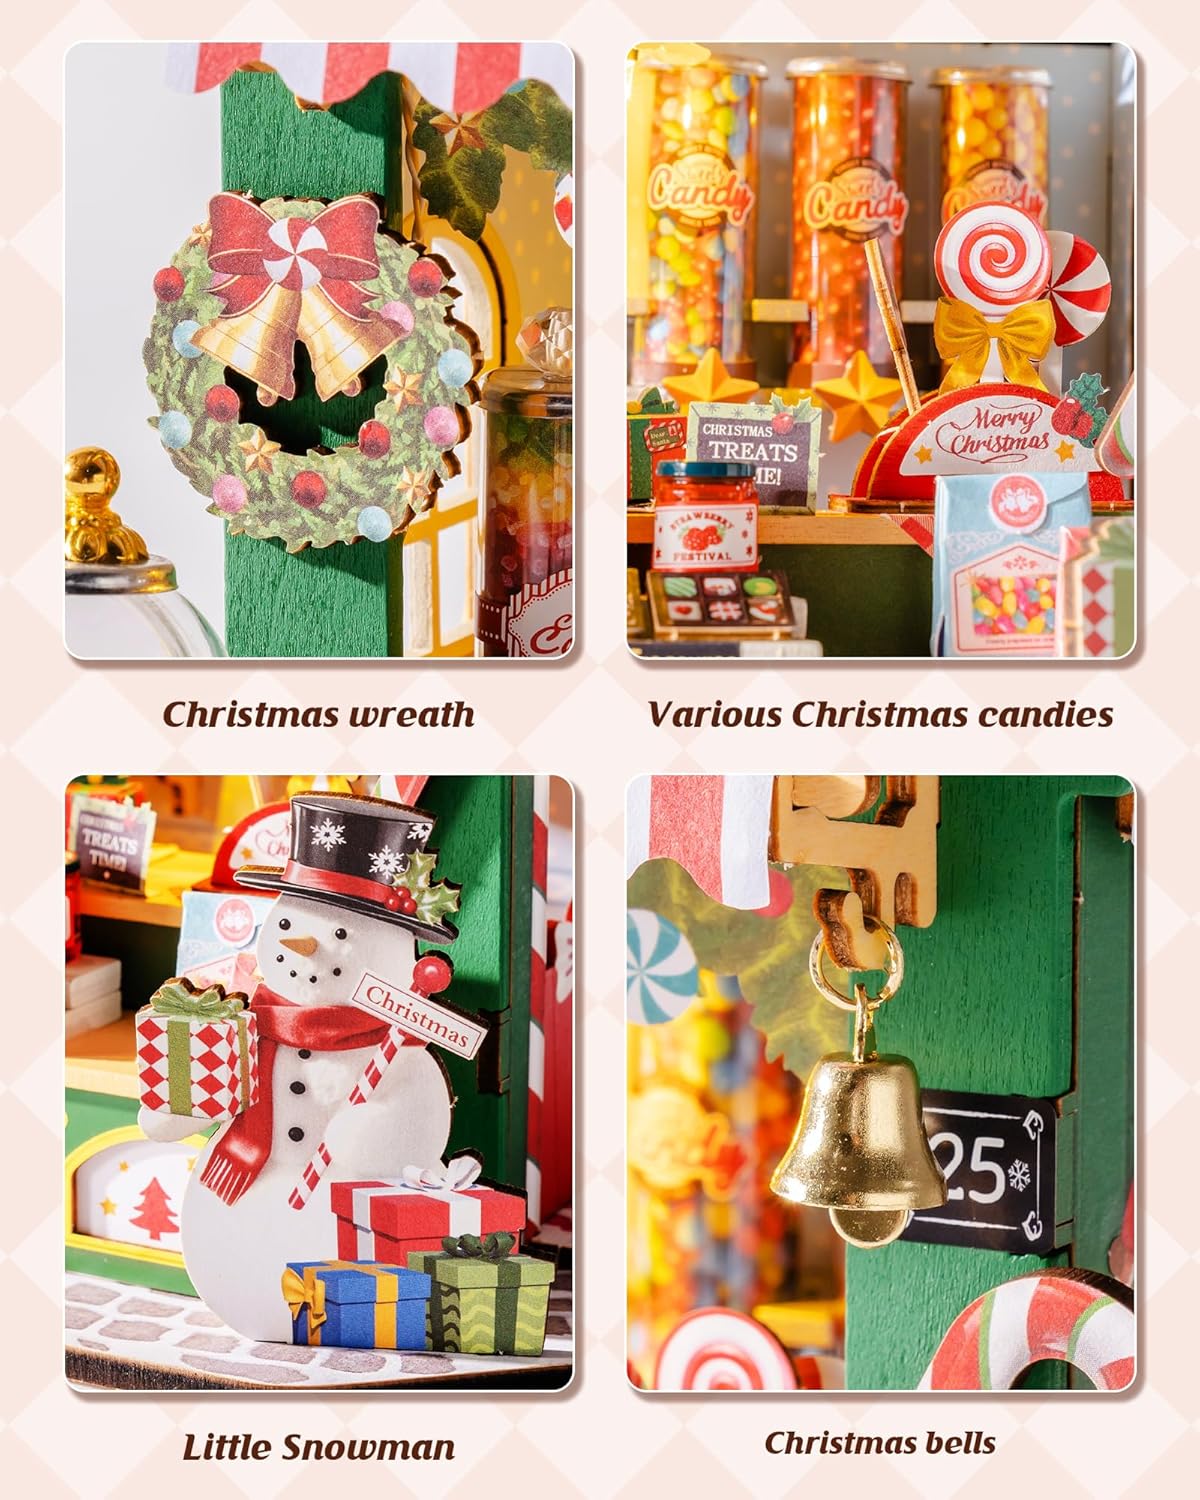
Image: Detailed view of the miniature house's decorative elements, including a Christmas wreath, candies, a snowman, and bells.

Image: Close-up views of specific features: the candy machine, the small snowman figure, and the detailed side window.

Image: Detailed views of the miniature candy shop's interior items: candy jars, lollipop cups, and jam jars.
10. Warranty and Support
Rolife is committed to customer satisfaction. If you encounter any issues with your kit, including missing or damaged parts, or require assistance with assembly, please contact Rolife customer support. Refer to the contact information provided in your product packaging or visit the official Rolife website for support resources.
Your feedback is valuable and helps us improve our products and services.


