1. Introduction
Thank you for choosing the Cocoarm 2-in-1 Electric Mop. This manual provides essential information for the safe and efficient use of your new cleaning device. Please read these instructions carefully before operating the mop and retain them for future reference.
The Cocoarm Electric Mop is designed for effective cleaning of various hard floor surfaces, including hardwood and tiles, utilizing a powerful dual brush system and an integrated water spray function.
2. Safety Instructions
Always follow basic safety precautions when using electrical appliances to reduce the risk of fire, electric shock, or injury.
- Read all instructions before use.
- Do not immerse the main unit in water or other liquids.
- Keep the appliance away from children.
- Use only the charging cable provided.
- Do not operate the mop if it has been dropped, damaged, or exposed to water.
- Important: Do not press the main unit continuously for extended periods to prevent overheating and damage to electronic components. If overheating occurs, allow the unit to cool down before restarting.
- Ensure the water tank cap is securely closed to prevent leaks during operation.
- Do not use flammable or corrosive liquids in the water tank. Use only water or recommended cleaning solutions.
- Unplug the mop before cleaning or performing any maintenance.
3. Package Contents
Carefully unpack all items and ensure you have received all components listed below. If any parts are missing or damaged, please contact customer support.
- 1 x Electric Mop Main Unit
- 1 x Handle Assembly (multiple sections)
- 2 x Mop Pads (Grey)
- 2 x Brush Heads (White)
- 1 x USB Charging Cable
- 1 x English Instruction Manual
- Additional accessories (total of 9 accessories including pads and brushes)
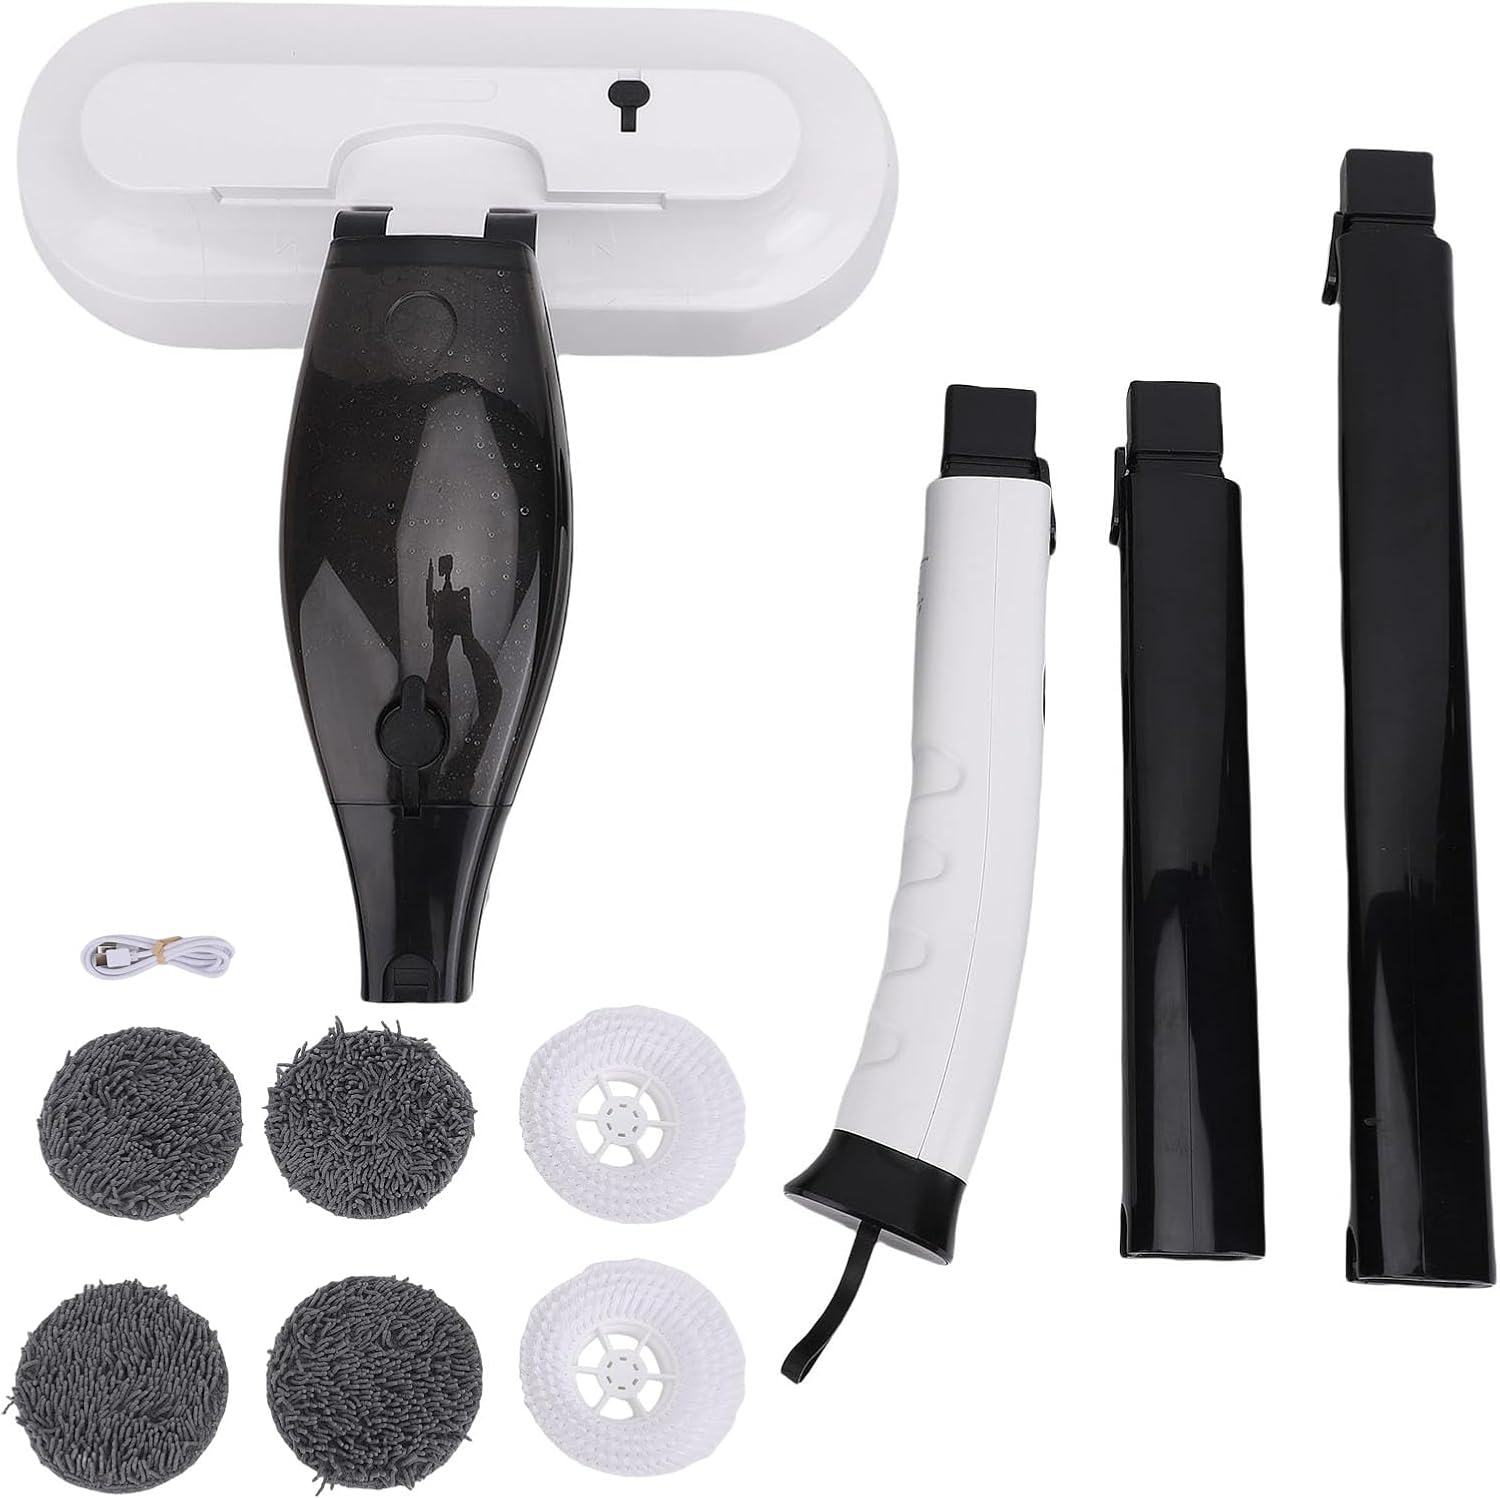
Image: All components included in the package.
4. Assembly
Follow these steps to assemble your Cocoarm Electric Mop:
- Attach the Handle Sections: Connect the handle sections by aligning the connectors and pushing them firmly together until they click into place. Ensure a secure fit.
- Connect Handle to Main Unit: Insert the assembled handle into the designated slot on the main mop unit. Push down firmly until it locks.
- Attach Cleaning Heads: Choose either the mop pads or brush heads. Align the cleaning heads with the circular bases on the bottom of the main unit and press them firmly to attach. The mop pads typically attach with hook-and-loop fasteners, while brush heads may twist or snap into place.
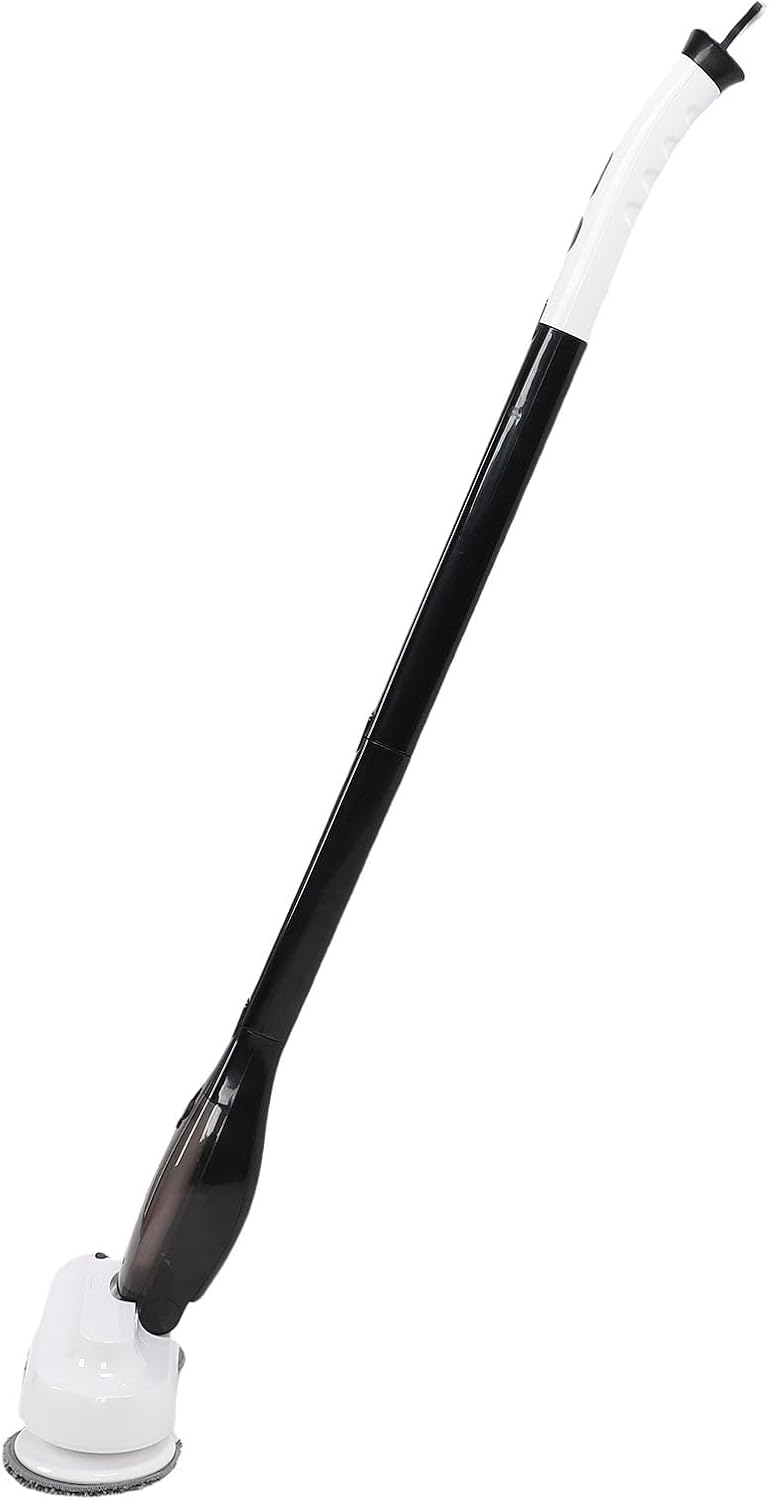
Image: Fully assembled electric mop.

Image: Main product view of the assembled mop.
5. Operating Instructions
5.1 Charging the Battery
- Before first use, fully charge the mop.
- Connect the USB charging cable to the charging port on the mop handle and plug the other end into a suitable USB power adapter (not included).
- The charging indicator light will illuminate.
- Charging time is approximately 4-5 hours for a full charge, or about 2.5 hours with a faster charging adapter.
- A full charge provides approximately 30 minutes of normal working time.
5.2 Filling the Water Tank
- Locate the water tank cap on the main unit.
- Open the cap and fill the 800ml water tank with clean water or a suitable floor cleaning solution. Do not overfill.
- Securely close the water tank cap to prevent leakage.
5.3 Attaching Cleaning Heads
The mop features a dual brush design, allowing you to switch between mop pads and brush heads for different floor types.
- For general cleaning on hardwood or tile, attach the mop pads.
- For deeper scrubbing or textured surfaces, attach the brush heads.

Image: Dual brush design with interchangeable mop pads and brush heads.
5.4 Powering On and Cleaning
- Press the power button on the handle to turn on the mop. The cleaning heads will begin to rotate.
- The mop offers high speed (380 rpm) and low speed (300 rpm) settings. Use the speed control button to adjust as needed for different cleaning tasks.
- To activate the water spray function, press the spray button on the handle. This will dispense water or cleaning solution from the tank onto the floor.
- Guide the mop across the floor surface. The adjustable handle and 90-degree brush head rotation provide flexibility for reaching various corners and difficult areas.

Image: Brush heads in action on a wooden floor.
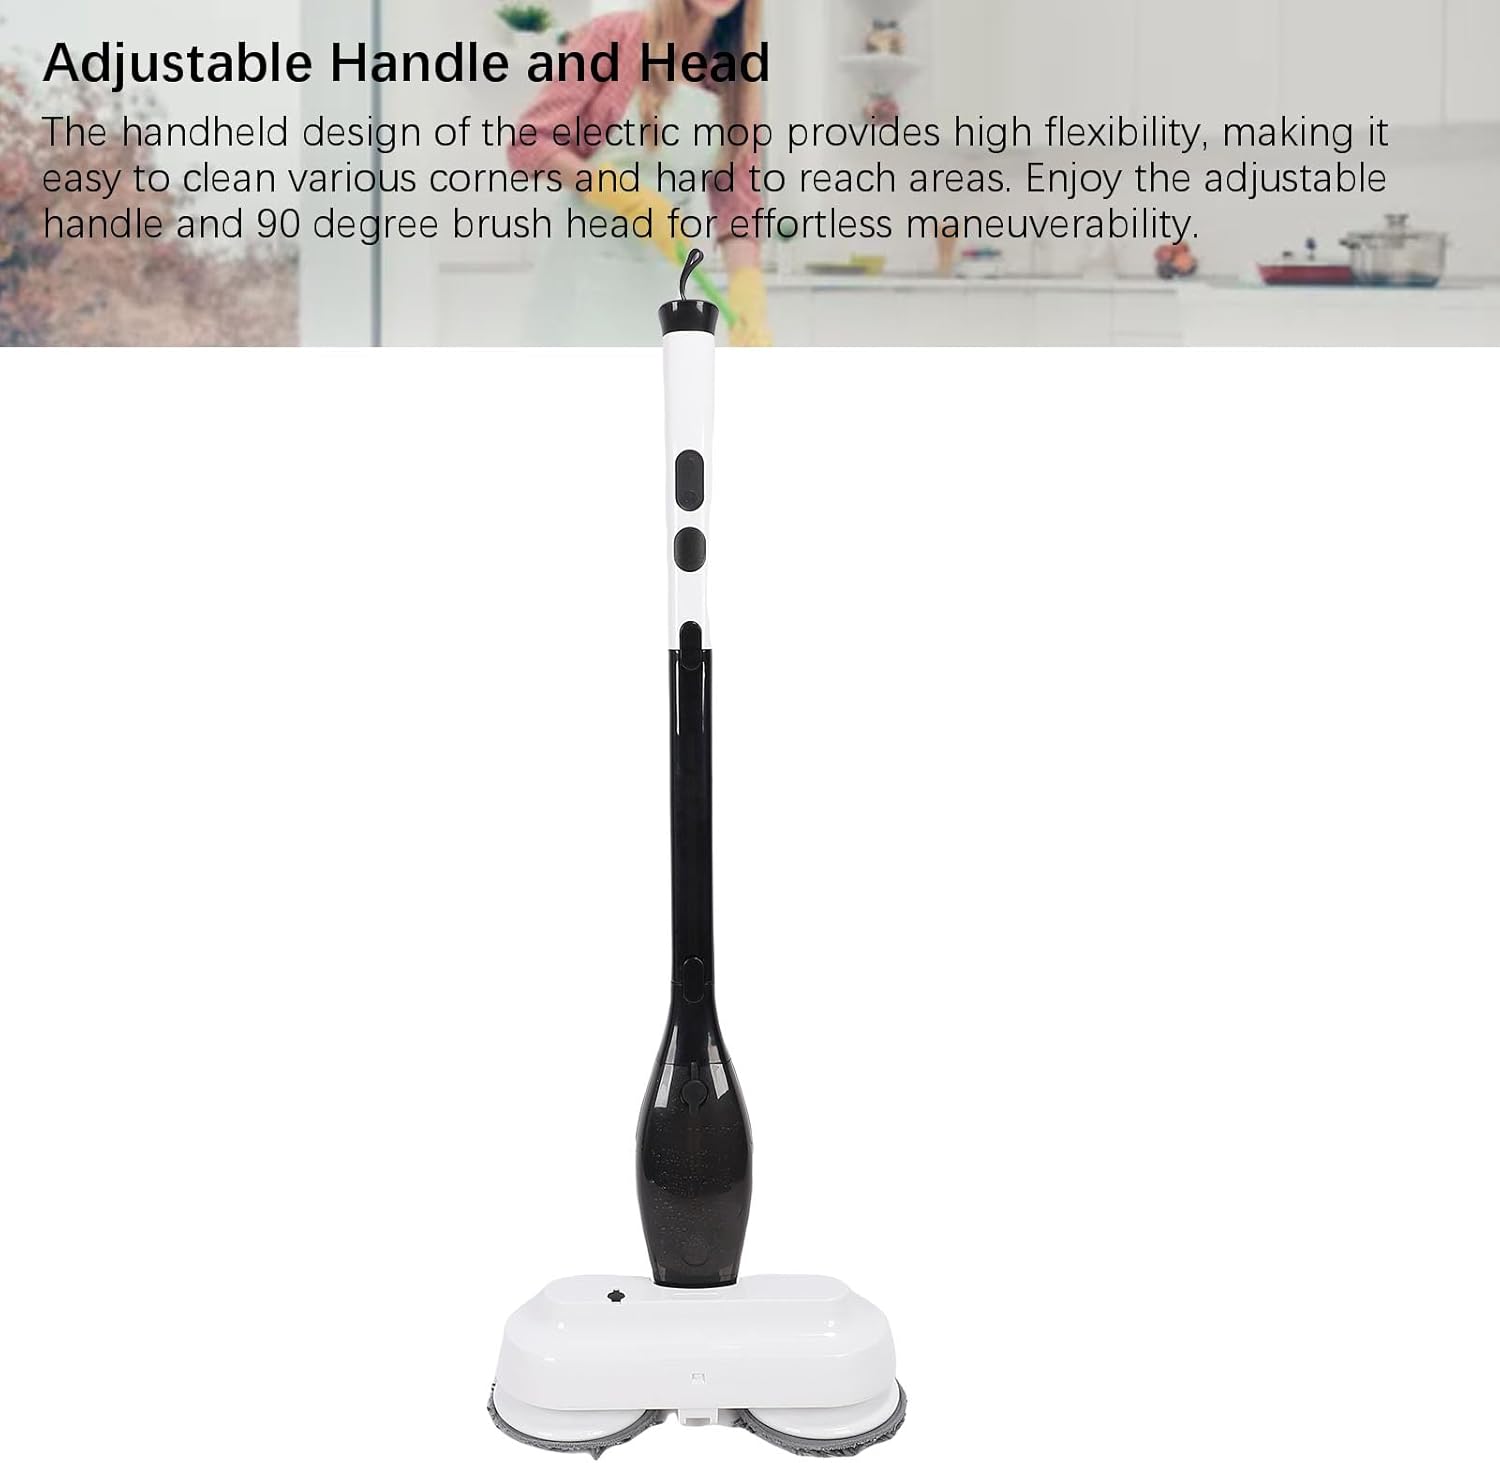
Image: Adjustable handle and head for maneuverability.
6. Maintenance
Regular maintenance ensures optimal performance and extends the lifespan of your electric mop.
6.1 Cleaning the Mop Pads and Brush Heads
- After each use, remove the mop pads or brush heads.
- Mop pads can be machine washed or hand washed with mild detergent and air-dried.
- Brush heads can be rinsed under running water to remove debris. Allow them to air dry completely before reattaching or storing.
6.2 Emptying and Cleaning the Water Tank
- Empty any remaining water or cleaning solution from the tank after each use.
- Rinse the tank with clean water to prevent residue buildup.
- Allow the tank to air dry with the cap open before storage.
- Note: If the water volume decreases or does not come out during operation, check for any blockages in the spray nozzle or ensure the water tank is not leaking.
6.3 Battery Care and Storage
- Store the mop in a cool, dry place when not in use.
- Avoid storing the mop with a completely depleted battery for extended periods. Charge it periodically if not used frequently.
- Do not expose the mop to extreme temperatures.
7. Troubleshooting
If you encounter issues with your Cocoarm Electric Mop, please refer to the following common problems and solutions:
| Problem | Possible Cause | Solution |
|---|---|---|
| Mop does not turn on. | Battery is depleted. | Charge the battery fully. |
| Mop stops working unexpectedly. | Overheating protection activated. | Allow the unit to cool down for a few minutes before restarting. Avoid continuous long presses on the main unit. |
| Water spray is weak or not working. | Water tank is empty; Nozzle is clogged; Water tank cap not sealed; Water leakage. | Refill the water tank. Clean the spray nozzle. Ensure the water tank cap is securely closed. Check for any visible leaks from the tank or seals. |
| Cleaning heads are not rotating. | Obstruction; Improper attachment. | Check for any debris caught in the cleaning heads. Reattach the cleaning heads securely. |
If the problem persists after attempting these solutions, please contact Cocoarm customer support.
8. Specifications
| Feature | Detail |
|---|---|
| Model Number | Cocoarmgtpbia934w |
| Type | Electric Floor Mop |
| Material | ABS |
| Battery Type | Li-Battery (installed) |
| Battery Capacity | 4000mAh |
| Normal Working Hours | Approx. 30 minutes |
| Charging Time | Approx. 4-5 hours (faster charging: approx. 2.5 hours) |
| Water Tank Capacity | 800 ml |
| Rotation Speed (High) | 380 rpm ± 10% |
| Rotation Speed (Low) | 300 rpm ± 10% |
| Weight | Approx. 3.08 kg (108.57 oz) |
| Product Dimensions (L x W x H) | 43.99 x 35.99 x 14.99 cm |
| Country of Origin | China |
9. Warranty & Support
Specific warranty information for this product is not provided in this manual. Please refer to the product packaging or the retailer's website for details regarding warranty coverage and terms.
For technical support, troubleshooting assistance, or to inquire about replacement parts, please contact Cocoarm customer service through the retailer where you purchased the product or visit the official Cocoarm website for contact information.