Introduction
This manual provides essential instructions for the safe and efficient use of your Generic 54.6V Battery Charger. This charger is specifically designed for Gotrax 48V electric bikes and scooters that utilize a DC 2.1mm barrel connector for charging. Please read this manual thoroughly before operating the charger to ensure proper function and safety.
Important Note: This charger is compatible only with 48V lithium-ion battery systems. It is not suitable for sealed lead-acid (SLA) batteries or systems requiring a 3-pin connector. Always verify your device's battery voltage and connector type before use.
Safety Information
- Use the charger only with compatible 48V lithium-ion batteries and devices as specified in this manual.
- Do not expose the charger to water, moisture, or extreme temperatures.
- Avoid dropping or subjecting the charger to severe impacts.
- Do not attempt to disassemble or modify the charger. This will void the warranty and may cause electric shock or fire.
- Ensure proper ventilation during charging. Do not cover the charger.
- Unplug the charger from the power outlet when not in use or before cleaning.
- Keep out of reach of children.
- The charger is equipped with safety features including over-voltage protection, over-current protection, and short-circuit protection.
Package Contents
Your package should contain the following item:
- 1 x 54.6V AC/DC Adapter Charger

Image: The 54.6V AC/DC adapter charger, showing the main unit, AC power cord, and DC barrel connector.
Specifications
| Feature | Detail |
|---|---|
| Input Voltage Range | AC 100V - 240V |
| Output Voltage | DC 54.6V |
| Output Current | 1.5A - 2.0A |
| Connector Type | DC 2.1mm Barrel Plug |
| Compatible Battery Voltage | 48V Lithium-ion |
| Safety Certifications | UL, CE, RoHS |
| Protection Features | Over Voltage, Over Current, Short-circuit |
| LED Indicator | Red (Charging), Green (Full/Disconnected) |
| Product Dimensions | 4.5 x 2 x 1.25 inches |
| Item Weight | 8 ounces |

Image: A detailed view of the charger, highlighting the LED indicator and the DC barrel connector.
Compatible Models
This charger is compatible with the following Gotrax 48V electric bikes and scooters:
- Gotrax R1, F1, F2, F1V2 Folding Commuter Electric Bike:
- Battery: 48V 7.8Ah / 10.4Ah (374.4Wh) Li-ion
- Motor: 350W
- Frame: 20-inch
- Model: FY-5461500
- Supported Charging Output: DC 54.6V 1.5A – 2.0A
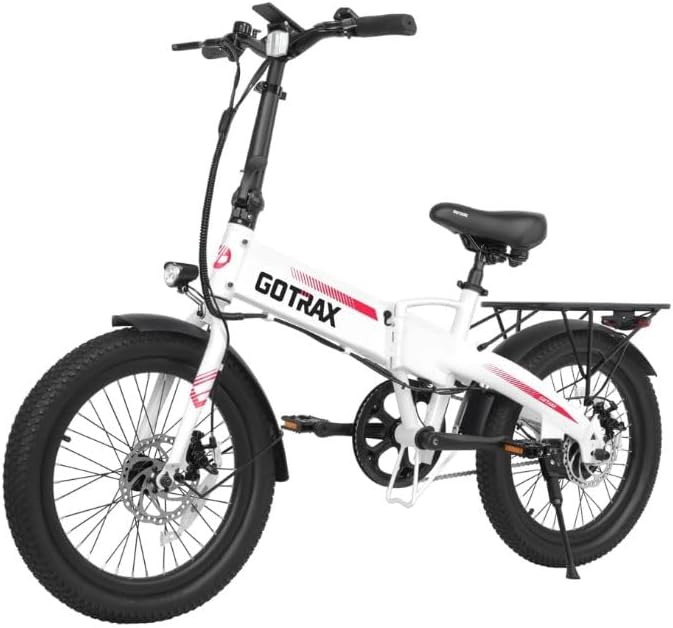
Image: A white Gotrax R1 or F1V2 folding electric bike.

Image: A black Gotrax R1 or F1V2 folding electric bike.
- Gotrax R2, F2 Fat Tire Electric Bike:
- Battery: 48V 10.4Ah (499.2Wh) Lithium-ion
- Motor: 500W
- Tire: 20-inch Fat Tire
- Model: FY1505462000
- Supported Charging Output: DC 54.6V 2.0A

Image: A blue Gotrax R2 or F2 Fat Tire electric bike.
- Gotrax Flex Ultra Adult E-Scooter:
- Battery: 48V 10Ah (480Wh) Lithium-ion
- Motor: 500W
- Features: With Seat, Commuter Electric Scooter
- Compatible with DC 54.6V Input
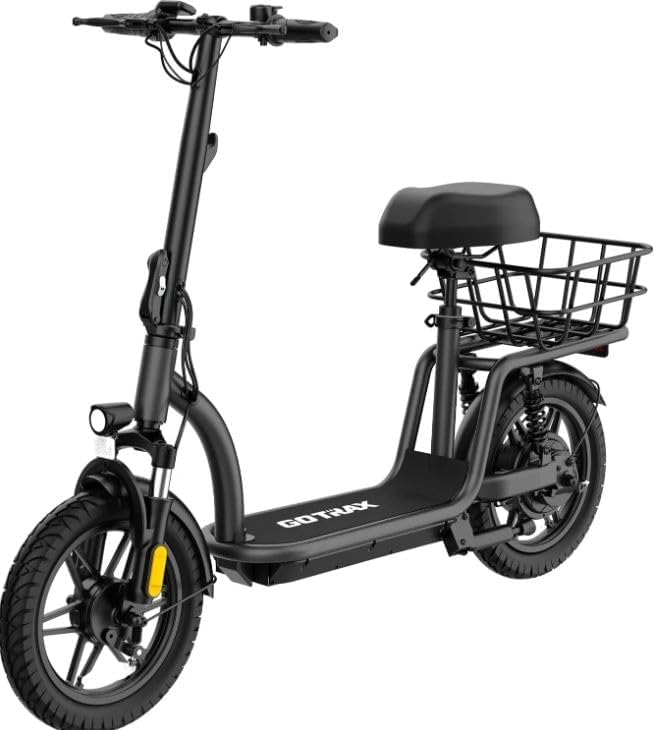
Image: A black Gotrax Flex Ultra adult electric scooter with a seat and rear basket.
Setup
- Unpack the Charger: Carefully remove the charger and its components from the packaging.
- Inspect for Damage: Before first use, visually inspect the charger, power cord, and connector for any signs of damage. Do not use if damaged.
- Prepare Charging Area: Ensure the charging area is dry, well-ventilated, and away from flammable materials.
Operating Instructions: Charging Process
- Connect to Device: Insert the DC 2.1mm barrel connector of the charger firmly into the charging port of your Gotrax electric bike or scooter.
- Connect to Power: Plug the AC power cord into a standard AC 100V-240V wall outlet.
- Monitor Charging Indicator:
- A RED LED indicator light on the charger signifies that the battery is currently charging.
- A GREEN LED indicator light signifies that the battery is fully charged or the charger is disconnected from the device.
- Charging Time: Charging times vary depending on the battery capacity and its current charge level. Refer to your device's manual for specific charging duration estimates.
- Disconnect After Charging: Once the LED indicator turns green, indicating a full charge, first unplug the charger from the wall outlet, then disconnect the DC barrel connector from your device.
Maintenance
- Cleaning: Clean the charger with a dry, soft cloth. Do not use liquid cleaners or solvents.
- Storage: Store the charger in a cool, dry place when not in use. Avoid extreme temperatures.
- Cable Care: Do not bend or crimp the power cords excessively. Avoid placing heavy objects on the cables.
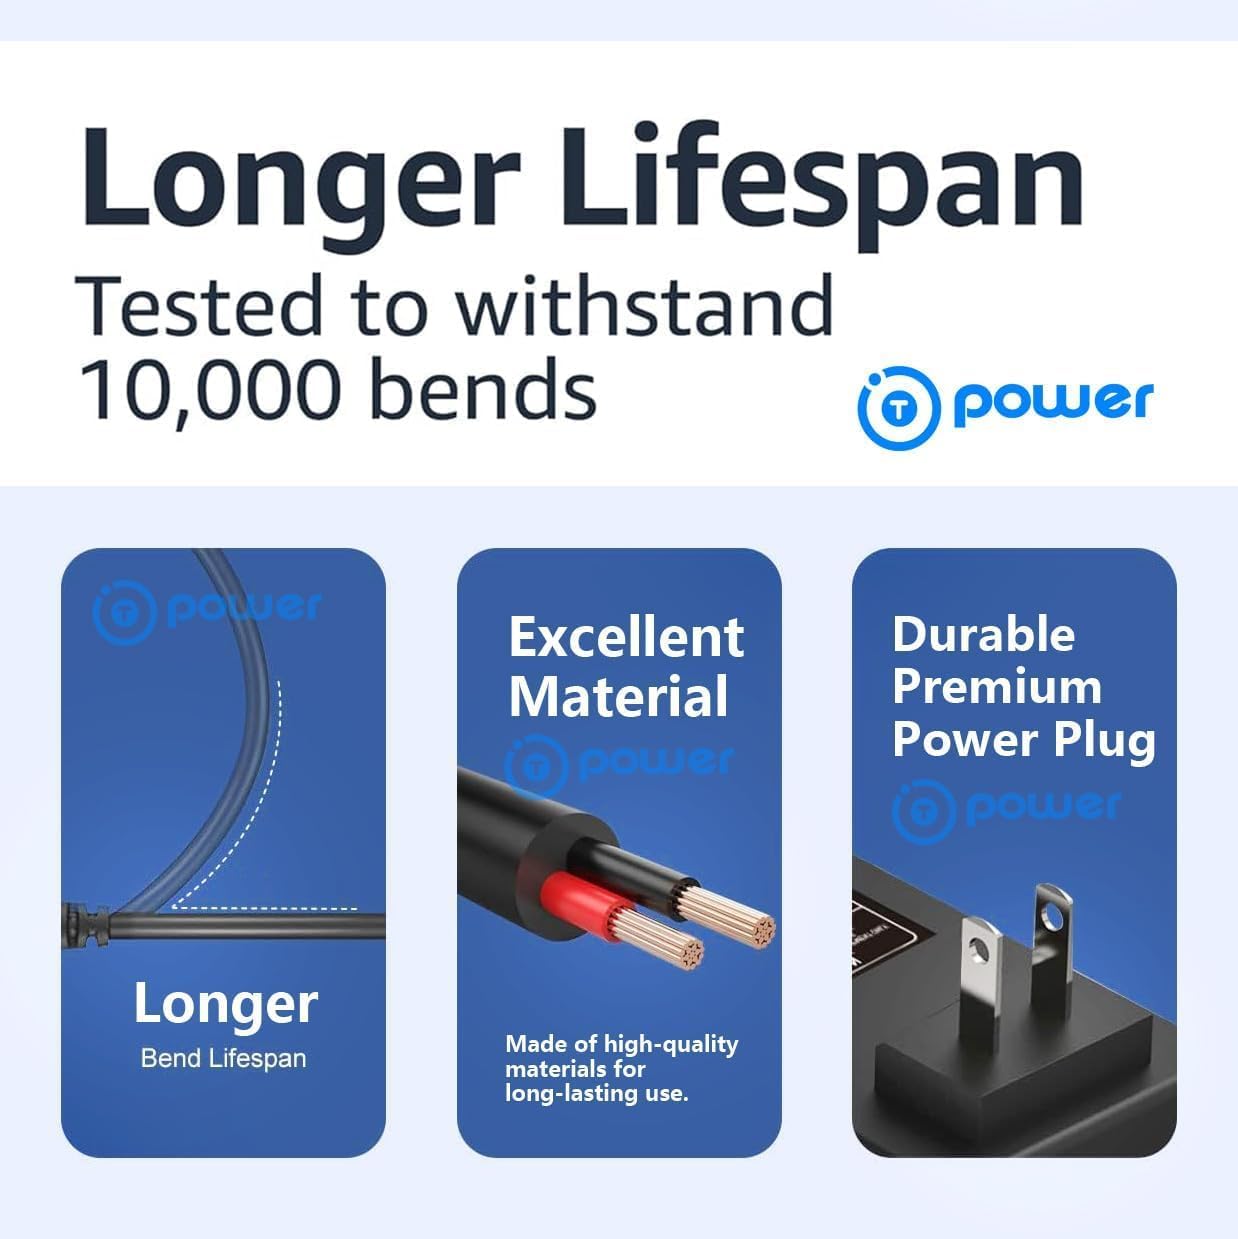
Image: An illustration demonstrating the robust design of the charger's cable and plug, highlighting features like bend lifespan and material quality.
Troubleshooting
| Problem | Possible Cause | Solution |
|---|---|---|
| Charger LED not lighting up. | No power from outlet; loose connection; charger malfunction. | Check wall outlet with another device. Ensure all connections are secure. If problem persists, charger may be faulty. |
| LED remains green, but battery is not fully charged. | Charger not properly connected to device; device's charging port issue; battery issue. | Ensure the DC barrel connector is fully inserted into the device's charging port. Check the device's charging port for debris or damage. Consult your device's manual or support for battery diagnostics. |
| LED is red, but charging is very slow or not progressing. | Battery deeply discharged; charger output issue; battery issue. | Allow more time for charging. Ensure the charger specifications match your device's requirements. If the issue persists, the battery or charger may require service. |
| Charger feels excessively hot during operation. | Poor ventilation; internal fault. | Ensure the charger is in a well-ventilated area and not covered. Discontinue use if overheating is severe and contact support. |
Warranty and Support
For warranty information or technical support, please refer to the documentation provided with your purchase or contact the seller directly. Keep your purchase receipt as proof of purchase for any warranty claims.
Seller: T-Power USA
ASIN: B0FHC3HK54