Introduction
This manual provides essential information for the safe and efficient operation of your VEVOR 8 kW DC12-24V Diesel Air Heater. Please read all instructions carefully before installation and use to ensure proper function and safety.
Safety Precautions
- Ensure proper ventilation during operation to prevent carbon monoxide buildup. Do not operate the heater in enclosed, unventilated spaces.
- Keep flammable materials away from the heater and its exhaust system.
- Verify all connections are secure before starting the unit.
- Regularly inspect the exhaust pipe and fuel lines for damage or leaks.
- Always use diesel fuel; do not use gasoline or other volatile fuels.
- Disconnect power before performing any maintenance or repairs.
What's in the Box
Verify that all components are present before beginning installation:
- 1 x Intake Pipe
- 1 x Exhaust Pipe
- 1 x Air Outlet Pipe
- 1 x Remote Control
- 1 x Muffler (includes 1 x L-shaped fixing bracket, 2 x Screws, 10 x M5 Bolts, 1 x M5 Nut)
- 2 x Air Outlet Pipe Clamps
- 4 x Intake & Exhaust Pipe Clamps
- 2 x Exhaust Pipe Mounting Brackets
- 1 x Air Purifier
- 6 x Base Fixing Screws
- 1 x Air Direction Rotating Joint
- 1 x User Manual
- 1 x Heat Insulation Shield

This image displays the VEVOR 8 kW Diesel Air Heater unit along with all components included in the package, such as the remote control, LCD switch, various pipes, clamps, muffler, air purifier, and installation kit.
Setup and Installation
- Choose a suitable location for the heater, ensuring adequate clearance for air intake and exhaust. The unit requires a stable, level surface.
- Connect the intake pipe to the air intake port and the exhaust pipe to the exhaust port. Secure with clamps. Ensure the exhaust pipe is routed externally and away from flammable materials.
- Install the muffler onto the exhaust pipe using the provided brackets and screws.
- Attach the air outlet pipe to the hot air output port.
- Connect the fuel line from the heater to the fuel tank. Ensure the fuel cap is leak-proof.
- Connect the heater to a DC 12V-24V power source. Verify correct polarity.
- Mount the LCD switch in an accessible location.

This diagram illustrates the correct connection points for the hot air output pipe, exhaust pipe with heat shield, intake pipe, muffler, and air filter, emphasizing external discharge of tail gas.
This image provides the physical dimensions of the heater unit and a visual representation of all included components, such as the muffler, remote control, LCD switch, air purifier, and various pipes and clamps.
Operating Instructions
Filling the Fuel Tank
Open the fuel cap and carefully fill the 5L (1.3 gal) tank with diesel fuel. Monitor the fuel gauge to avoid overfilling. Ensure the fuel cap is securely closed after filling.

This image shows the side of the heater with its integrated 5-liter fuel tank and a clear scale indicating the fuel level, with a warning to add diesel when below 20%.
Starting the Heater
- Ensure the heater is properly installed and connected to power.
- Press the power button on the LCD switch or remote control to turn on the unit.
- The ceramic igniter will initiate the combustion process, and hot air will begin to flow.
Adjusting Temperature and Settings
- Use the LCD switch to adjust the desired temperature between 32-104°F (0-40°C).
- The remote control allows for pre-heating from a distance of up to 98 feet, preventing frost and warming the interior before entry.
- The unit features a timer function and constant temperature control for consistent heating.
- Overheat protection is integrated, activating at temperatures ≥518°F.

This image shows the remote control and the LCD switch, highlighting the 98-foot long-distance control capability and the adjustable temperature range of 32-104°F (0-40°C).
Shutting Down the Heater
Press the power button on the LCD switch or remote control to turn off the unit. Allow the heater to complete its cool-down cycle before disconnecting power or moving.
Maintenance
- Regularly check the fuel filter and clean or replace as needed to ensure optimal fuel flow.
- Inspect the air intake and exhaust pipes for any blockages or damage. Clear any debris.
- Clean the exterior of the heater with a damp cloth. Do not use abrasive cleaners.
- Periodically check electrical connections for tightness and signs of corrosion.
- Ensure the heat insulation shield on the exhaust pipe is intact and functioning correctly.
Troubleshooting
| Problem | Possible Cause | Solution |
|---|---|---|
| Heater does not start | No power, low fuel, clogged fuel line, faulty igniter. | Check power connection, refill fuel tank, inspect fuel line, consult service if igniter issue. |
| Low heat output | Clogged air filter, restricted air flow, incorrect temperature setting. | Clean air filter, ensure clear air paths, adjust temperature setting. |
| Excessive smoke | Poor fuel quality, incorrect fuel-air mixture, clogged exhaust. | Use clean diesel fuel, check air intake/exhaust for blockages. |
| Unusual noise | Loose components, fan obstruction. | Inspect for loose parts, clear any obstructions from the fan. |
Specifications
- Brand: VEVOR
- Model: Diesel Air Heater
- Heating Power: 8 kW
- Operating Voltage: DC 12V-24V
- Fuel Tank Capacity: 5 Liters (1.3 Gallons)
- Applicable Area: 161-215 FT²
- Fuel Consumption: 0.18-0.36 L/h
- Combustion Efficiency: ≥90%
- Temperature Adjustment Range: 32-104°F (0-40°C)
- Applicable Altitude: Under 9843 ft (3000 m)
- Noise Level: Low Noise (≤75dB)
- Item Weight: 17.53 pounds (7.95 kg)
- Product Dimensions: 15.94 x 9.65 x 12.01 inches (405 x 245 x 305 mm)

This image illustrates the heater's capability to warm an area of 161-215 square feet, showcasing its low fuel consumption and high combustion efficiency.

This image highlights the key components responsible for fast heating, including the 3-inch large diameter air outlet, ceramic ignition plug, aluminum heat dissipators, and high-quality oil pump.

This image demonstrates the heater's fuel efficiency, stating it uses 1 gallon of diesel per night with over 90% combustion efficiency, and compares its low fuel consumption rate (0.18-0.36 L/h) to other models.

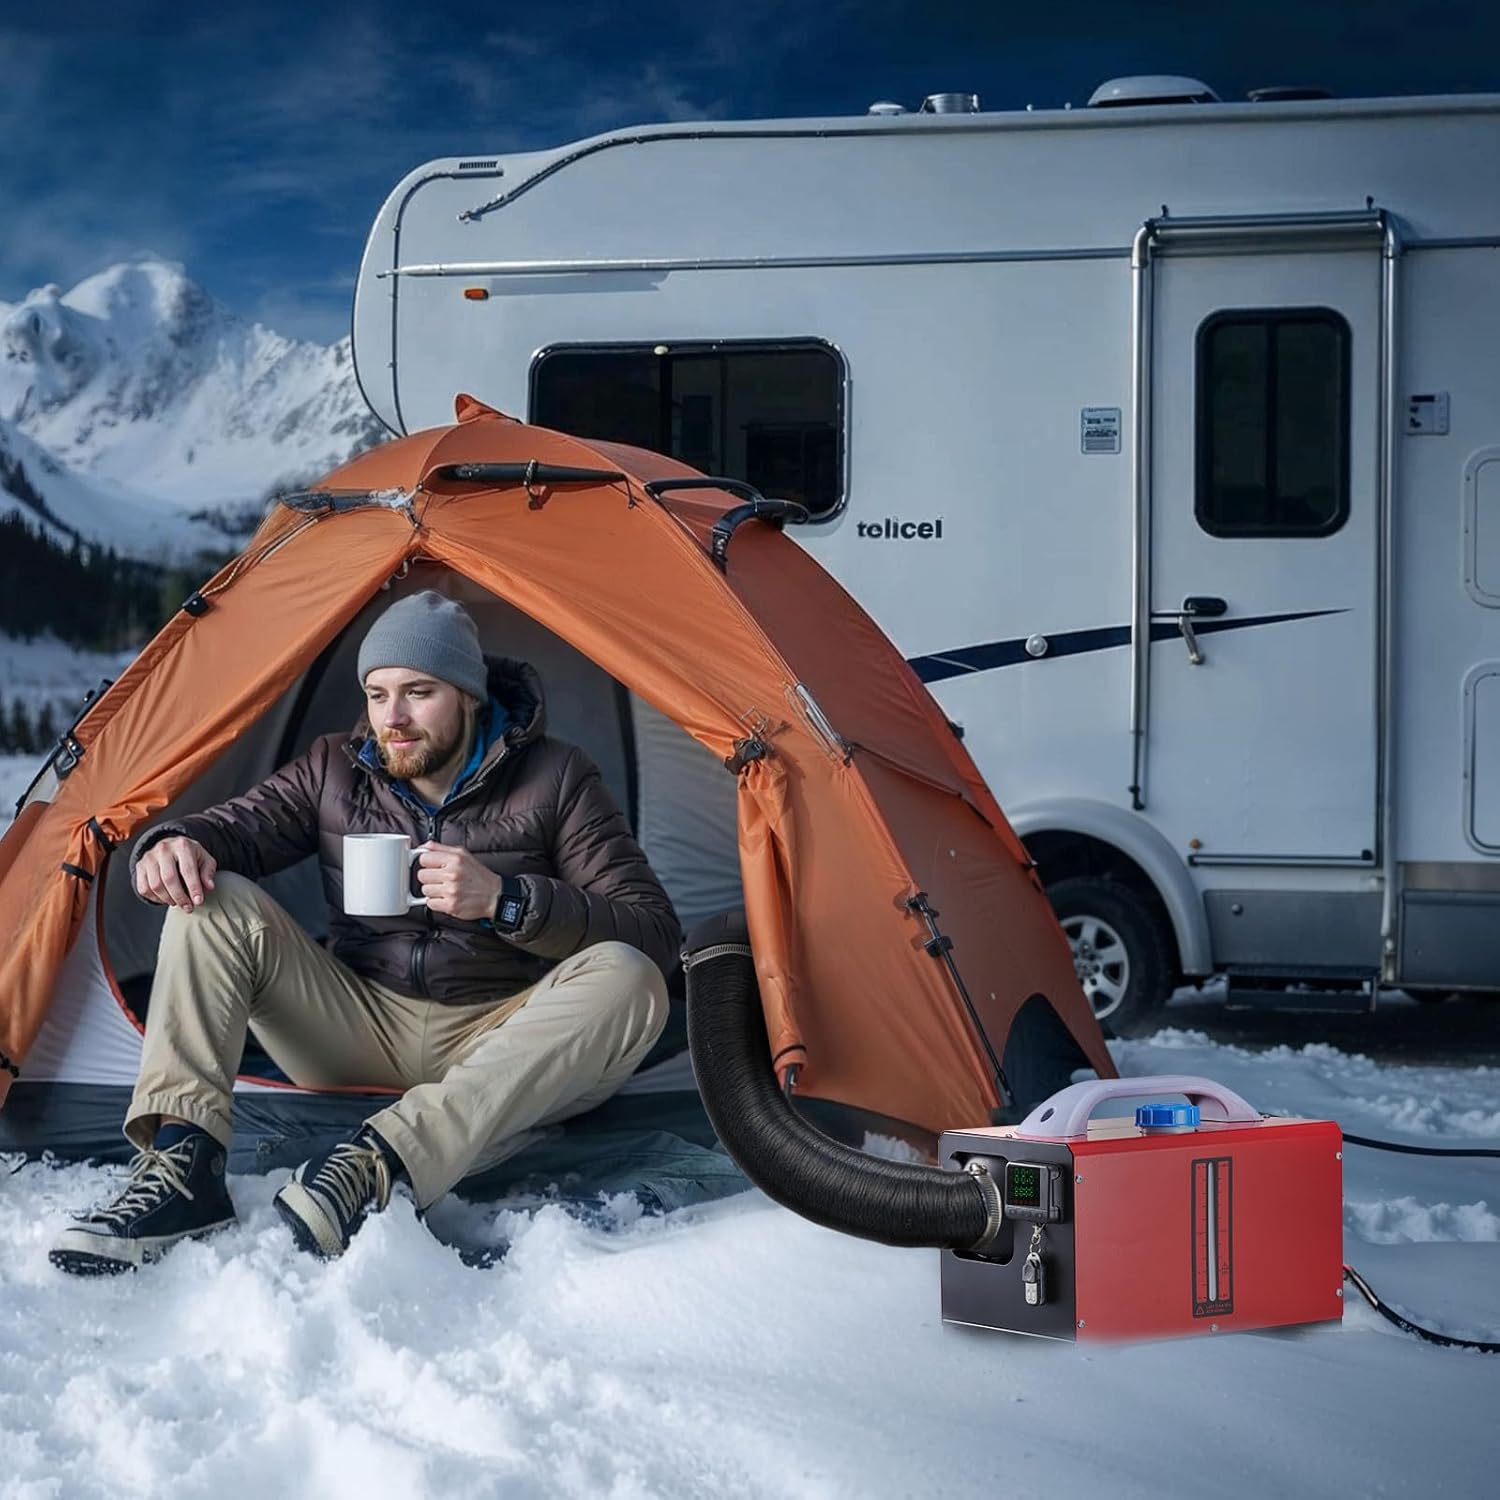
This image shows the heater's performance in a snowy, mountainous environment, indicating its effectiveness at altitudes up to 9843 feet (3000 meters) and its wide operating temperature range.
Warranty and Support
For warranty information and technical support, please refer to the official VEVOR website or contact VEVOR customer service directly. Keep your purchase receipt for warranty claims.
You can also find additional resources and frequently asked questions on the VEVOR support page.
Official Product Videos
No official product videos from the seller were available for embedding based on the provided data.


