
Introduction
This manual provides essential instructions for the safe and effective use of your Katerk 3.7V Mini Cordless Rotary Tool Kit. This tool is designed for light-duty craft projects, including fine sanding, model detailing, 3D print finishing, and other precision tasks. Please read all instructions carefully before operation and retain this manual for future reference.
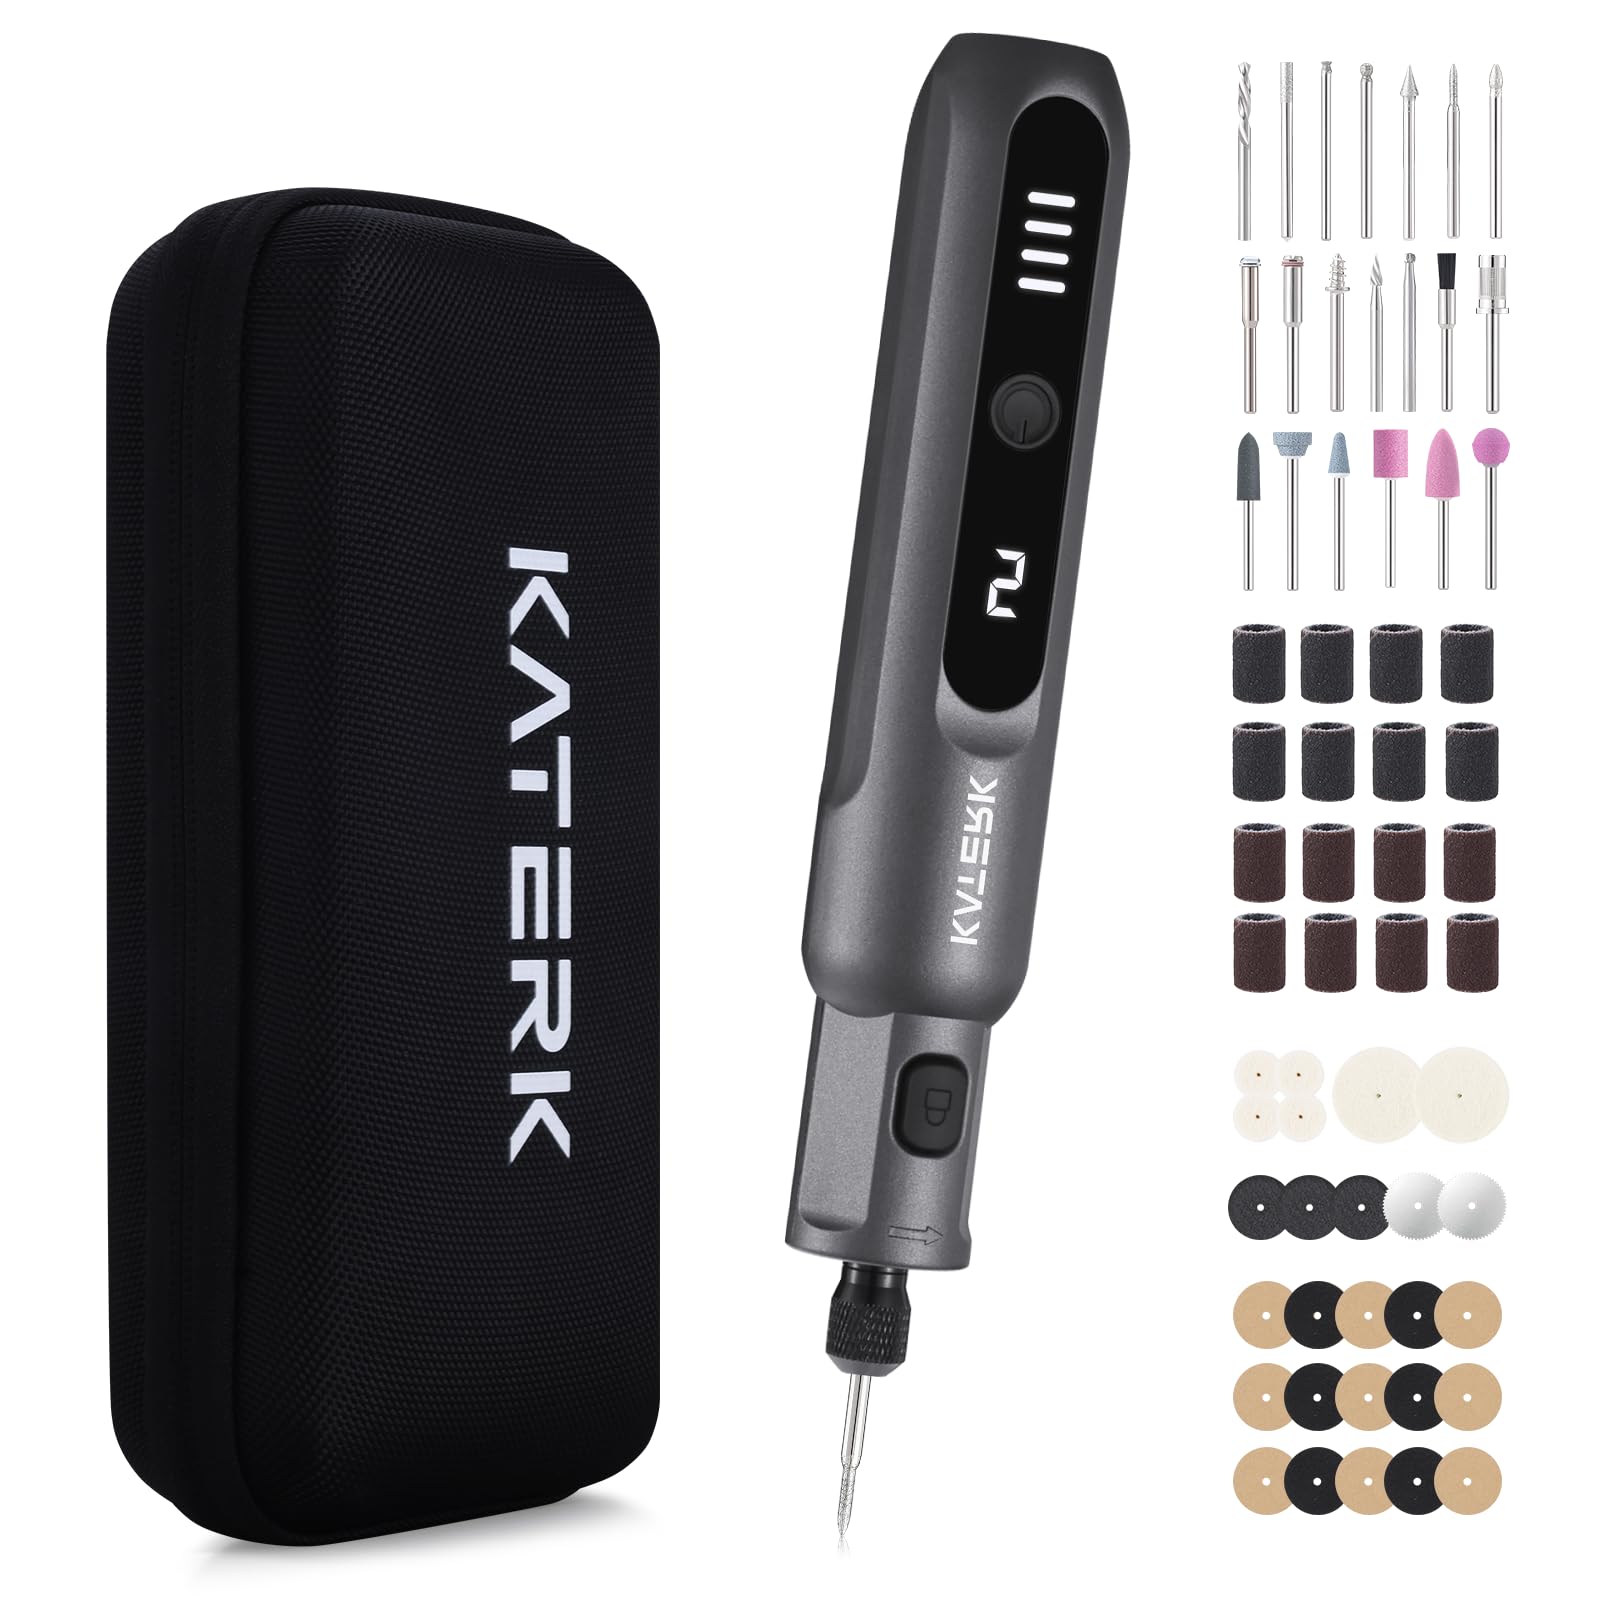
The Katerk 3.7V Mini Cordless Rotary Tool Kit, ready for use.
Product Overview
Familiarize yourself with the components of your rotary tool:
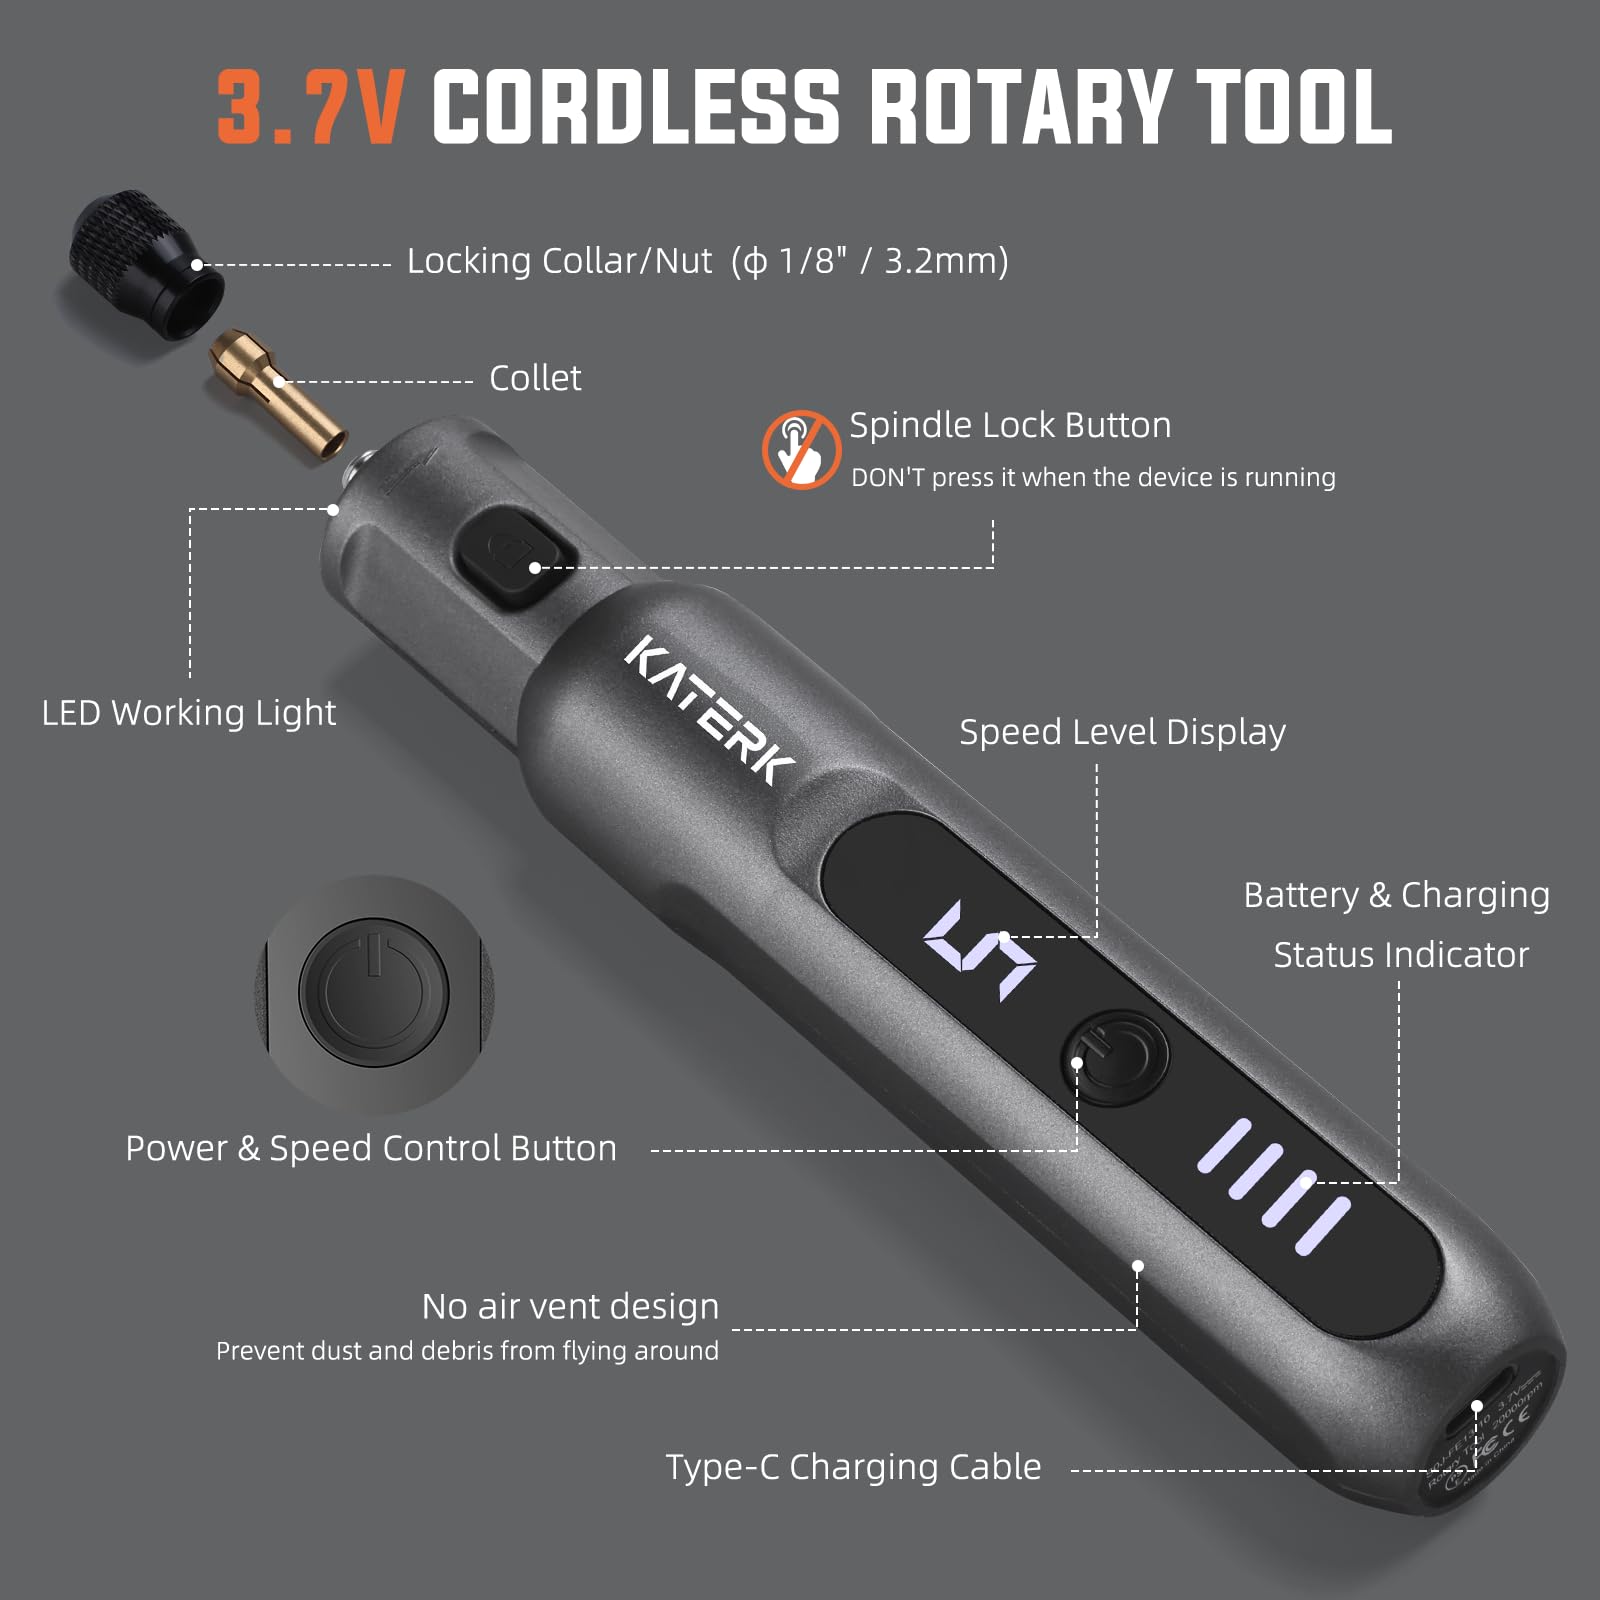
Detailed view of the Katerk 3.7V Cordless Rotary Tool, highlighting its various parts including the locking collar, collet, spindle lock button, LED working light, power & speed control button, speed level display, battery & charging status indicator, no air vent design, and Type-C charging cable.
- Locking Collar/Nut (ϕ 1/8" / 3.2mm): Secures the collet and accessory.
- Collet: Holds the accessory shank.
- Spindle Lock Button: Engages to hold the spindle stationary for accessory changes. Do not press when the device is running.
- LED Working Light: Illuminates the work area.
- Power & Speed Control Button: Turns the tool on/off and adjusts speed settings.
- Speed Level Display: Shows the current speed setting.
- Battery & Charging Status Indicator: Displays battery level and charging status.
- No Air Vent Design: Helps prevent dust and debris from entering the tool.
- Type-C Charging Cable: For recharging the internal battery.
Setup
1. Charging the Tool
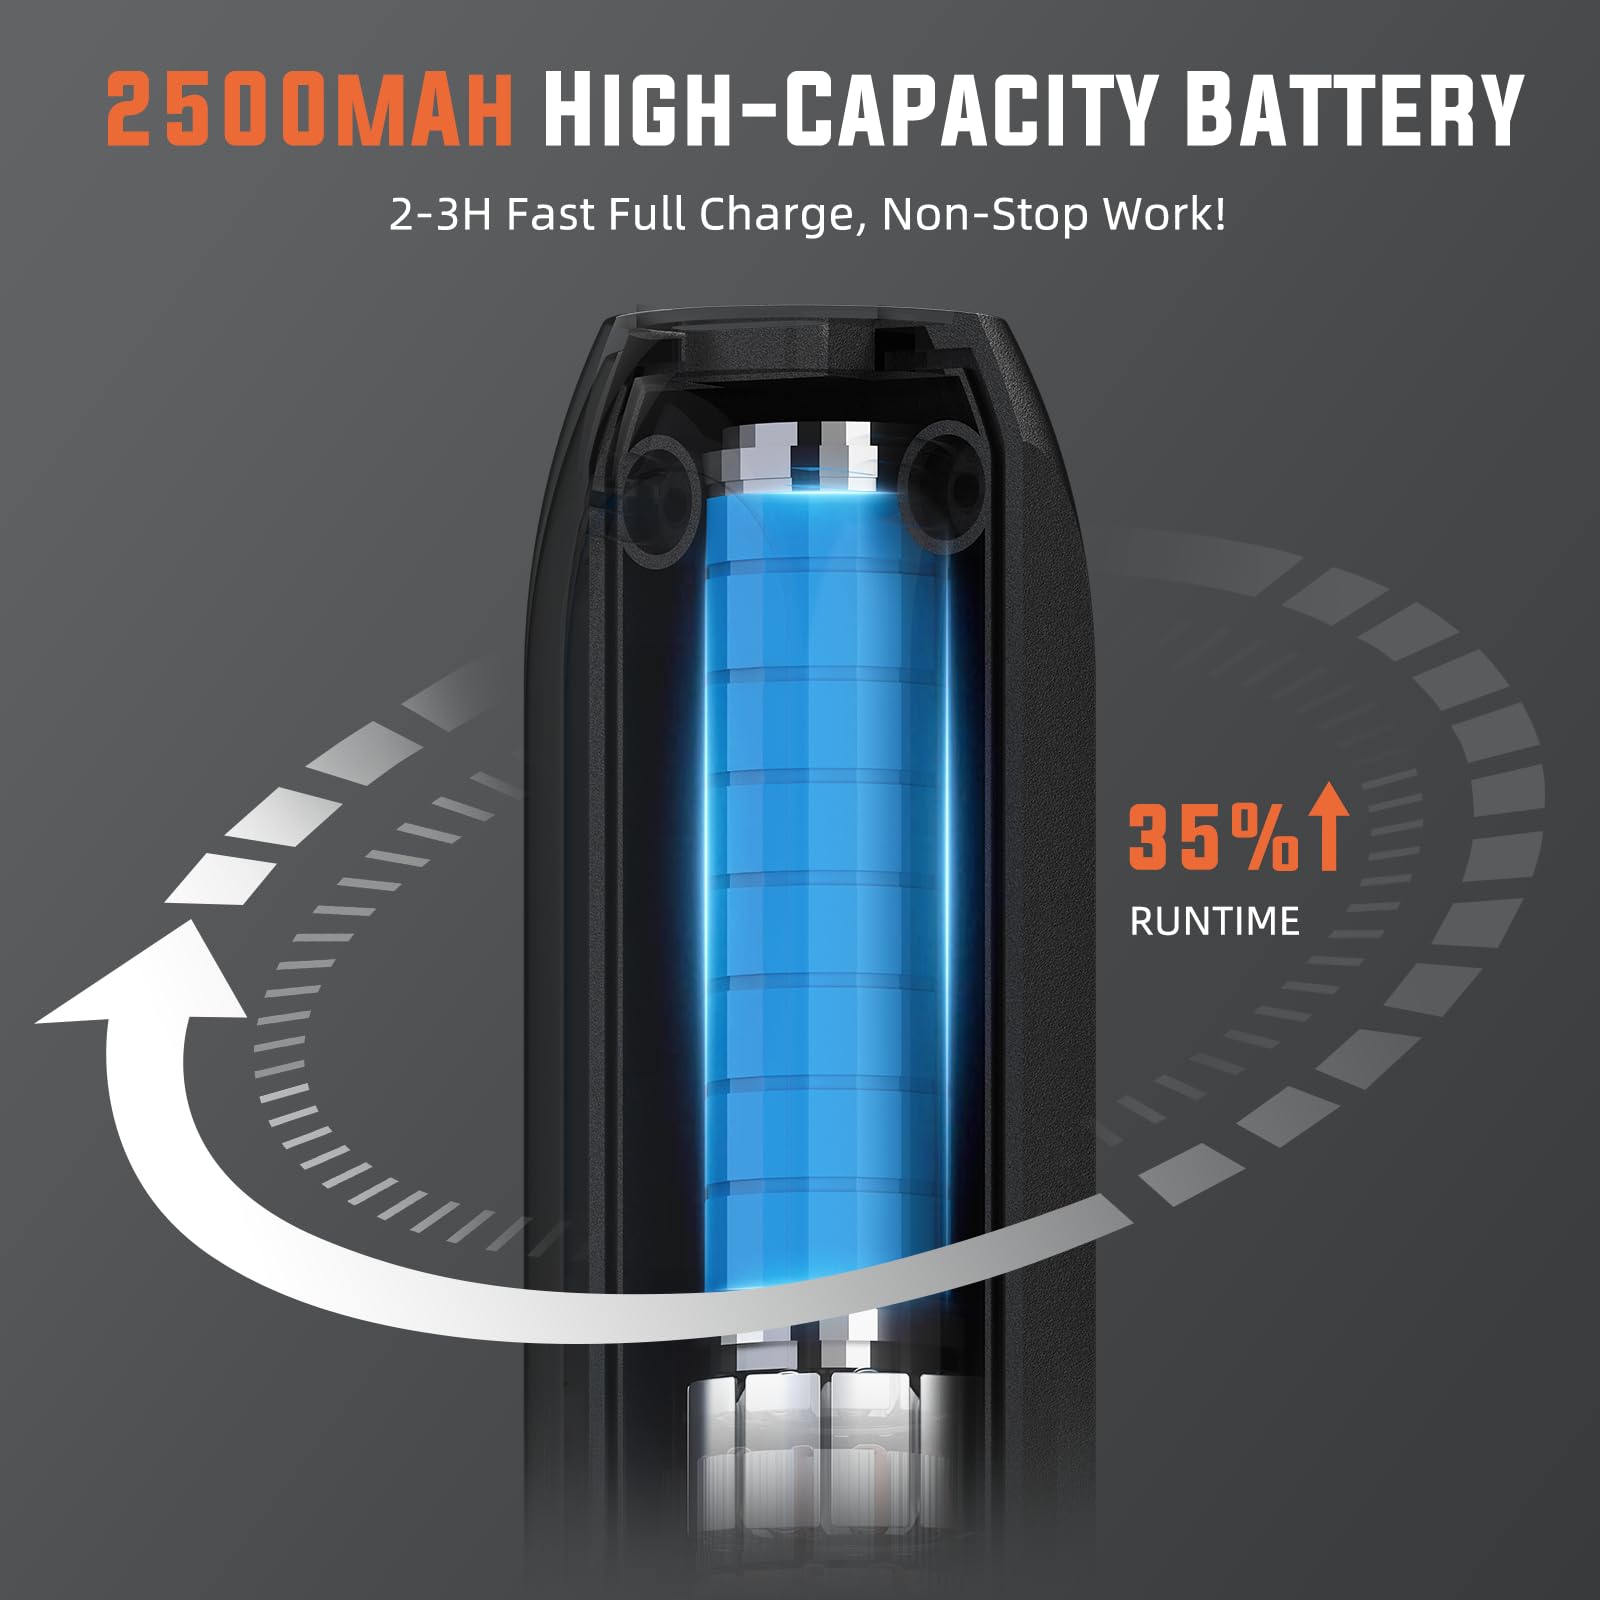
Before first use, fully charge the rotary tool. The tool is equipped with a 2500mAh rechargeable battery.
- Connect the included USB-C cable to the charging port on the tool and to a compatible USB power source.
- The 4-LED real-time power indicator will show the charging status. All LEDs illuminated indicate a full charge.
- A full charge typically takes 2-3 hours.
The Katerk rotary tool features a 2500mAh high-capacity battery for extended runtime.
The battery status indicator shows the current power level and charging status. Four bars indicate a full charge, while fewer bars indicate the need for recharging.
2. Accessory Installation
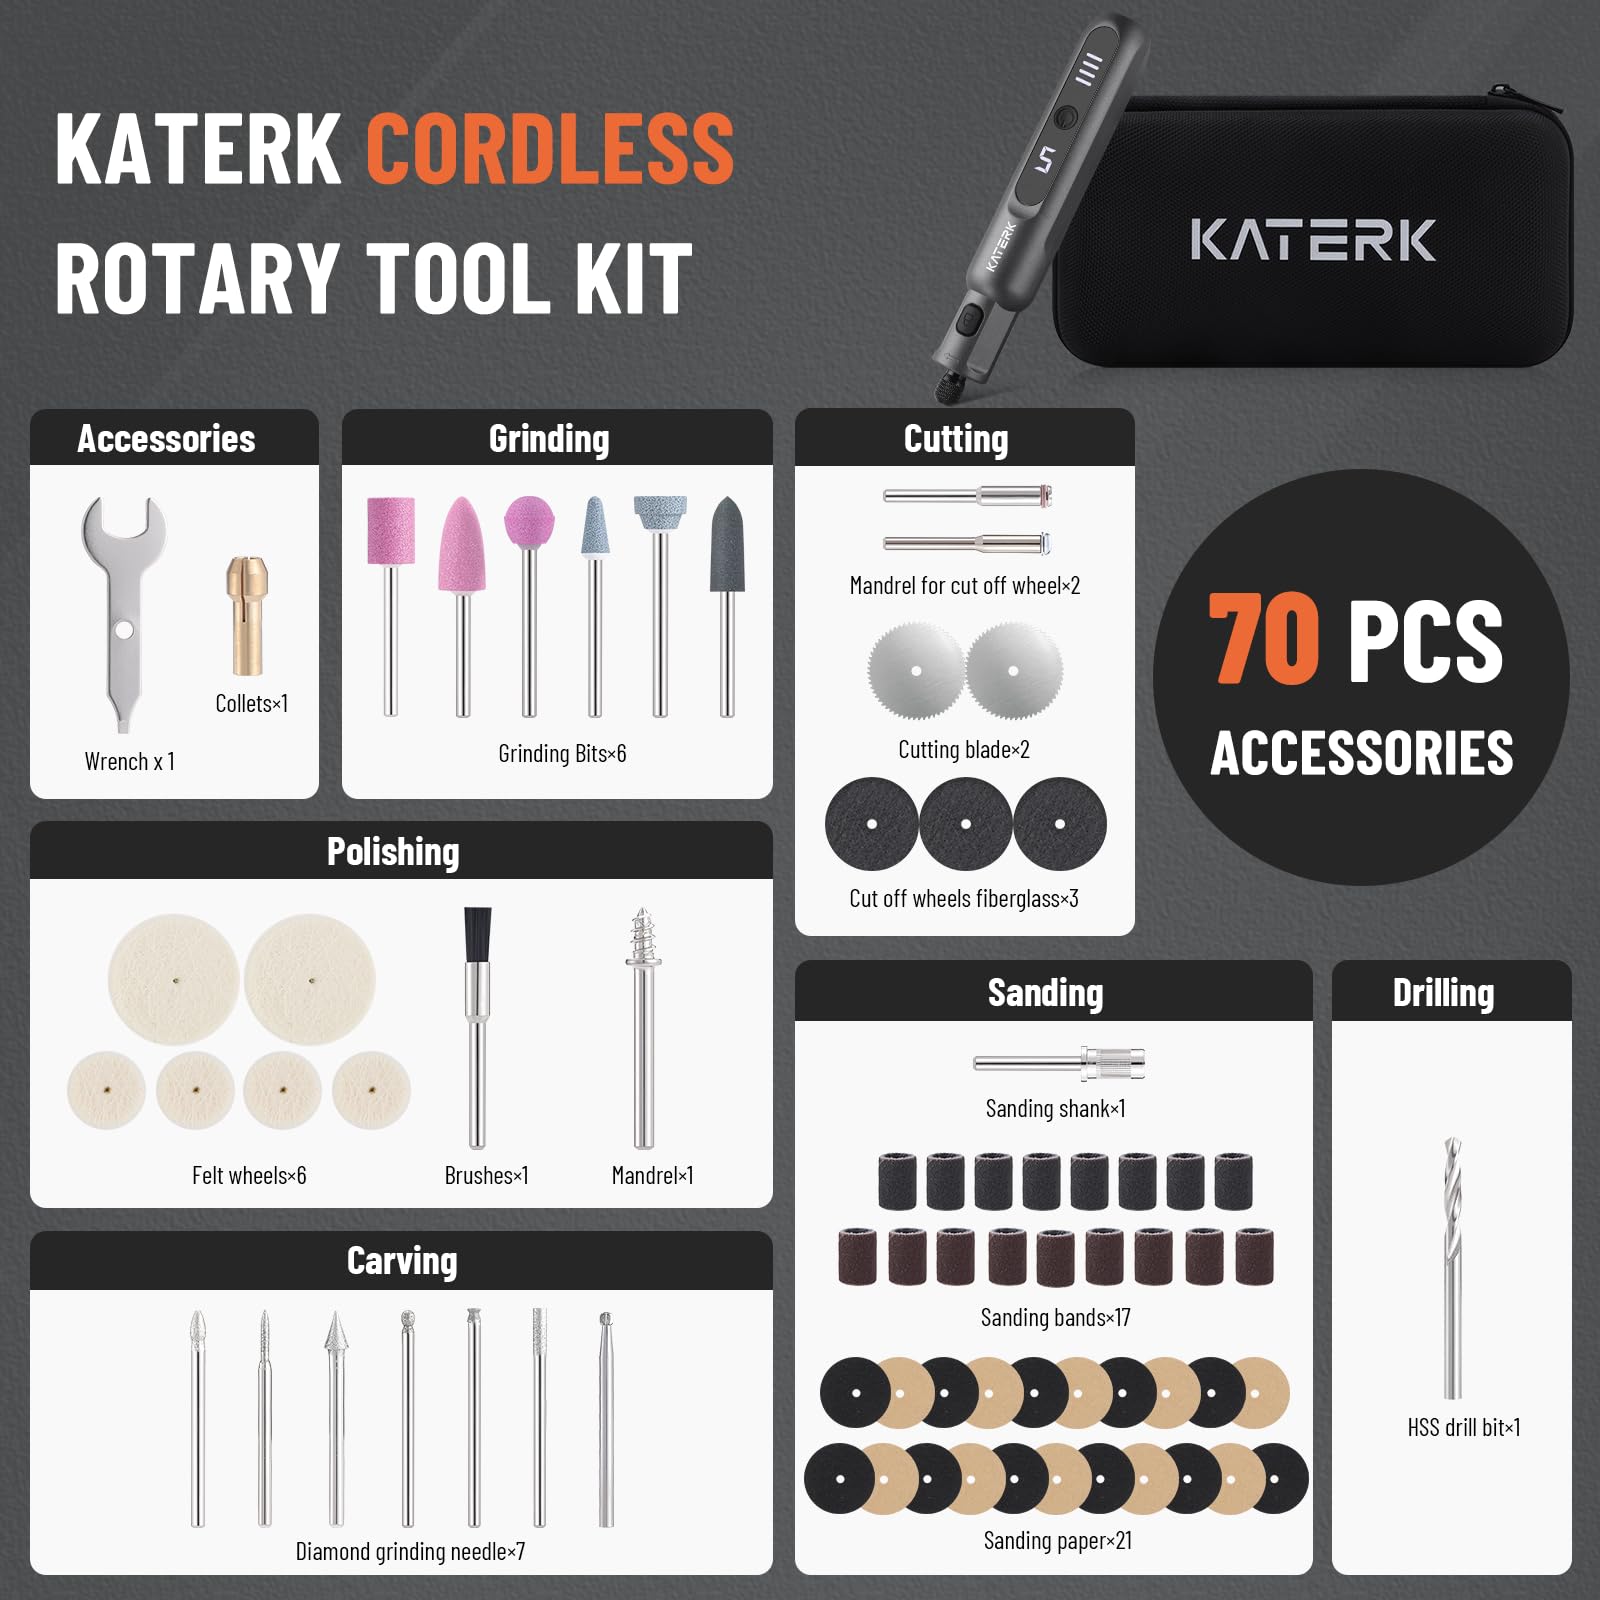
Your kit includes 70 multi-purpose accessories with universal 1/8-inch shanks. Always ensure the tool is turned off before changing accessories.
General Steps for Most Accessories (Grinder Heads, Drill Bits, Brushes):
- Loosen the chuck nut and remove the existing collet if necessary.
- Select and install the appropriate collet for your accessory.
- Insert the accessory (grinding head, drill bit, brush) into the chuck nut.
- Press and hold the spindle lock button, then tighten the chuck nut securely.
Step-by-step guide for installing grinder heads, drill bits, or brushes into the rotary tool.
Installing Sanding Bands:
- Hold the spindle lock button and loosen the chuck nut.
- Insert the sanding shank (grinding wheel holder) into the clamp.
- Fit the sand ring head onto the sanding shank, then tighten.
- Release the locking button.

Instructions for attaching sanding bands to the rotary tool.
Installing Cutting Blades:
- Insert the saw blade arbor into the loosened chuck nut.
- Press and hold the spindle lock button, then tighten the chuck nut.
- Remove the connecting rod screws from the arbor.
- Install the cutting blade between the two washers and tighten the screw.
Guide for securely installing cutting blades on the rotary tool.
Installing Wool Polishing Wheels:
- Hold the spindle lock button and loosen the chuck nut.
- Insert the wool wheel shaft into the chuck nut.
- Press and hold the spindle lock button, then tighten the chuck nut.
- Screw the wool wheel mandrel into the wool wheel.
Instructions for attaching wool polishing wheels to the rotary tool.
Proper Grinding Wheel Placement:
Ensure grinding wheels are inserted correctly for optimal performance and safety. The accessory should be inserted far enough into the collet to be stable, but not so far that it restricts the working part of the accessory.
Visual guide demonstrating the correct insertion depth for grinding wheels into the collet.
Balancing Accessories:
For large accessories or precision work, balancing accessories is crucial to reduce noise and vibration.
- Hold the spindle lock button and loosen the chuck nut.
- Give the accessory a 1/4 turn.
- Re-tighten the collet nut.
- Start the tool and adjust by sound and feel until optimal balance is achieved.
Steps to balance accessories for smoother operation and reduced vibration.
Operating the Tool
1. Power and Speed Control
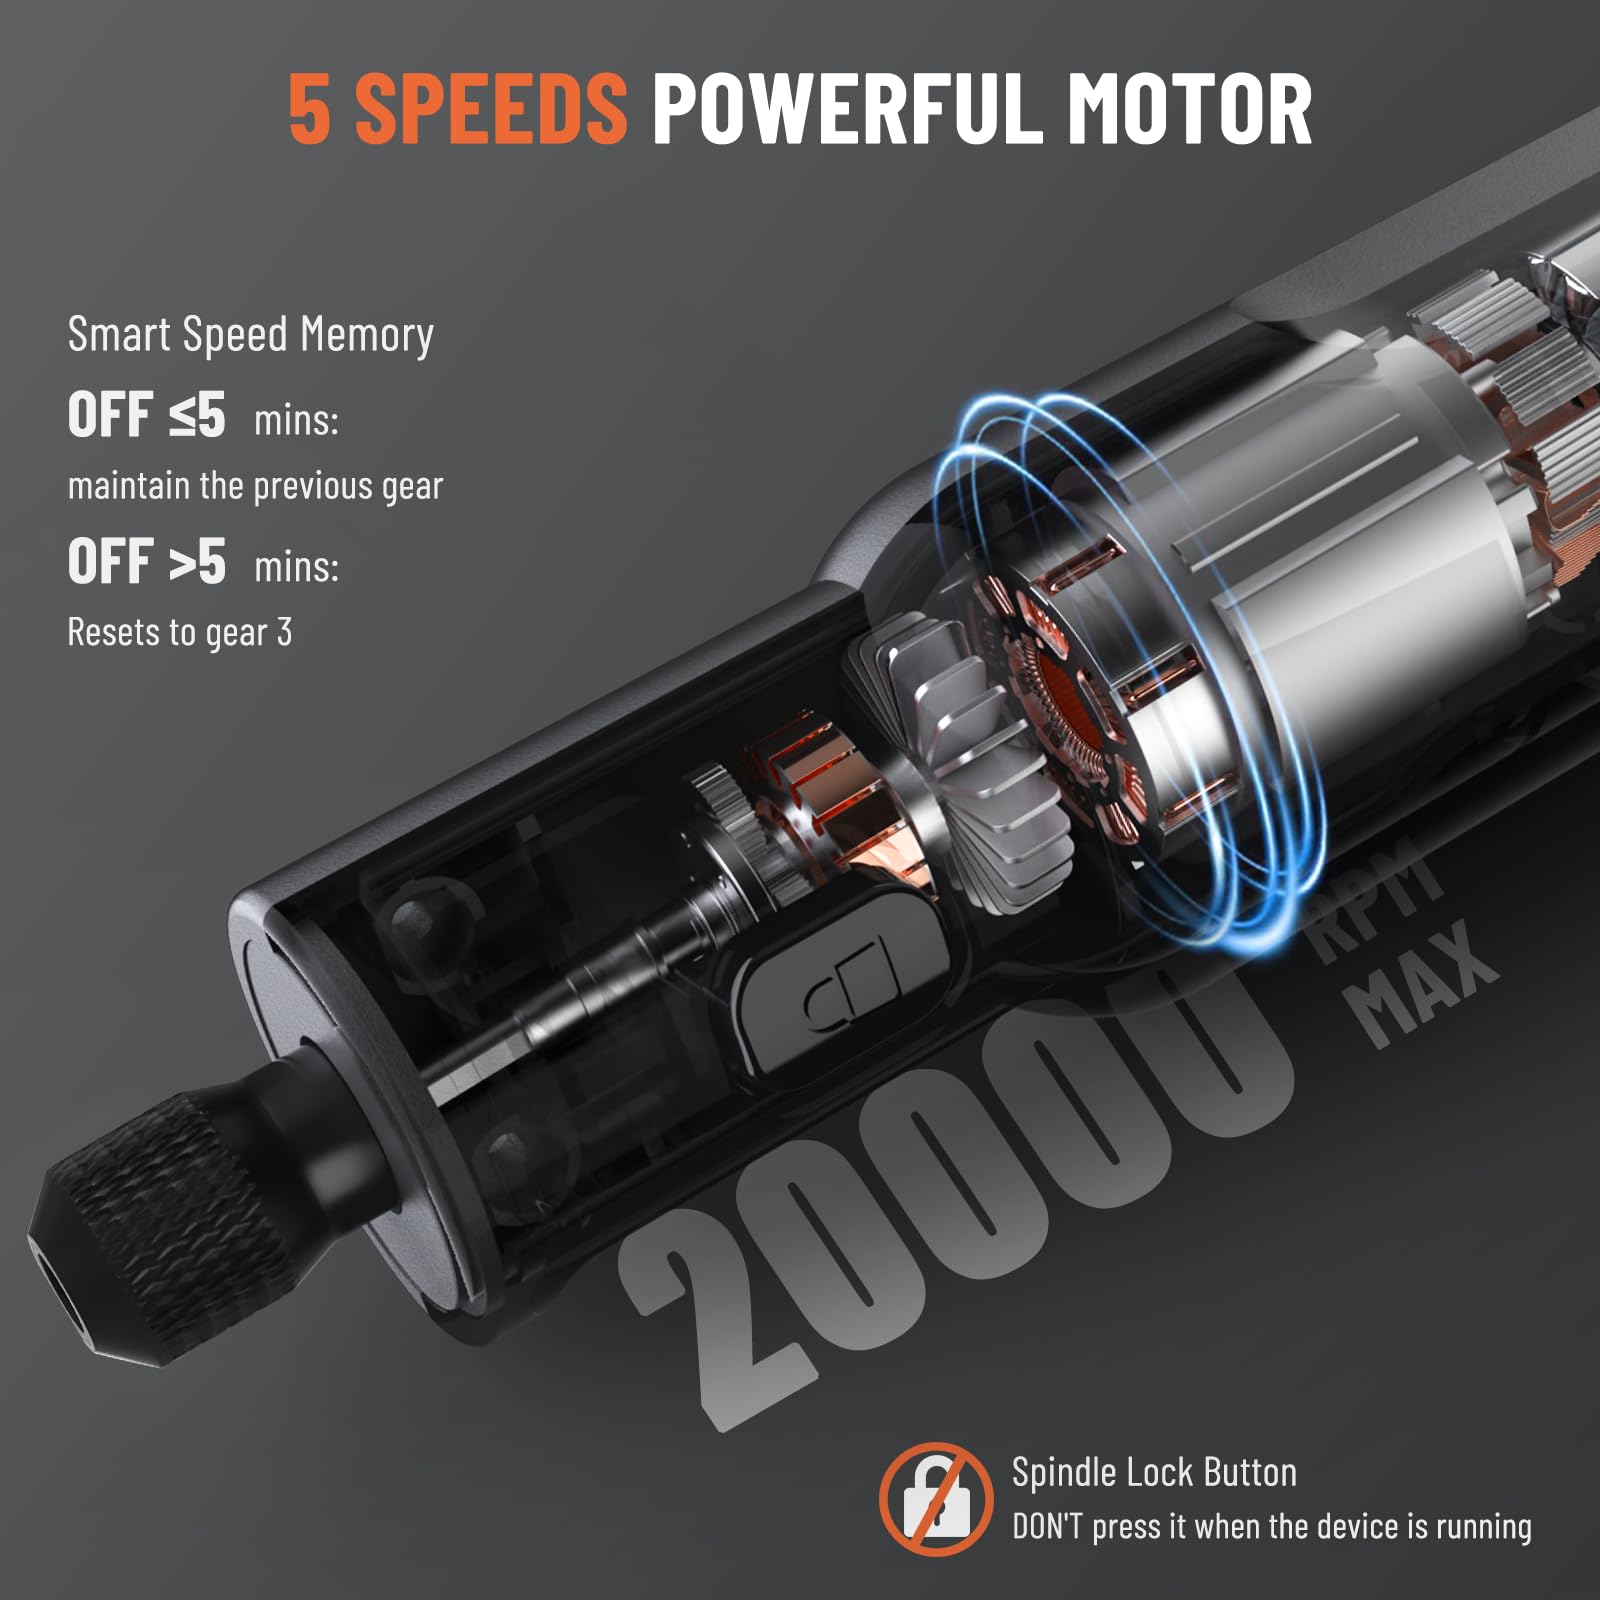
The Katerk rotary tool features 5 speed settings from 5,000 to 20,000 RPM.
- Power On/Off: Press and hold the power button to turn the tool on or off.
- Speed Adjustment: Briefly press the power button to cycle through the 5 speed settings. The current speed will be displayed on the speed level indicator.
- Smart Speed Memory: If the tool is turned off for 5 minutes or less, it will resume at the previously used speed setting. If turned off for more than 5 minutes, it will reset to gear 3.
The Katerk rotary tool features a powerful motor with 5 adjustable speed settings, ranging from 5,000 to 20,000 RPM, and smart speed memory functionality.
Visual representation of the 5 speed modes: 1 (5000 rpm), 2 (8000 rpm), 3 (12000 rpm), 4 (16000 rpm), and 5 (20000 rpm), allowing users to select the appropriate speed for various tasks.
2. LED Work Light
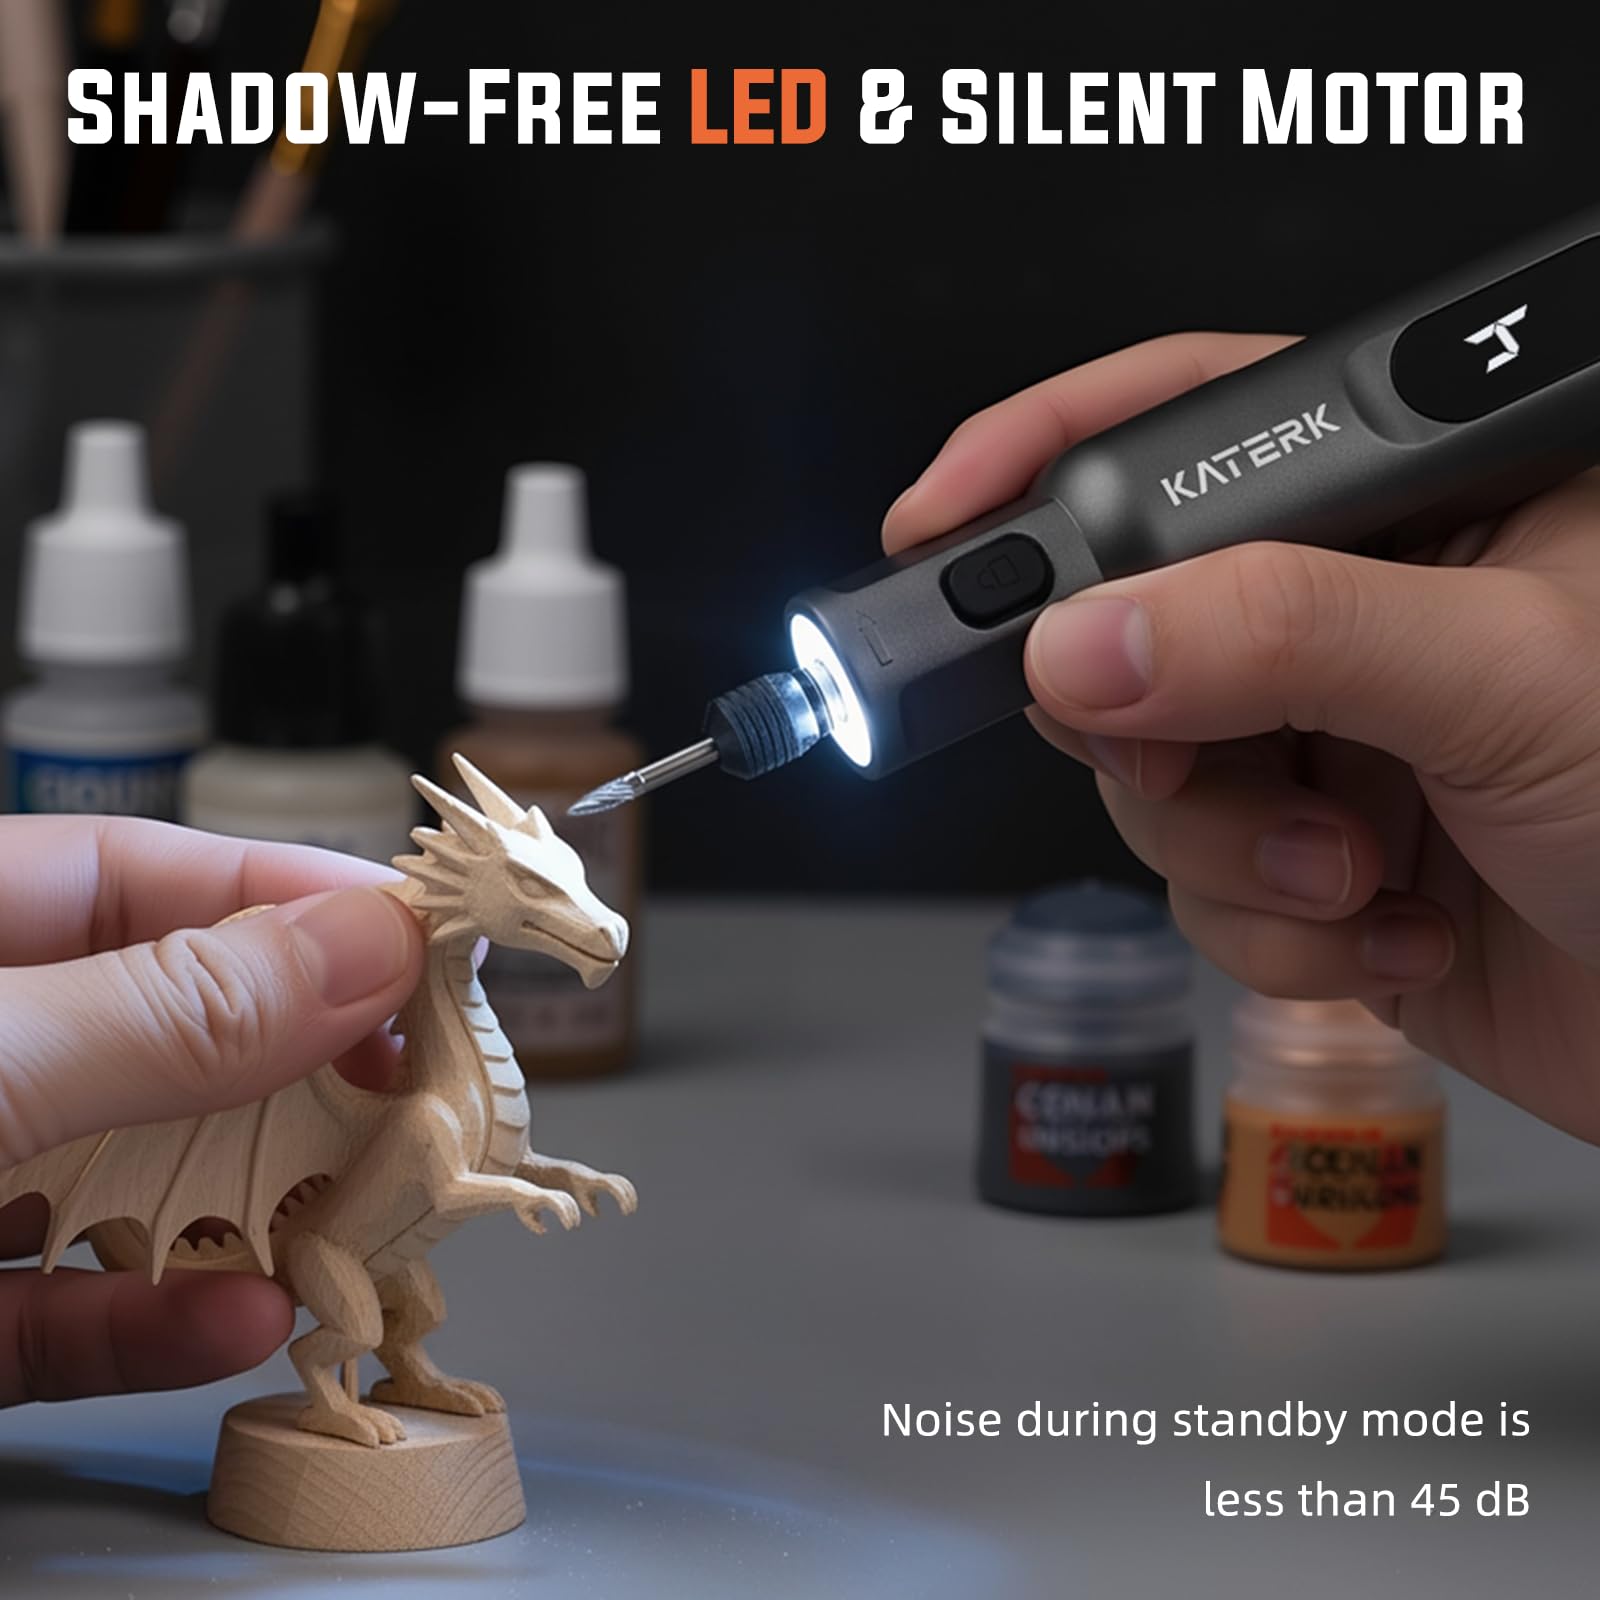
The built-in bright LED light illuminates your work area, providing clear visibility for intricate detailing, especially in dark corners or low-light conditions.
The rotary tool features a shadow-free LED light for enhanced visibility and operates with a silent motor, ensuring a quiet working environment.
3. Recommended Uses and Best Practices
This tool is strictly designed for light-duty crafts. Always rely on high-speed rotation and apply gentle, light strokes rather than heavy pressure. Heavy pressure can cause the tool to stall, damage the accessory, or reduce motor lifespan.
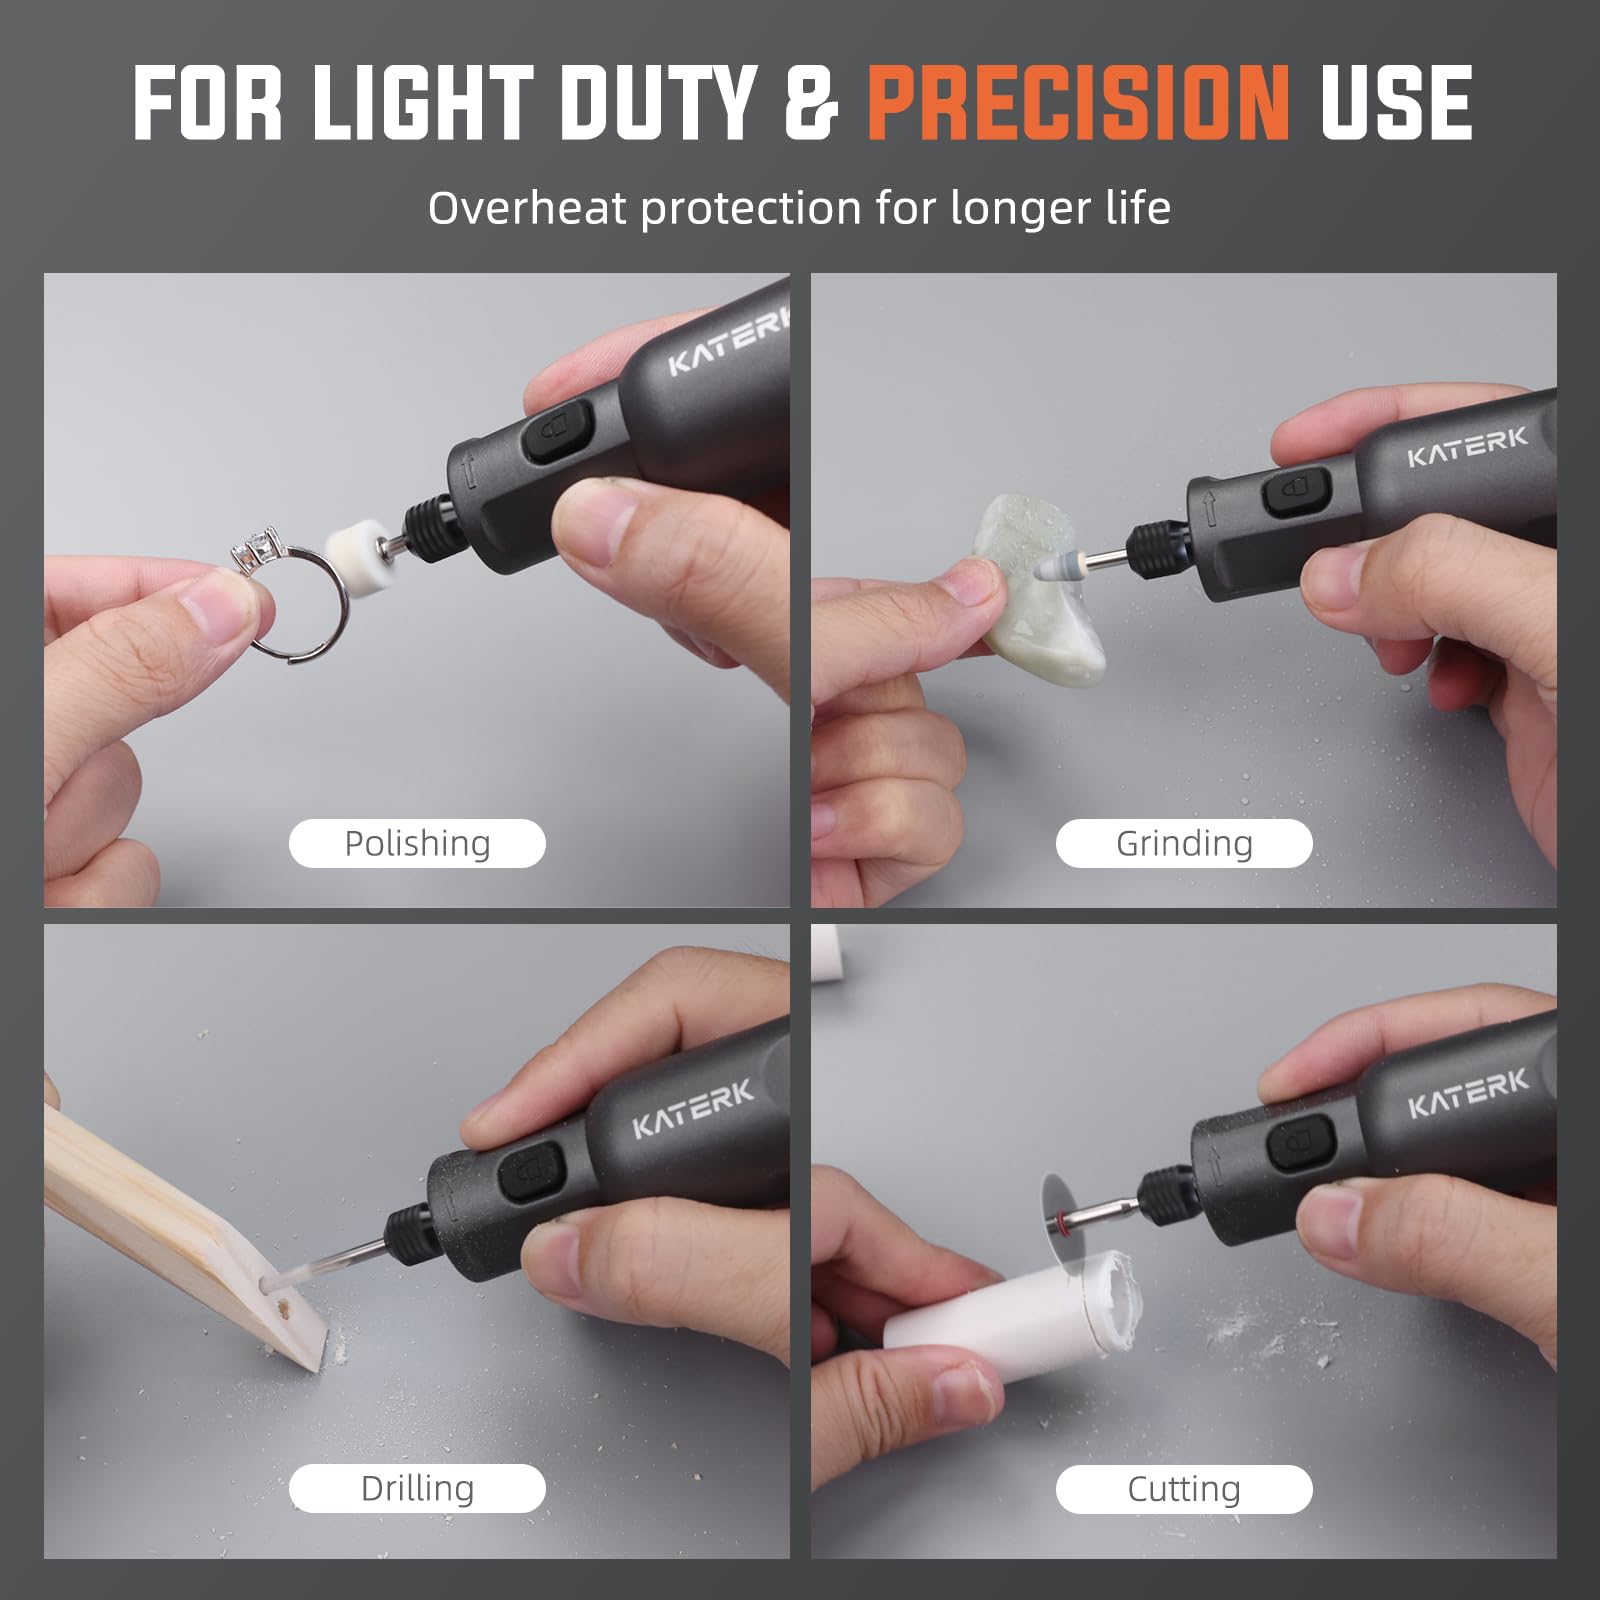
The Katerk rotary tool is suitable for various light-duty and precision tasks including polishing, grinding, drilling, and cutting.
- Sanding: Use sanding bands or discs for smoothing surfaces, deburring, or shaping.
- Polishing: Apply polishing accessories with appropriate compounds for a smooth, shiny finish on various materials.
- Drilling: Use small drill bits for precision holes in soft materials.
- Grinding: Utilize grinding bits for shaping, sharpening, or removing material.
- Carving: Employ carving bits for detailed work on wood, plastic, or soft stone.
- Cutting: Use cutting wheels for light cuts on thin materials.
- Pet Grooming: For pet nail trimming, use speed settings 1-3 (5000-12000 RPM) for a low-noise, pet-friendly experience.
The Katerk rotary tool operates at low noise levels, making it suitable for pet grooming tasks, especially at lower speed settings (1-3).
Maintenance
1. Cleaning
Regular cleaning ensures optimal performance and longevity of your tool.
- Always disconnect the tool from any power source before cleaning.
- Wipe the tool's exterior with a clean, damp cloth. Do not use harsh chemicals or abrasive cleaners.
- The tool features a no air vent design to prevent dust ingress, but ensure the chuck area is free from debris after use.
2. Storage
Store the rotary tool and its accessories in the provided storage bag in a dry, cool place, away from direct sunlight and out of reach of children.
3. Battery Care
To maximize battery life:
- Charge the battery fully before long periods of storage.
- Avoid completely draining the battery frequently.
- Recharge the tool via the included USB-C cable as needed.
Troubleshooting
If you encounter issues with your Katerk Mini Cordless Rotary Tool, refer to the following common problems and solutions:
| Problem | Possible Cause | Solution |
|---|---|---|
| Tool does not turn on. | Battery is depleted. | Charge the tool fully using the USB-C cable. |
| Accessory loosens during operation. | Chuck nut not tightened sufficiently. | Ensure the chuck nut is fully tightened before turning on the tool. Use the spindle lock button during tightening. |
| Tool vibrates excessively or makes unusual noise. | Accessory is unbalanced or damaged. | Check accessory for damage. Re-balance the accessory following the instructions in the Setup section. Replace damaged accessories. |
| Reduced performance or stalling. | Excessive pressure applied; accessory worn out. | Apply gentle, light strokes. Replace worn-out accessories. Ensure the correct speed setting is used for the task. |
Specifications
| Feature | Detail |
|---|---|
| Brand | Katerk |
| Model Number | SY-IS39425-DE-FBA |
| Voltage | 3.7 volts |
| Power Source | Battery Powered |
| Maximum Rotational Speed | 20000 rpm |
| Minimum Speed | 5000 rpm |
| Speed Settings | 5 (5,000, 8,000, 12,000, 16,000, 20,000 RPM) |
| Battery Capacity | 2500mAh |
| Charging Port | USB-C |
| Item Weight | 150 g |
| Included Components | 1 × Rechargeable Rotary Tool, 1 × USB-C Cable, 70 × Rotary Tool Accessories, 1 × Storage Bag |
| Special Features | Compact, Cordless, LED Light, Lightweight, Portable |
Warranty and Support
Katerk stands behind the quality of its products.
- Warranty: This product comes with a 2-year hassle-free warranty.
- Customer Support: For any questions, concerns, or warranty claims, please contact Katerk customer support. Our team is available to assist you.
Katerk offers 2 years of hassle-free warranty and 24-hour online support for customer assistance.


