1. Introduction
The Papablic Portable Bottle Warmer is designed for convenient milk warming at home or while traveling. This device offers fast heating, multiple temperature settings, and a wireless design for ease of use. It is suitable for warming breast milk, formula, or water.
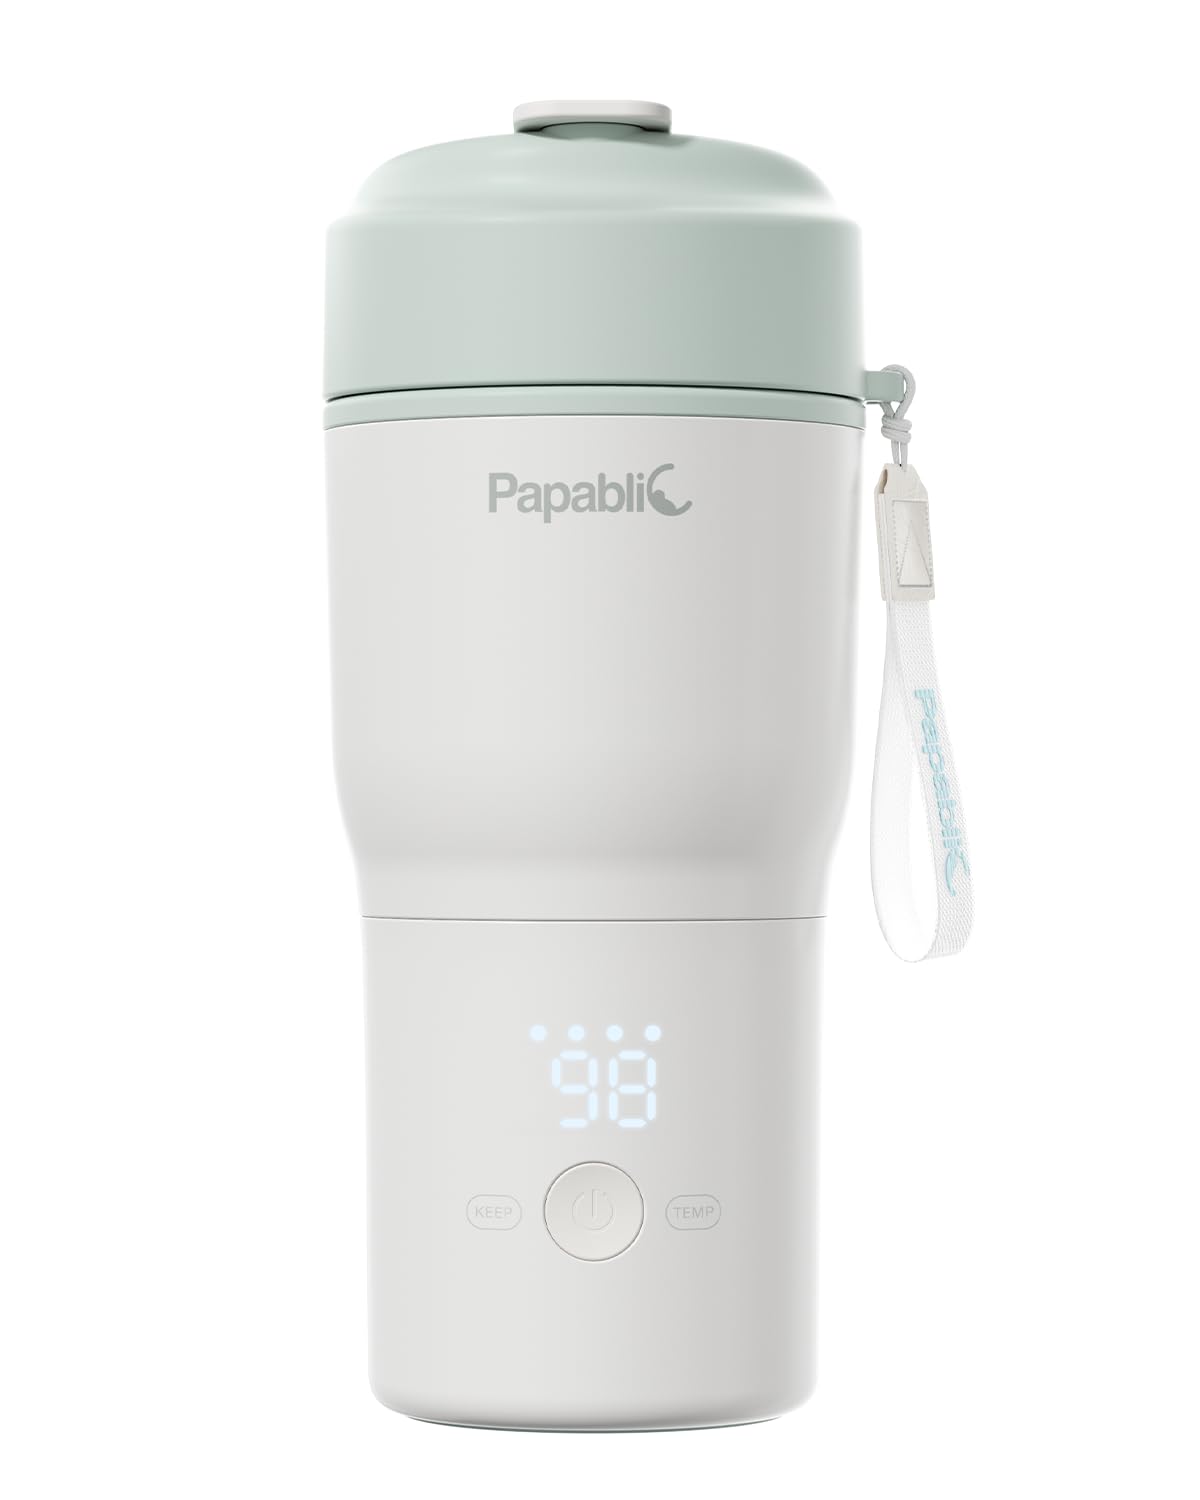
Image: The Papablic Portable Bottle Warmer, Seasalt Blue Classic model.
2. Safety Information
- Read all instructions before use.
- Keep out of reach of children.
- Do not immerse the device in water or other liquids.
- Ensure the lid is securely fastened before heating or transporting.
- Always check milk temperature before feeding your baby.
- Use only the provided charging cable or a certified compatible cable.
3. Package Contents
- Papablic Portable Bottle Warmer
- USB-C Charging Cable
- Wrist Strap
- Instruction Manual
4. Product Overview
The portable bottle warmer features a sleek design with an integrated display for temperature and battery status. It includes a wide-mouth stainless steel interior for easy cleaning and a secure lid with a pour spout.

Image: An illustration of the portable bottle warmer, detailing its components and features.
5. Setup
5.1 Charging the Device
Before first use, fully charge the bottle warmer. Connect the USB-C charging cable to the charging port on the device and plug the other end into a compatible power source (e.g., wall adapter, car charger, power bank). The battery indicator on the display will show charging progress. A full charge takes approximately 1.5 hours.

Image: The portable bottle warmer being charged via its USB-C port.
5.2 Initial Cleaning
Before first use, and after each use, clean the interior of the warmer. The wide mouth design facilitates easy cleaning. Refer to the 'Cleaning and Maintenance' section for detailed instructions.
6. Operating Instructions
6.1 Adding Liquid
Unscrew the top lid. Pour the desired amount of breast milk, formula, or water into the stainless steel interior. The interior has measurement markings for convenience. Securely screw the lid back onto the warmer.
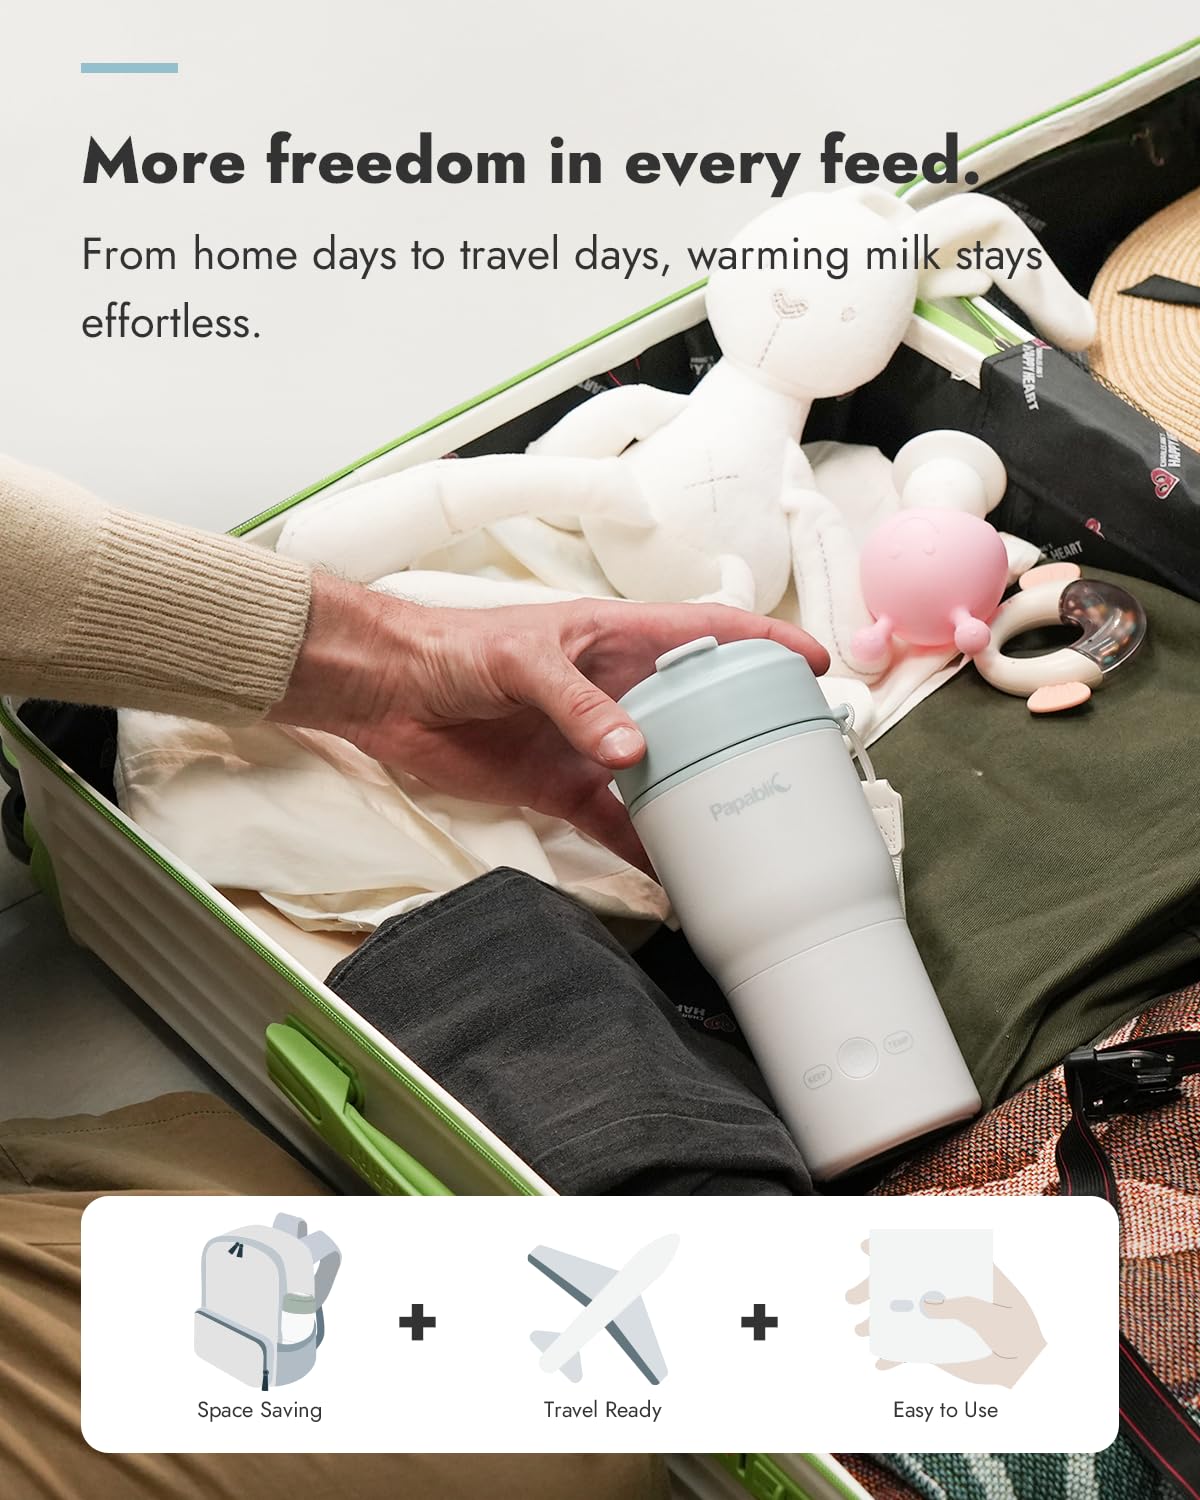
Image: A hand pouring milk into the wide-mouth opening of the bottle warmer.
6.2 Temperature Settings
Press and hold the power button to turn on the device. Use the 'TEMP' button to cycle through the available temperature settings: 98℉ (37℃), 104℉ (40℃), 113℉ (45℃), and 122℉ (50℃). The selected temperature will be displayed on the screen.

Image: The bottle warmer's digital display showing the set temperature.
6.3 Heating Process
Once the desired temperature is set, the device will begin heating. The 85W fast heating element can warm 4oz of refrigerated milk to 98℉ in approximately 3 minutes and 45 seconds, and 4oz of room-temperature water to 104℉ in about 1 minute and 35 seconds. The display will show the current temperature as it rises.
6.4 Keep Warm Function
After reaching the target temperature, the device automatically activates the 'KEEP' warm function, maintaining the temperature for up to 4 hours. This ensures milk is ready when needed without immediate reheating.
Video: An official Papablic video demonstrating the portable bottle warmer's use for both home and on-the-go scenarios, highlighting its convenience.
7. Cleaning and Maintenance
7.1 Daily Cleaning
After each use, empty any remaining liquid. Unscrew the lid and wash the stainless steel interior with warm, soapy water. The 3-inch wide mouth allows for easy access and thorough cleaning, preventing milk residue buildup. Wipe the exterior with a damp cloth. Ensure all parts are dry before reassembling.

Image: A hand cleaning the wide-mouth interior of the bottle warmer, demonstrating ease of access.
7.2 Sterilization Function
The device features a built-in sterilization function. To use, add a small amount of water (e.g., 1 ounce) to the interior, close the lid, and activate the sterilization mode (refer to the device's specific button combination for this function, usually indicated in the quick start guide). This function helps maintain hygiene for small items like pacifiers or bottle nipples.
8. Troubleshooting
- Device not turning on: Ensure the device is fully charged. Connect to a power source and allow it to charge for at least 15 minutes before attempting to power on again.
- Milk not heating: Verify that the correct temperature setting has been selected and the heating cycle has started. Ensure there is sufficient liquid in the warmer.
- Inaccurate temperature reading: Ensure the device is clean and free of residue. If issues persist, contact customer support.
- Short battery life: Ensure the device is fully charged before each use. Battery performance may vary based on usage patterns and ambient temperature.
9. Specifications
| Package Dimensions | 9.88 x 4.61 x 4.61 inches |
| Batteries | 1 Lithium Ion batteries required (included) |
| Material Composition | Stainless Steel |
| Item Weight | 1.65 pounds |
| ASIN | B0FH6XFRXB |
10. Warranty and Support
For warranty information, product registration, or technical support, please visit the official Papablic website or contact their customer service directly. Keep your purchase receipt for warranty claims.
Video: An official Papablic video showcasing the next-generation bottle warmer, emphasizing its versatility for various scenarios.