1. Introduction
The AtomStack Swift is a versatile laser engraving and cutting machine designed for beginners, students, creators, and small businesses. It features intelligent software with AI for automatic design and compatibility with various materials such as wood, leather, paper, and acrylic. Its modular design and optional accessories allow for quick and easy creation of personalized products, decorations, and DIY projects. The Swift 7W model offers a 300x300 mm working area and is ideal for home, studio, or creative business use.
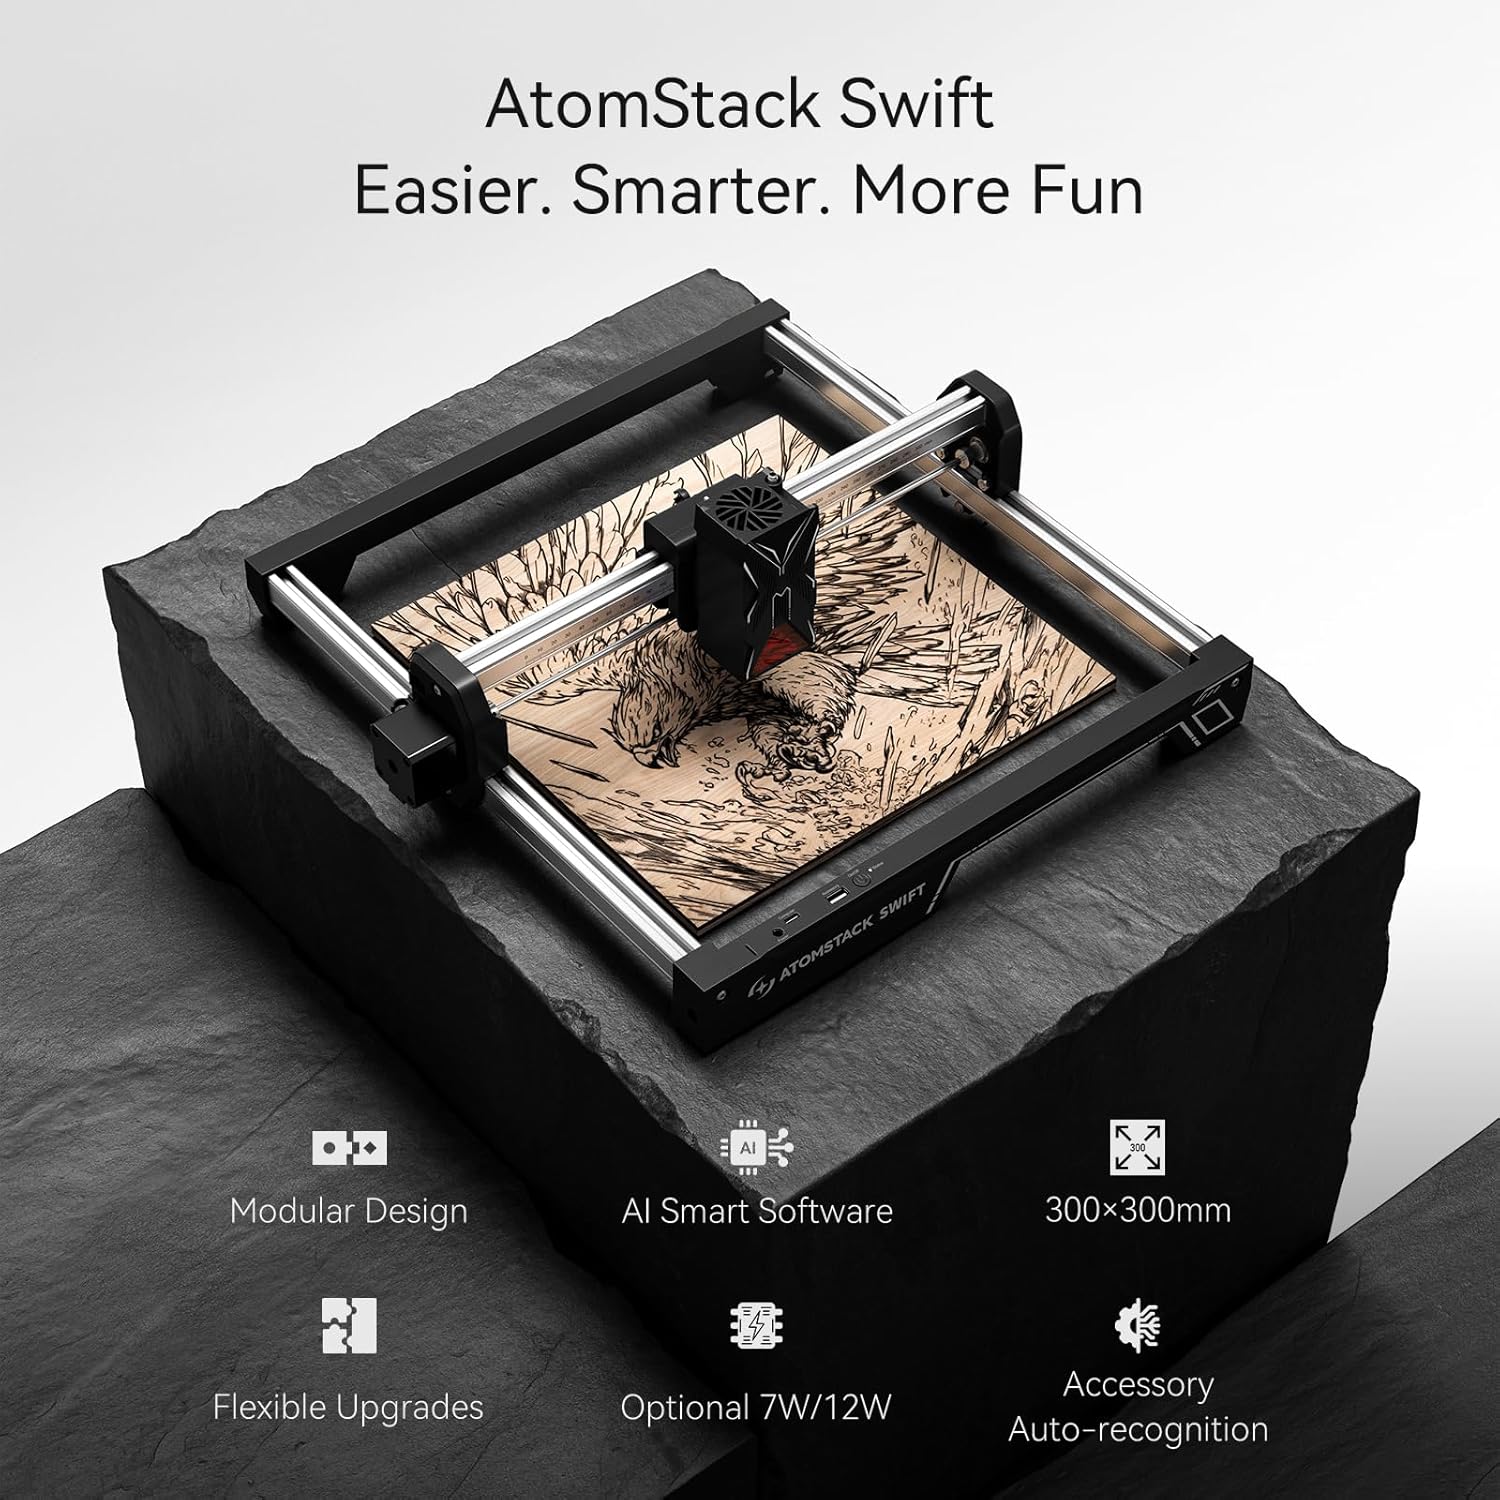
Image 1.1: AtomStack Swift 7W Laser Engraver showcasing its capabilities with various engraved samples.
2. Safety Information
Laser engravers are powerful tools that require careful handling. Please read and understand all safety instructions before operating the AtomStack Swift 7W.
- Eye Protection: Always wear the provided laser safety goggles when the laser is operating. Never look directly at the laser beam.
- Ventilation: Operate the machine in a well-ventilated area to dissipate smoke and fumes generated during engraving or cutting. Consider using an air assist system for better fume extraction.
- Fire Hazard: Some materials are flammable. Always supervise the machine during operation. Keep a fire extinguisher nearby.
- Material Compatibility: Only engrave or cut materials recommended by ATOMSTACK. Avoid highly reflective, transparent, or unknown materials.
- Children and Pets: Keep children and pets away from the operating area.
- Emergency Stop: Familiarize yourself with the emergency stop procedure.
3. Package Contents
Upon unboxing your AtomStack Swift 7W, ensure all components are present:
- AtomStack Swift 7W Laser Engraver main frame components
- Laser module (7W)
- Power adapter and cables
- USB cable
- Safety goggles
- User manual and quick start guide
- Tools for assembly (e.g., Allen wrenches)
- Sample materials for testing

Image 3.1: All components of the AtomStack Swift 7W laid out for initial assembly.
4. Setup
The AtomStack Swift features a modular design for quick and easy assembly. Follow these steps to set up your device:
- Assemble the Frame: Connect the five main frame components as shown in the unboxing video. Ensure the X-axis belt faces downwards and the Y-axis motor is on the left. Secure with the provided M5x8 screws.
- Install Optical Axis: Insert the optical axis into the X-axis assembly. Push the X-axis towards the front X-axis assembly, ensuring it is fully inserted and parallel. Tighten the coupling and timing pulley.
- Install Laser Module: Mount the laser module onto the carriage and tighten the thumbscrew.
- Connect Cables: Connect the motor cable, limit switch cables, and laser module cable to their respective ports.
- Power On: Connect the power adapter and turn on the device.
Video 4.1: Detailed unboxing and installation guide for the AtomStack Swift laser engraver, demonstrating step-by-step assembly and cable connections.
Focus Adjustment
Proper focus is crucial for optimal engraving and cutting results.
- Place your material on the work area.
- Adjust the focus by rotating the side knob on the laser module until the laser spot is at its smallest point on the material surface.
- If the hand-tightened screw interferes with the optical axis, pull out the black piece, turn it outwards, and then release it.
Software Setup
The AtomStack Swift is compatible with AtomStack Studio and LightBurn software.
- AtomStack Studio: Download and install the AtomStack Studio software from the official ATOMSTACK website. Connect your device via USB or Wi-Fi. The software features AI text-to-image functionality and a material library for easy design and parameter settings.
- LightBurn: Download and install LightBurn software. Configure your device by selecting GRBL as the device type and setting the work area dimensions to 300x300 mm. Adjust baud rate to 460800.
Video 4.2: Guide on how to use LightBurn software with the AtomStack Swift 7W laser engraver, including device setup and basic engraving operations.
Video 4.3: Tutorial on using AtomStack Studio software with the AtomStack Swift 7W laser engraver, demonstrating design import and engraving process.
5. Operating Instructions
Once your AtomStack Swift is set up and connected to the software, you can begin your projects.
Material Preparation
Ensure your material is clean, flat, and securely placed within the working area. Use the rulers on the frame for precise positioning.

Image 5.1: Examples of materials compatible with the AtomStack Swift, including wood, bamboo, paper, leather, and acrylic.
Software Usage (General Steps)
- Import Design: Load your desired image or design into AtomStack Studio or LightBurn.
- Adjust Parameters: Select your material type from the library or manually set engraving/cutting parameters (speed, power, passes).
- Frame the Design: Use the 'Frame' function in the software to preview the laser path on your material, ensuring correct placement.
- Start Operation: Once satisfied with the settings and placement, initiate the engraving or cutting process. Always supervise the machine during operation.
Using Optional Accessories
Enhance your creative possibilities with optional accessories:
- Air Assist System: For cleaner cuts and reduced charring, connect the optional F40 Air Pump. This accessory helps blow away smoke and debris from the laser's path.
- Height Extension & Roller Chuck: For engraving cylindrical objects like cups, bottles, or rings, attach the height extension and roller chuck. The software automatically recognizes connected accessories and adjusts modes.
- 2W Infrared Laser Upgrade: For marking metals and other specialized materials, swap the standard laser module with the optional 2W Infrared Laser.

Image 5.2: AtomStack Swift demonstrating various optional accessories for expanded functionality.
6. Maintenance
Regular maintenance ensures the longevity and optimal performance of your AtomStack Swift.
- Cleaning the Lens: Periodically clean the laser lens with a soft, lint-free cloth and lens cleaning solution to maintain laser beam quality.
- Cleaning the Rails and Belts: Keep the guide rails and belts free from dust and debris to ensure smooth movement of the laser module. Use a soft brush or cloth.
- Firmware Updates: Check the ATOMSTACK official website or software for any available firmware updates to ensure your device has the latest features and bug fixes.
7. Troubleshooting
If you encounter issues with your AtomStack Swift, refer to the following common problems and solutions:
- Laser Not Firing:
- Check if the laser module is securely connected and powered on.
- Verify laser power settings in the software.
- Ensure the safety cover is properly closed (if applicable).
- Poor Engraving/Cutting Quality:
- Check the laser focus. Adjust as needed.
- Verify material settings (speed, power, passes) are appropriate for the material type and thickness.
- Clean the laser lens.
- Ensure the material is flat and securely held.
- Machine Not Connecting to Software:
- Check USB cable connection or Wi-Fi status.
- Ensure correct COM port is selected in LightBurn or AtomStack Studio.
- Restart the machine and software.
- Update USB drivers if necessary.
- Abnormal Movement/Noise:
- Check for any obstructions on the rails or belts.
- Ensure belts are properly tensioned.
- Verify all frame screws are tightened.
For further assistance, please refer to the comprehensive troubleshooting guide on the ATOMSTACK official website or contact customer support.
8. Specifications
| Feature | Specification |
|---|---|
| Brand | ATOMSTACK |
| Model Number | Swift 7W |
| Laser Power | 7W (Diode Laser) |
| Working Area | 300x300 mm |
| Max Engraving Speed | 10,000 mm/min |
| Spot Size | 0.08 x 0.04 mm |
| Connectivity | Wi-Fi, Hotspot, USB |
| Compatible Materials | Wood, Bamboo, Paper, Cardboard, Leather, MDF, Felt, Fabric, Coated Metals, Dark Opaque Acrylic |
| Safety Features | Class 4 Laser, Tilt Protection, Flame Detection |
| Product Weight | 6.17 Pounds |
| Country of Origin | China |
9. Warranty and Support
ATOMSTACK products come with a manufacturer's warranty. For specific warranty details, registration, and technical support, please visit the official ATOMSTACK website or contact their customer service directly. Keep your purchase receipt for warranty claims.
For additional resources and community support, you may visit the ATOMSTACK brand store on Amazon: ATOMSTACK Brand Store