
1. Introduction
Thank you for choosing the DWVO 20x40FT Heavy Duty Party Tent. This manual provides essential information for the safe and efficient assembly, operation, and maintenance of your tent. Please read these instructions carefully before setup to ensure proper use and to maximize the lifespan of your product.
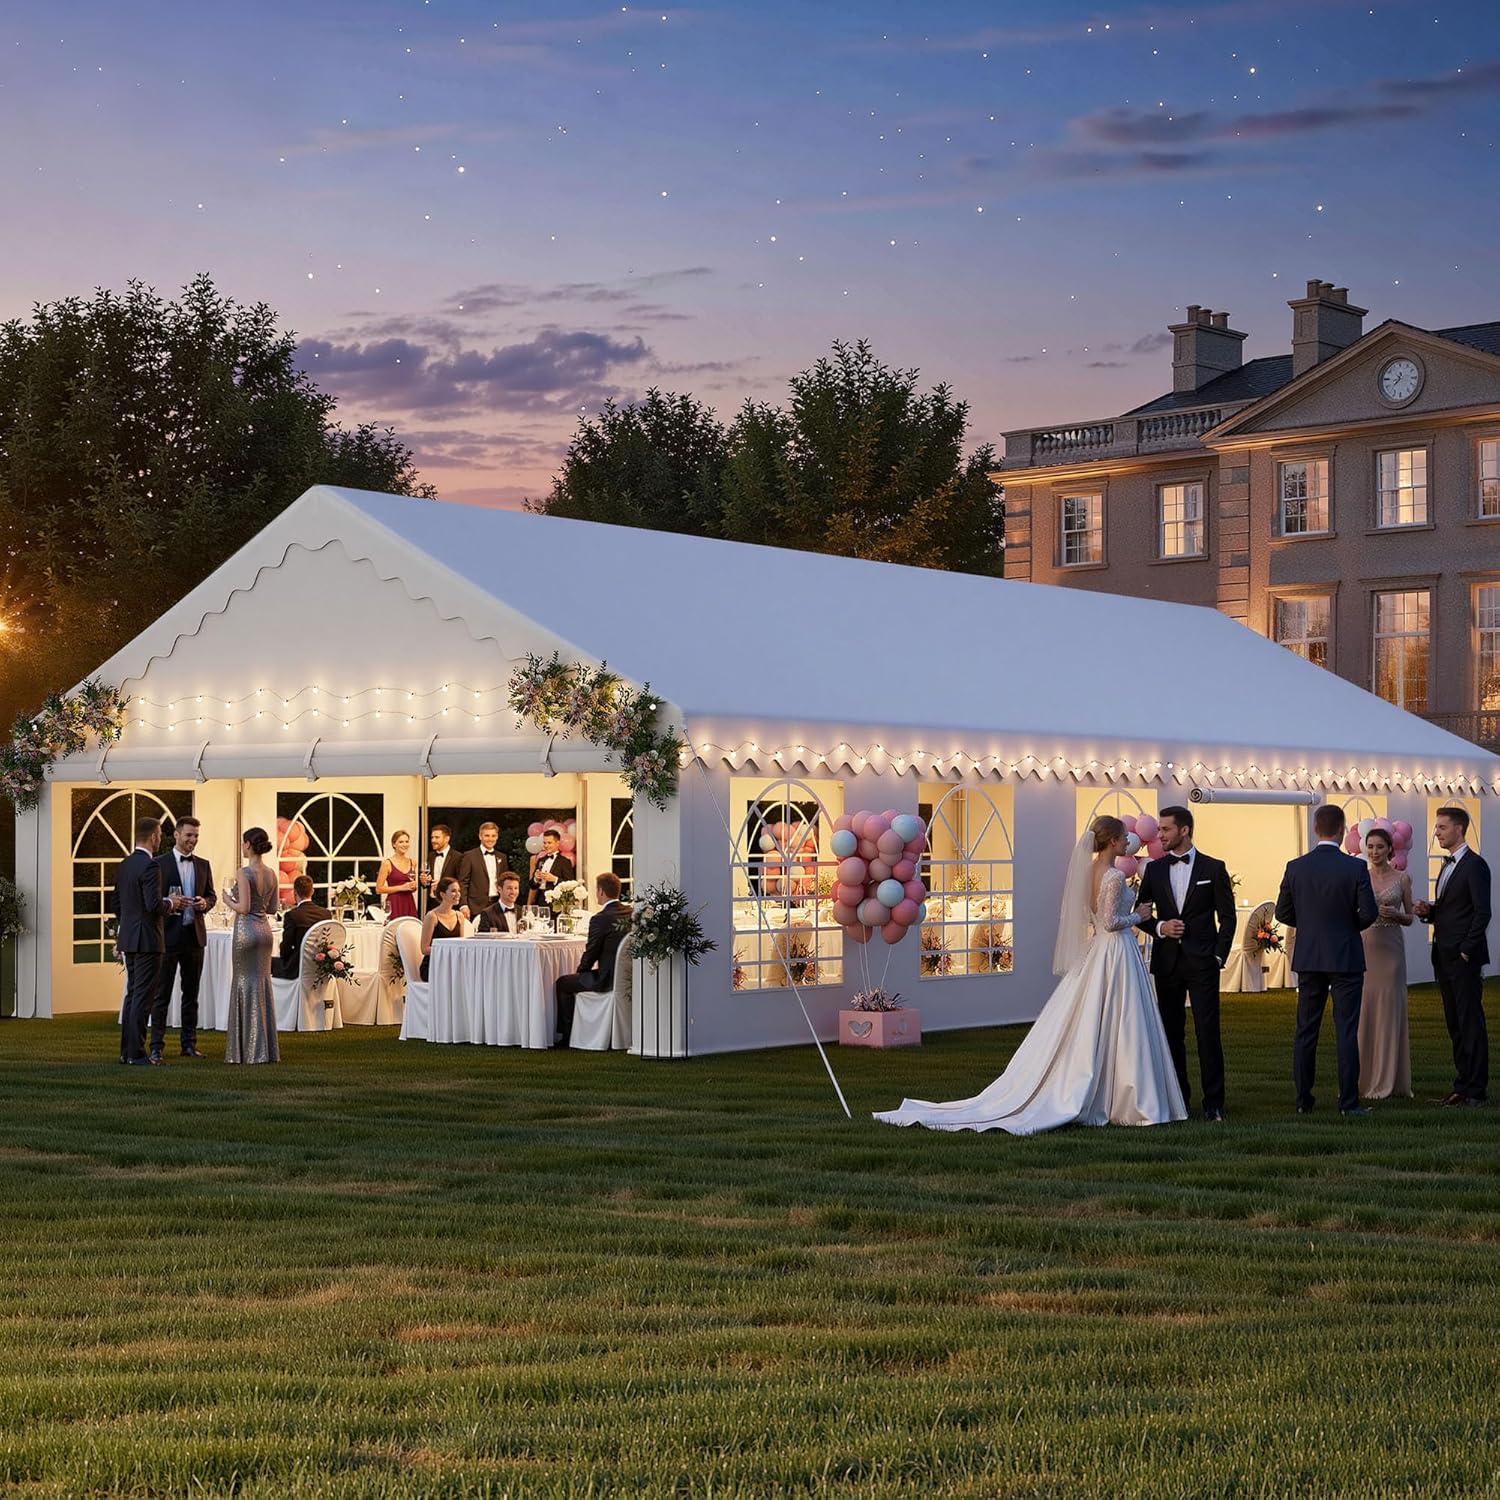
Image 1.1: The DWVO 20x40FT Party Tent providing shelter for an outdoor event.
2. Safety Information and Warnings
Your safety is paramount. Adhere to the following guidelines to prevent injury or damage to the tent:
- Secure Anchoring: Always anchor the tent securely to the ground using the provided stakes, ropes, and expansion screws. Ground nails are suitable for grassy surfaces, while expansion screws are for cement surfaces.
- Weather Conditions: Do not set up or use the tent in high winds (25 mph or higher), heavy rain, snowfall, or thunderstorms. Excessive accumulation of snow or standing water on the roof can damage the structure and create a safety hazard.
- Fire Hazard: This party tent material is NOT FIREPROOF. Always keep it away from open flames, grills, heaters, or any ignition source.
- Roof Clearance: Keep the roof clear of snow and standing water to prevent structural damage.
- Professional Installation: Safety measures and professional installation are highly recommended, especially for large-scale events.
- Manufacturer Liability: The manufacturer is not liable for damage or injury resulting from improper installation or adverse weather conditions.
3. Parts List
Before beginning assembly, ensure all components listed below are present and undamaged. The tent is delivered in 3 boxes, which may arrive separately.
- 1 x Top Cover
- 2 x Sidewalls with Windows
- 2 x Zipper Doors
- 1 x Frame Set (Heavy-duty galvanized steel poles and connectors)
- 3 x Oxford Storage Bags
- 4 x Sandbags
- Ground Nails
- Wind Ropes

Image 3.1: Overview of the 20x40FT tent dimensions and packaging components.
4. Setup Instructions
Assembly requires careful attention to detail. We recommend a minimum of 4 people for easier and safer setup.
4.1 Frame Assembly
- Unpack Components: Carefully unpack all frame components and lay them out in an organized manner.
- Color-Coding Tip: For future assemblies, consider color-coding the poles and connectors with spray paint or tape. For example, use red for corner poles and yellow for connecting poles. This significantly reduces assembly time.
- Connect Poles: Assemble the roof frame first, connecting the galvanized steel tubes. The frame features 1.5-inch (38 mm) diameter steel tubes and reinforced metal joints measuring 1.66 inches (42 mm) for strength.
- Attach Legs: Once the roof frame is complete, attach the leg poles. Ensure all connections are secure and stable.

Image 4.1: Detail of the 1.5-inch thickened pipe wall, designed for robustness and corrosion protection.

Image 4.2: Seamless welded joints ensure high strength and corrosion resistance.
4.2 Canopy and Sidewall Installation
- Drape Top Cover: Carefully drape the top cover over the assembled frame. Ensure it is centered and evenly distributed.
- Secure Top Cover: Use the provided bungee cords or ties to secure the top cover to the frame.
- Attach Sidewalls and Doors: Attach the removable sidewalls and zipper doors to the frame. These are designed for easy attachment and removal.
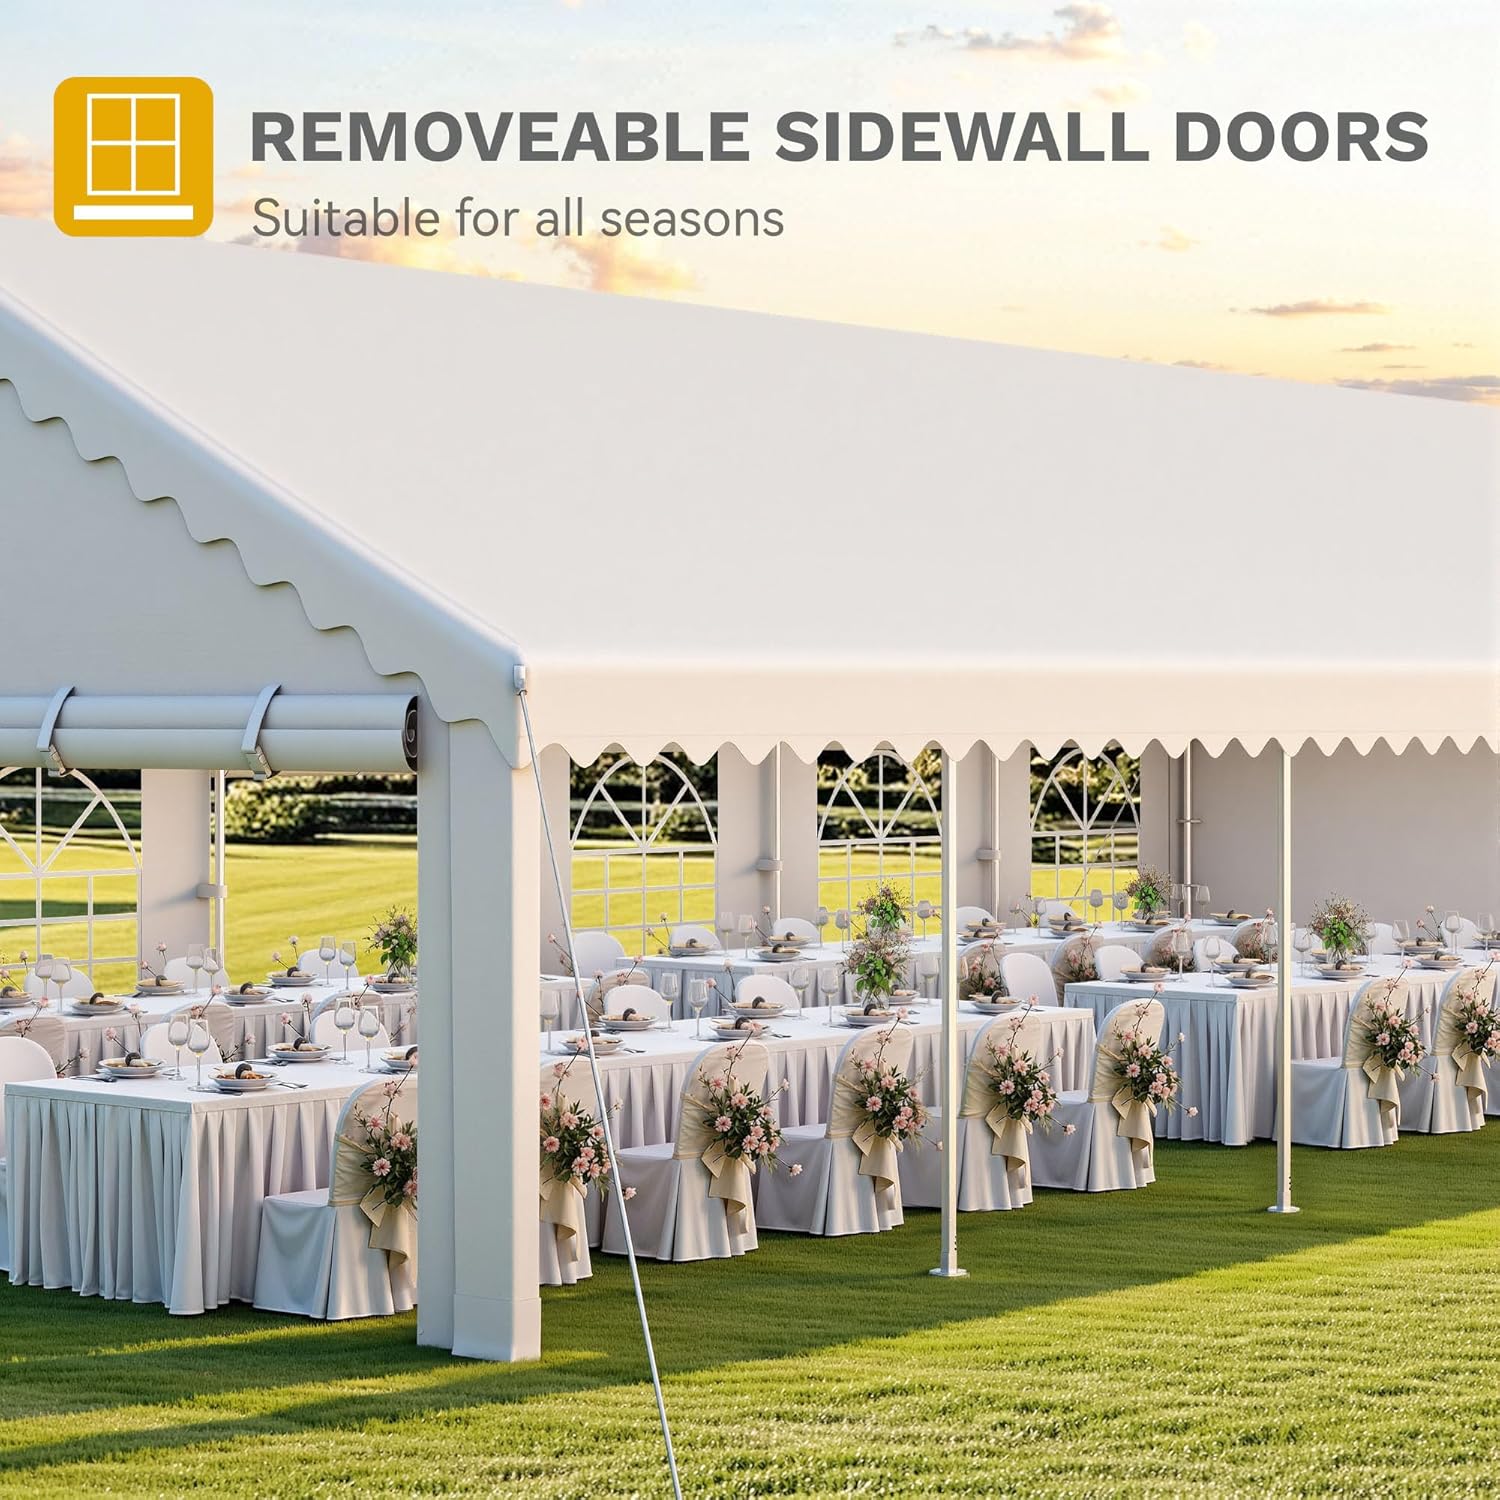
Image 4.3: Removable sidewall doors offer versatility for various seasons and events.

Image 4.4: Bouncy ball fixings provide elasticity to adapt to various item sizes and shapes, securing the tent fabric.
4.3 Anchoring the Tent
- Ground Anchoring: Use the provided ground nails for grass or soft ground. For concrete or hard surfaces, use expansion screws (not included, but recommended for maximum stability).
- Wind Ropes and Sandbags: Attach wind ropes to the designated points on the tent and secure them to the ground. Utilize the sandbags for additional stability, especially in moderate wind conditions.

Image 4.5: The enclosed ground link design ensures stable and high load-bearing capacity.

Image 4.6: Nylon wind ropes and spikes effectively secure the tent for safety and comfort.
5. Operation
The DWVO Party Tent is designed for versatile outdoor use:
- Removable Sidewalls: The two removable sidewalls and two zipper doors allow you to adapt the tent's configuration. Choose between a fully enclosed space, partial coverage, or an open-air setup depending on your event needs and weather conditions.
- Ventilation and Light: The elegant 160-g PVC windows on the sidewalls provide natural light and can be opened for ventilation, ensuring a bright and airy environment.

Image 5.1: Interior view showcasing the spacious comfort and natural light provided by the tent's design.
6. Maintenance
Proper maintenance will extend the life of your party tent:
- Cleaning: Clean the tent fabric with mild soap and water. Avoid harsh chemicals or abrasive cleaners that could damage the material. Rinse thoroughly and allow to air dry completely before storage.
- Frame Inspection: Periodically inspect the galvanized steel frame for any signs of rust, damage, or loose connections. Tighten bolts and replace any damaged parts as needed.
- Roof Care: Regularly check and clear the roof of any debris, leaves, snow, or standing water to prevent sagging and potential damage.
- Storage: When not in use, disassemble the tent and store all components in the provided Oxford storage bags. Store in a cool, dry place away from direct sunlight and extreme temperatures to prevent material degradation.
7. Troubleshooting
Here are solutions to common issues you might encounter:
- Tent Instability: Ensure all stakes, ropes, and expansion screws are properly secured. Check for loose connections in the frame. Avoid use in high winds.
- Water Accumulation on Roof: Regularly clear snow and standing water. Ensure the tent is pitched tautly to prevent sagging.
- Difficulty Assembling: Refer to the color-coding and taping tip for frame assembly. Ensure all parts are correctly identified before connecting.
- Damaged Fabric: Small tears can often be repaired with a tent repair kit. For significant damage, contact customer support for replacement options.
8. Specifications
| Feature | Detail |
|---|---|
| Brand | DWVO |
| Model Number | MADWVdYiyZ |
| Size | 20x40 FT |
| Floor Area | 800 Square Feet |
| Item Dimensions (L x W x H) | 480"L x 240"W x 144"H |
| Material | Galvanized Iron, Polyethylene (PE) |
| Frame Material | Metal (Galvanized Iron) |
| Pole Material Type | Iron |
| Color | White |
| Item Weight | 72.8 Pounds |
| Water Resistance Level | Water Resistant |
| Ultraviolet Light Protection | Yes |
| Required Assembly | Yes |
| Coverage | Water-resistant fabric with removable sidewalls and arched windows for ventilation |
9. Warranty and Support
The manufacturer's warranty description emphasizes proper usage and anchoring. Always anchor the tent securely to the ground using the provided stakes, ropes, and expansion screws. Do not use the tent in heavy rain or storms. Keep the tent away from heat sources and open flames to prevent fire hazards. Use sun protection when exposed to direct sunlight.
For further assistance, missing parts, or warranty claims, please contact DWVO customer support through the retailer where the product was purchased. Provide your model number (MADWVdYiyZ) and proof of purchase for efficient service.
