Important Safety Instructions
Please read all instructions carefully before installation and use. Keep this manual for future reference.
- Ensure the power is turned off at the circuit breaker before installation or servicing.
- All wiring must be in accordance with national and local electrical codes. If you are unfamiliar with wiring, consult a qualified electrician.
- The ceiling fan must be mounted to a structurally sound ceiling joist or outlet box capable of supporting the fan's weight (approximately 4 kg).
- Maintain a minimum clearance of 7 feet from the floor to the fan blades.
- Do not insert objects into the path of the fan blades.
- Do not attempt to repair or replace parts unless specifically instructed in this manual. Contact customer support for assistance.
Package Contents
Verify that all components are present before beginning installation:
- Ceiling Fan Unit (Motor Housing, Blades, Light Kit)
- Remote Control
- Mounting Hardware
- User Manual
Specifications
| Feature | Detail |
|---|---|
| Brand | Ohniyou |
| Model Name | GLX078B-X |
| Product Dimensions | 31.89"D x 31.89"W x 11.42"H |
| Item Weight | 4 Kilograms |
| Power Source | DC |
| Controller Type | Remote Control |
| Noise Level | 35 Decibels |
| Indoor/Outdoor Usage | Indoor |
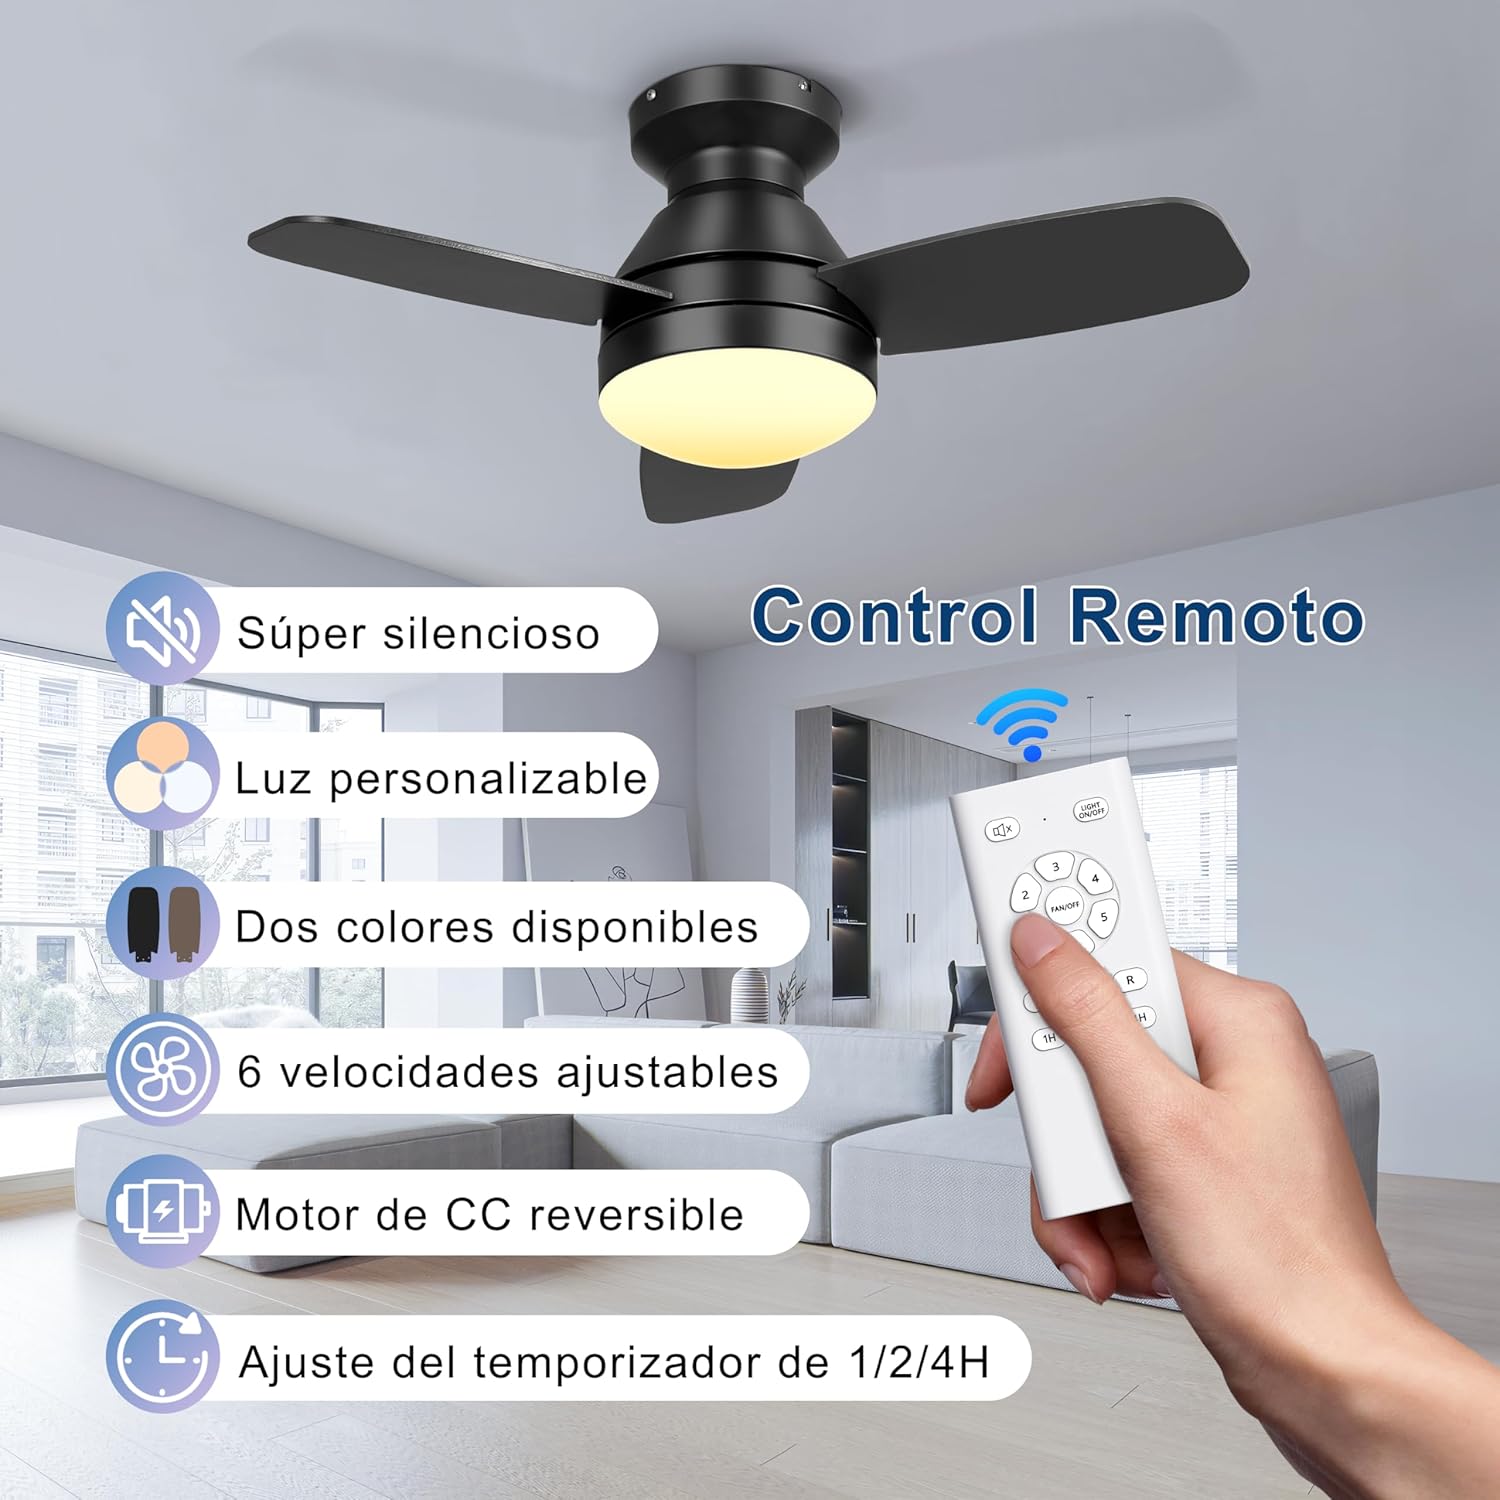
| Special Features | LED Light, Reversible Motor, 6 Speeds, 3 Color Light, Timer Function |
Setup and Installation
This section provides general guidance. Refer to the detailed installation diagram included in your package for specific wiring and mounting instructions.
- Prepare for Installation: Turn off power at the main circuit breaker. Ensure the mounting location is secure and can support the fan's weight.
- Install Mounting Bracket: Secure the mounting bracket to the ceiling outlet box or a structural joist using the provided hardware.
- Wire the Fan: Connect the fan's electrical wires to the household wiring according to the wiring diagram. Ensure all connections are secure.
- Attach Fan Body: Carefully lift the fan body and attach it to the mounting bracket.
- Install Fan Blades: Attach the fan blades to the motor housing. Note that the blades are double-finished, with one side black and the other wood grain. Choose your preferred finish during installation.
- Install Light Kit: Connect the light kit wiring and secure the light kit to the fan body.
- Restore Power: Once installation is complete and all connections are secure, restore power at the circuit breaker.

Operating Instructions
Your Ohniyou ceiling fan is controlled by the included remote control. Ensure batteries are installed correctly in the remote.
Fan Speed Control
The remote allows you to select from 6 different wind speeds to suit your comfort level.
- Use the "FAN SPEED" buttons (1-6) to adjust the fan speed.
- Speeds 1-2 provide a comfortable, gentle breeze.
- Speeds 3-4 offer a medium, natural wind.
- Speeds 5-6 deliver a strong, high-cooling airflow.

Dimmable LED Light Control
The integrated LED light offers 3 color temperatures and is dimmable.
- Press the "LIGHT" button to cycle through the 3 color temperatures: Warm Light (3000K), Natural Light (4000K), and Cold Light (6000K).
- Use the "DIMMER" buttons (usually +/- or up/down arrows) to adjust the brightness of the light.

Reversible DC Motor
The fan features a reversible DC motor for year-round comfort.
- Press the "REVERSE" button on the remote to change the direction of the fan blades.
- Summer Mode (Downward Airflow): Blades rotate counter-clockwise, pushing air down to create a cooling effect.
- Winter Mode (Upward Airflow): Blades rotate clockwise, drawing air up to circulate warm air trapped near the ceiling, balancing indoor heating.

Timer Function
Set the fan to automatically turn off after a specified period.
- Press the "TIMER" button (1H, 2H, 4H) to set the fan to turn off after 1, 2, or 4 hours.
Natural Wind Mode
Activate the natural wind mode for a varying breeze that simulates outdoor conditions.
- Press the "NATURAL WIND" button (if available on your remote) to engage this mode.
Maintenance
Regular maintenance ensures optimal performance and extends the life of your ceiling fan.
- Cleaning: Turn off power before cleaning. Use a soft, damp cloth to wipe down the fan blades and motor housing. Do not use abrasive cleaners or solvents.
- Blade Tightness: Periodically check that all blade screws are tight. Over time, they may loosen due to vibration.
- Light Kit: Ensure the light cover is securely fastened. If the LED light fails, contact customer support for replacement options. Do not attempt to replace individual LED components.
- Remote Control: Replace batteries when the remote's range decreases or it becomes unresponsive.
Troubleshooting
Before contacting customer support, try these common troubleshooting steps:
| Problem | Possible Cause | Solution |
|---|---|---|
| Fan does not start | No power; Loose wire connections; Remote control issues. | Check circuit breaker; Ensure all wires are securely connected; Replace remote batteries or re-pair remote if necessary. |
| Light does not work | Loose wire connections; LED failure. | Check light kit wiring; Contact customer support for LED replacement. |
| Fan wobbles | Loose blades or mounting hardware; Unbalanced blades. | Ensure all blade screws and mounting screws are tight; Use a balancing kit (not included) if necessary. |
| Remote not working | Dead batteries; Remote not paired. | Replace batteries; Refer to remote pairing instructions (usually involves pressing a button within a few seconds of turning on power). |
Warranty and Support Information
Ohniyou products are designed for quality and reliability. For specific warranty details, please refer to the warranty card included with your purchase or visit the official Ohniyou website.
If you encounter any issues or have questions not covered in this manual, please contact Ohniyou customer support:
- Website: Visit the Ohniyou Store on Amazon
- Email: Refer to your product packaging or warranty card for contact email.
- Phone: Refer to your product packaging or warranty card for contact phone number.
Please have your model number (GLX078B-X) and purchase date ready when contacting support.


