
1. Introduction
This manual provides essential information for the safe assembly, operation, and maintenance of your YZFfnte 10x14 FT Extra-Large Outdoor Metal Storage Shed. Please read all instructions carefully before beginning assembly and retain this manual for future reference. Proper installation and care will ensure the longevity and optimal performance of your storage shed.

Image 1.1: The YZFfnte 10x14 FT Extra-Large Outdoor Metal Storage Shed, shown installed in a garden.
2. Safety Information
Always prioritize safety during assembly and use. Failure to follow these instructions may result in injury or damage to the product.
- Read Instructions: Thoroughly read and understand all assembly instructions before starting.
- Two-Person Assembly: Assembly requires at least two adults. Do not attempt to assemble alone.
- Protective Gear: Wear appropriate personal protective equipment, including gloves and eye protection, during assembly.
- Site Selection: Choose a level, stable surface for installation. Ensure adequate clearance around the shed.
- Anchoring: Securely anchor the shed to the ground to prevent wind damage. Anchoring hardware may not be included and should be purchased separately based on your ground type.
- Sharp Edges: Metal components may have sharp edges. Handle with care.
- Electrical Safety: Do not install near overhead power lines or underground utilities.
- Ventilation: Ensure proper ventilation when storing flammable materials or operating equipment inside.
- Children and Pets: Keep children and pets away from the assembly area.
3. Package Contents
Your YZFfnte storage shed is shipped in multiple packages. Verify all parts are present and undamaged before beginning assembly. Refer to the parts list provided in the separate assembly guide for detailed component identification.

Image 3.1: The shed typically arrives in three separate packages, which may be delivered at different times.
4. Setup and Assembly
Assembly is required for this product. Follow the step-by-step instructions provided in the dedicated assembly manual included with your shed. No special tools are typically required beyond standard household tools (e.g., screwdriver, wrench).
4.1 Site Preparation
- Select a flat, level area for the shed. Ensure the ground is firm and well-drained.
- Clear the area of any debris, rocks, or vegetation.
- Consider a foundation (e.g., concrete slab, wooden platform) for added stability and moisture protection.
4.2 Assembly Overview
The assembly process generally involves:
- Assembling the base frame.
- Attaching wall panels.
- Installing door frames and doors.
- Assembling and attaching the roof structure.
- Installing the window and ventilation components.
Each part is clearly numbered to facilitate the assembly process. Refer to the detailed diagrams in your separate assembly manual for visual guidance.

Image 4.1: The spacious interior of the shed, demonstrating potential organization after assembly.
5. Operating Instructions
5.1 Doors
The shed features two large double doors at the front and an additional side door for flexible access. All doors are lockable for security.
- Opening/Closing: Use the handles to open and close the doors. Ensure they latch securely.
- Locking: Utilize padlocks (not included) with the integrated locking mechanisms on each door for enhanced security.
5.2 Window
The clear window allows natural light into the shed, improving visibility inside.
- Visibility: Keep the window clean for maximum light transmission.
5.3 Ventilation
Integrated vents promote airflow, reducing moisture buildup and maintaining a healthier environment inside the shed.
- Clear Vents: Ensure vents are not obstructed by stored items or debris to maintain proper airflow.

Image 5.1: The shed offers multiple storage configurations, adaptable for various uses.
6. Maintenance
Regular maintenance will extend the life of your storage shed and ensure its continued functionality.
- Cleaning: Clean the exterior periodically with mild soap and water. Avoid abrasive cleaners or harsh chemicals that could damage the finish.
- Rust Prevention: The shed is made from galvanized steel with a UV-resistant coating. Inspect for any scratches or damage to the coating and touch up with appropriate rust-inhibiting paint if necessary to prevent corrosion.
- Drainage: Ensure the sloped roof and arched panels are clear of debris (leaves, snow) to allow for effective water drainage.
- Door Hinges/Latches: Lubricate door hinges and latches annually to ensure smooth operation.
- Anchoring: Periodically check the ground anchors for tightness and stability, especially after strong winds.
- Ventilation: Keep the vents clear of obstructions to maintain proper airflow and prevent moisture buildup.
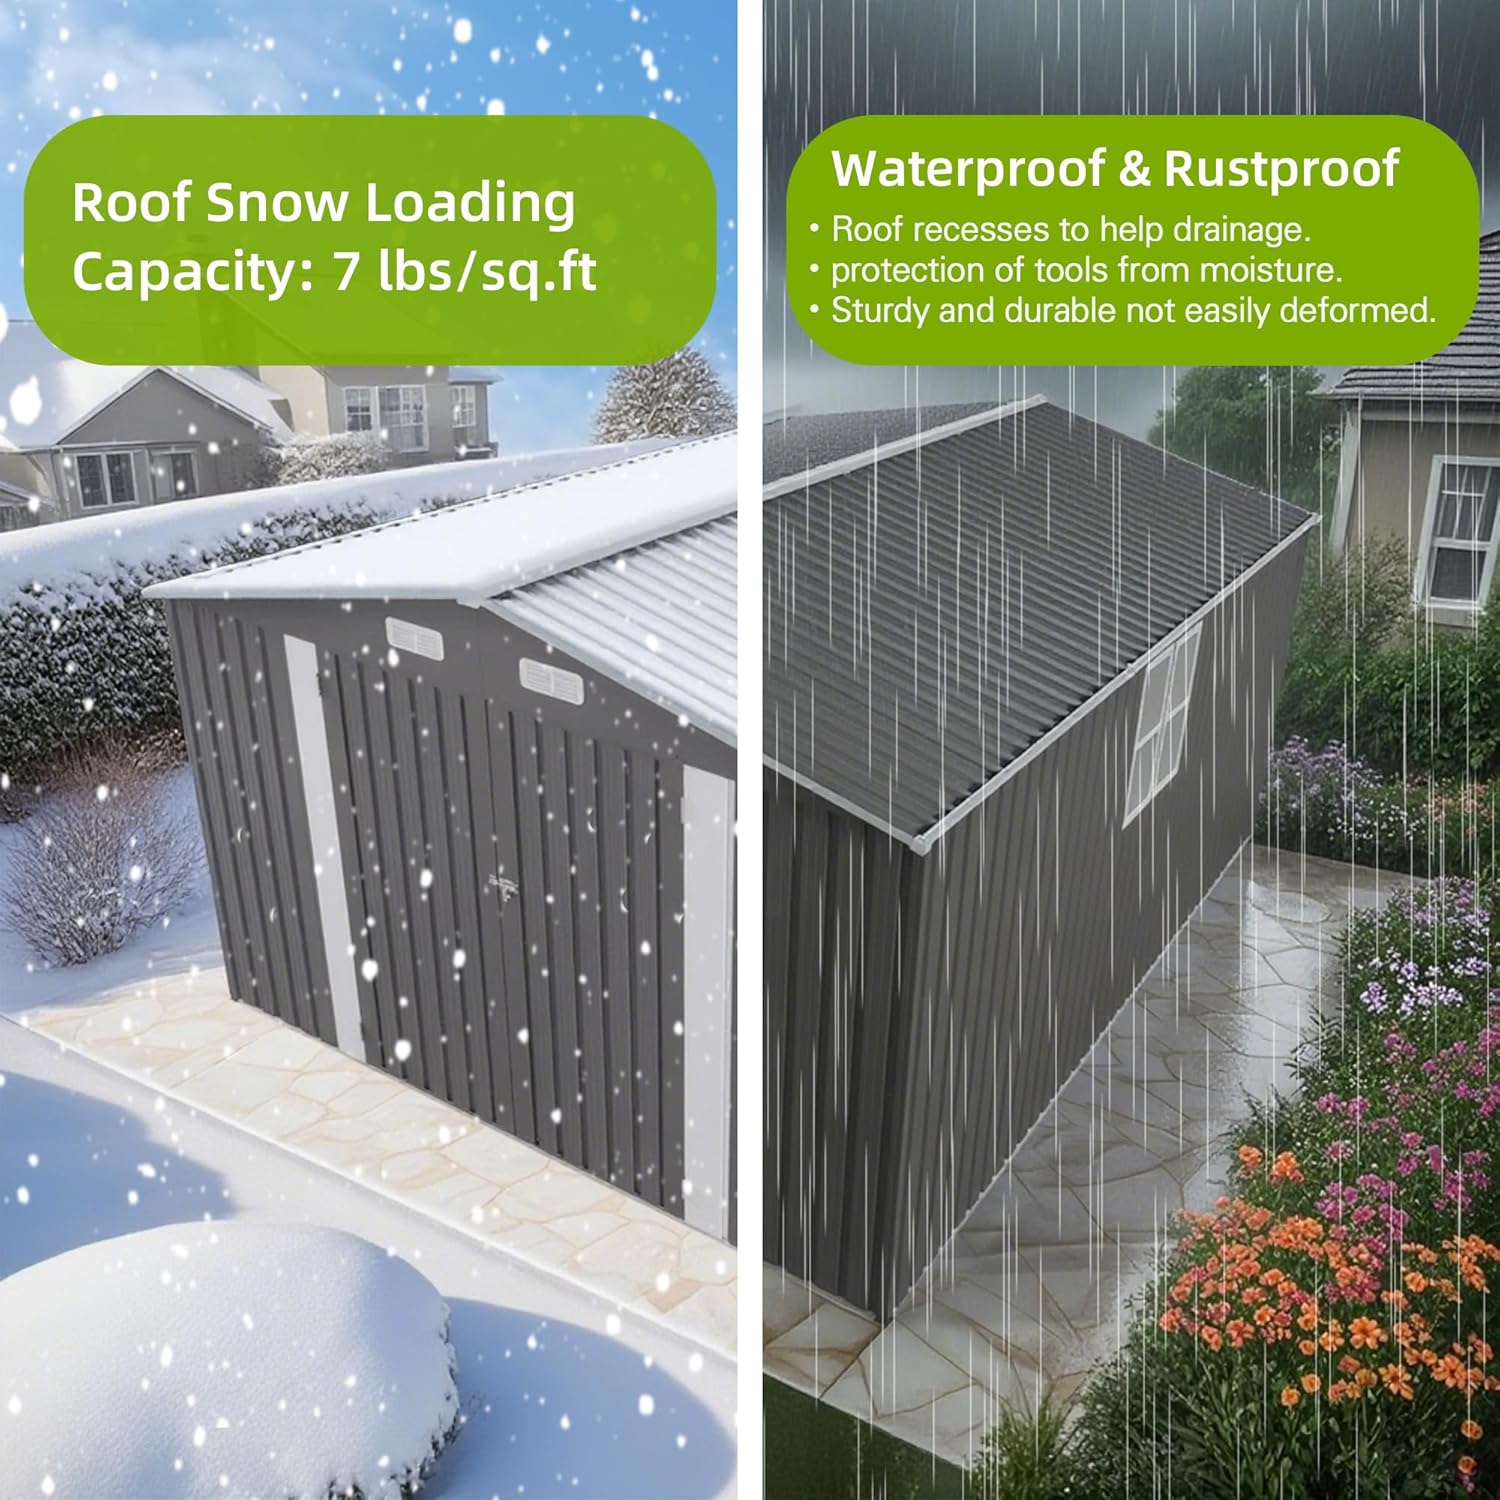
Image 6.1: The shed's design features a sloped roof for water drainage and is built with waterproof and rustproof materials.
7. Troubleshooting
This section addresses common issues you might encounter with your storage shed.
| Problem | Possible Cause | Solution |
|---|---|---|
| Doors do not close or latch properly. | Shed is not level; hinges are stiff or bent; obstruction in door track. | Ensure shed is on a level surface. Lubricate hinges. Check for and remove any obstructions. |
| Water leakage inside the shed. | Improperly sealed seams; damaged roof panels; clogged drainage. | Inspect all seams and apply sealant if necessary. Check roof panels for damage. Clear roof and drainage channels. |
| Excessive condensation inside. | Poor ventilation; high humidity. | Ensure vents are clear. Consider adding a dehumidifier if storing moisture-sensitive items in humid climates. |
| Shed feels unstable or wobbly. | Inadequate anchoring; uneven ground. | Verify shed is securely anchored to the ground. Ensure the foundation is level. |
8. Specifications
Key technical specifications for the YZFfnte 10x14 FT Extra-Large Outdoor Metal Storage Shed:
- Brand: YZFfnte
- Model Number: RYW621
- Color: Gray
- Material: Galvanized Metal
- Product Dimensions (Overall): 169.3"D x 115.8"W x 80.3"H (430cm D x 294cm W x 204cm H)
- Storage Shed Dimensions: 10x14 FT
- Storage Capacity: Approximately 761 CU.FT
- Item Weight: 260.9 Pounds (118.3 kg)
- Roof Weight Capacity: 7 lbs/sq.ft (Snow Loading)
- Assembly Required: Yes
- Features: 3 Lockable Doors, Clear Window, Vented Design, UV Protection, Rust Prevention, Anti-Collapse, Stable Structure

Image 8.1: Detailed product dimensions for planning and installation.
9. Warranty and Support
For specific warranty information, please refer to the documentation included with your purchase or contact the retailer. If you require assistance with assembly, missing parts, or have any questions regarding your YZFfnte storage shed, please contact YZFfnte customer support through the retailer's platform or their official website.
Please have your model number (RYW621) and proof of purchase ready when contacting support.