Introduction
Welcome to the user manual for your new QNUT Victor Electric Bike. This 26-inch e-bike is designed for adults and teens, featuring a 350W motor, 21-speed gearing, and a long-range removable battery. It is suitable for commuting, light off-road adventures, and general recreational use. This manual provides essential information for safe assembly, operation, maintenance, and troubleshooting to ensure a reliable and enjoyable riding experience.
Safety Information
Always prioritize safety when operating your electric bike.
- Wear a helmet and appropriate safety gear at all times.
- Familiarize yourself with local traffic laws and regulations regarding electric bicycles.
- Perform a pre-ride inspection before each use, checking brakes, tires, battery, and all connections.
- Do not ride under the influence of alcohol or drugs.
- Avoid riding in adverse weather conditions, such as heavy rain, snow, or ice.
- Ensure the battery is securely locked in place before riding.
- Do not exceed the maximum weight recommendation of 250 pounds.
Components Overview
The QNUT Victor Electric Bike is comprised of several key components working together for optimal performance.
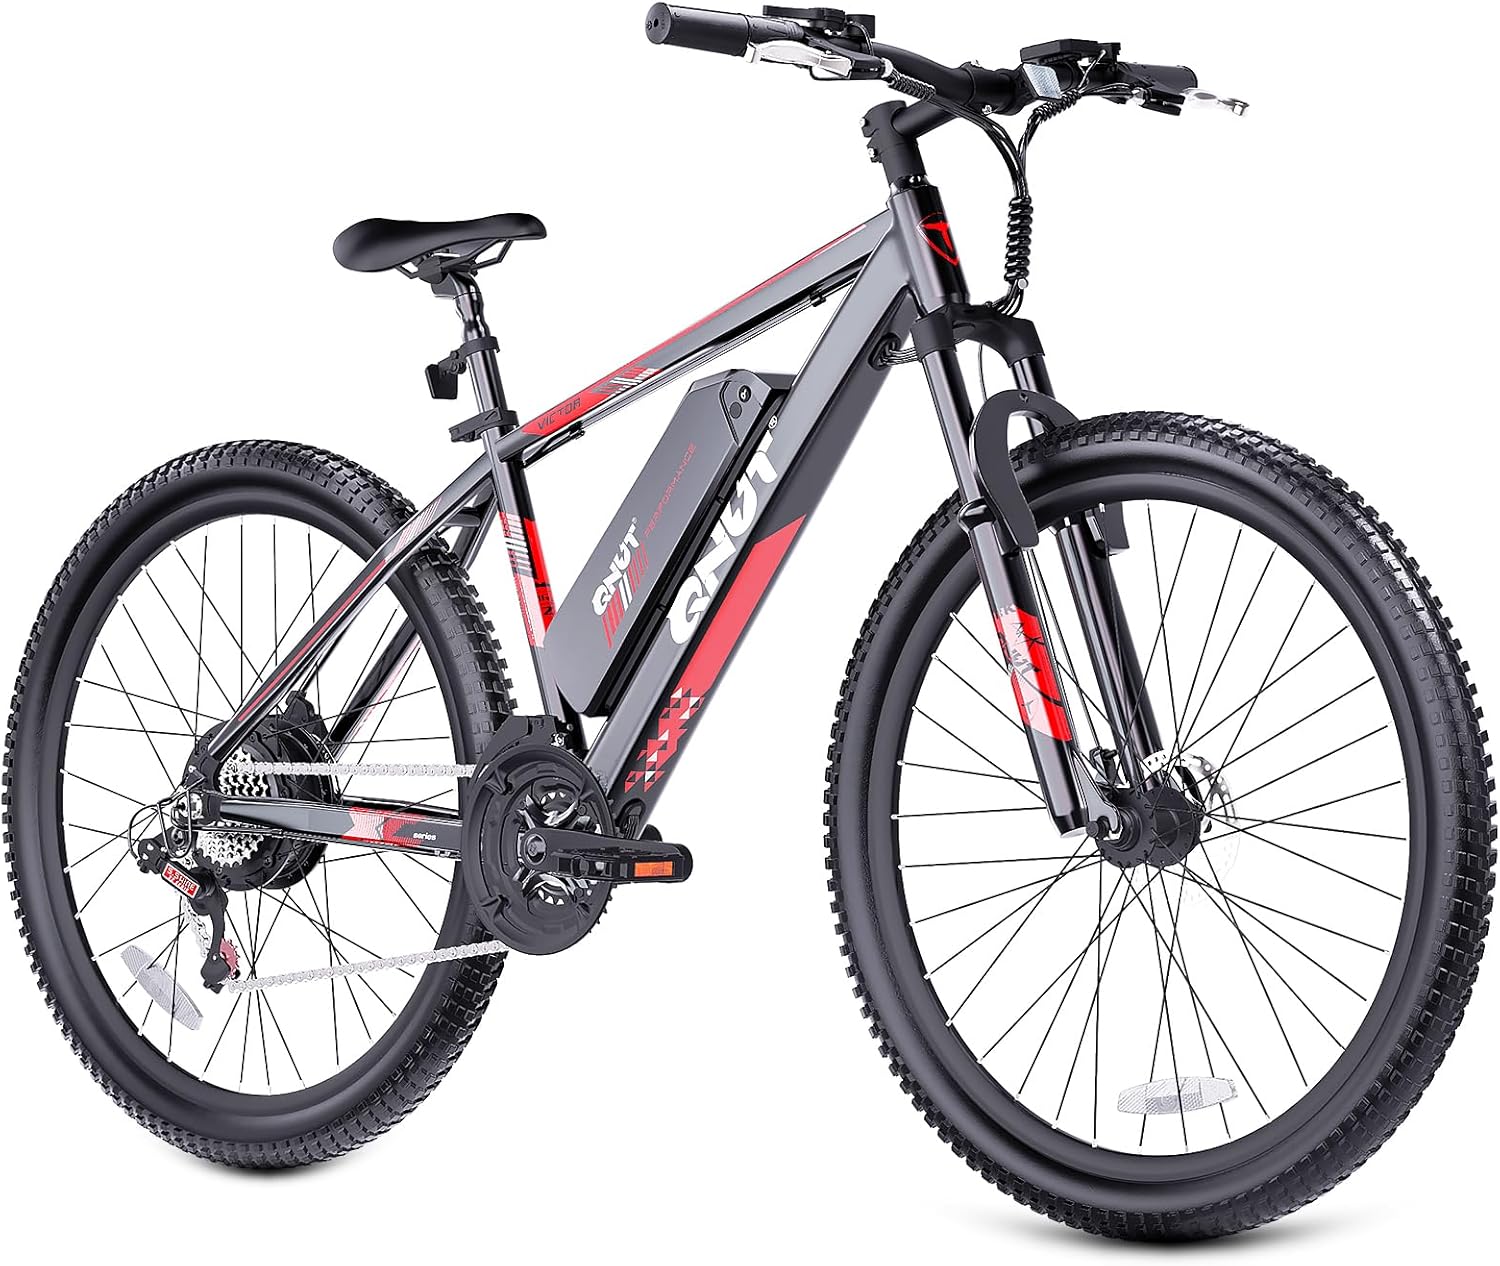
Figure 1: Overall view of the QNUT Victor Electric Bike. This image displays the complete bicycle, highlighting its frame, wheels, handlebars, and seat.
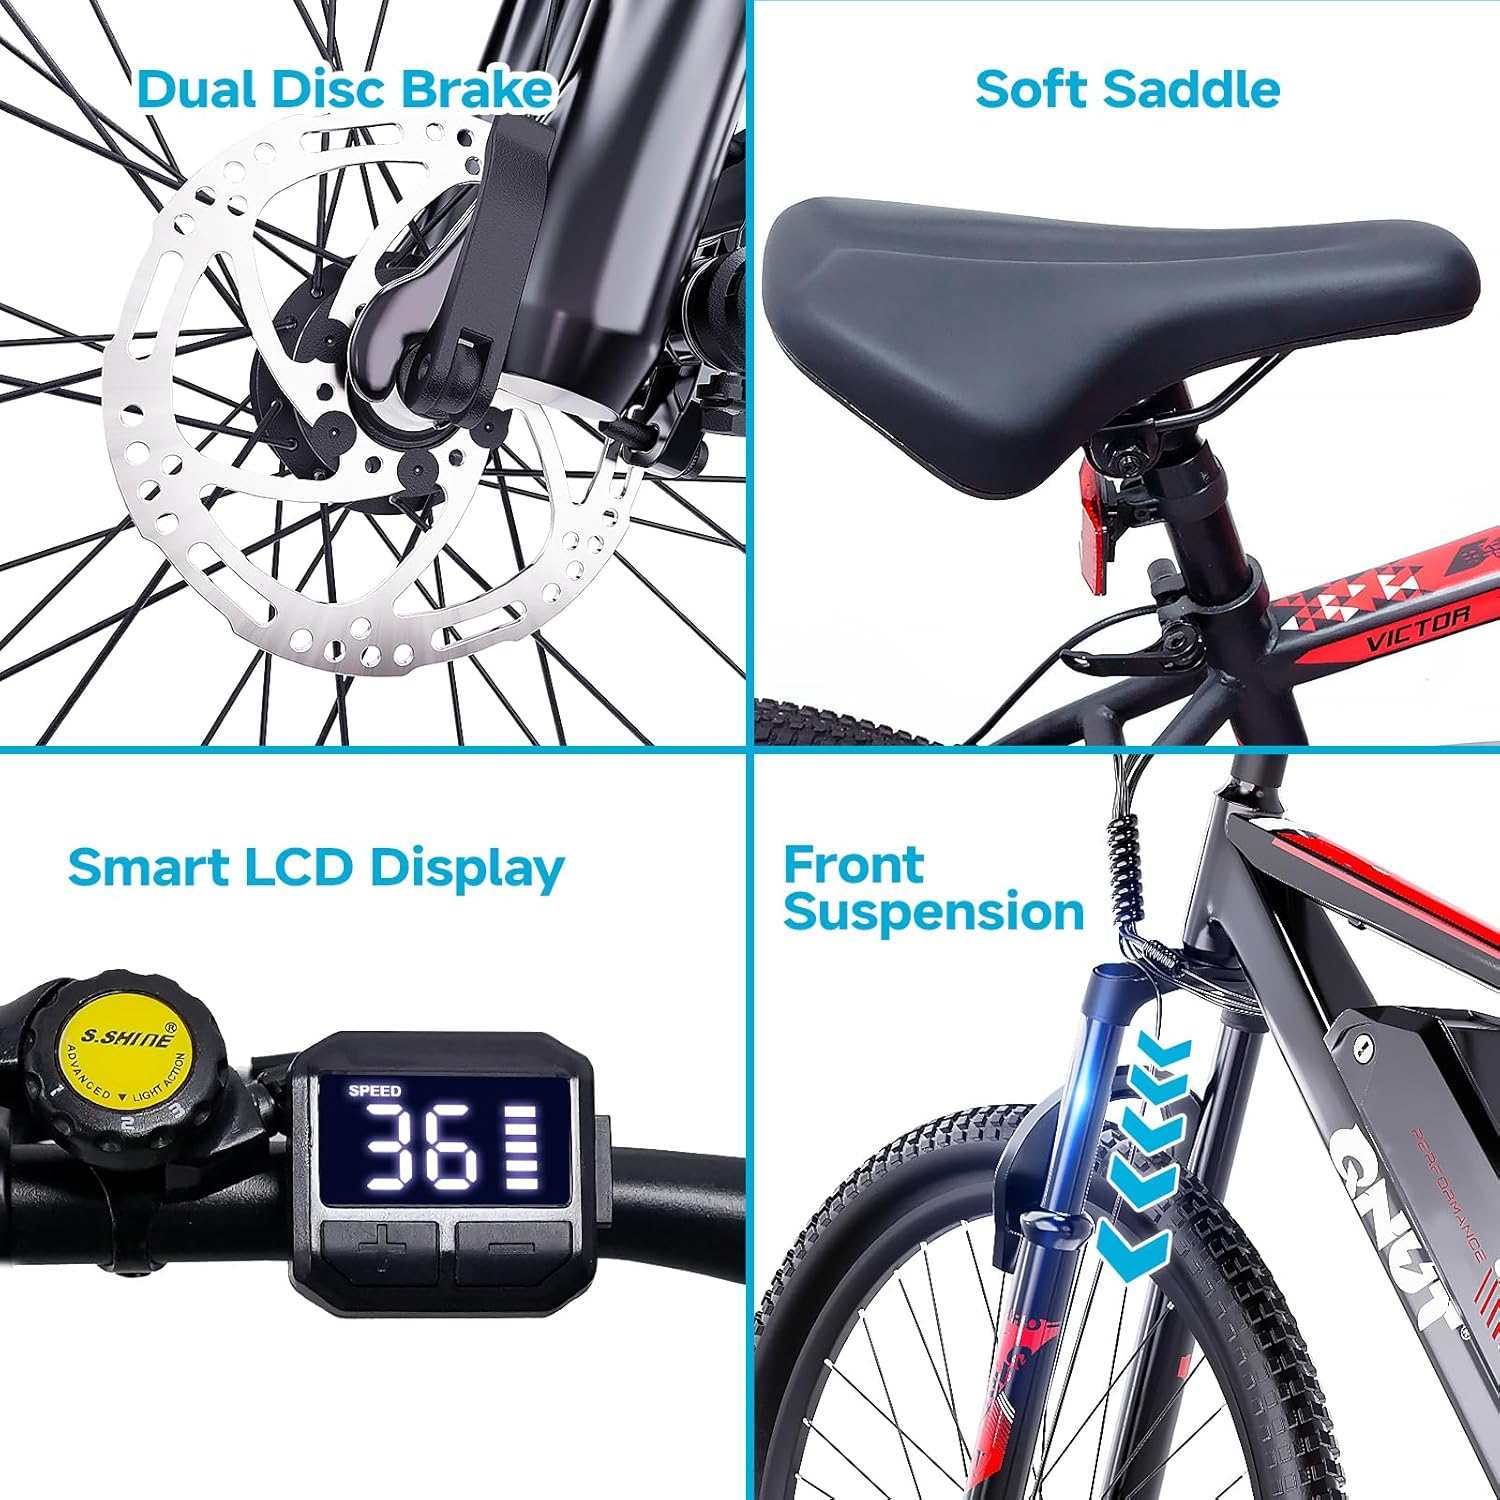
Figure 2: Key components including the dual disc brake system for reliable stopping power, the comfortable soft saddle, the smart LCD display for ride data, and the front suspension fork for a smoother ride.
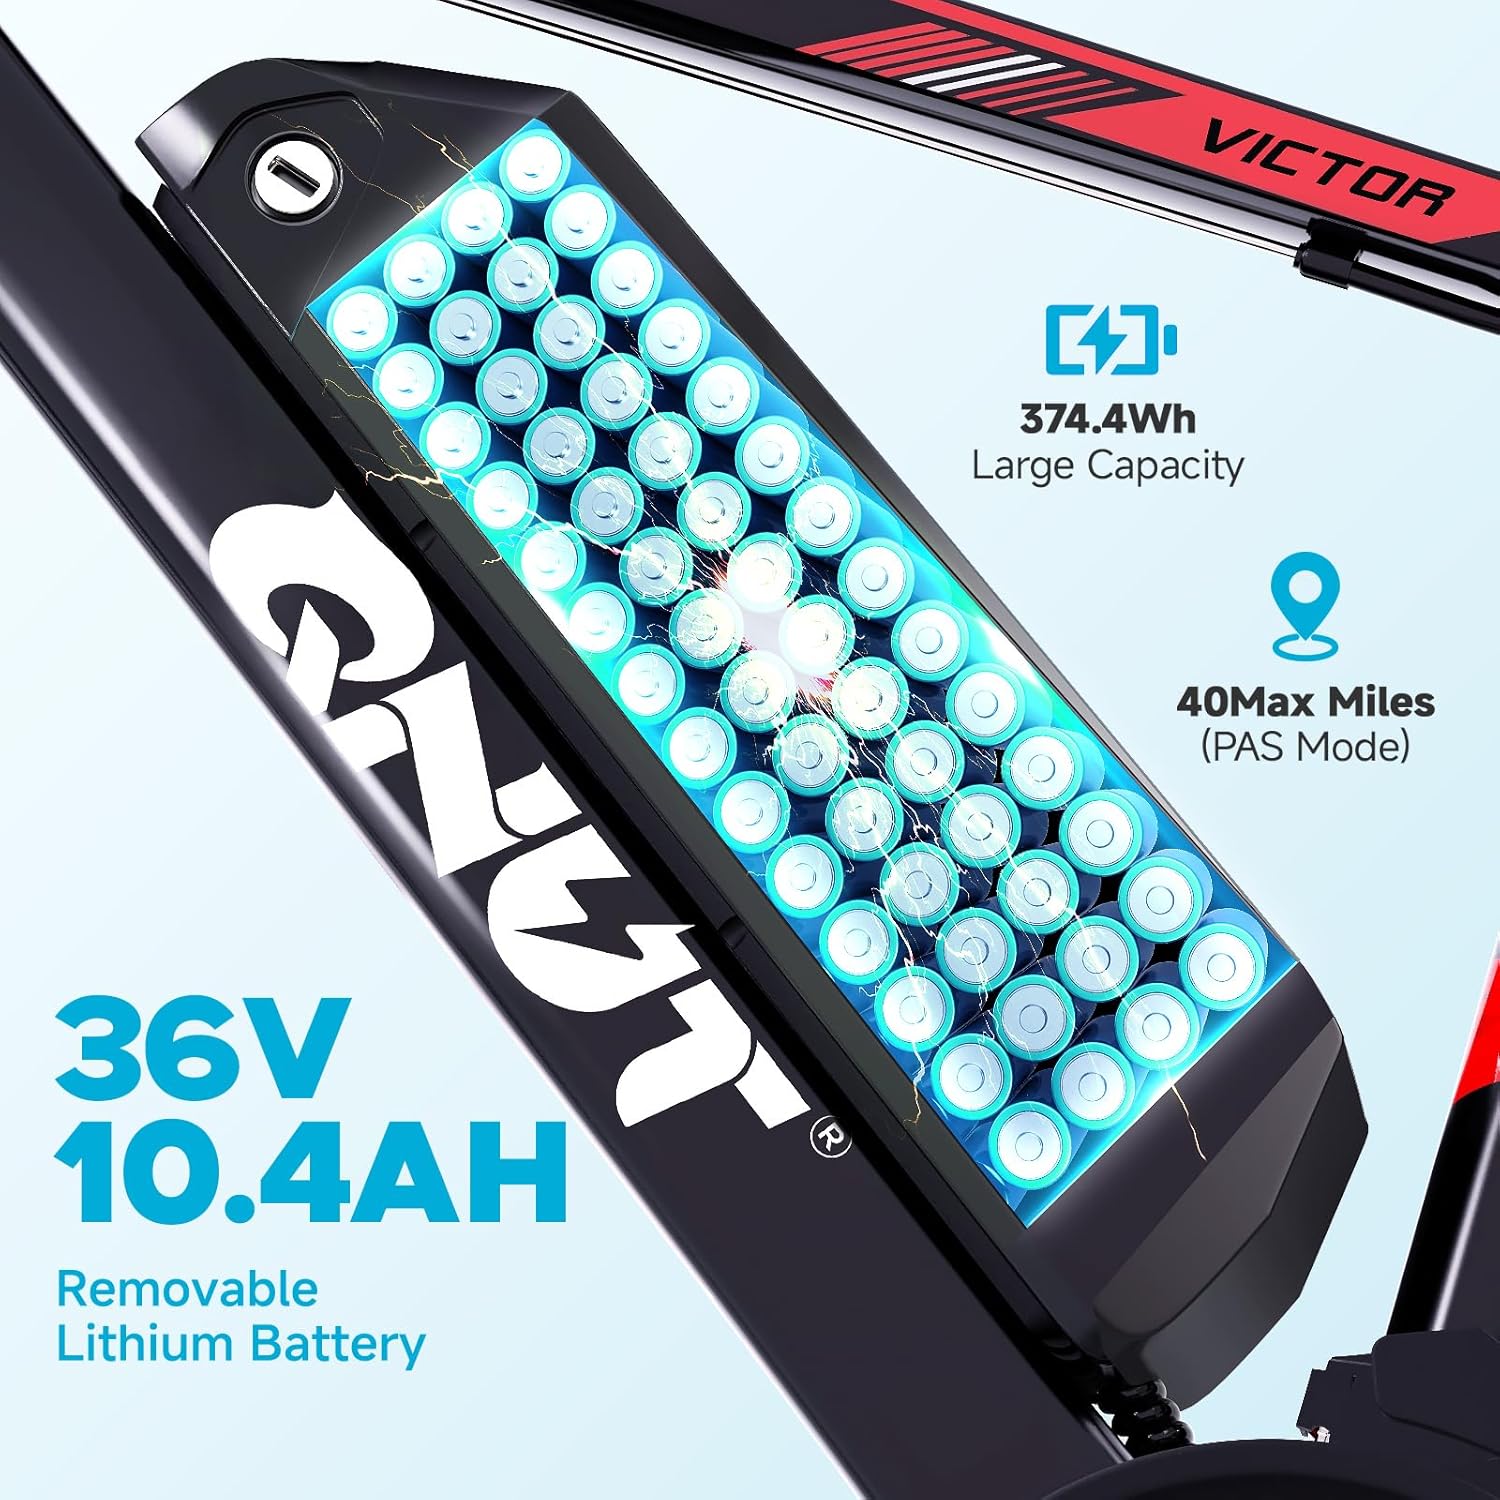
Figure 3: The 36V 10.4Ah (374.4Wh) removable lithium battery, providing power for extended rides.
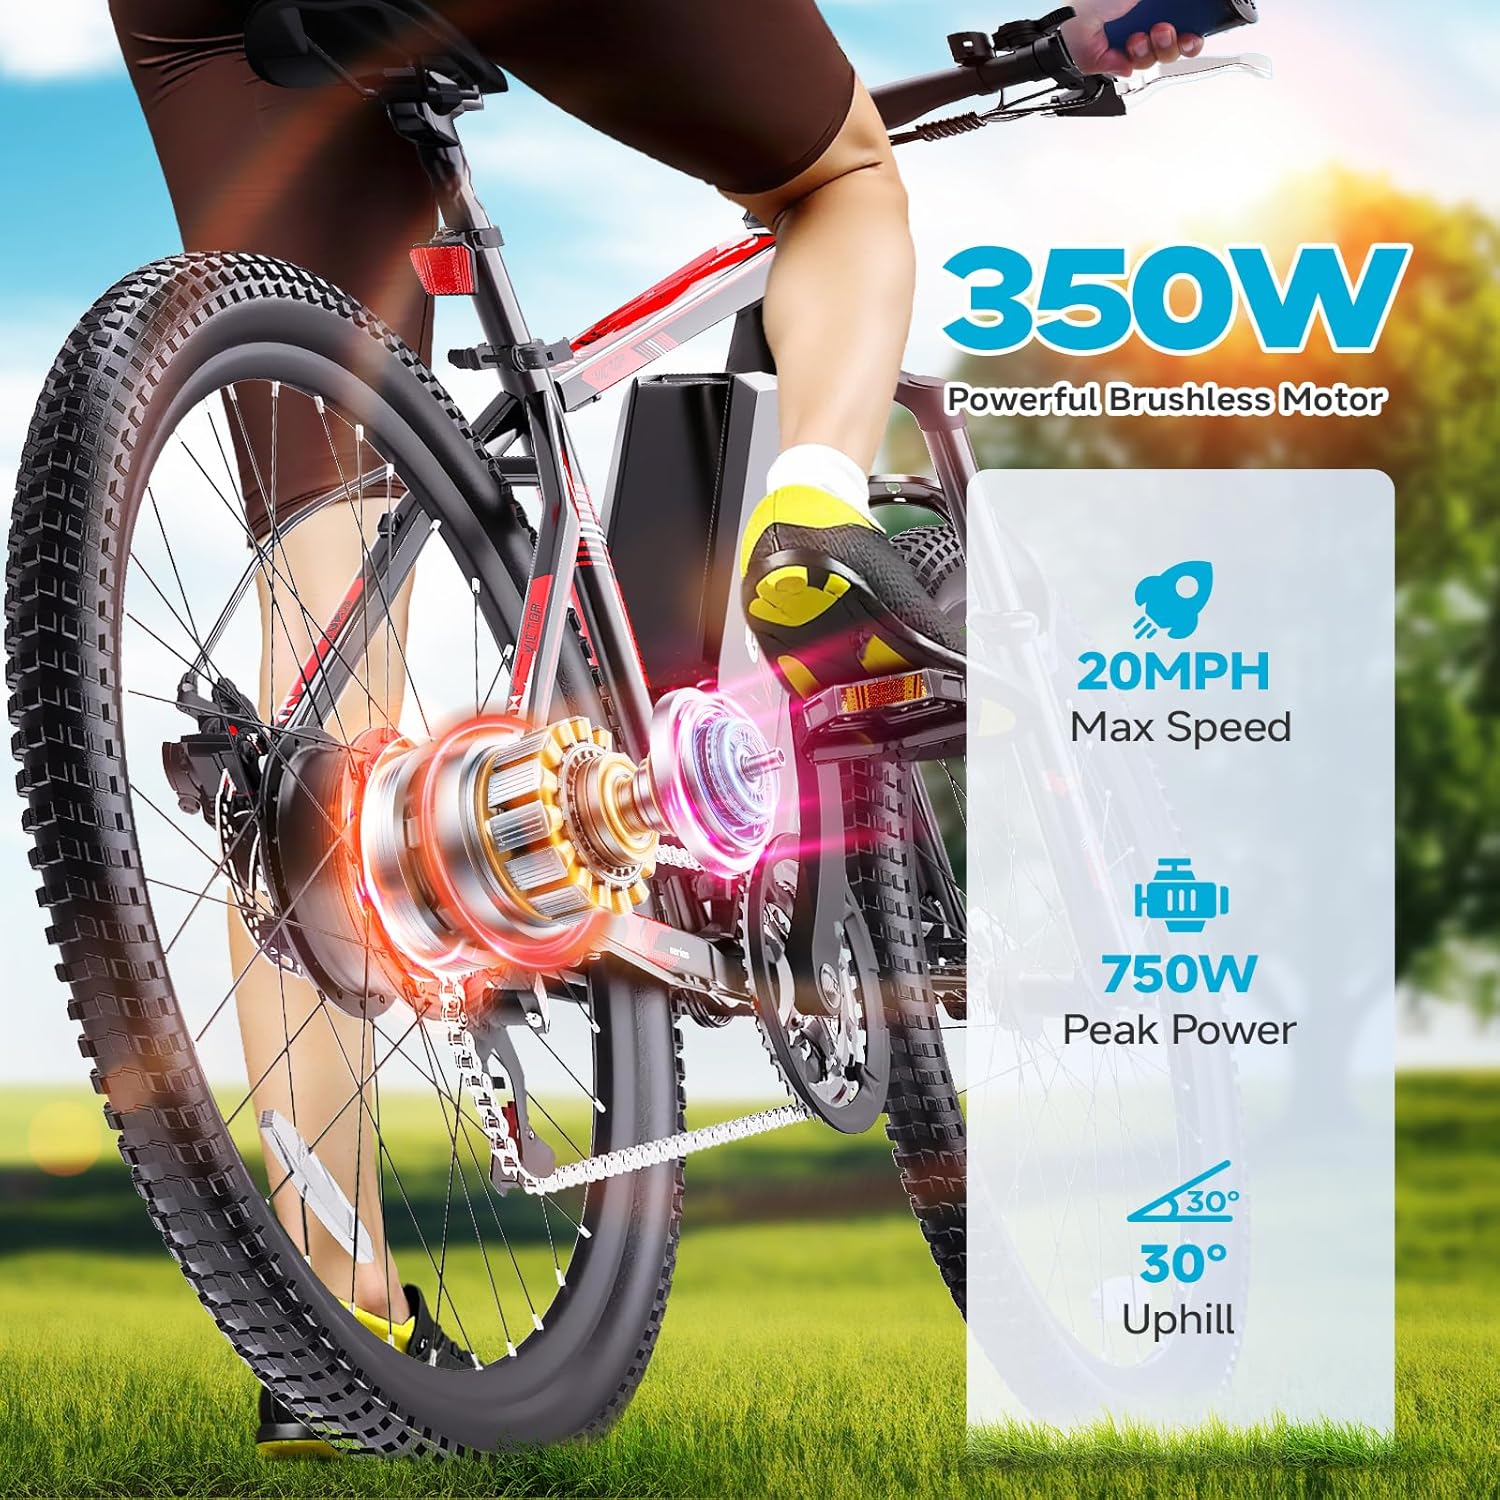
Figure 4: The 350W powerful brushless motor, capable of reaching speeds up to 20 mph and assisting with inclines up to 30 degrees.
Setup and Assembly
Your QNUT Victor Electric Bike requires some assembly before its first use. A tool kit is included.
- Unpacking: Carefully remove all components from the packaging. Inspect for any damage during transit.
- Handlebar Installation: Attach the handlebars to the stem, ensuring they are centered and aligned. Tighten all bolts securely.
- Front Wheel Installation: Install the front wheel, ensuring the disc brake rotor is correctly seated in the caliper.
- Pedal Installation: Identify the left (L) and right (R) pedals. Thread them into the crank arms. Note that the left pedal is reverse-threaded. Tighten firmly.
- Seat Post and Saddle Adjustment: Insert the seat post into the frame and adjust the saddle height for comfortable riding. Ensure the quick-release lever is securely fastened.
- Battery Installation: Insert the fully charged battery into its designated slot on the frame. Ensure it clicks into place and is locked securely.
- Pre-Ride Check: Before your first ride, double-check all bolts, connections, and tire pressure. Ensure brakes are functioning correctly.
Operating Instructions
Understanding the various modes and controls will enhance your riding experience.
Battery Charging
The 36V 10.4Ah lithium battery provides a range of 20-40 miles.
- The battery can be charged while installed on the bike or removed.
- Connect the charger to the battery charging port and then to a standard power outlet.
- A full charge typically takes 3-4 hours. The charger indicator light will change when fully charged.
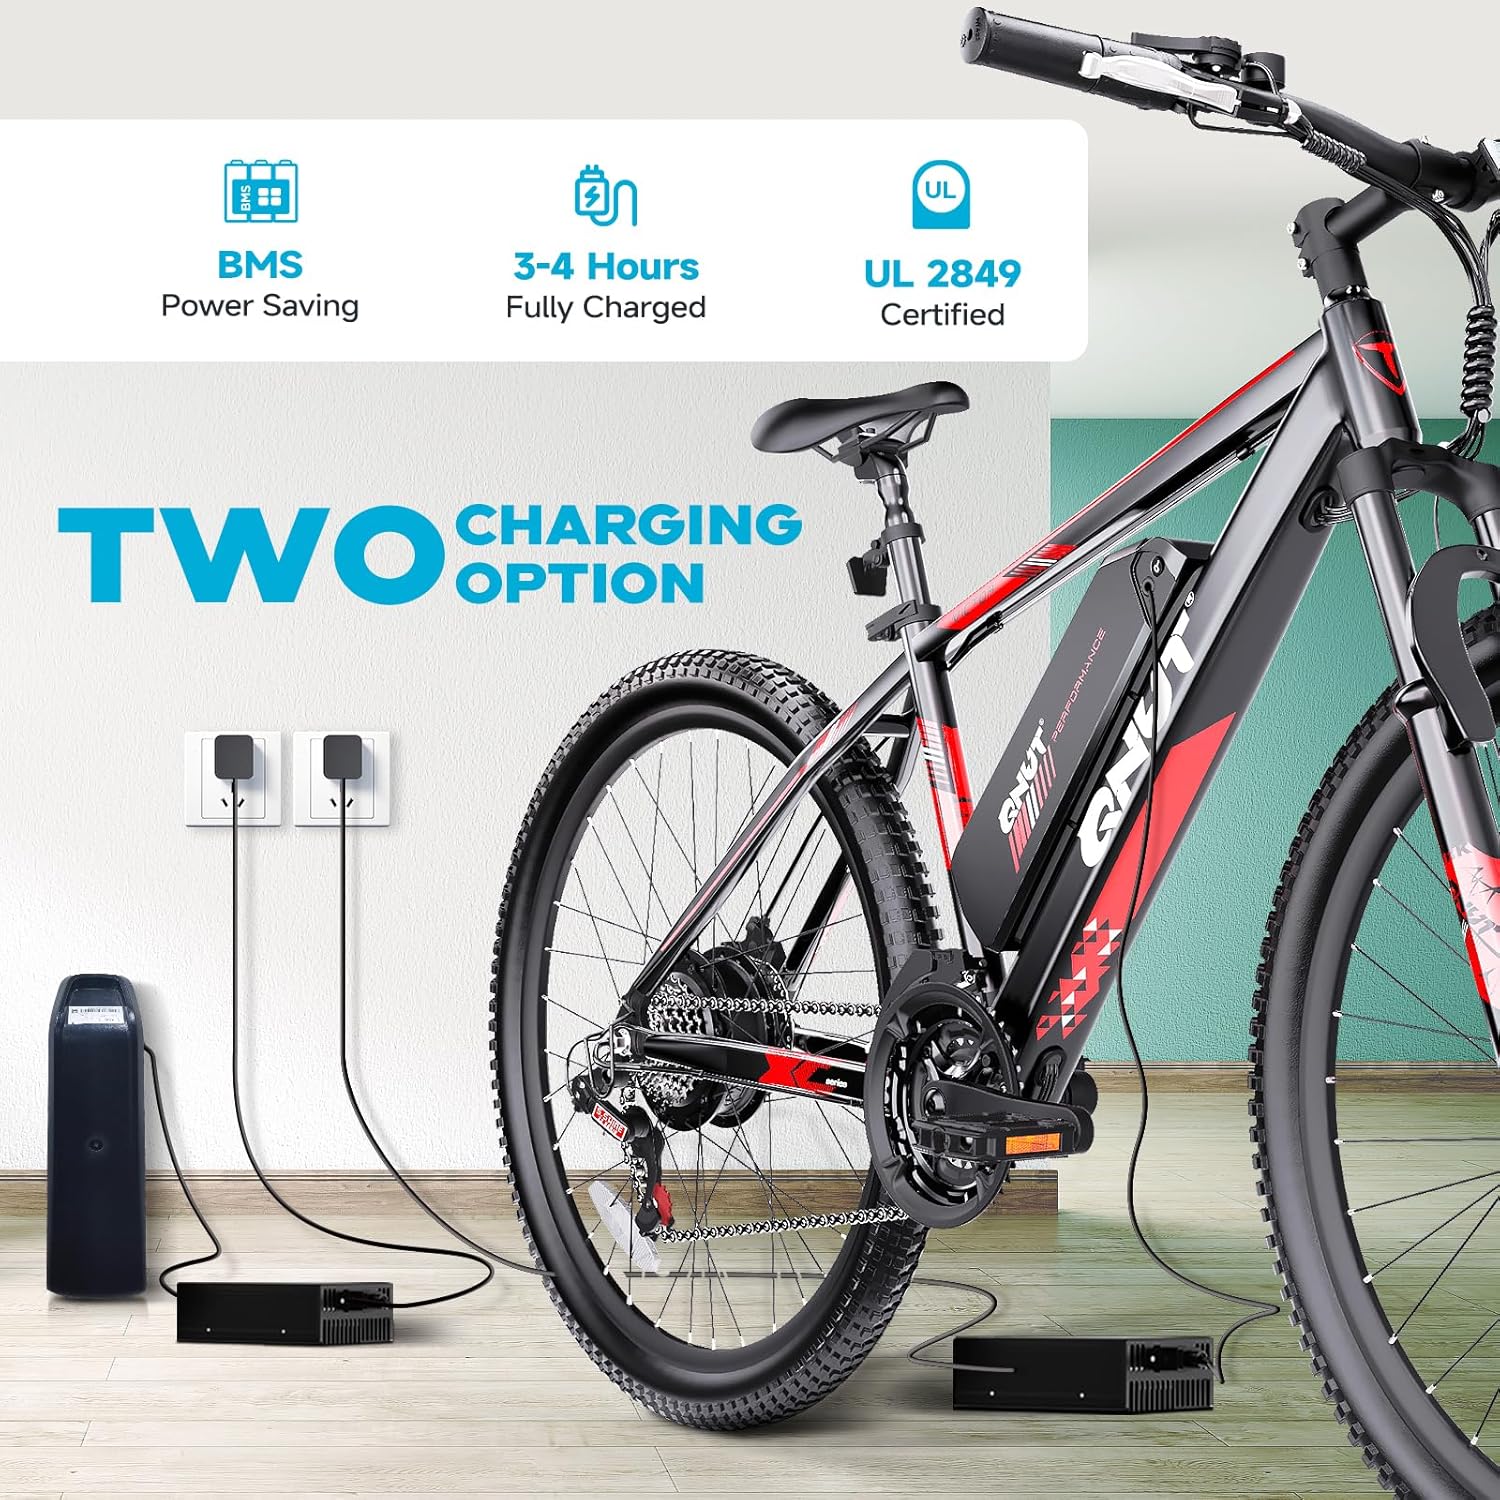
Figure 5: The two charging options for the QNUT electric bike battery: charging while installed on the bike or charging the removed battery separately.
Riding Modes
The QNUT Victor offers three distinct riding modes:
- Pedal Assist Mode (PAS): The motor provides assistance as you pedal. Adjust the assist level via the LCD display.
- Bicycle Mode: Ride as a traditional bicycle without motor assistance.
- Walking Mode: Provides low-speed motor assistance for pushing the bike, useful when walking alongside it.
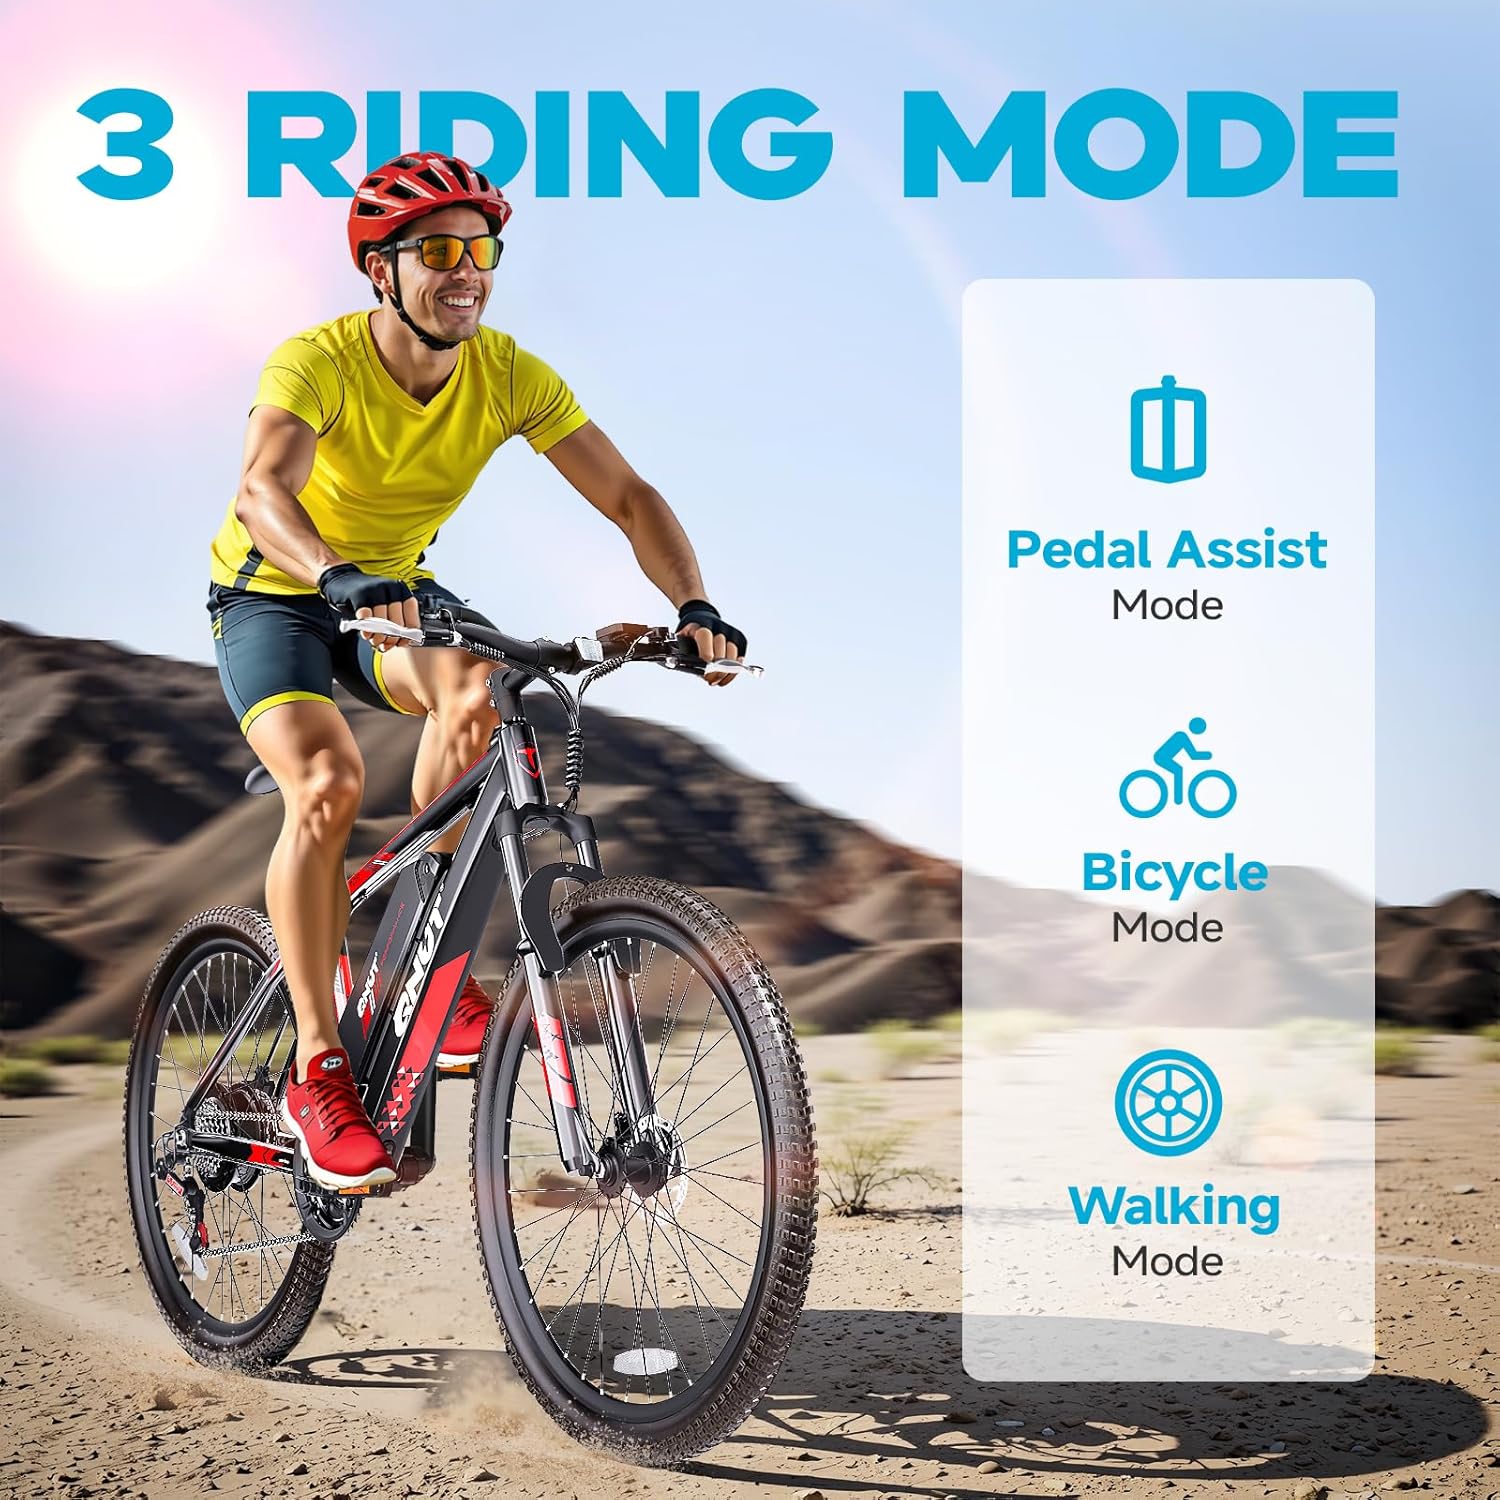
Figure 6: Illustration of the three available riding modes: Pedal Assist, Bicycle, and Walking Mode, offering versatility for different riding preferences.
LCD Display and Controls
The LCD display provides real-time information and allows you to control various functions.
- Power On/Off: Press and hold the power button on the display to turn the bike on or off.
- Information Display: Shows speed, battery level, pedal assist level, and other essential ride data.
- Assist Level Adjustment: Use the '+' and '-' buttons to cycle through pedal assist levels (0-5).
- Throttle: The right-hand throttle provides instant motor power without pedaling. Use with caution.
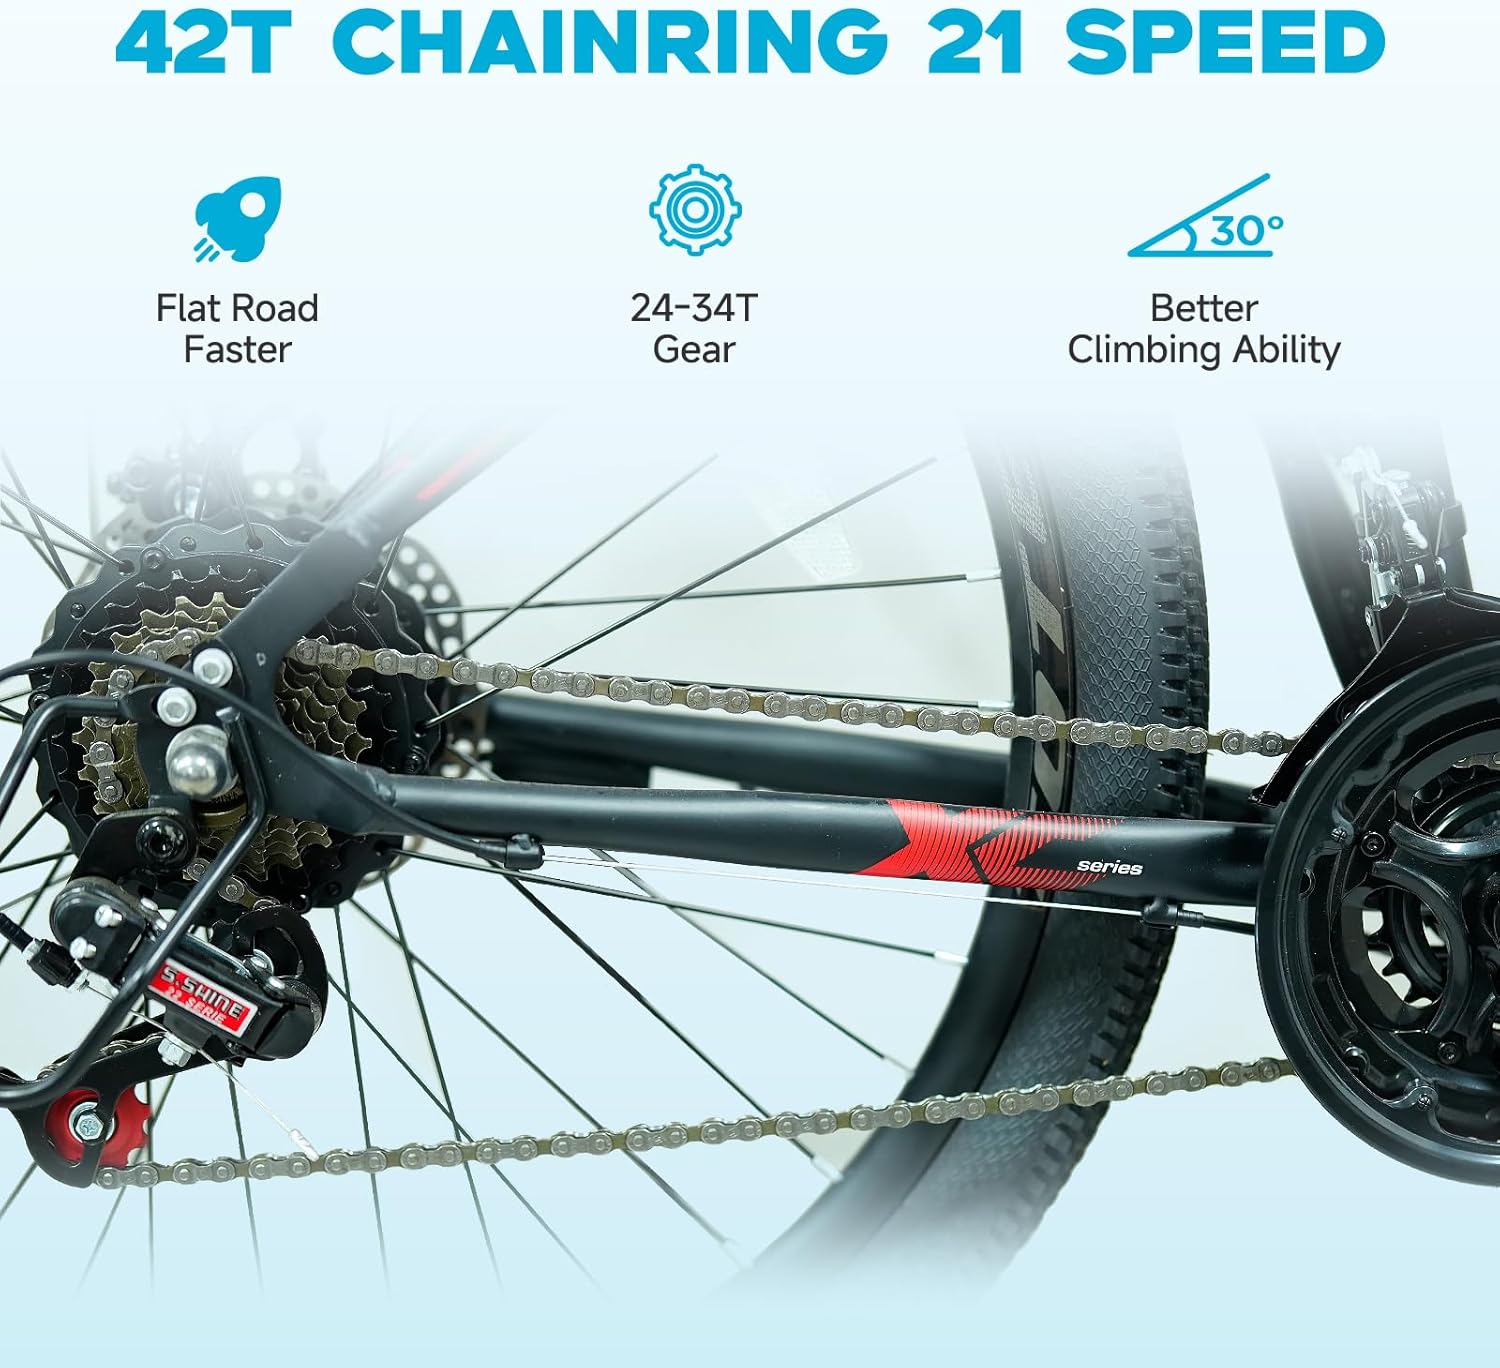
Figure 7: The 42T chainring and 21-speed gear system, designed for efficient power transfer and adaptability across various terrains.
Gear System (21-Speed)
The 21-speed gear system allows you to adapt to different terrains and riding conditions.
- Use the left shifter for the front chainrings (3 speeds) and the right shifter for the rear cassette (7 speeds).
- Shift to lower gears (larger rear cogs, smaller front chainrings) for climbing hills.
- Shift to higher gears (smaller rear cogs, larger front chainrings) for flat roads and higher speeds.
- Always pedal lightly when shifting gears to ensure smooth transitions and prevent damage.
Braking System
The dual mechanical disc brakes provide reliable stopping power.
- Apply both front and rear brakes simultaneously for effective and stable braking.
- Avoid sudden, hard braking, especially with the front brake, to prevent skidding.
- Regularly check brake pads for wear and ensure cables are properly tensioned.
Maintenance
Regular maintenance ensures the longevity and safe operation of your electric bike.
- Cleaning: Clean the bike regularly with a damp cloth. Avoid high-pressure washing directly on electrical components.
- Lubrication: Lubricate the chain and other moving parts periodically to reduce wear and ensure smooth operation.
- Tire Pressure: Check tire pressure before each ride. Maintain recommended PSI for optimal performance and safety.
- Brake Inspection: Inspect brake pads for wear and replace them when necessary. Ensure brake levers and cables are functioning correctly.
- Battery Care: Store the battery in a cool, dry place. If storing for extended periods, charge it to 50-70% every few months.
- Fastener Check: Periodically check all bolts and fasteners for tightness, especially on critical components like handlebars, wheels, and seat post.
Troubleshooting
This section addresses common issues you might encounter.
| Problem | Possible Cause | Solution |
|---|---|---|
| Bike does not power on | Battery not charged or not properly seated; loose electrical connection. | Charge battery fully; ensure battery is securely installed and locked; check all visible electrical connections. |
| Motor not assisting | Pedal assist level set to 0; brake levers engaged; motor or controller issue. | Increase pedal assist level on LCD; ensure brake levers are fully released; contact support if issue persists. |
| Brakes feel weak | Worn brake pads; loose brake cables; contaminated rotors. | Inspect and replace brake pads; adjust brake cable tension; clean rotors with disc brake cleaner. |
| Gears not shifting smoothly | Derailleur misalignment; stretched cables; dirty chain. | Adjust derailleur; replace worn cables; clean and lubricate chain. |
Specifications
| Feature | Detail |
|---|---|
| Model Name | Victor |
| Bike Type | Commuting Bike, Electric Mountain Bike |
| Age Range | Adult |
| Brand | QNUT |
| Number of Speeds | 21 |
| Color | Red |
| Wheel Size | 26 Inches |
| Frame Material | Carbon Steel |
| Suspension Type | Front |
| Motor Wattage | 350 watts |
| Battery | 36V 10.4Ah (374.4 Watt Hours) Lithium Battery |
| Max Speed | 20 Mph |
| Range | Up to 40 Miles (Pedal Assist Mode) |
| Brake Style | Disc |
| Maximum Weight Recommendation | 250 Pounds |
| Assembly Required | Yes |
| Included Components | Battery, Charger, Kickstand, Reflectors, Tool Kit, User Manual |
Warranty Information
The QNUT Victor Electric Bike comes with a 1 YEAR LIMITED WARRANTY. This warranty covers manufacturing defects in materials and workmanship. Please retain your proof of purchase for any warranty claims. For detailed terms and conditions, refer to the warranty card included with your product or contact QNUT customer support.
Customer Support
For any questions, technical assistance, or warranty claims, please contact QNUT customer support.
- Visit the official QNUT Store on Amazon: QNUT Store
- Refer to the contact information provided in the packaging or on the official QNUT website.


