
1. Introduction
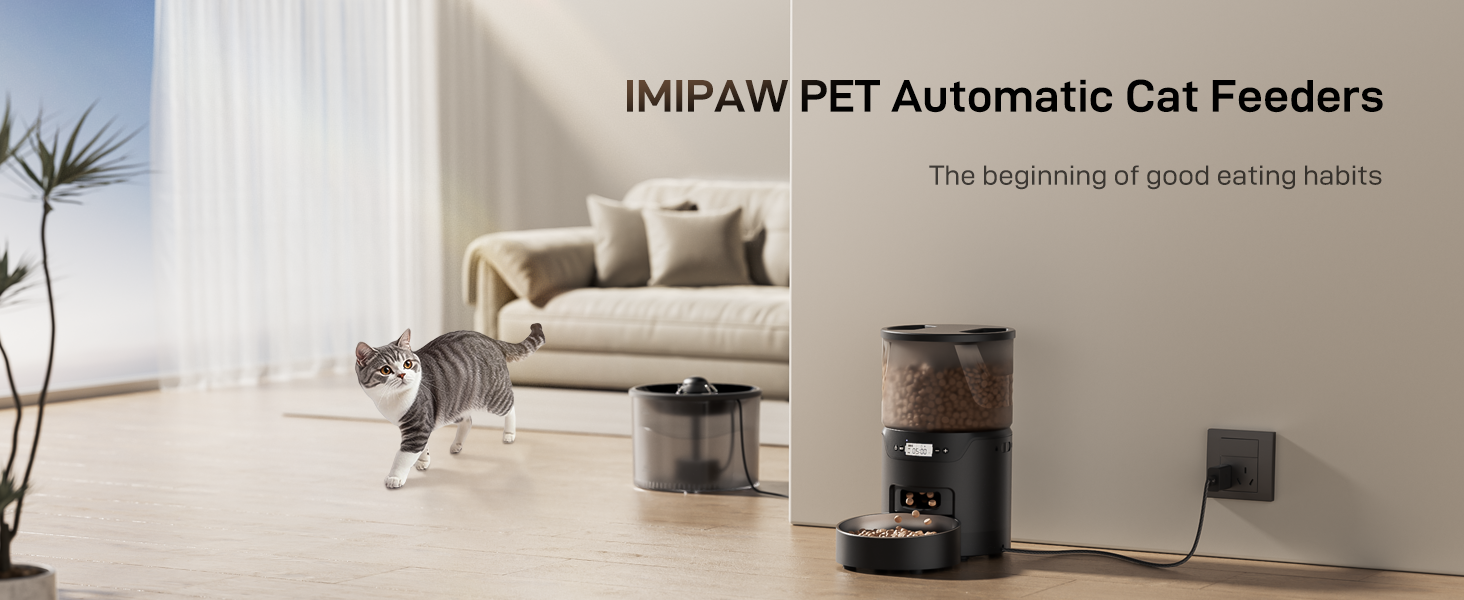
This manual provides detailed instructions for the setup, operation, and maintenance of your IMIPAW PET KE+WO3 Automatic Cat Feeder and Water Fountain. This combined unit ensures your pet receives timely meals and fresh water, promoting healthy eating and drinking habits.
2. Safety Information
- Ensure the feeder base is never washed or submerged in water to prevent electrical damage.
- Use only dry kibble between 0.07 and 0.4 inches (2-10mm) to prevent food jams.
- The water fountain requires a continuous power connection to operate.
- For the feeder, use both the power adapter and 3 x D size batteries (not included) as backup during power outages.
- Replace the water filter once a month to maintain water quality.
- Keep out of reach of children and pets when not in use or during maintenance.
3. Package Contents

Components of the Automatic Cat Feeder, including the main unit, food container, stainless steel bowl, user manual, desiccant bag, adapter, and power cord.

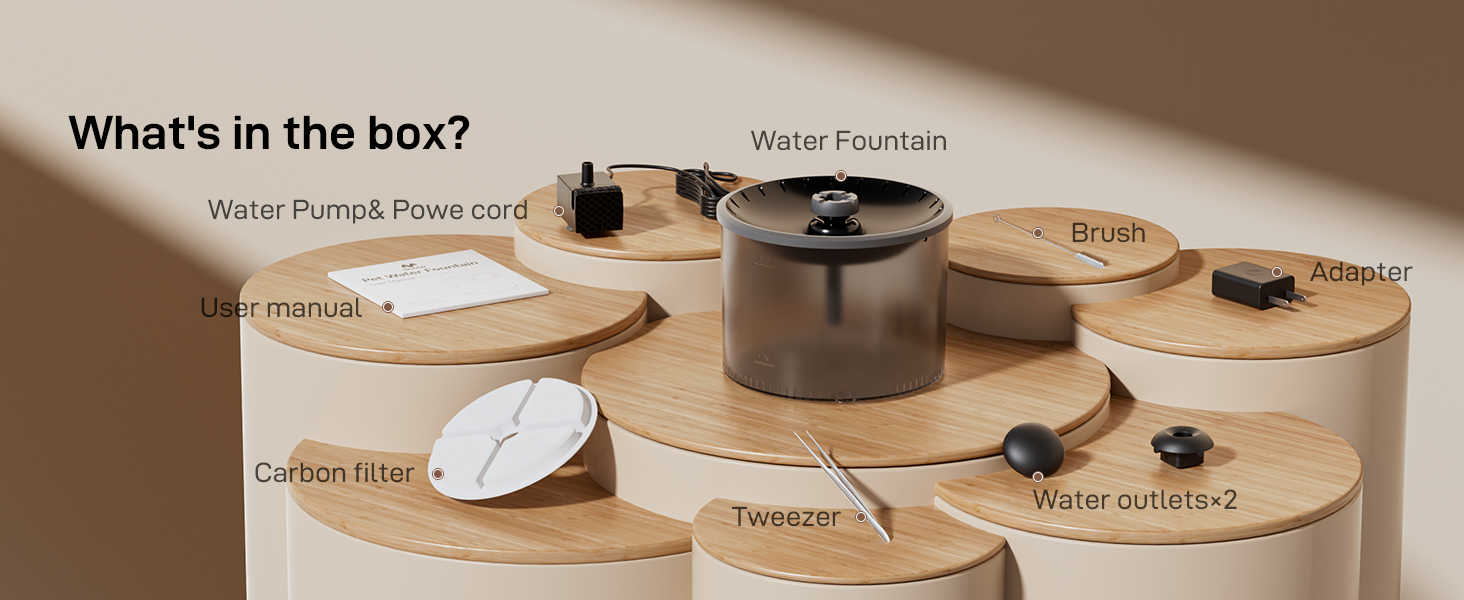
Components of the Water Fountain, including the water tank, water pump, power cord, brush, adapter, carbon filter, tweezers, and water outlets.
Please verify that all listed components are present in your package before proceeding with setup.
4. Setup
4.1 Feeder Assembly
- Place the main feeder unit on a stable, flat surface.
- Insert the stainless steel bowl into the designated slot at the base of the feeder.
- Open the lid of the food storage container by aligning the "OPEN" mark and twisting.
- Fill the food storage container with dry kibble (recommended size 2-10mm).
- Place the desiccant bag in the designated holder under the lid to maintain food freshness.
- Close the lid by aligning the "CLOSE" mark and twisting to secure.

The feeder features a double rotor design for smooth food discharge, suitable for various dry kibble types.

Recommended kibble size is between 2-10mm to prevent jams. Avoid kibble larger than 10mm.
4.2 Water Fountain Assembly
- Place the water pump into the water tank, ensuring it is securely attached to the bottom.
- Fill the water tank with clean water, ensuring the level is between the MIN and MAX indicators.
- Install the filter into the cartridge frame.
- Place the water storage tray and the shower head onto the water tank.
- Connect the DC5V power adapter to the fountain and a power outlet.
Video: Step-by-step guide on how to install both the feeder and water dispenser components.
Visual guide for assembling the water fountain, from pump installation to connecting the power adapter.
The water fountain features a 4-layer filtration system to ensure clean and fresh water for your pet.

Choose between Fountain Mode and Shower Mode to encourage your pet to drink more water.
4.3 Power Supply
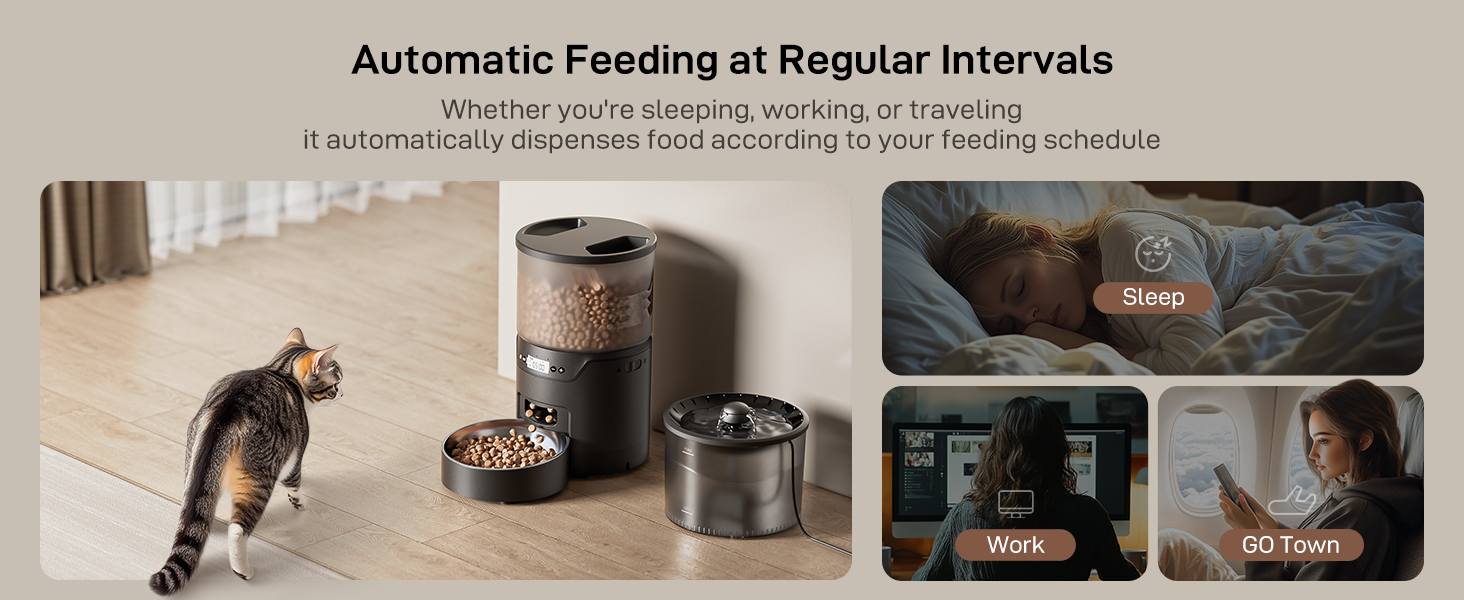
The automatic cat feeder supports dual power supply: a 5V DC adapter and 3 x D size batteries (not included). It is recommended to use both power sources. Batteries act as a backup to ensure continuous operation during power outages. The water fountain requires a constant power connection via the adapter.

Illustration of the dual power supply options: 5V DC adapter and 3 x D size batteries.
5. Operating Instructions
5.1 Setting Current Time
- Press and hold the "🔒" button for 3 seconds to unlock the screen.
- Press and hold the "⚙️" button for 3 seconds. The hour segment will flash.
- Use the "+" or "-" buttons to adjust the hour.
- Press the "⚙️" button to move to the minute field.
- Use the "+" or "-" buttons to adjust the minute.
- Press and hold the "⚙️" button for 3 seconds to exit time settings.
Video: This video demonstrates the process of setting the feeding plan, which includes similar steps for setting the current time.

Overview of the control buttons for setting time and other functions.
5.2 Setting Feeding Plan
- Press and hold the "🔒" button for 3 seconds to unlock the screen.
- Press the "⚙️" button. The display "M" will flash, indicating the number of meals.
- Use the "+" or "-" buttons to adjust the number of meals per day (1-6 meals).
- Press the "⚙️" button to start setting the first meal's time. The hour field will flash.
- Use the "+" or "-" buttons to set the hour and minutes for the meal.
- Press the "⚙️" button to jump to the flashing portion number.
- Use the "+" or "-" buttons to set the number of portions per meal (maximum 20 portions).
- Repeat the process for meals 2 to 6 if desired.
- Press and hold the "⚙️" button for 3 seconds to save and exit.
Video: Detailed guide on how to program the feeding schedule, including meal times and portion sizes.
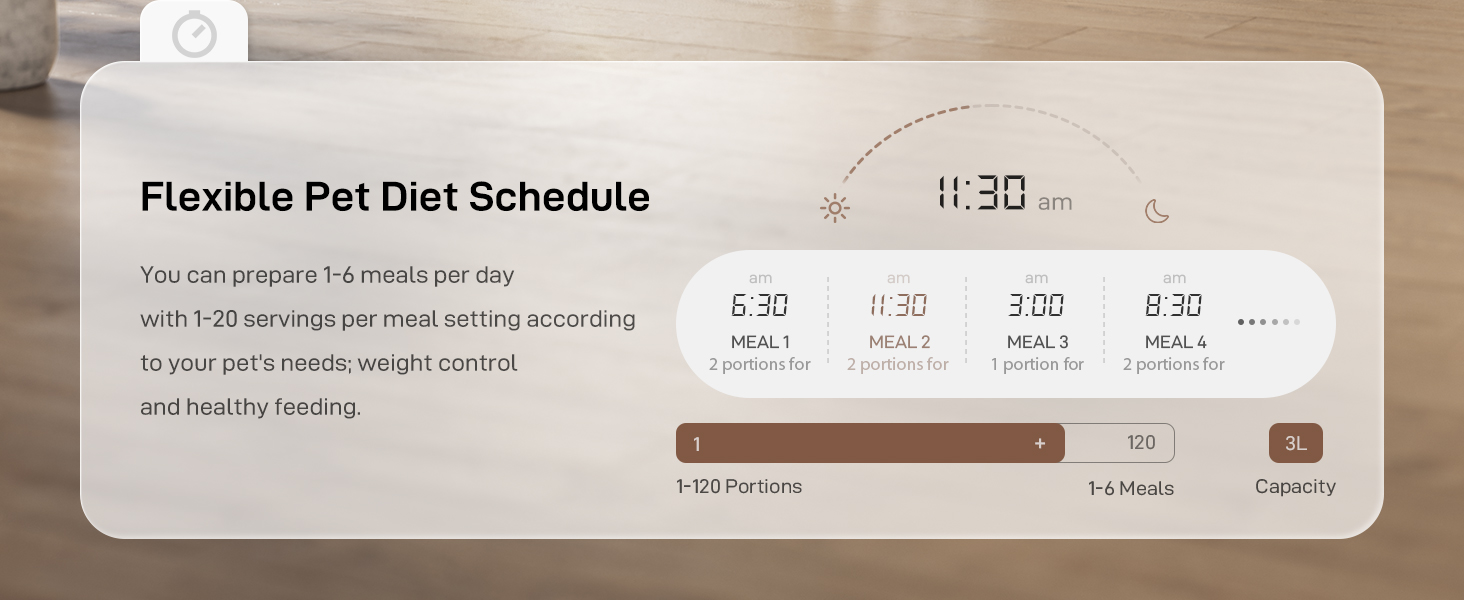
Example of a programmed feeding schedule for multiple meals per day.

Reference table for daily intake and recommended portion sizes.
5.3 Manual Feeding
To dispense food manually without affecting the programmed schedule:
- Press and hold the "🔒" button for 3 seconds to unlock the screen.
- Press both the "+" and "-" buttons simultaneously. The feeder will dispense one portion of food.
Video: Demonstrates how to manually dispense food from the feeder.
6. Maintenance
6.1 Cleaning the Feeder
- Ensure the feeder is unplugged and batteries are removed before cleaning.
- Move the button on the side of the body to remove the food bucket.
- Disassemble the food container, stainless steel bowl, and lid.
- Wash all detachable parts with mild soap and water. Rinse thoroughly.
- Important: Do not wash the feeder base. Wipe the base with a damp cloth if necessary.
- Allow all parts to dry completely before reassembling.

The feeder is designed for easy disassembly and cleaning of its components, except for the main base.
The airtight lid and desiccant bag help keep pet food fresh and dry.
6.2 Cleaning the Water Pump
Regular cleaning of the water pump is crucial for the longevity of the fountain and the health of your pet. We recommend cleaning the pump every 1 to 2 weeks.
- Unplug the water fountain.
- Remove the pump cover and the outer cover.
- Use tweezers to carefully take out the impeller.
- Clean the filter cotton, impeller, and the pump's interior with the provided brush.
- Reassemble all parts once clean and dry.
Video: Step-by-step instructions on how to clean the water pump for optimal performance.

Visual guide illustrating the steps to disassemble and clean the water pump.
6.3 Filter Replacement
It is recommended to replace the water filter cotton once a month to ensure the water remains clean and fresh for your pet.
7. Troubleshooting
- Food Jams: Ensure kibble size is between 0.07 and 0.4 inches (2-10mm). Larger kibble can cause blockages. Regularly clean the food dispensing mechanism.
- Water Fountain Not Working: Check if the power adapter is securely connected. Ensure the water pump is clean and free of debris. Verify water level is sufficient.
- Feeder Not Dispensing: Check power supply (adapter and batteries). Ensure the food container is not empty and the dispensing mechanism is clear.
7.1 How to Reset the Device
To reset the feeder to factory settings:
- Ensure the device is in the locked mode (screen locked).
- Press and hold the "+" button for 6 seconds. The display will flash three times, indicating that the resetting process is complete.
Video: Instructions on how to reset the device to its factory settings.
8. Specifications
| Model Name | KE+WO3 |
| Brand | IMIPAW PET |
| Item Weight | 3.7 Pounds |
| Product Dimensions | 7.2 x 7.2 x 13.5 inches |
| Material | Acrylonitrile Butadiene Styrene |
| Color | Black-Basic Edition |
| Feeder Capacity | 3L |
| Water Fountain Capacity | 3L (101 Oz) |
| Meals per Day | 1-6 |
| Portions per Meal | 1-20 (approx. 8g per portion) |
| Power Supply | 5V DC Adapter, 3 x D Size Batteries (Feeder only, not included) |
| Care Instructions | Hand Wash Only (detachable parts) |
9. Warranty & Support
The IMIPAW PET KE+WO3 Automatic Cat Feeder and Water Fountain comes with a 1-year warranty from the date of purchase.
For technical support, troubleshooting assistance, or warranty claims, please contact IMIPAW PET customer service through the retailer where the product was purchased or visit the official IMIPAW PET store online.