
1. Important Safety Information
Please read all instructions carefully before using this monitor. Keep this manual for future reference.
- Do not expose the monitor to rain or moisture to prevent fire or electric shock.
- Do not open the monitor casing. There are no user-serviceable parts inside. Refer all servicing to qualified personnel.
- Place the monitor on a stable, flat surface to prevent it from falling.
- Ensure proper ventilation around the monitor. Do not block ventilation openings.
- Use only the power adapter and cables provided by the manufacturer.
- Disconnect the power plug from the outlet if the monitor will not be used for an extended period.
2. Package Contents
Verify that all items are present in your package:
- ReHisk 24 Inch IPS FHD 100Hz Gaming Monitor
- Monitor Stand (Base and Neck)
- Power Adapter and Power Cable
- HDMI Cable
- User Manual (this document)
- Mounting Screws and Tools (if applicable for stand assembly)
3. Setup Instructions
3.1 Stand Assembly
- Carefully remove the monitor from its packaging, keeping it protected on a soft surface.
- Attach the stand neck to the monitor's rear panel. Ensure it clicks securely into place or is fastened with the provided screws.
- Connect the stand base to the stand neck. Tighten the screw at the bottom of the base to secure it.
- Place the assembled monitor on a stable desk.
Note: The monitor supports VESA 75x75mm mounting for alternative installation options (e.g., wall mount, monitor arm). Ensure to use appropriate VESA-compatible hardware (not included).

Figure 3.1: Monitor stand assembly and VESA mounting points. The image displays the monitor's rear with the stand attached, highlighting the tilt adjustment range and the 75x75mm VESA mounting screw holes.
3.2 Connecting to a Computer
Connect the monitor to your computer using one of the following methods:
- HDMI Connection: Connect one end of the HDMI cable to the HDMI port on your computer's graphics card and the other end to the HDMI port on the monitor.
- DisplayPort (DP) Connection: Connect one end of the DP cable to the DisplayPort on your computer's graphics card and the other end to the DP port on the monitor.
- VGA Connection: Connect one end of the VGA cable to the VGA port on your computer's graphics card and the other end to the VGA port on the monitor.
For audio output, you can connect headphones or external speakers to the monitor's earphone jack.
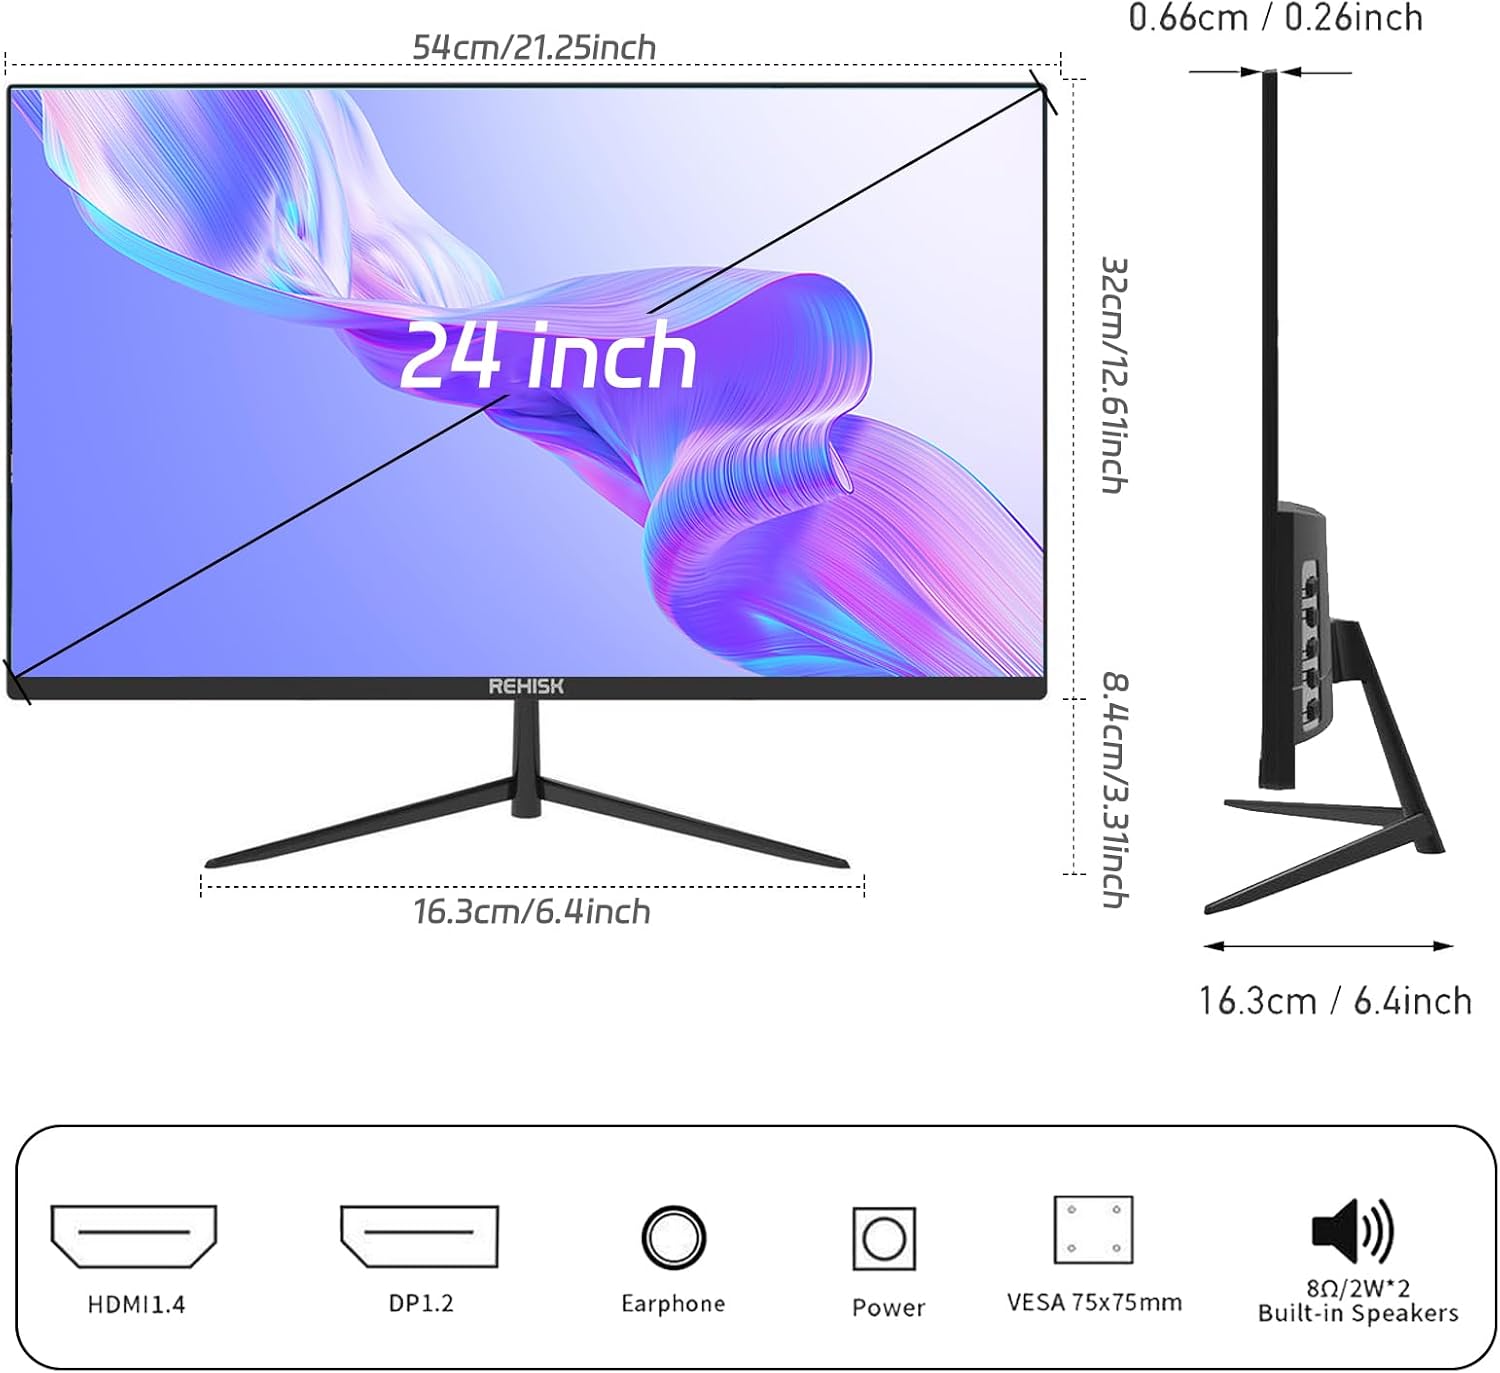
Figure 3.2: Monitor connectivity ports. The image shows the back of the monitor with clearly labeled ports for HDMI, DisplayPort (DP), Earphone, and Power input, along with VESA mounting points.
3.3 Power Connection
- Connect the power adapter to the monitor's power input port.
- Plug the power cable into the power adapter.
- Plug the other end of the power cable into a grounded electrical outlet.
4. Operating Instructions
4.1 Power On/Off
Press the power button located on the monitor to turn it on or off. The power indicator light will illuminate when the monitor is on.
4.2 On-Screen Display (OSD) Menu
The OSD menu allows you to adjust various monitor settings. Use the control buttons (usually located on the back or bottom right of the monitor) to navigate the menu.
- Menu Button: Press to open the OSD menu.
- Navigation Buttons: Use to move through menu options.
- Enter/Select Button: Confirm selection or enter a sub-menu.
- Exit Button: Exit the current menu or OSD.
4.3 Display Settings
Adjust the following settings for optimal viewing:
- Brightness/Contrast: Adjust for desired image luminosity and distinction.
- Color Temperature: Select from presets (e.g., Warm, Cool, User) or adjust RGB values manually.
- Picture Mode: Choose from various presets optimized for different content (e.g., Standard, Game, Movie, Text).
- Input Source: Manually select the input source (HDMI, DP, VGA) if auto-detection fails.
- Refresh Rate: Ensure your computer's display settings are configured to 100Hz for the smoothest experience.
- Response Time: The monitor features a 3ms response time for reduced motion blur.
4.4 Eye Care Technology
This monitor incorporates Eye Care Technology to reduce eye strain during prolonged use:
- Low Blue Light: Reduces harmful blue light emissions. Activate this feature in the OSD menu.
- Flicker-Free: Eliminates screen flickering, which can cause eye fatigue. This feature is always active.

Figure 4.1: Eye Care Technology. The image shows a split screen demonstrating the effect of anti-flicker technology, with one side showing visible flicker lines and the other side smooth, indicating a flicker-free display.
4.5 Built-in Speakers
The monitor includes built-in speakers for audio output. Adjust the volume through your computer's sound settings or the monitor's OSD menu.
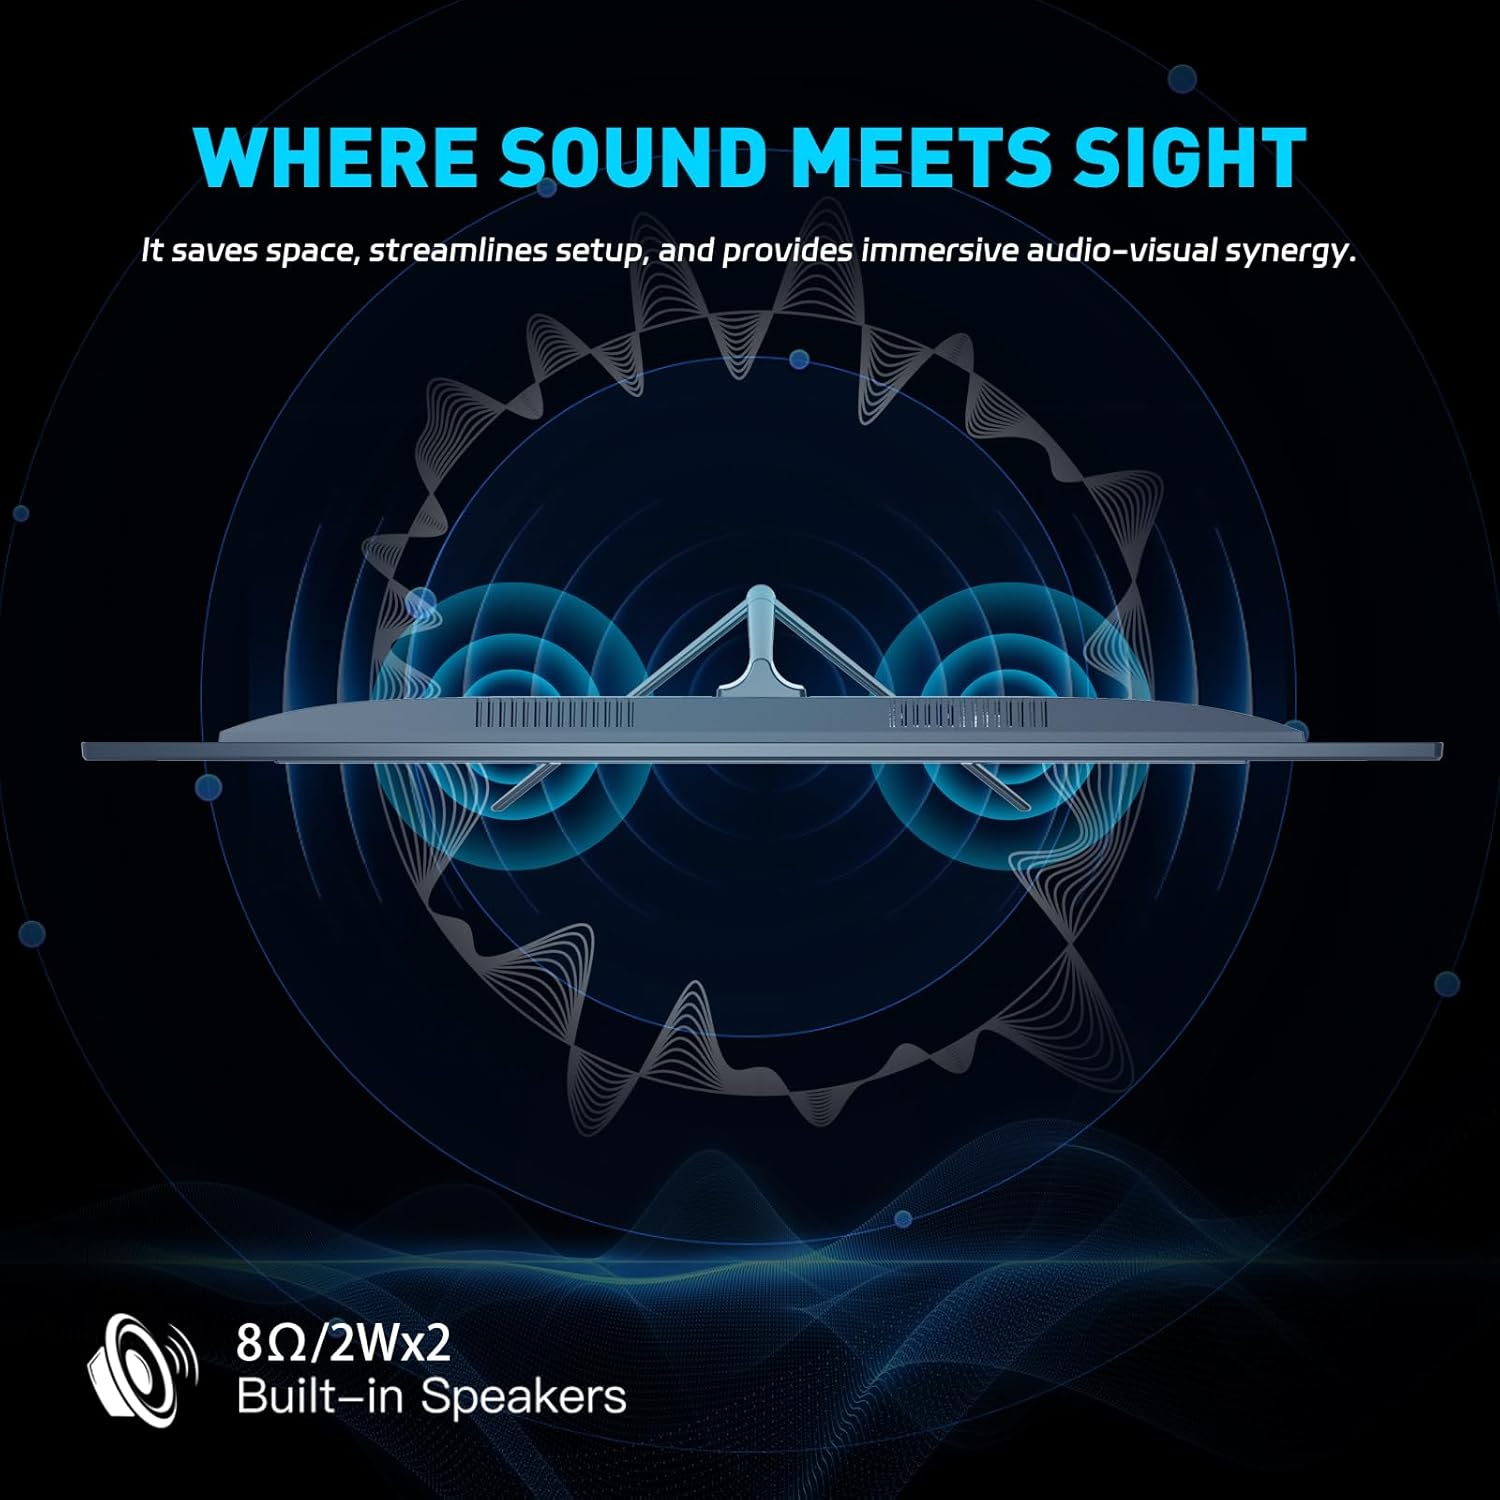
Figure 4.2: Built-in Speakers. The image highlights the monitor's integrated speakers, emphasizing their contribution to an immersive audio-visual experience.
5. Maintenance
5.1 Cleaning the Monitor
- Always unplug the monitor from the power outlet before cleaning.
- Use a soft, lint-free cloth slightly dampened with water or a mild, non-abrasive screen cleaner.
- Do not spray cleaner directly onto the screen. Apply it to the cloth first.
- Avoid using harsh chemicals, solvents, or abrasive materials, as they can damage the screen or casing.
5.2 Storage
If storing the monitor for an extended period, ensure it is clean, dry, and stored in a cool, well-ventilated area. Use the original packaging for protection if available.
6. Troubleshooting
If you encounter issues with your monitor, refer to the following common problems and solutions:
| Problem | Possible Solution |
|---|---|
| No power / Power LED off | Check if the power cable is securely connected to the monitor and the power outlet. Ensure the power adapter is functioning. |
| No signal / Blank screen | Verify that the video cable (HDMI, DP, or VGA) is correctly connected to both the monitor and the computer. Ensure the correct input source is selected in the OSD menu. Check if the computer is powered on and not in sleep mode. |
| Image is blurry or distorted | Adjust the resolution and refresh rate settings on your computer to match the monitor's native resolution (1920x1080) and refresh rate (100Hz). Check the video cable for damage. |
| Colors are incorrect | Reset the color settings in the OSD menu to default. Adjust color temperature or individual RGB values if needed. |
| No sound from speakers/earphone jack | Check the volume settings on both the monitor (OSD menu) and your computer. Ensure the audio output is directed to the monitor in your computer's sound settings. |
If the problem persists after trying these solutions, please contact ReHisk customer support.
7. Specifications
Detailed technical specifications for the ReHisk 24 Inch IPS FHD 100Hz Gaming Monitor (Model RE-241KV1n):

Figure 7.1: Key Technical Specifications. The image highlights features such as Full HD 1920x1080 resolution, 1000:1 contrast ratio, IPS panel, 100Hz refresh rate, 3ms GTG response time, and 250 cd/m² brightness.
| Feature | Specification |
|---|---|
| Model Number | RE-241KV1n |
| Screen Size | 24 Inches (23.6'' viewable) |
| Panel Type | IPS |
| Resolution | 1920 x 1080 Pixels (FHD 1080p) |
| Refresh Rate | 100Hz |
| Response Time | 3ms (MPRT) |
| Aspect Ratio | 16:9 |
| Viewing Angle | 178° (Horizontal/Vertical) |
| Contrast Ratio | 1000:1 (Typical) |
| Display Colors | 16.7 Million |
| Brightness | 250 cd/m² (Typical) |
| Connectivity | 1x HDMI 1.4, 1x DisplayPort 1.2, 1x VGA, 1x Earphone Jack |
| VESA Mount Compatibility | 75 x 75mm |
| Tilt Adjustment | 15° backward, 5° forward |
| Built-in Speakers | Yes (8Ω/2Wx2) |
| Eye Care Features | Low Blue Light, Flicker-Free |
| Product Dimensions (with stand) | 24 x 5 x 15 inches |
| Manufacturer | ReHisk |
8. Warranty and Support
ReHisk monitors are designed for reliability and performance. For detailed warranty information, please refer to the warranty card included with your product or visit the official ReHisk website.
For technical support, troubleshooting assistance, or any product-related inquiries, please contact ReHisk customer service:
- Email: info@ganymedebos.com
- Phone: 508-434-7740
Please have your model number (RE-241KV1n) and purchase information ready when contacting support.