1. Introduction
This manual provides essential instructions for the safe operation, installation, maintenance, and troubleshooting of your VEVOR 35 Pints Dehumidifier, Model OL12-D031K. Please read this manual thoroughly before using the appliance and retain it for future reference.
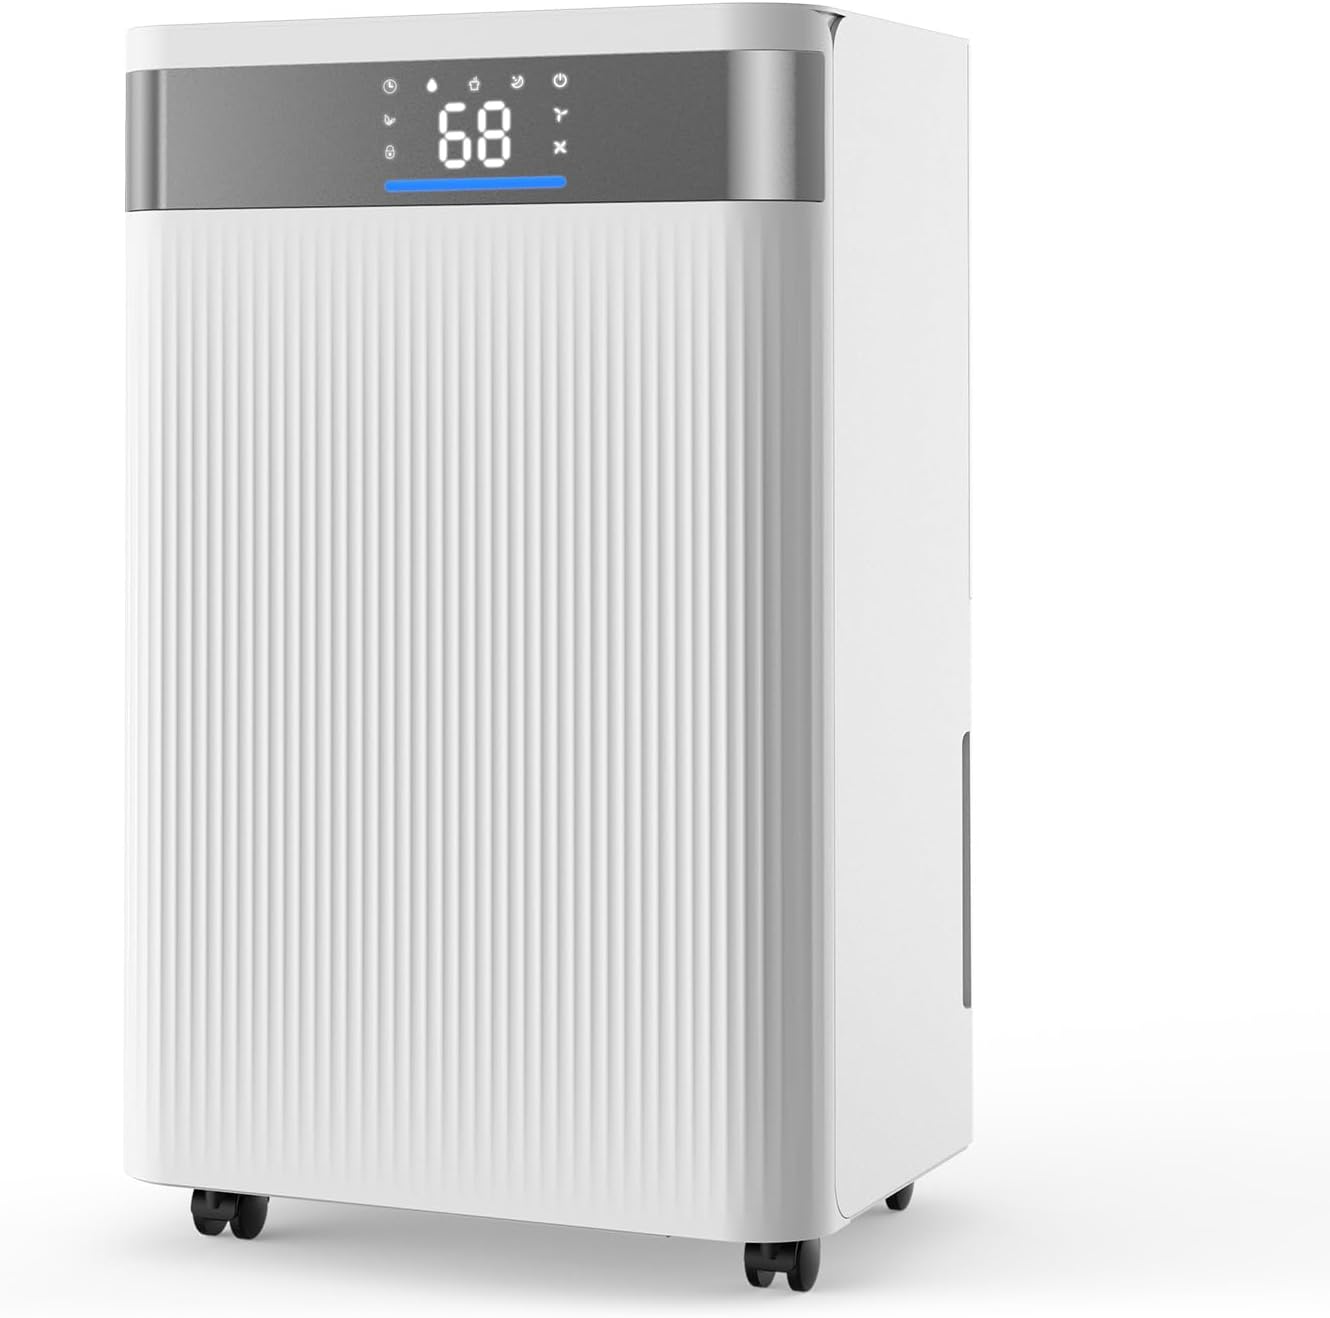
Figure 1: Front view of the VEVOR 35 Pints Dehumidifier.
The VEVOR 35 Pints Dehumidifier is designed to effectively remove excess moisture from indoor environments, covering areas up to 2500 sq. ft. It features smart humidity control, low noise operation, and dual drainage options to enhance comfort and air quality in your home, basement, or other suitable spaces.

Figure 2: The dehumidifier operating in a living room, demonstrating its coverage for large spaces.
2. Safety Instructions
To reduce the risk of fire, electric shock, or injury, always follow these basic precautions:
- Read all instructions before using the appliance.
- Do not operate any appliance with a damaged cord or plug.
- Do not place the dehumidifier near heat sources or in direct sunlight.
- Ensure the appliance is placed on a level, stable surface.
- Always unplug the dehumidifier before cleaning or performing any maintenance.
- Do not block air inlets or outlets.
- Keep children and pets away from the appliance during operation.
- Do not use the appliance in areas where flammable liquids or gases are stored.
- Only use the appliance for its intended purpose as described in this manual.
3. Product Components
Familiarize yourself with the main parts of your VEVOR Dehumidifier:
- Control Panel with LED Display
- Air Inlet Grille
- Air Outlet Grille
- Water Tank
- Continuous Drain Outlet
- Caster Wheels
- Power Cord

Figure 3: Clear LED Display and Smart Touch Panel for easy operation.
4. Setup
Follow these steps to set up your dehumidifier:
- Unpacking: Carefully remove the dehumidifier from its packaging. Retain packaging materials for future storage or transport.
- Placement: Place the dehumidifier on a firm, level surface in the desired location. Ensure there is at least 8 inches (20 cm) of space around the unit for proper airflow.
- Caster Wheels: The unit is equipped with 360° caster wheels for easy movement. Ensure they are securely attached and can roll freely.

Figure 4: The dehumidifier's 360° caster wheels facilitate effortless relocation.
- Power Connection: Plug the power cord into a grounded electrical outlet.
5. Operating Instructions
Your dehumidifier offers various modes and settings for optimal performance.
5.1 Control Panel Overview
The smart touch panel and LED display provide real-time information and easy control.
- Power Button: Turns the unit on or off.
- Mode Button: Cycles through available operating modes.
- Humidity Setting Buttons: Adjusts the desired humidity level.
- Fan Speed Button: Selects between high and low fan speeds.
- Timer Button: Sets the auto-on/off timer.
- Child Lock Button: Activates/deactivates the control panel lock.
5.2 Operating Modes
Select the appropriate mode for your needs:

Figure 5: The powerful compressor ensures efficient dehumidification.
- Auto Mode: The dehumidifier automatically adjusts its operation based on the ambient humidity to maintain a comfortable level.
- Continuous Drying Mode: Provides strong, continuous dehumidification, ideal for very damp conditions or drying laundry.
- Sleep Mode: Operates at a lower fan speed and reduced noise level (as low as 38dB) for quiet operation, suitable for nighttime use.

Figure 6: The dehumidifier operates at a low noise level, comparable to a whisper.
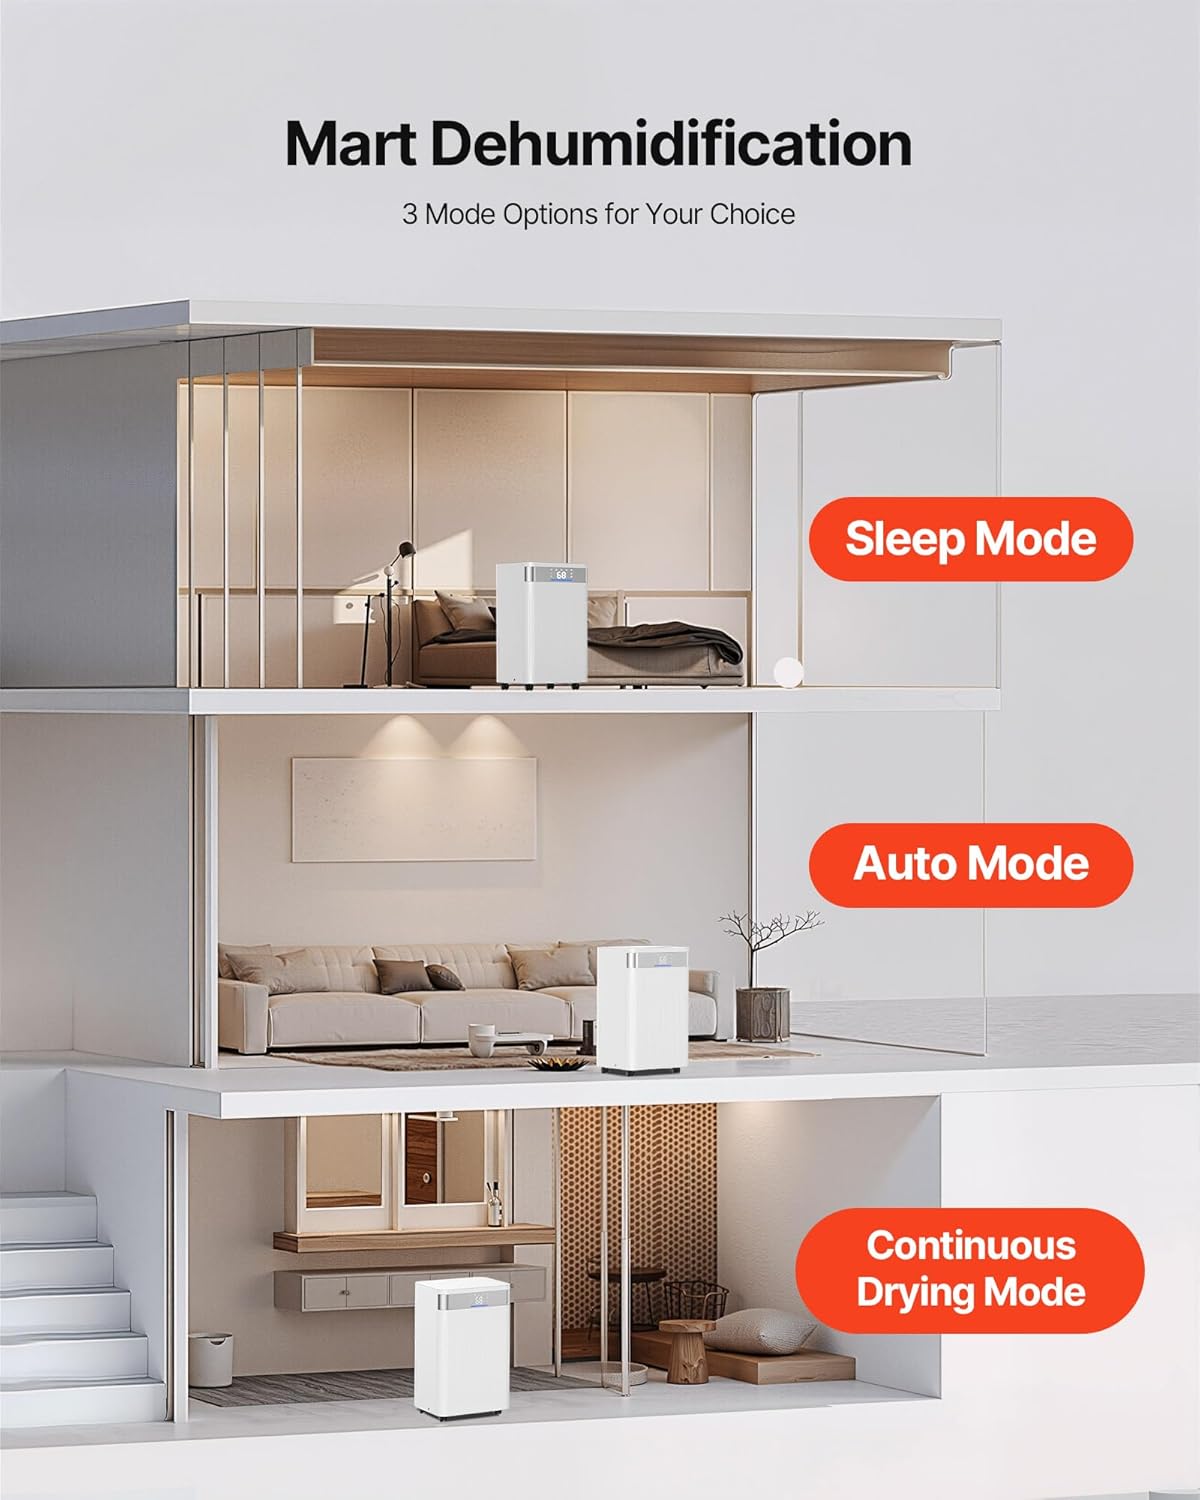
Figure 7: The three operating modes (Sleep, Auto, Continuous Drying) cater to various environmental needs.
5.3 Humidity Control
Use the humidity setting buttons to set your desired humidity level. The LED display will show the current and target humidity. The unit will cycle on and off to maintain the set level.

Figure 8: Three-color indicator light provides a clear visual of indoor humidity levels.
5.4 Fan Speed
Press the fan speed button to switch between high and low fan speeds. Higher speed results in faster dehumidification, while lower speed offers quieter operation.

Figure 9: The dehumidifier offers two fan speeds for flexible operation.
5.5 Timer Function
The 24-hour timer allows you to schedule the dehumidifier to turn on or off automatically. Refer to the control panel instructions for setting the timer.

Figure 10: The 24-hour timer function provides convenient scheduling.
5.6 Child Lock
Activate the child lock feature to prevent accidental changes to settings, especially useful in households with children or pets.

Figure 11: The secure lock feature prevents unintended operation.
5.7 Drainage Options
Your dehumidifier offers two methods for water removal:
- Water Tank Collection: Water collects in the internal 0.53-gallon water tank. The dehumidifier will alert you and automatically shut off when the tank is full to prevent overflow. Empty the tank by carefully pulling it out and discarding the collected water.
- Continuous Drainage: For extended operation without manual emptying, connect the included drain hose (3.28 ft) to the continuous drain outlet. Ensure the hose is sloped downwards to allow gravity drainage into a suitable floor drain or container.

Figure 12: Dual drainage modes offer flexibility for water removal.
6. Maintenance
Regular maintenance ensures efficient operation and extends the lifespan of your dehumidifier.
6.1 Cleaning the Air Filter
The air filter should be cleaned every two weeks or more frequently depending on usage and air quality.
- Unplug the dehumidifier from the power outlet.
- Locate and remove the air filter from the back or side of the unit.
- Wash the filter with warm, soapy water. Rinse thoroughly.
- Allow the filter to air dry completely before reinstalling. Do not use a dryer or direct heat.
- Reinsert the dry filter into the unit.

Figure 13: The dust filter is easily detachable for cleaning.
6.2 Cleaning the Water Tank
Clean the water tank regularly to prevent mold and mildew growth.
- Remove the water tank from the unit.
- Wash the tank with warm water and a mild detergent.
- Rinse thoroughly and dry before placing it back into the dehumidifier.
6.3 Exterior Cleaning
Wipe the exterior of the dehumidifier with a soft, damp cloth. Do not use harsh chemicals or abrasive cleaners.
7. Troubleshooting
Before contacting customer service, refer to the following troubleshooting guide for common issues:
| Problem | Possible Cause | Solution |
|---|---|---|
| Dehumidifier does not turn on. | No power; Water tank full or incorrectly installed; Child lock activated. | Check power connection; Empty and properly reinstall water tank; Deactivate child lock. |
| No water collected or insufficient dehumidification. | Air filter clogged; Room temperature too low; Humidity setting too high; Doors/windows open. | Clean air filter; Ensure room temperature is above 41°F (5°C); Lower humidity setting; Close doors and windows. |
| Unit is noisy. | Unit not on a level surface; Air filter clogged; Fan obstruction. | Place on a level surface; Clean air filter; Check for obstructions in fan area. |
| "Full Tank" indicator remains on after emptying. | Water tank not properly reinserted; Float switch stuck. | Ensure tank is fully seated; Gently shake tank to free float switch. |
8. Specifications
Key technical specifications for the VEVOR 35 Pints Dehumidifier (Model OL12-D031K):
| Feature | Specification |
|---|---|
| Model Name | 35 Pints Dehumidifier for Home & Basement |
| Item Model Number | OL12-D031K |
| Dehumidification Capacity | 35 Pints per Day (at 95°F, 90% RH) / 24 Pints per Day (at 86°F, 80% RH) |
| Coverage Area | Up to 2500 Square Feet |
| Water Tank Capacity | 0.53 Gallons |
| Voltage / Frequency | AC 115V 60Hz |
| Power | 98W |
| Noise Level | 37-38dB |
| Airflow | 120 CFM |
| Item Weight | 21.7 Pounds (9.85 kg) |
| Product Dimensions (D x W x H) | 8.66" x 10.04" x 17.56" (220 x 255 x 446 mm) |
| Recommended Use | Residential |
| Included Components | 1 x Dehumidifier, 1 x Drain Hose |

Figure 14: Detailed dimensions of the dehumidifier.
9. Warranty and Support
For warranty information or technical support, please refer to the warranty card included with your product or visit the official VEVOR website. Ensure you have your model number (OL12-D031K) and purchase date available when contacting support.
You can also visit the VEVOR Store on Amazon for additional product information and support resources.


