1. Introduction
Thank you for choosing the SOLRIG Bifold Mirror Closet Door. This manual provides essential information for the safe and proper installation, operation, and maintenance of your new door. This 1-Lite Mirror Aluminum Alloy Folding Door is designed to enhance your living space by providing both functionality and aesthetic appeal, creating a spacious and bright ambiance. Please read these instructions thoroughly before beginning installation.
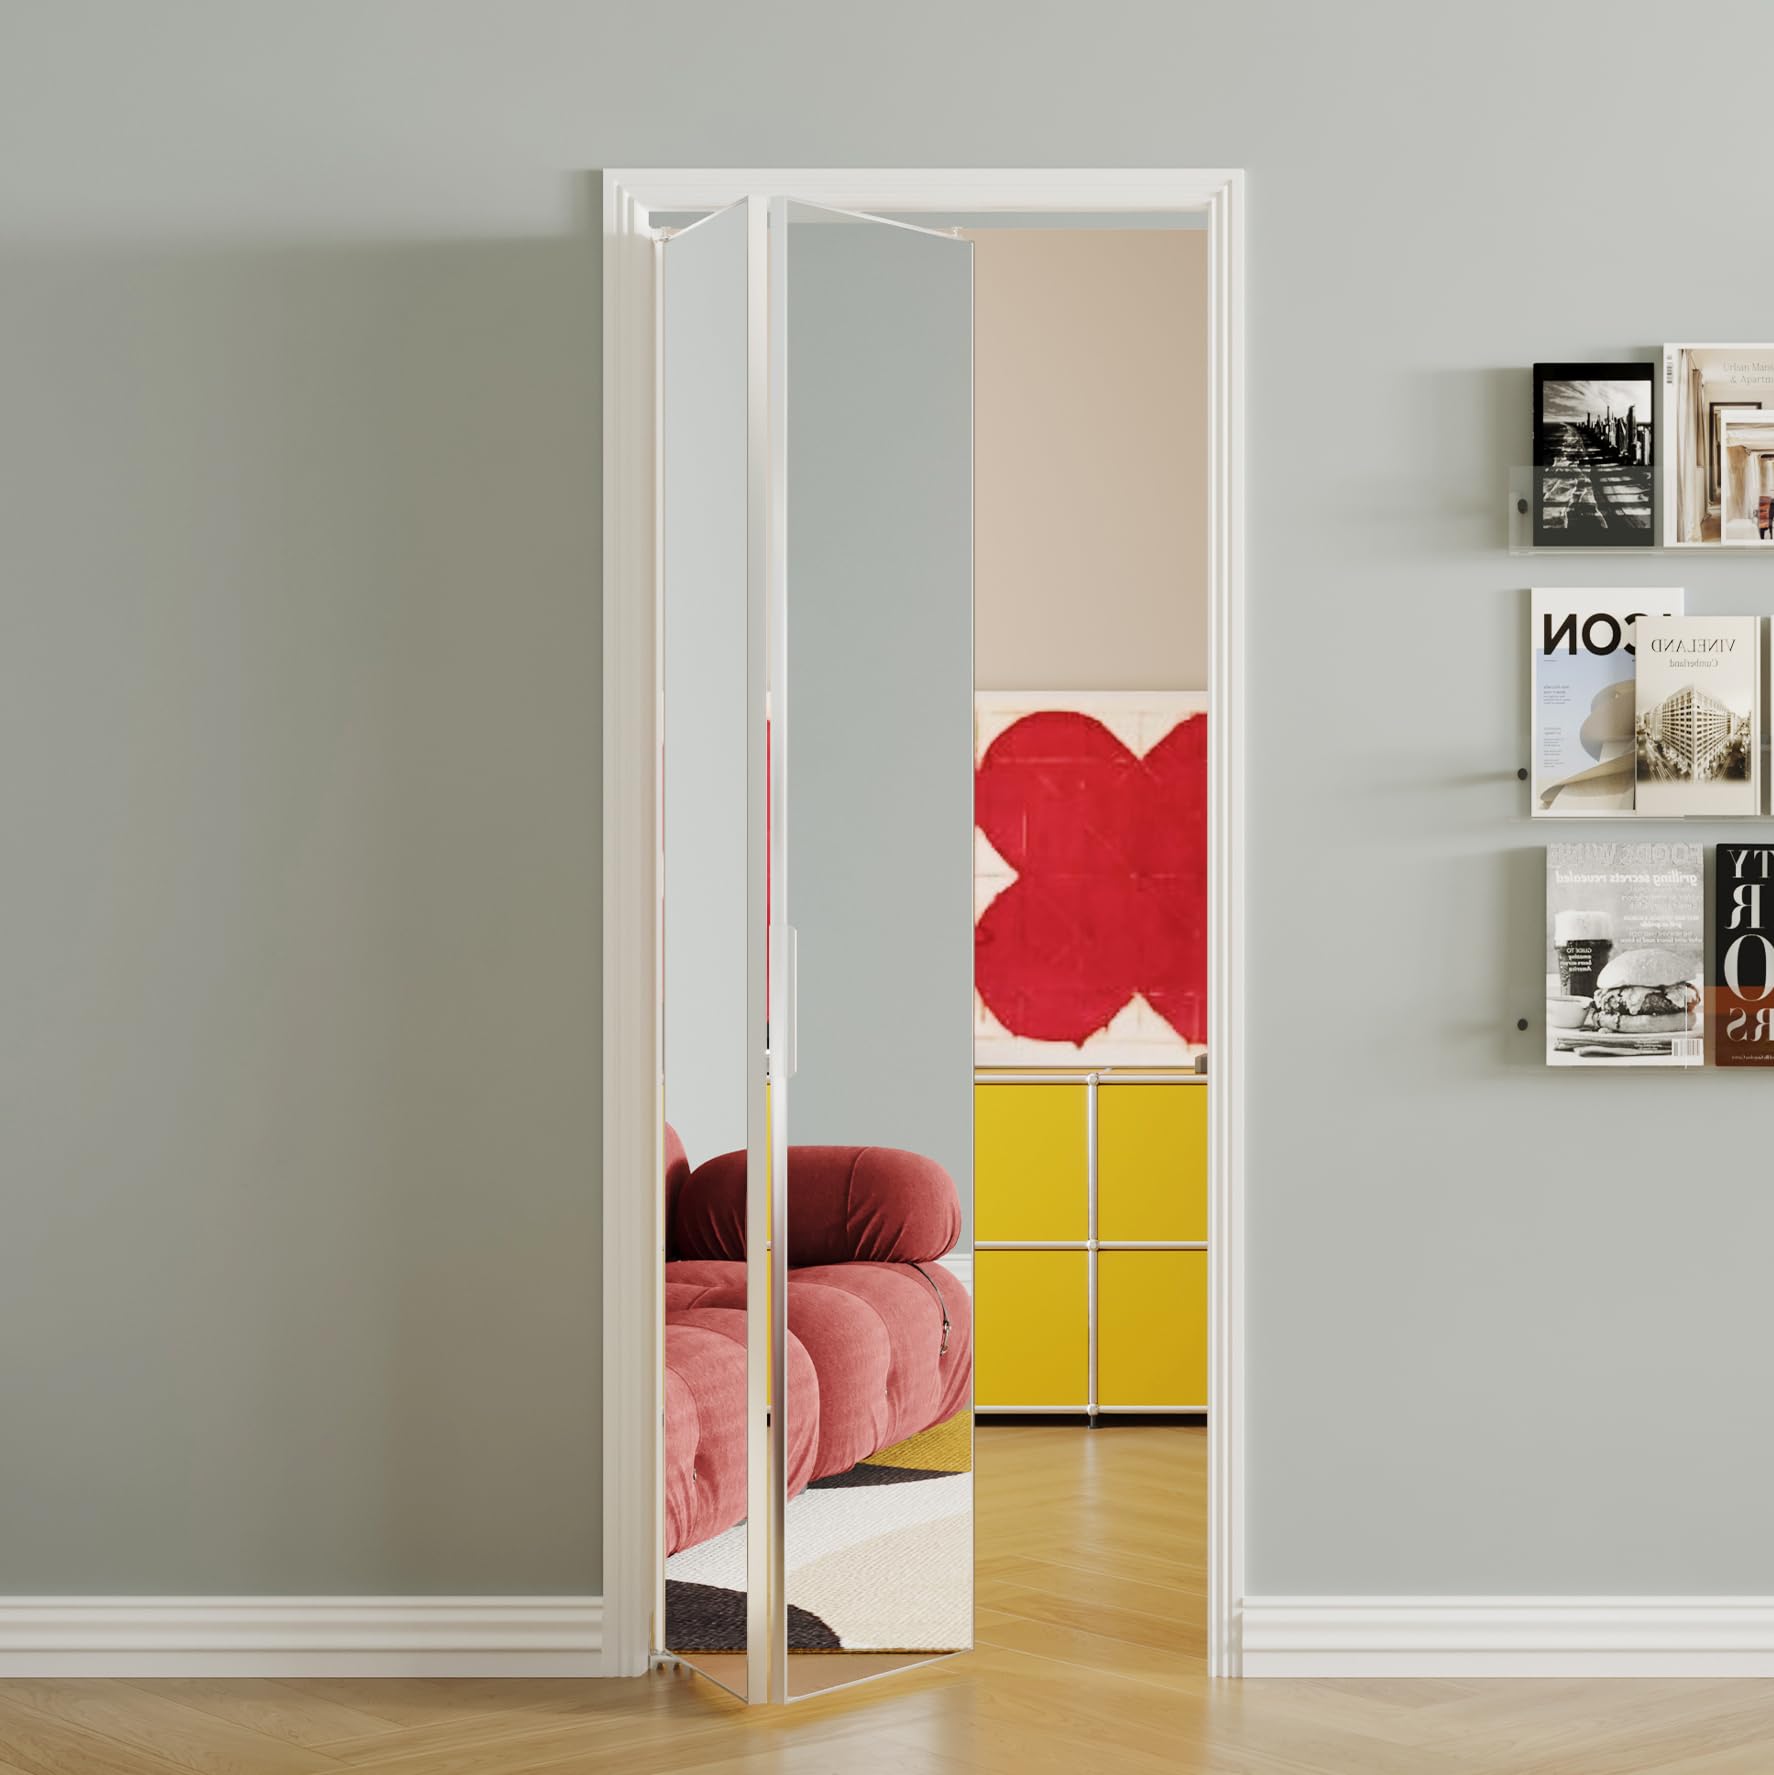
Image 1.1: The SOLRIG Bifold Mirror Closet Door, showcasing its reflective surface and sleek design.
2. Safety Information
- Always handle glass components with care to prevent breakage and injury.
- Wear appropriate personal protective equipment (PPE) such as gloves and safety glasses during installation.
- Due to the weight of the door panels, it is recommended that two people handle and install the door to prevent injury and damage.
- Ensure all hardware is securely fastened according to the instructions to prevent the door from falling or malfunctioning.
- Keep children and pets away from the installation area.
3. Package Contents
Verify that all components listed below are present and undamaged before beginning installation. If any parts are missing or damaged, please contact customer service immediately.

Image 3.1: Overview of the Mirror Bifold Doors Hardware Set, including tracks, rollers, hinges, and fasteners.
Hardware Components:
- Sliding Rollers: For quiet and smooth door operation.
- Floor Guides: To enhance door stability.
- Sliding Tracks: Durable construction for reliable movement.
- Hinges: Connect door panels.
- Door Pulls/Handles: For opening and closing the door.
- Fasteners (Screws, Bolts): Various sizes for securing components.
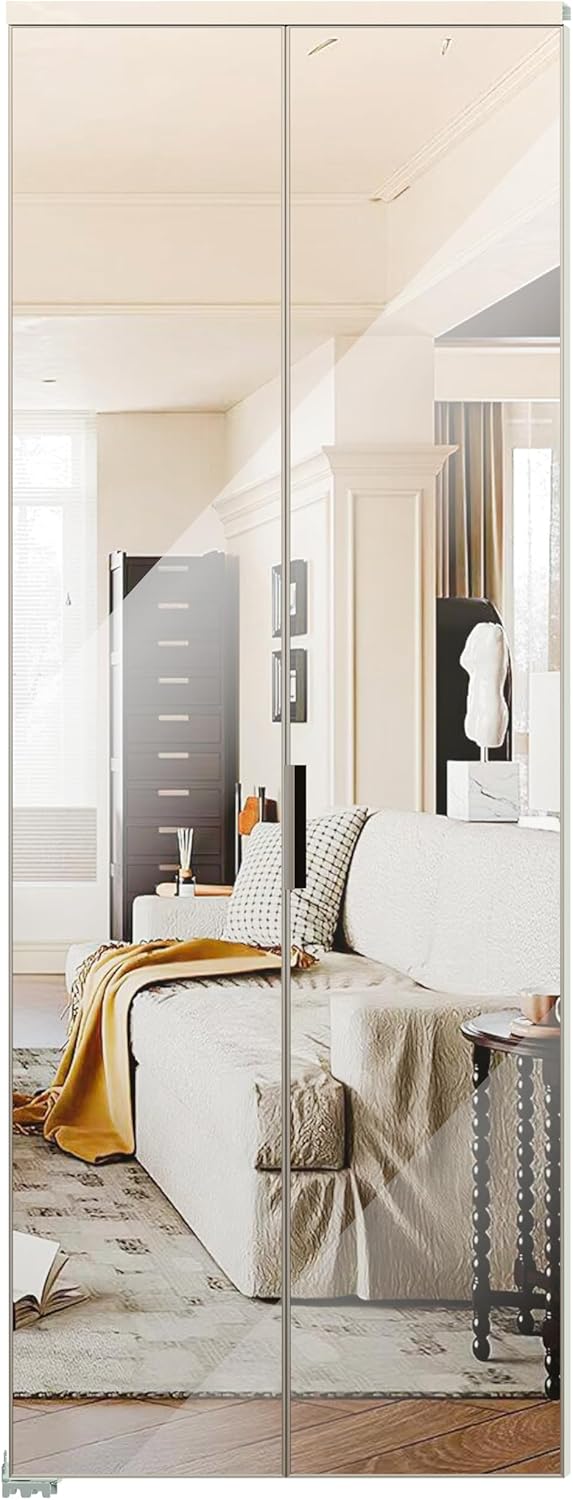
Image 3.2: Close-up of key bifold door hardware: Sliding Rollers, Floor Guides, and Sliding Tracks.
4. Specifications
| Feature | Detail |
|---|---|
| Brand | SOLRIG |
| Model Number | B0FGPX4VHT |
| Door Panel Dimensions (W x H) | 29 11/25" x 77 3/4" |
| Recommended Opening Size (W x H) | 30" x 80" |
| Color | Silver |
| Material | Aluminum Alloy Frame, Glass Mirror |
| Style | Classic, 1-Lite Mirror |
| Assembly Required | No (referring to the door panel itself, hardware assembly is required) |
5. Setup and Installation
Proper measurement and preparation are crucial for successful installation. Ensure your door opening meets the recommended dimensions for optimal fit and function.
5.1 Measuring Your Opening
Before purchasing and installing, accurately measure your finished door opening. The finished opening is the space remaining after any trim work is completed.
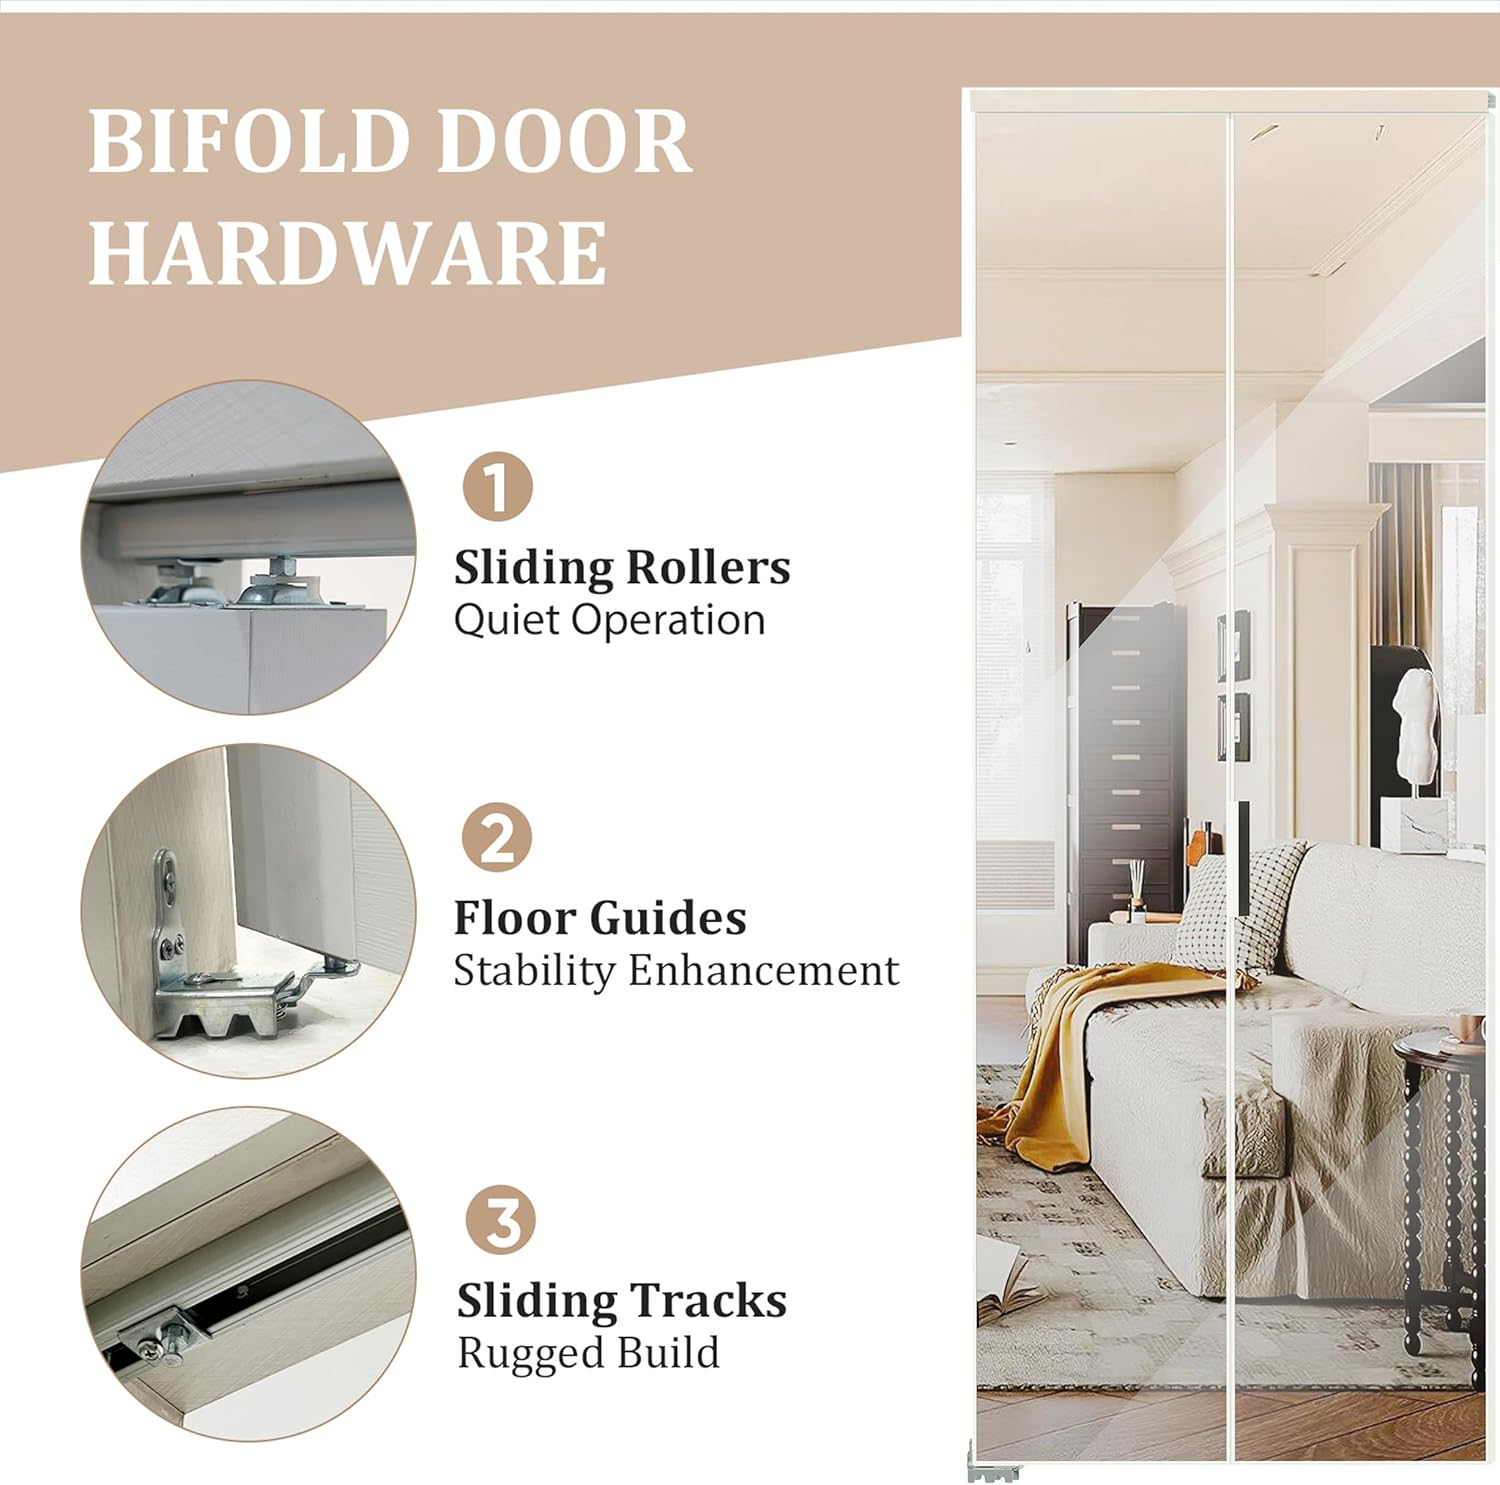
Image 5.1: Standard Sizes & Measuring Bifold Doors Diagram.
| Size Options | Door Panel Width | Door Panel Height | Fit Finished Opening Width | Fit Finished Opening Height |
|---|---|---|---|---|
| 24" x 80" | 23 11/25" | 77 3/4" | 24" | 80" |
| 30" x 80" | 29 11/25" | 77 3/4" | 30" | 80" |
| 36" x 80" | 35 11/25" | 77 3/4" | 36" | 80" |
Note: Please review the actual dimensions of the door panel and measure the finished opening before making a purchase.
5.2 General Installation Steps (Consult detailed instructions provided with hardware kit)
- Prepare the Opening: Ensure the door opening is clean, plumb, and square. Verify that the finished opening dimensions match the requirements for your door size.
- Install Top Track: Secure the sliding track to the top of the door frame using the provided screws. Ensure it is level and centered.
- Attach Hinges: Connect the bifold door panels using the provided hinges. Ensure they are aligned correctly for smooth folding.
- Install Pivots and Rollers: Attach the top pivot and bottom pivot/roller assemblies to the door panels as indicated in the hardware instructions.
- Mount Door Panels: Insert the top pivot into the track and the bottom pivot into the floor guide. Adjust the pivots to ensure the door hangs plumb and operates smoothly.
- Install Floor Guide: Secure the floor guide to the floor, aligning it with the bottom pivot of the door.
- Attach Door Pulls: Install the door pulls or handles to the desired location on the door panels.
- Final Adjustments: Test the door operation. Adjust pivots and rollers as needed to ensure the door opens and closes smoothly, and the panels align correctly when closed.
6. Operating Instructions
Your SOLRIG bifold mirror door is designed for easy operation. To open, gently pull the door handle, allowing the panels to fold inward or outward, depending on the installation. The versatile design allows you to stack the panels on the right, left, or center of the opening, providing flexible access to your closet or room.

Image 6.1: Bifold door in a partially open position.
7. Maintenance
Regular maintenance will ensure the longevity and optimal performance of your bifold mirror door.
- Cleaning the Mirror: Use a soft, lint-free cloth and a glass cleaner to wipe the mirror surfaces. Avoid abrasive cleaners or materials that could scratch the glass or frame.
- Cleaning the Frame: Wipe the aluminum alloy frame with a soft, damp cloth. For stubborn dirt, a mild soap solution can be used, followed by drying with a clean cloth.
- Lubricating Hardware: Periodically apply a silicone-based lubricant to the sliding rollers and tracks to maintain smooth and quiet operation. Avoid oil-based lubricants which can attract dust.
- Checking Fasteners: Annually inspect all screws and fasteners to ensure they are tight. Retighten if necessary to prevent wobbling or misalignment.
- Inspecting Hinges and Pivots: Check hinges and pivots for any signs of wear or damage. Replace components if they appear compromised.
8. Troubleshooting
If you encounter any issues with your bifold mirror door, refer to the following common problems and solutions:
| Problem | Possible Cause | Solution |
|---|---|---|
| Door does not close properly or leaves a gap. | Misaligned pivots or floor guides; improperly installed door handle. | Adjust the top and bottom pivots to ensure the door is plumb and square. Verify the floor guide is correctly positioned. Check that the door handle is installed correctly and not obstructing closure. |
| Door is difficult to open or close, or makes noise. | Dirty or dry sliding tracks/rollers; damaged rollers or hinges. | Clean the tracks and rollers. Apply a silicone-based lubricant to the rollers and tracks. Inspect rollers and hinges for damage and replace if necessary. |
| Door panels are not aligned evenly. | Incorrect pivot adjustments; uneven floor or header. | Adjust the top and bottom pivots to level the door. If the floor or header is uneven, shims may be required during installation. |
| Hardware component (e.g., bracket) breaks. | Material fatigue; manufacturing defect; excessive force during use. | Contact SOLRIG customer service for a replacement part. Avoid applying excessive force to the door. |
| Product arrived damaged (e.g., broken mirror). | Shipping damage. | Immediately contact SOLRIG customer service with proof of damage for a free replacement. |
9. Warranty and Support
SOLRIG is committed to providing excellent customer service and ensuring your satisfaction. While specific warranty details are not provided in this manual, we offer robust after-sales support.
9.1 Customer Service
If you encounter any issues, have questions, or require assistance with your product, please do not hesitate to contact our customer service team. We are ready to assist you with any damage, missing parts, or operational concerns.
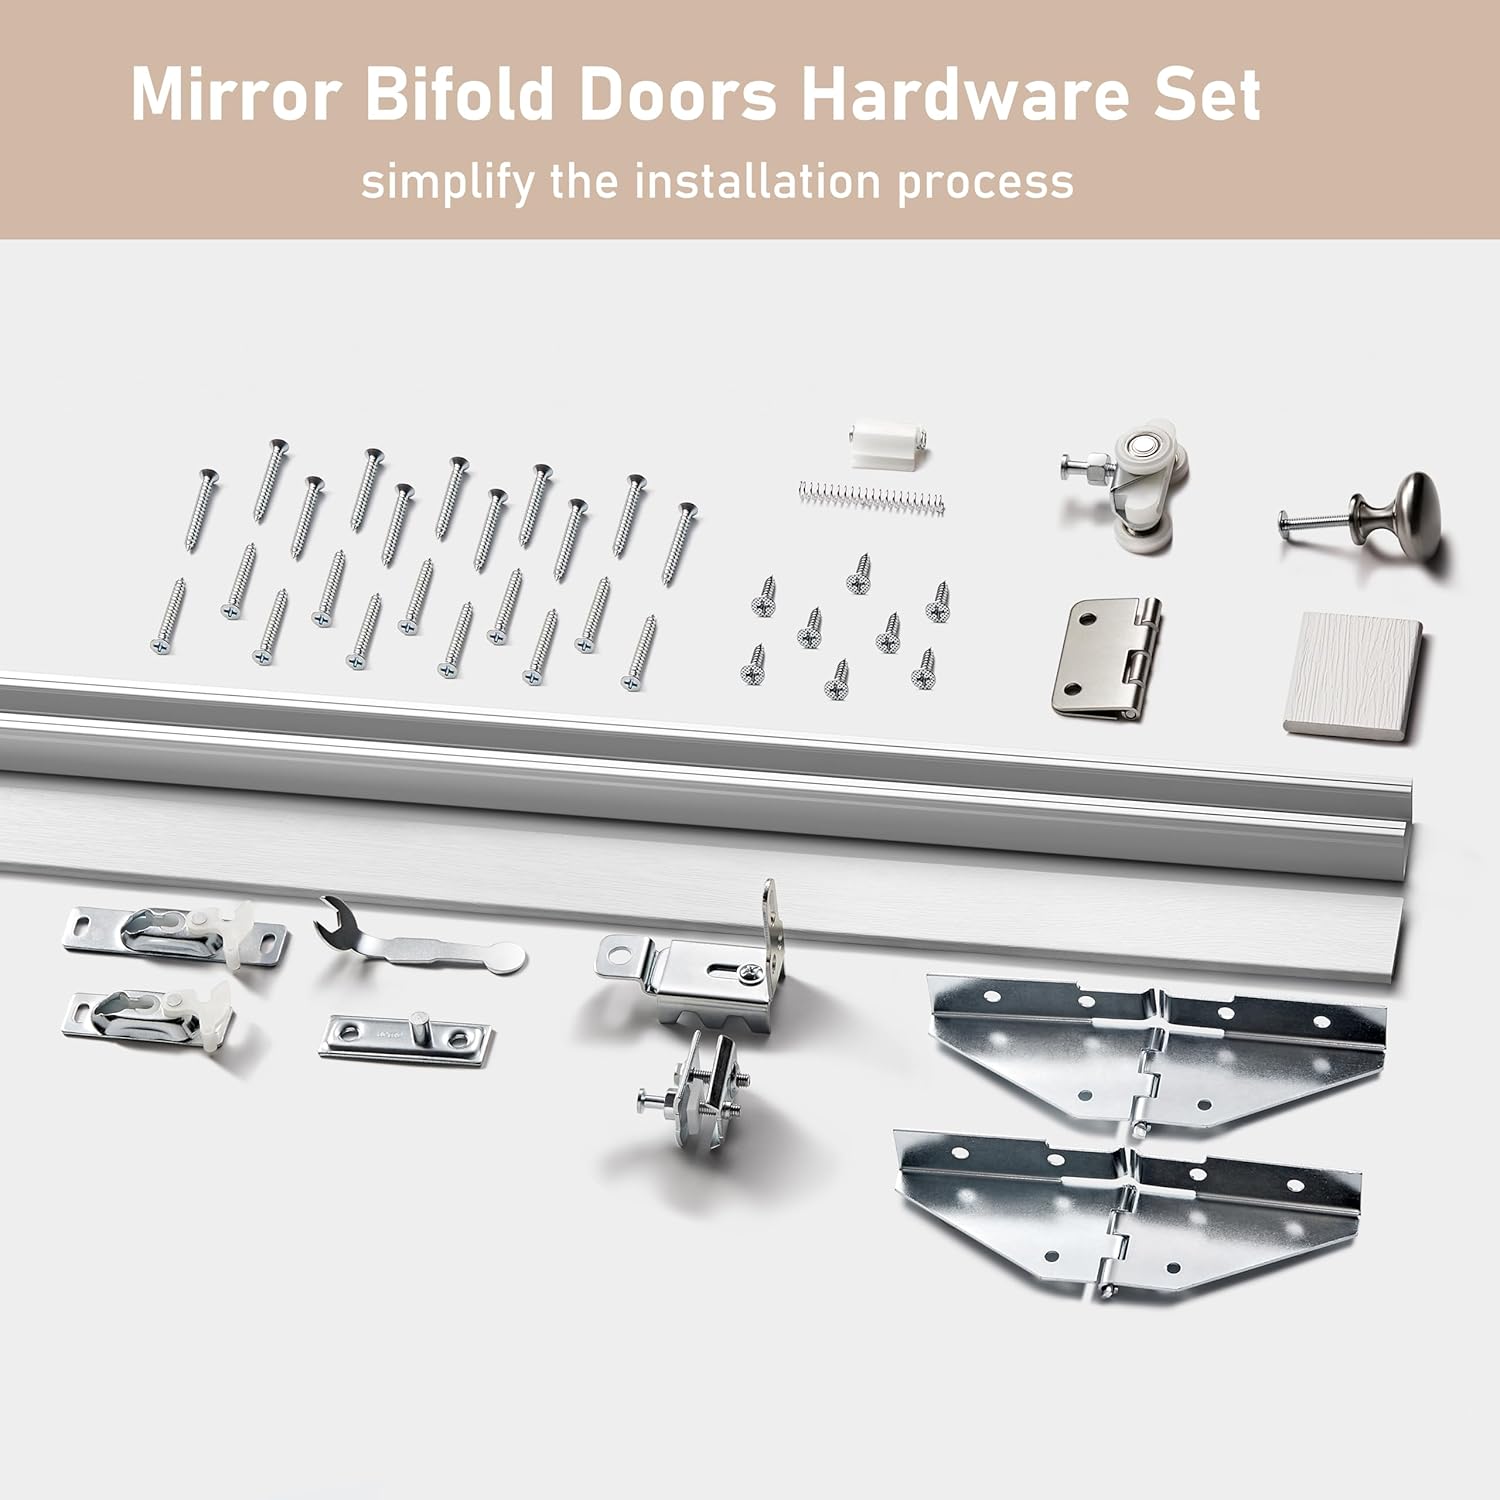
Image 9.1: How to contact SOLRIG customer service via Amazon.
To contact us, navigate to your order details on Amazon and select the option to 'Ask a question' or 'Contact Seller'. Our team will respond promptly to ensure a positive experience.