1. Introduction
Thank you for choosing the NinPeen NP008 TV Stand and Dresser. This manual provides essential information for the safe assembly, operation, and maintenance of your new furniture. Please read these instructions carefully before beginning assembly and retain them for future reference.
Important Safety Information
- Always secure the cabinet to the wall using the anti-tip hardware provided to prevent injury from tipping.
- Do not overload the cabinet with more weight than it can safely support. Refer to the specifications section for weight limits.
- Keep all small parts and packaging materials away from children during assembly.
- Ensure all electrical connections for the charging station and LED lights are made according to local electrical codes and safety guidelines.
2. Package Contents
Before assembly, verify that all components are present and undamaged. If any parts are missing or damaged, please contact customer support.
- Top Panel
- Side Panels and Support Frames
- Bottom Panels and Shelves
- Fabric Drawers (14 units)
- Charging Station Unit (pre-installed or separate)
- LED Light Strip Kit
- Assembly Hardware (screws, bolts, connectors)
- Adjustable Feet
- Anti-Tip Hardware Kit
- Assembly Instructions Manual
3. Assembly Instructions
Assembly typically requires two adults. Please follow the step-by-step diagrams provided in the included assembly guide. A Phillips head screwdriver and possibly a hammer may be required (not included).
- Unpack and Identify Parts: Carefully remove all components from the packaging. Lay them out on a clean, soft surface to prevent scratches. Refer to the parts list in your separate assembly guide to identify each piece.
- Assemble the Main Frame: Connect the side panels to the bottom and top support frames using the provided hardware. Ensure all connections are secure.
- Install Shelves and Dividers: Insert any internal shelves or dividers as indicated in the assembly diagrams.
- Attach Adjustable Feet: Screw the adjustable feet into the base of the unit. Adjust them as needed to ensure stability on uneven surfaces.
- Install Charging Station: If not pre-installed, carefully place the charging station into its designated slot and secure it.
- Install LED Lights: Adhere the LED light strips to the designated areas, typically along the underside of the top panel or shelves. Connect the power cable.
- Insert Fabric Drawers: Fold and assemble the fabric drawers according to their individual instructions, then slide them into their respective compartments.
- Secure Anti-Tip Hardware: This is a critical safety step. Attach the anti-tip hardware to the back of the TV stand and securely fasten it to a wall stud.
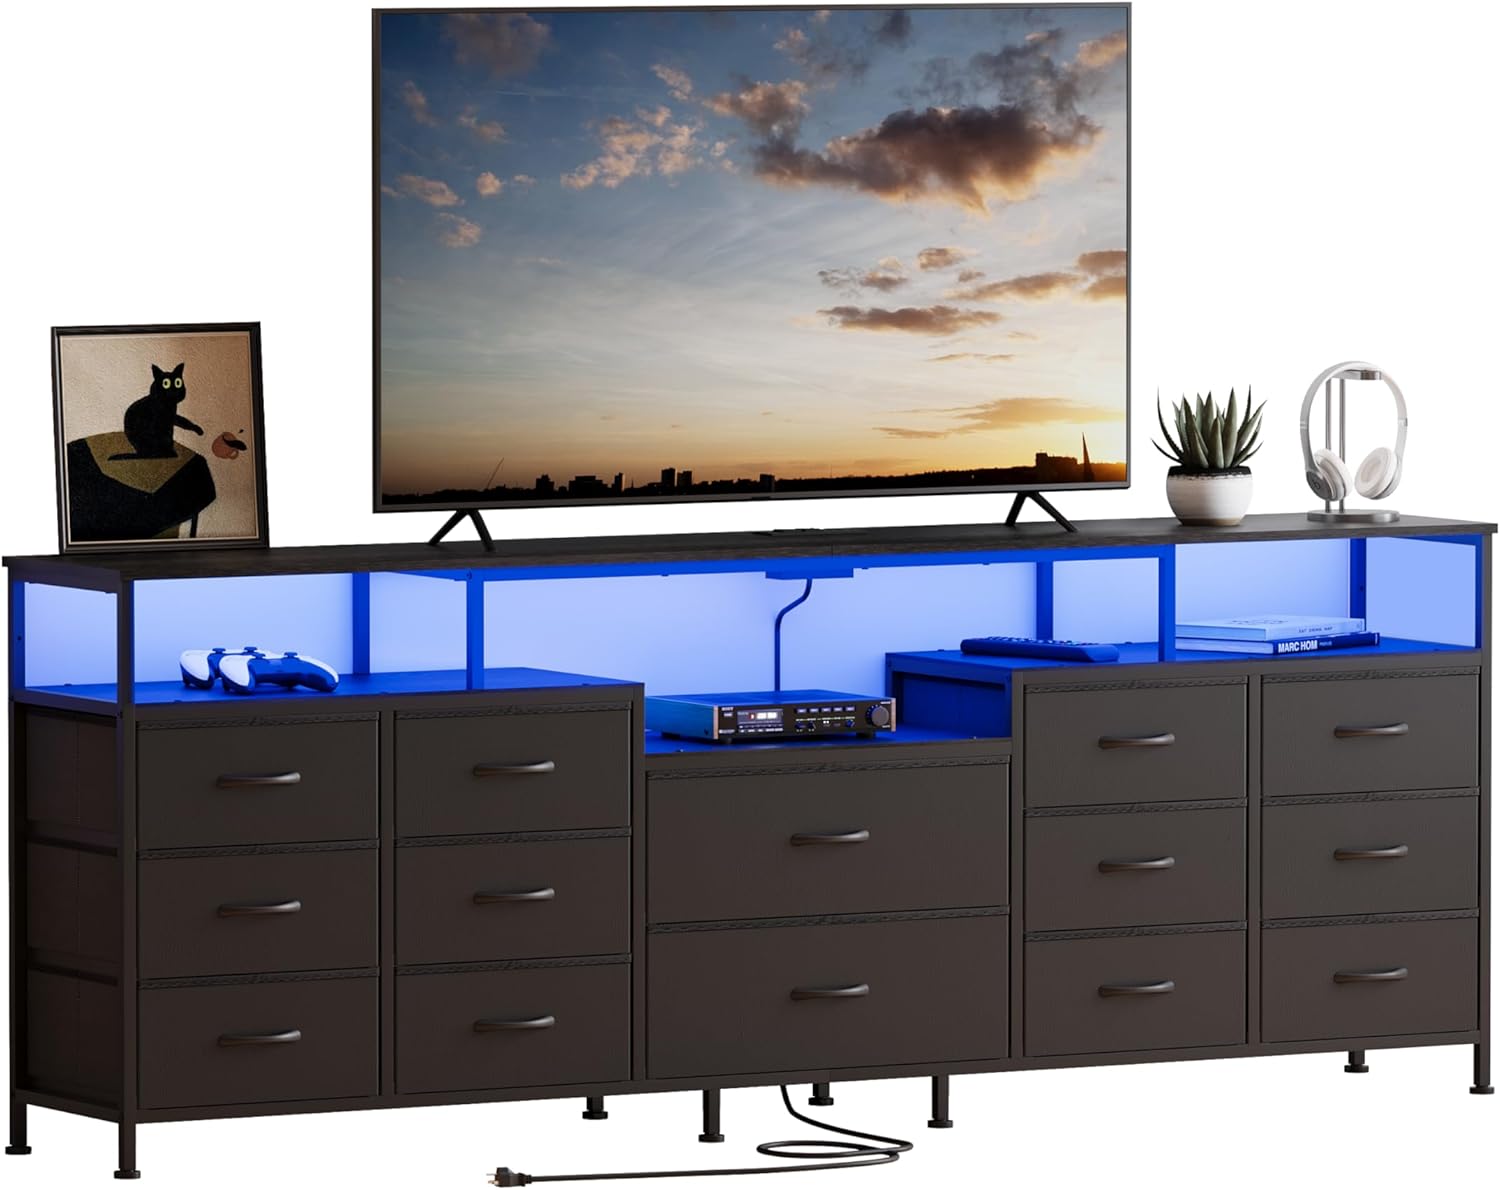
Image: Fully assembled NinPeen TV Stand with LED lights illuminated, showcasing its design and storage capabilities.

Image: Dimensional diagram of the TV stand, indicating its overall width, depth, and height, along with compatible TV sizes (65, 75, 80 inches).
4. Operating Instructions
4.1 LED Lighting System
The integrated LED lighting system offers various customization options to enhance your entertainment experience.
- Power On/Off: Use the inline switch or the remote control (if included) to turn the LED lights on or off.
- Color Selection: Choose from over 60,000 colors using the remote control or the dedicated mobile application.
- Brightness Adjustment: Adjust the light intensity to your preference.
- Modes: Explore various modes including Music Mode (lights react to sound), Mic Mode, Timing Mode, and Dynamic Mode for different visual effects.
- App Control: Download the companion application (details in separate LED manual) for advanced control and customization via your smartphone.

Image: Visual representation of the LED light features, including a wide color spectrum, sound-reactive modes, timing functions, brightness control, and app connectivity.
4.2 Charging Station
The built-in charging station provides convenient power access for your electronic devices.
- AC Outlets: The unit includes two (2) standard 120V/12A AC outlets. Plug in your TV, gaming console, or other appliances.
- USB Ports: Two (2) 5V/2A USB ports are available for charging smartphones, tablets, smartwatches, and other USB-powered devices.
- Power Connection: Ensure the main power cord from the TV stand is securely plugged into a functional wall outlet.

Image: A close-up view of the integrated power strip, highlighting its two AC outlets and two USB ports, with devices actively charging.
5. Maintenance
Regular care will help maintain the appearance and longevity of your TV stand.
- Cleaning Surfaces: Wipe surfaces with a soft, damp cloth. Avoid using harsh chemicals, abrasive cleaners, or polishes that may damage the finish.
- Drawer Care: The fabric drawers can be spot cleaned with a mild detergent and water. Allow them to air dry completely before returning them to the unit.
- Electrical Components: Ensure the charging station and LED lights are kept dry. Do not attempt to disassemble or repair electrical components yourself.
- Hardware Check: Periodically check all assembly hardware and anti-tip connections to ensure they remain tight and secure.

Image: An overhead view illustrating the 14 storage drawers, some open and filled with various household items, demonstrating the unit's storage capacity.
6. Troubleshooting
If you encounter any issues, please refer to the following common problems and solutions.
| Problem | Possible Cause | Solution |
|---|---|---|
| LED lights do not turn on. | Power cord unplugged, loose connection, remote battery dead. | Ensure power cord is securely plugged into an outlet. Check all LED strip connections. Replace remote battery if applicable. |
| Charging station not providing power. | Main power cord unplugged, device not properly connected. | Verify the TV stand's main power cord is plugged in. Ensure devices are fully inserted into AC outlets or USB ports. Test with another device. |
| Drawers are difficult to open/close. | Overloaded drawer, fabric misaligned, obstruction. | Reduce contents of the drawer. Ensure the fabric drawer is properly assembled and aligned within its compartment. Check for any obstructions. |
| Unit feels unstable. | Uneven floor, adjustable feet not properly set, anti-tip hardware not installed. | Adjust the leveling feet on the bottom of the unit. Ensure the anti-tip hardware is securely installed to a wall stud. |
7. Product Specifications
- Brand: NinPeen
- Model Name: NP008 (TV stand with storage)
- Color: Black
- Product Dimensions: 70.87" W x 11.81" D x 26.38" H (180 x 30 x 67 cm)
- Item Weight: 44.3 pounds (20.1 kg)
- Material: Engineered Wood (Top Material), Iron (Frame Material)
- Finish Type: High-Gloss
- Number of Drawers: 14 (Fabric Drawers)
- Number of Shelves: 3
- TV Compatibility: Suitable for TVs up to 80 inches (e.g., 65, 75, 80 inch TVs)
- Charging Station:
- 2 x AC Outlets (120V/12A)
- 2 x USB Ports (5V/2A)
- LED Lights: Multi-color (60,000+ colors), Mic Mode, Music Mode, Timing Mode, Brightness Adjustable, Dynamic Mode, APP/Switch Control
- Installation Type: Freestanding
- Assembly Required: Yes
8. Warranty and Support
NinPeen products are designed for durability and customer satisfaction. For specific warranty details, please refer to the warranty card included with your purchase or visit the official NinPeen website. If you have any questions, require assistance with assembly, or need to report missing/damaged parts, please contact NinPeen customer support through the retailer's platform or the contact information provided in your purchase documentation.
We are committed to providing prompt and helpful assistance.