1. Safety Information
Operating a laser engraver requires adherence to strict safety guidelines to prevent injury. This device is a Class 4 laser product.
- Eye Protection: Always wear the provided laser safety goggles when the machine is in operation. Never look directly at the laser beam.
- Ventilation: Operate the engraver in a well-ventilated area to dissipate smoke and fumes produced during engraving or cutting.
- Fire Safety: Keep a fire extinguisher nearby. Do not leave the machine unattended during operation, especially when working with flammable materials.
- Material Safety: Ensure materials are suitable for laser processing. Avoid engraving or cutting PVC, vinyl, or other materials that produce toxic fumes.
- Children and Pets: Keep children and pets away from the operating area.
- Stable Surface: Place the engraver on a stable, level, and non-flammable surface.
2. Package Contents
Verify all components are present upon unpacking:
- ACMER S2 Laser Engraver Frame
- Laser Module (7000mW)
- Power Adapter and Cable
- USB Cable
- Laser Safety Goggles
- Test Material (e.g., balsa wood)
- Assembly Tools (screws, wrenches)
- User Manual

Image: All components of the ACMER S2 Laser Engraver, including the frame, laser module, power supply, cables, safety goggles, and sample materials, neatly arranged for assembly.
3. Setup
3.1. Assembly Instructions
Follow the detailed steps in the included printed manual for physical assembly. Ensure all screws are tightened securely.
- Unpacking: Carefully remove all components from the packaging.
- Frame Assembly: Connect the aluminum profiles to form the engraver's frame.
- Laser Module Installation: Mount the laser module onto the gantry. Ensure it slides smoothly along the axis.
- Cable Connections: Connect the motor cables, limit switch cables, and the laser module cable to the main control board. Connect the power adapter and USB cable.
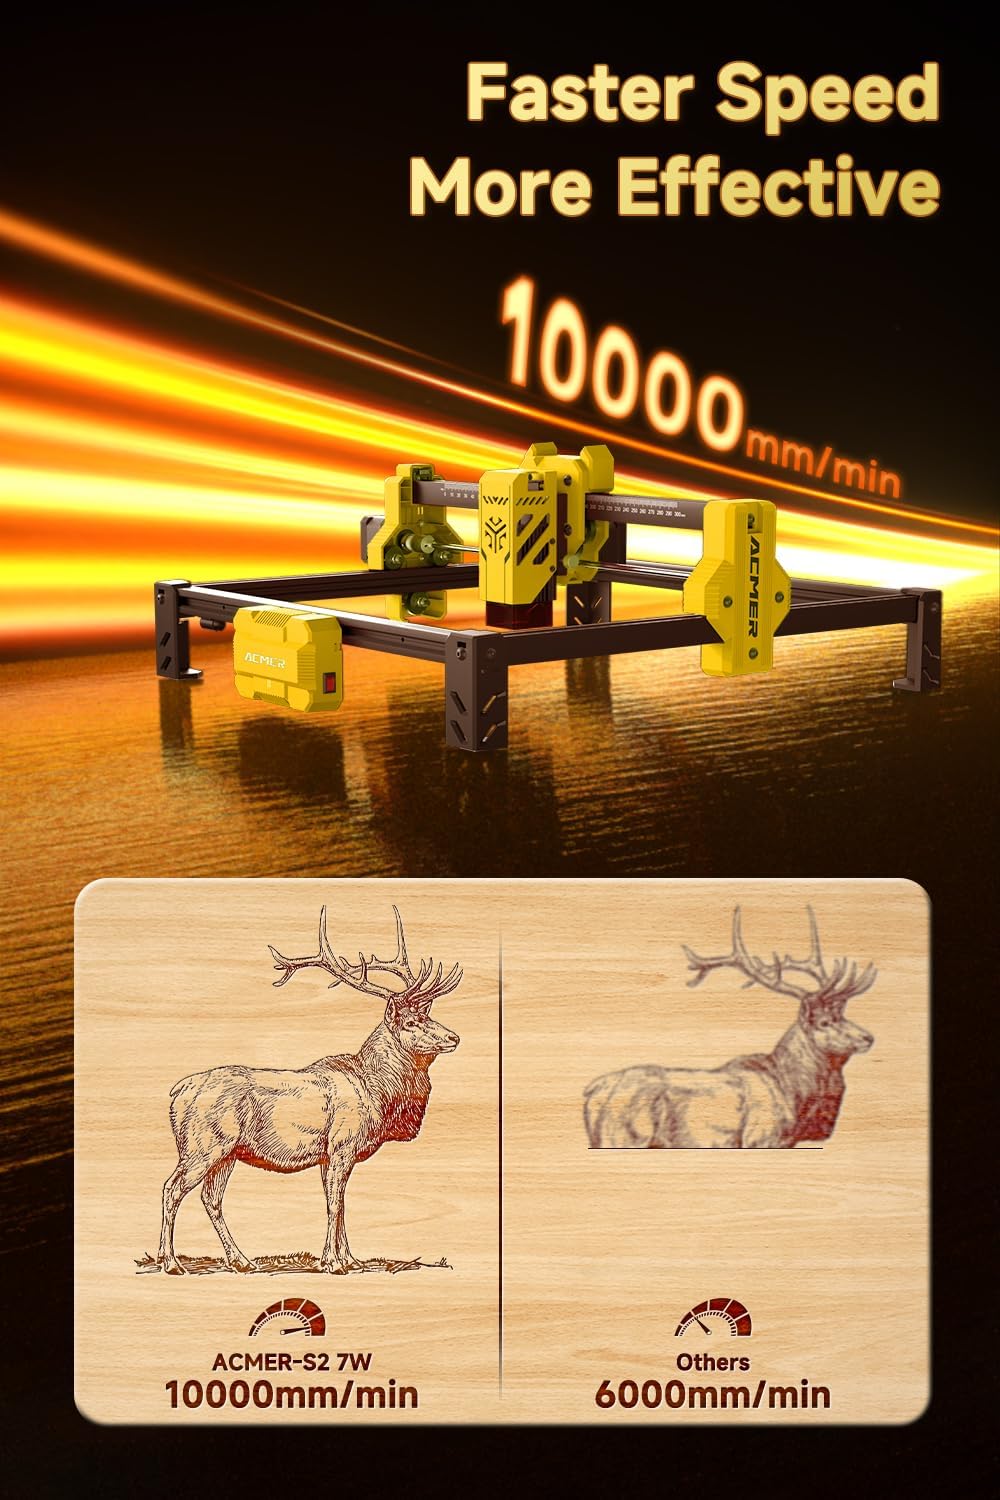
Image: A close-up view of the laser module being securely attached to the gantry system of the ACMER S2 Laser Engraver, highlighting the connection points.
3.2. Software Installation
The ACMER S2 is compatible with popular engraving software such as LightBurn and LaserGRBL. Install the necessary drivers and software from the manufacturer's website or the provided storage device.
- Download: Obtain the latest version of your preferred software (LightBurn or LaserGRBL) and the corresponding drivers.
- Install Drivers: Follow the on-screen instructions to install the USB drivers for your operating system.
- Install Software: Complete the software installation process.
- Connect: Launch the software and connect to the engraver via the USB cable.
4. Operating Instructions
4.1. Focusing the Laser
Accurate focusing is crucial for optimal engraving and cutting results. Use the provided focus gauge or follow the software's focusing procedure.
- Place the focus gauge on the material surface directly under the laser module.
- Adjust the laser module's height until the bottom of the module lightly touches the gauge.
- Remove the gauge and secure the laser module at this height.
4.2. Loading Material
Place your material flat on the working area. Ensure it is stable and does not move during operation. The working area is 300x300mm (11.81x11.81 inches).

Image: An overhead view of the ACMER S2 Laser Engraver highlighting its generous 300x300mm (11.81x11.81 inch) working area, suitable for various projects.
4.3. Software Interface Overview
Familiarize yourself with your chosen software (LightBurn or LaserGRBL). These programs allow you to import designs, adjust laser parameters (power, speed, passes), and control the engraver's movement.
4.4. Starting an Engraving/Cutting Job
- Import Design: Load your desired image or vector file into the software.
- Position: Use the software's framing function to ensure your design is correctly positioned on the material.
- Adjust Parameters: Set the laser power, speed, and number of passes according to your material and desired effect. Refer to Section 5 for recommended settings.
- Start Job: Initiate the engraving or cutting process from the software. Always wear safety goggles during operation.

Image: The ACMER S2 Laser Engraver in action, with its laser module emitting a purple light as it precisely engraves a design onto a piece of wood.
4.5. Official Product Video: Laser Engraving in Action
Video: This official video from WayLineBM demonstrates the ACMER S2 Laser Engraver's precision with its 0.01mm ultra-thin laser spot, showcasing its ability to create detailed engravings on various materials. The video highlights the machine's operational capabilities and the quality of its output.
5. Material Compatibility & Settings
The ACMER S2 Laser Engraver can engrave and cut a wide range of materials. Always perform small test engravings to find the optimal settings for your specific material.
- Engravable Materials: Wood, bamboo, paper, plastic, leather, PCB board, aluminum oxide, non-reflective coating, lacquered metal, ceramic.
- Cuttable Materials: Wood (up to 13mm), acrylic (up to 6mm), plywood (up to 10mm), MDF (up to 3mm).

Image: This image illustrates the cutting capabilities of the 7W laser engraving and cutting module, showing different thicknesses of plywood (10mm), acrylic (6mm), MDF (3mm), and wood (13mm) that can be cut.
Example Settings (for 7000mW Laser)
| Material | Action | Speed (mm/min) | Power (%) | Passes |
|---|---|---|---|---|
| 3mm Plywood | Cutting | 150-200 | 100 | 2-3 |
| 5mm Wood | Engraving | 5000-8000 | 30-50 | 1 |
| Leather | Engraving | 3000-5000 | 20-40 | 1 |
| Acrylic | Cutting | 100-150 | 100 | 3-5 |
6. Maintenance
Regular maintenance ensures optimal performance and extends the lifespan of your ACMER S2 Laser Engraver.
- Cleaning: Regularly clean the laser lens with a soft, lint-free cloth and lens cleaning solution. Remove debris from the working area and the machine's rails.
- Lubrication: Apply a small amount of lubricant to the guide rails periodically to ensure smooth movement of the laser module.
- Belt Tension: Check the tension of the timing belts. They should be taut but not overly tight. Adjust if necessary.
- Firmware Updates: Check the ACMER website for any available firmware updates to ensure your machine has the latest features and bug fixes.
7. Troubleshooting
Refer to this section for common issues and their solutions.
| Problem | Possible Cause | Solution |
|---|---|---|
| Laser not firing | Loose cable connection, software error, laser module fault | Check all cable connections. Restart software and machine. Contact support if issue persists. |
| Poor engraving/cutting quality | Incorrect focus, wrong parameters, dirty lens | Re-focus the laser. Adjust speed/power settings. Clean the laser lens. |
| Machine not connecting to PC | Missing/outdated drivers, faulty USB cable | Install/update USB drivers. Try a different USB port or cable. |
| Abnormal noise during operation | Loose belts, debris on rails, motor issue | Check and adjust belt tension. Clean rails. Contact support if noise persists. |
8. Specifications
| Feature | Specification |
|---|---|
| Brand | ACMER |
| Model | S2KB |
| Laser Output Power | 7000mW (7W) |
| Engraving Area | 300 x 300 mm (11.81 x 11.81 inches) |
| Laser Spot Size | 0.08 x 0.08 mm |
| Engraving Precision | 0.01 mm |
| Engraving Speed | Up to 10000 mm/min |
| Material | Metal |
| Operation Mode | Manual |
| Item Weight | 7.7 pounds |
| Package Dimensions | 21.65 x 11.61 x 5.31 inches |
9. Warranty and Support
ACMER provides comprehensive after-sales service for your S2 Laser Engraver.
- Warranty: Please refer to the product packaging or the official ACMER website for specific warranty period details.
- Customer Support: If you encounter any problems during use, please contact ACMER customer service. They are available to provide satisfactory solutions and technical assistance.
- Online Resources: Visit the official ACMER website for FAQs, updated manuals, and community forums.