1. Introduction
Thank you for choosing the TEHAUX M107 Digital Multimeter. This device is a compact, auto-ranging digital multimeter designed for accurate measurement of AC/DC voltage, AC/DC current, resistance, capacitance, frequency, and for performing diode and continuity tests. It also features Non-Contact Voltage (NCV) detection, a flashlight, and a backlit LCD display, making it suitable for electricians, DIY enthusiasts, and general electrical troubleshooting.
2. Safety Information
Please read and understand all safety warnings and operating instructions before using this multimeter. Failure to do so may result in injury or damage to the meter or equipment under test.
- Always ensure the test leads are properly connected and the function switch is set to the correct range before making any measurements.
- Do not attempt to measure voltages or currents exceeding the maximum specified limits.
- Exercise extreme caution when working with live circuits. Avoid contact with bare wires or terminals.
- Never use the meter if it appears damaged or if the test leads are compromised.
- Replace batteries promptly when the low battery indicator appears to ensure accurate readings.
- Do not operate the meter in explosive gas, vapor, or dusty environments.
3. Package Contents
Verify that all items listed below are included in your package:
- 1 x TEHAUX M107 Digital Multimeter
- 2 x Test Leads (Red and Black)
- 1 x User Manual (This document)
- 1 x Packing Box
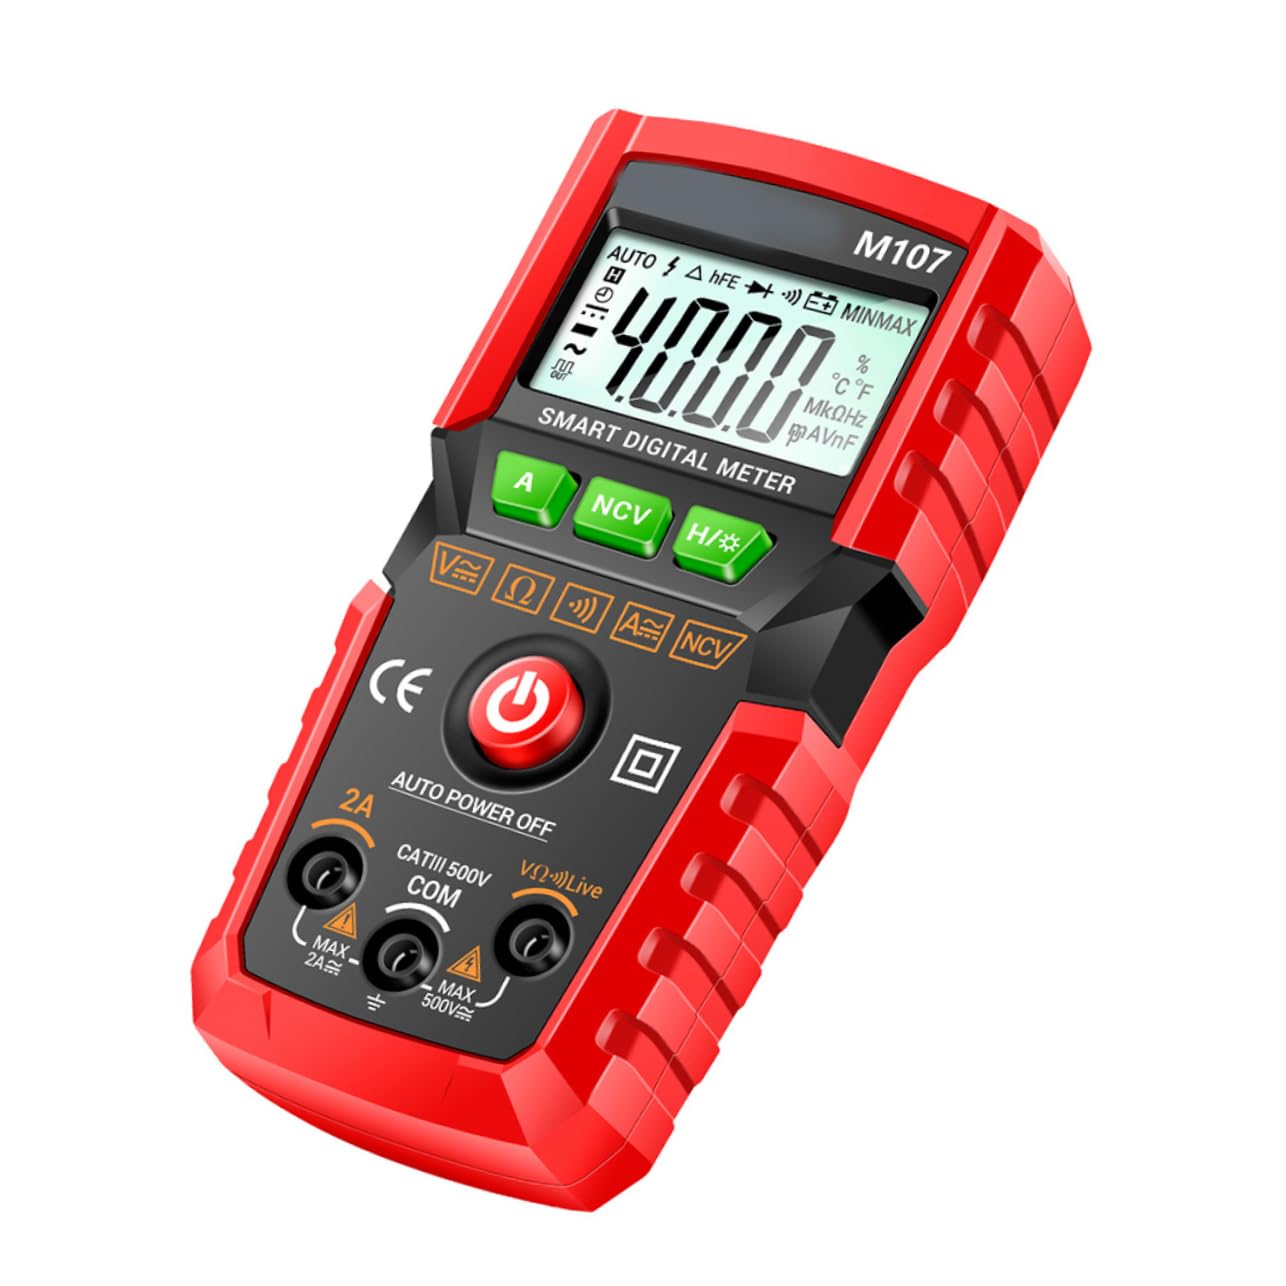
4. Product Overview
The TEHAUX M107 is a compact and intelligent digital multimeter featuring a clear LCD display and intuitive controls.
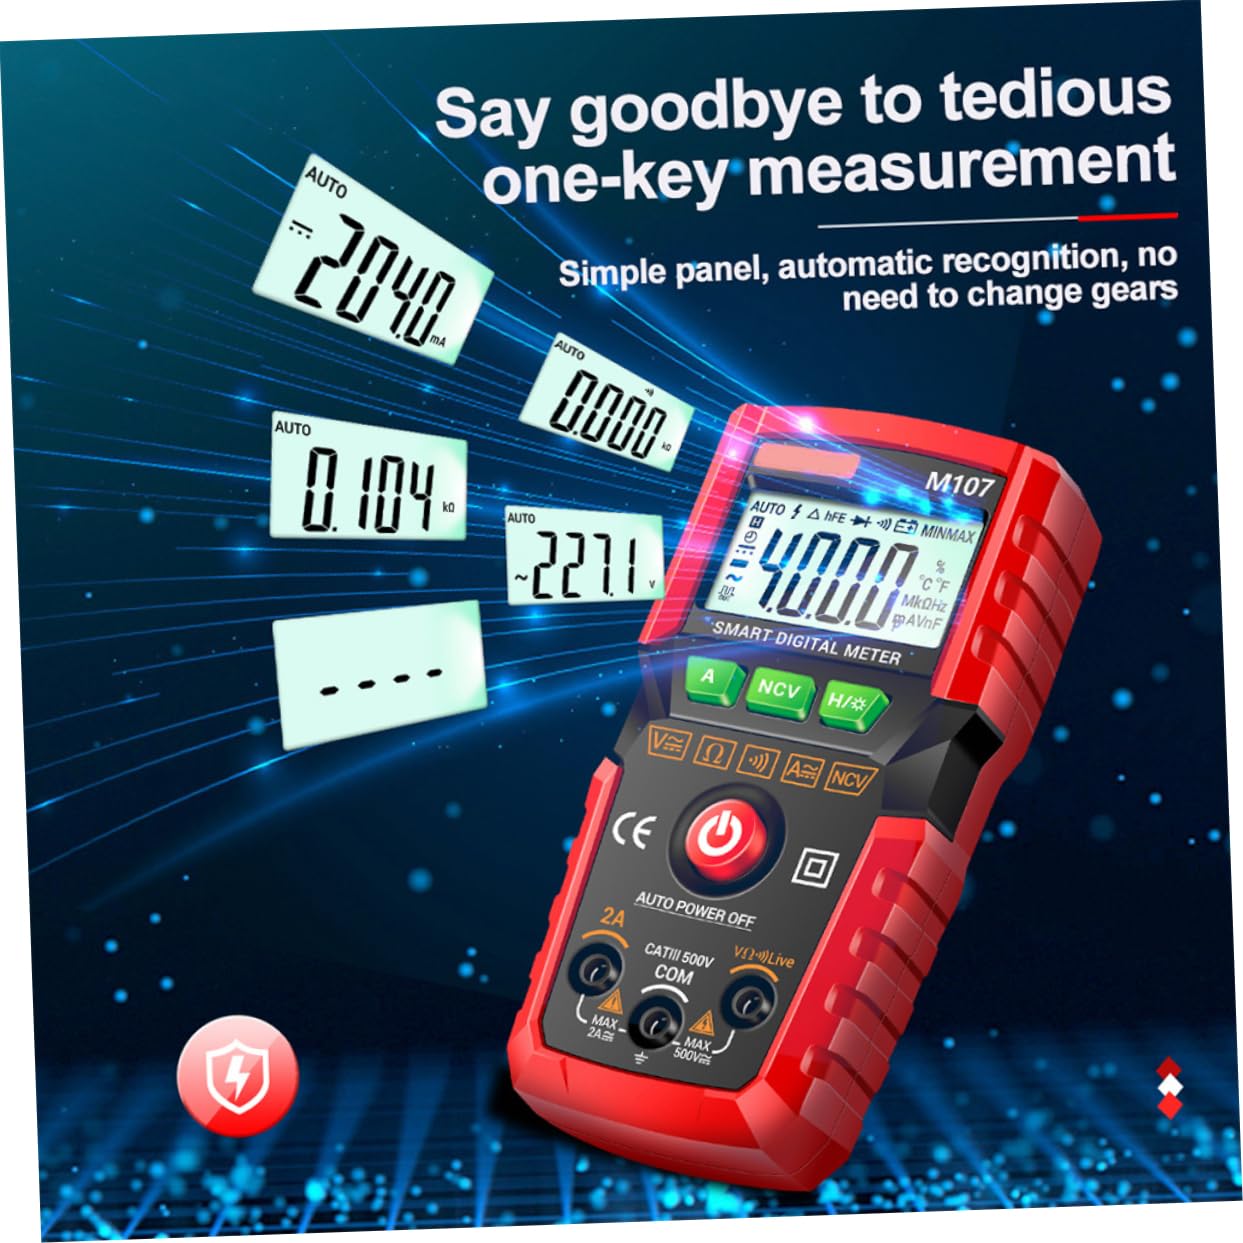
The device is designed for ease of use with automatic identification of measurement types, reducing the need for manual range selection.
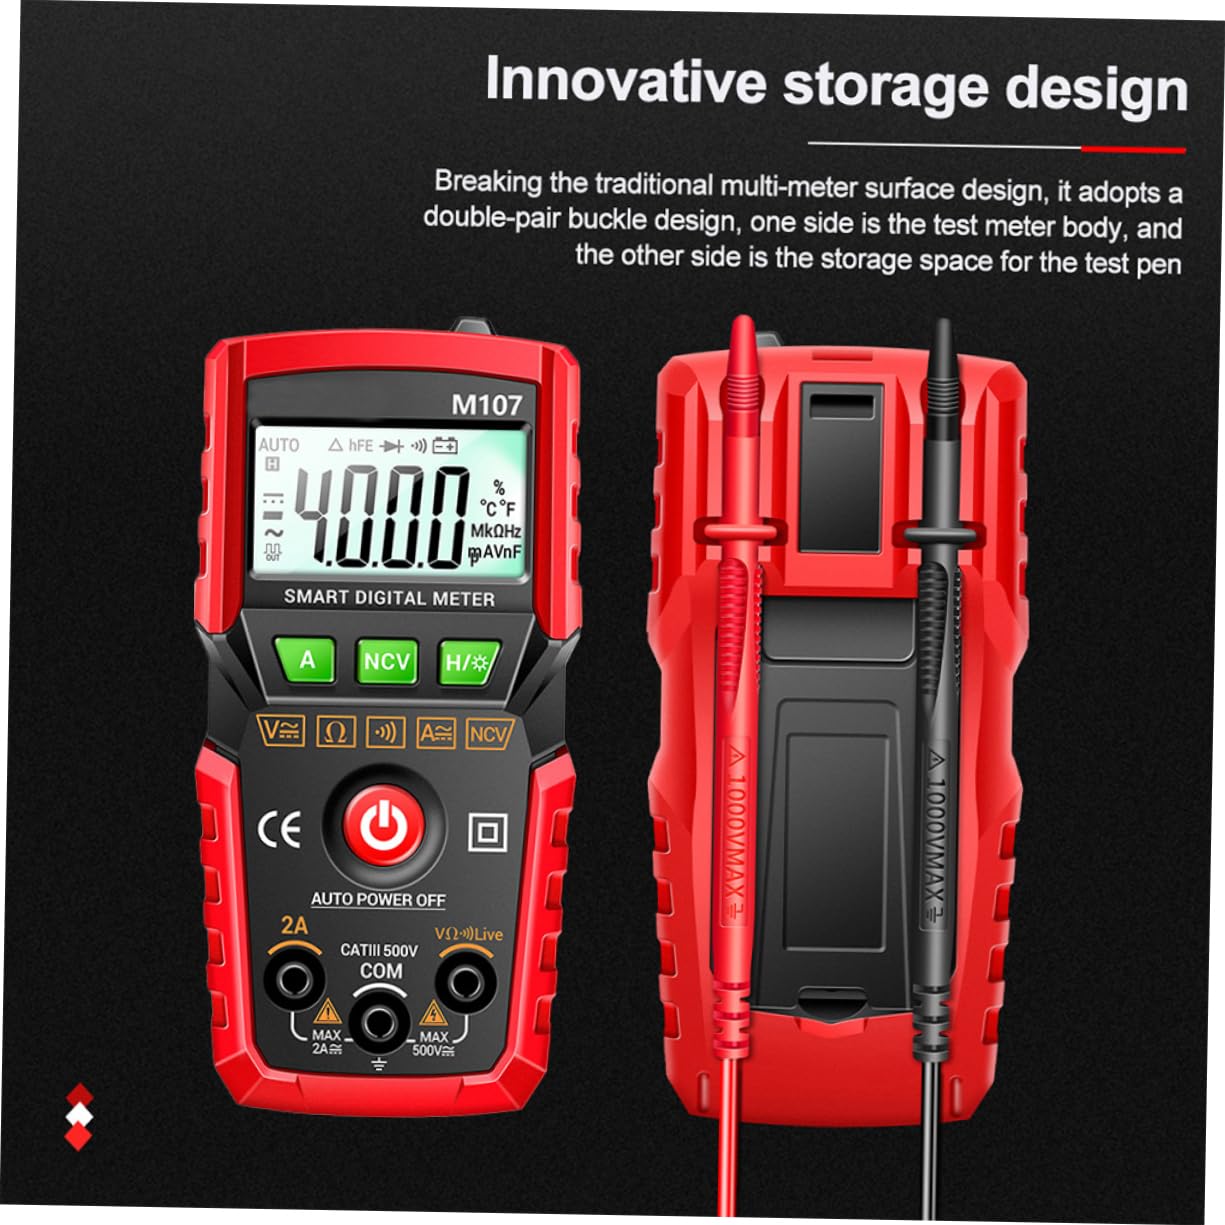
It features an innovative storage design for test leads, allowing them to be securely attached to the back of the meter for convenient portability and organization.
Key features include a flashlight for illuminating dark work areas, a silicone drop-resistant design, and smart anti-burn protection. The large LCD display provides a 4000-count resolution for precise readings.
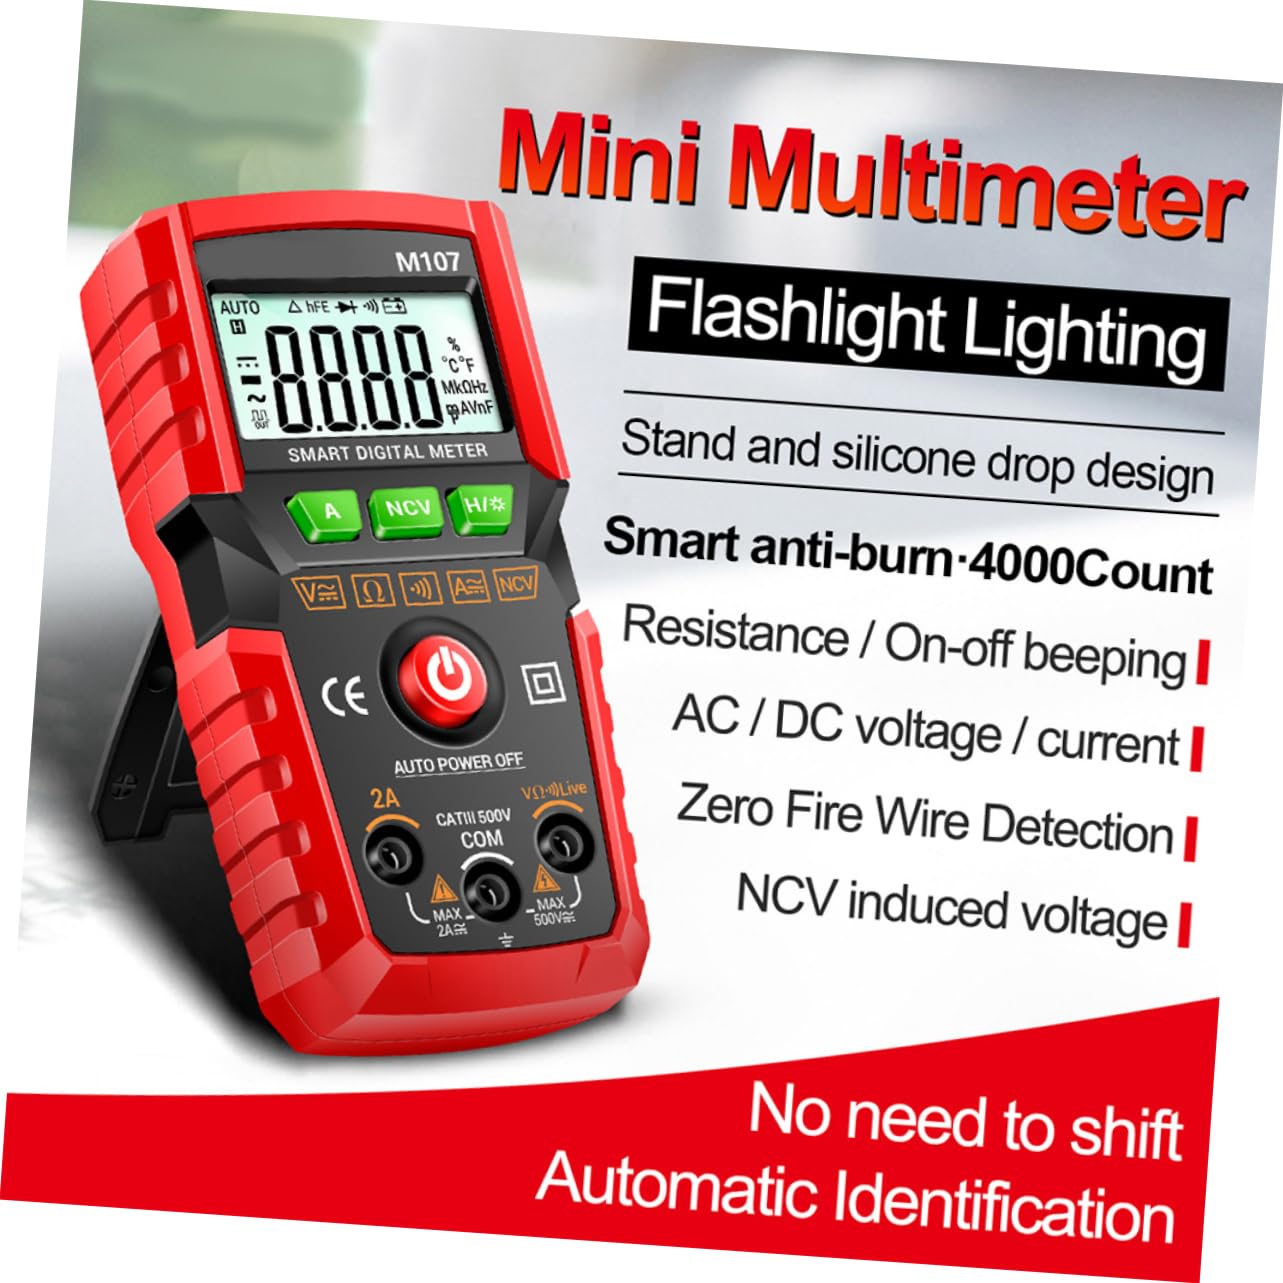
The automatic identification function simplifies operation by eliminating the need to manually select measurement gears for common tasks.
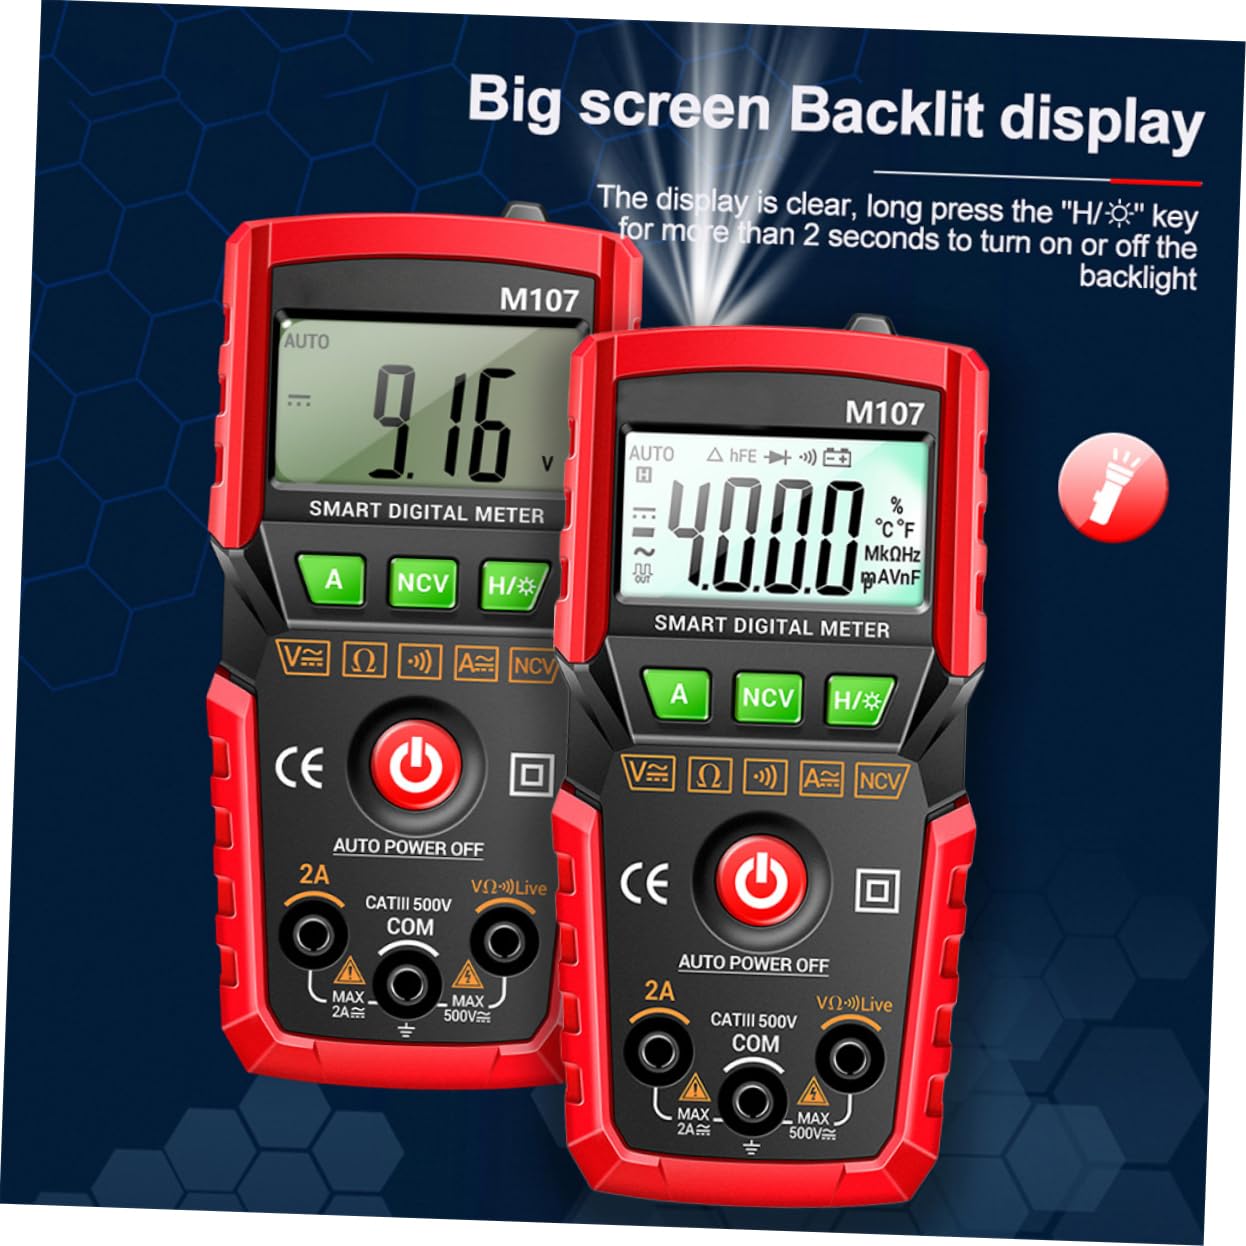
The multimeter also features a large, backlit display for improved visibility in various lighting conditions. The backlight can be toggled on or off.
5. Setup
5.1 Battery Installation
The TEHAUX M107 requires two (2) AAA batteries (not included) for operation.
- Locate the battery compartment cover on the back of the multimeter.
- Use a screwdriver to open the battery compartment.
- Insert two AAA batteries, observing the correct polarity (+ and -).
- Replace the battery compartment cover and secure it with the screw.
5.2 Connecting Test Leads
Connect the test leads to the appropriate input jacks on the multimeter:
- Insert the red test lead into the VΩLive jack (positive input).
- Insert the black test lead into the COM jack (common ground).
- For current measurements (up to 2A), insert the red test lead into the 2A jack.
6. Operating Instructions
6.1 Power On/Off
- Press the red power button (⑂) to turn the multimeter on.
- The multimeter will automatically power off after approximately 15 minutes of inactivity to conserve battery life.
- To manually turn off, press and hold the power button for approximately 2 seconds.
6.2 Automatic Identification (Auto-Ranging)
The M107 features intelligent recognition, automatically detecting the type of measurement (AC/DC voltage, resistance, continuity) when the test leads are connected. This eliminates the need for manual function selection for most common tasks.
6.3 Measuring Voltage (AC/DC)
- Connect the red test lead to the VΩLive jack and the black test lead to the COM jack.
- Turn on the multimeter.
- Connect the test probes in parallel to the circuit or component you wish to measure.
- The display will show the voltage reading, automatically identifying AC or DC.
6.4 Measuring Current (AC/DC)
Caution: Always connect the multimeter in series with the circuit when measuring current. Never connect it in parallel across a voltage source, as this can damage the meter and the circuit.
- For currents up to 2A, connect the red test lead to the 2A jack and the black test lead to the COM jack.
- Turn on the multimeter.
- Break the circuit and connect the test probes in series with the load.
- The display will show the current reading, automatically identifying AC or DC.
6.5 Measuring Resistance
- Connect the red test lead to the VΩLive jack and the black test lead to the COM jack.
- Ensure the circuit or component is de-energized before measuring resistance.
- Connect the test probes across the component.
- The display will show the resistance reading in Ohms (Ω), Kilo-Ohms (KΩ), or Mega-Ohms (MΩ).
6.6 Continuity Test
- Connect the red test lead to the VΩLive jack and the black test lead to the COM jack.
- Ensure the circuit is de-energized.
- Connect the test probes across the circuit path or component.
- If continuity exists (low resistance), the meter will emit an audible beep. The display will show the resistance value.
6.7 Diode Test
- Connect the red test lead to the VΩLive jack and the black test lead to the COM jack.
- Ensure the diode is disconnected from the circuit.
- Connect the red probe to the anode and the black probe to the cathode. The display will show the forward voltage drop.
- Reverse the probes. The display should show 'OL' (Open Loop) for a good diode.
6.8 Non-Contact Voltage (NCV) Detection
- Press the NCV button to activate NCV mode.
- Move the top of the multimeter near a live AC voltage source (e.g., a wall outlet or insulated wire).
- The meter will beep and the NCV indicator will illuminate, with increasing frequency as it gets closer to the voltage source.
6.9 Data Hold
- Press the H/# button briefly to hold the current reading on the display. The 'H' icon will appear.
- Press the H/# button again to release the data hold function.
6.10 Flashlight and Backlight
- Press the A button briefly to turn the flashlight on or off.
- Press and hold the H/# button for more than 2 seconds to turn the display backlight on or off.
7. Maintenance
7.1 Cleaning
Wipe the meter with a damp cloth and mild detergent. Do not use abrasives or solvents.
7.2 Battery Replacement
When the low battery indicator appears on the display, replace the batteries as described in Section 5.1. Remove batteries if the meter is not used for an extended period.
8. Troubleshooting
- No display or faint display: Check battery installation and replace batteries if necessary.
- Incorrect readings: Ensure test leads are properly connected, the correct measurement mode is selected (if not using auto-identification), and the circuit is within the meter's specified range.
- No continuity beep: Ensure the circuit is de-energized and the resistance is below the continuity threshold.
9. Specifications
| Parameter | Specification |
|---|---|
| Display | 4000 Counts LCD with Backlight |
| DC Voltage | 0V ~ 50V |
| AC Voltage | 0V ~ 50V |
| DC Current | 0mA ~ 2A |
| AC Current | 0mA ~ 2A |
| Resistance | 0Ω ~ 20.00MΩ |
| Capacitance | 0nF ~ 40mF |
| Frequency | 0Hz ~ 4MHz |
| Other Functions | NCV, Diode Test, Continuity, Data Hold, Auto Identification, Auto Shutdown, Flashlight |
| Battery | 2 x AAA batteries (not included) |
| Material | ABS, Rubber, Copper, Electronic Components |
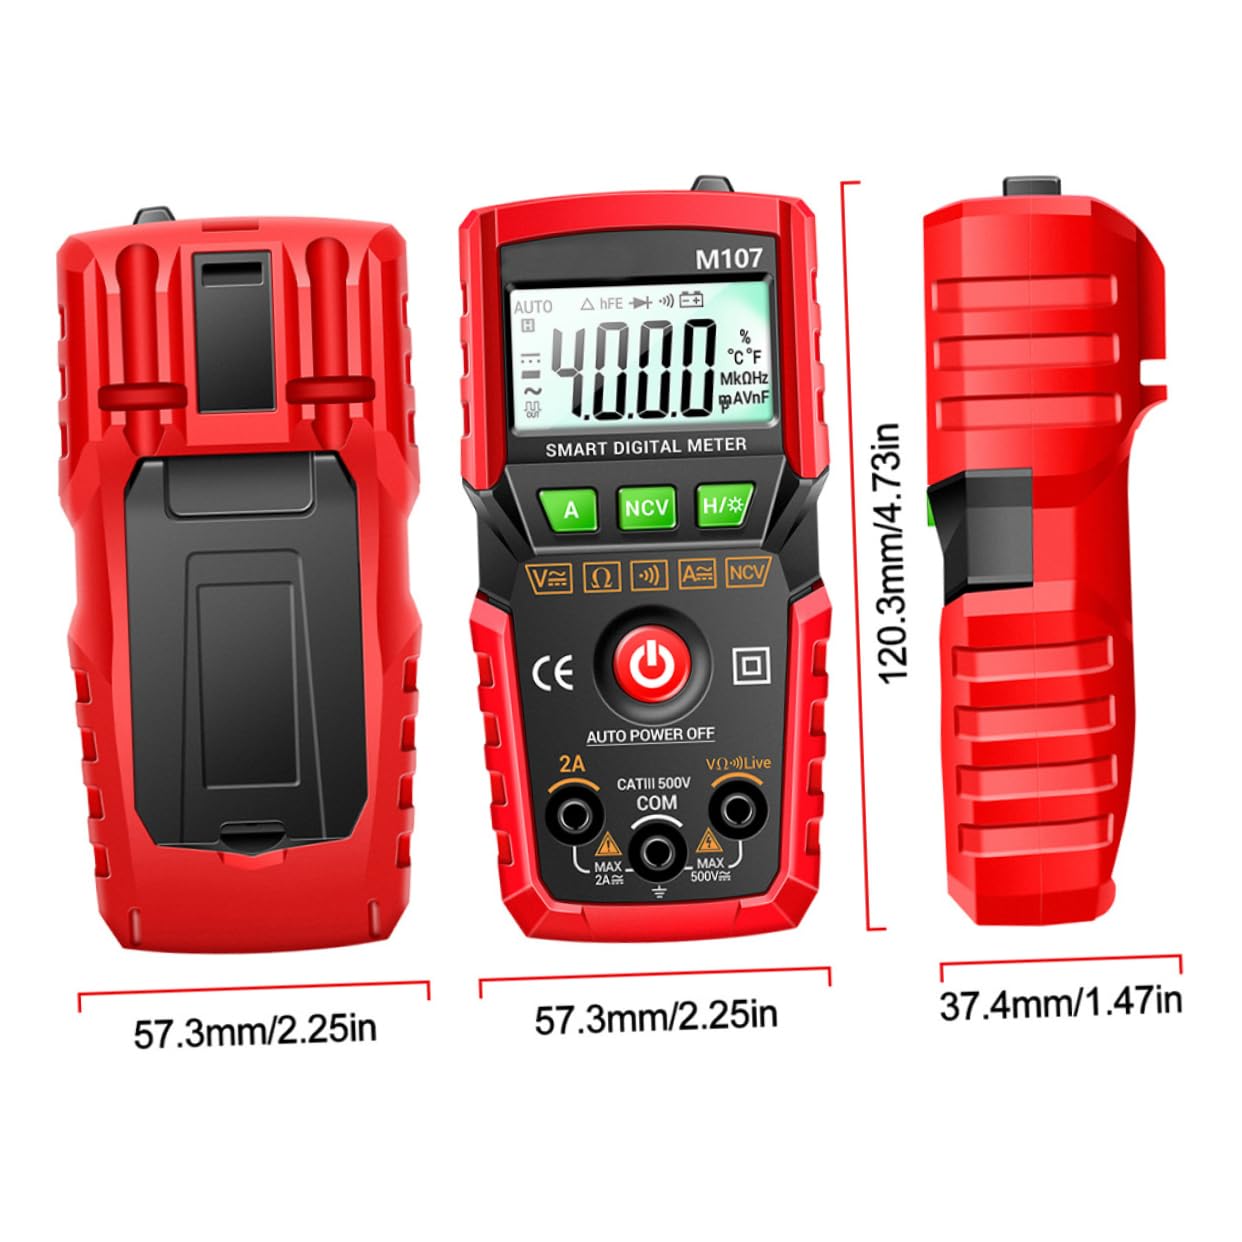
| Product Dimensions | 12.03 x 5.73 x 3.74 cm (4.73 x 2.25 x 1.47 inches) |
| Item Weight | 6.08 ounces |
| Model Number | V14EE282192T |
10. Warranty and Support
For warranty information or technical support, please refer to the product packaging or contact TEHAUX customer service through the retailer where the product was purchased. Please have your model number (M107 / V14EE282192T) and purchase date available when contacting support.