
Introduction
This manual provides detailed instructions for the Snrigw Replacement Remote Control, designed specifically for the Xgimi Halo Plus (Halo+) portable projector. This remote offers full control over your projector's power, volume, navigation, and other essential functions, ensuring a seamless user experience without any missing features compared to the original remote.
Key features include:
- Compatibility: Fully compatible with Xgimi Halo Plus (Halo+) projectors.
- Plug-and-Play: No complex setup or programming required; simply insert batteries.
- Ergonomic Design: Comfortable to hold and use, with a sleek design.
- Responsive Buttons: Engineered for fast response and durable performance.
- User-Friendly Layout: Intuitive button placement for effortless navigation, even in low light.
Setup Instructions
Setting up your Snrigw Replacement Remote Control is a straightforward process. No programming or complex pairing is needed.
1. Battery Installation
The remote control requires two AAA batteries (not included). Follow these steps to install them:
- Locate the battery compartment cover on the back of the remote control.
- Slide the cover downwards or press the latch to open it.
- Insert two AAA batteries, ensuring the positive (+) and negative (-) terminals match the diagrams inside the compartment.
- Replace the battery compartment cover, sliding it back into place until it clicks securely.

Figure 1: Battery Installation
This image illustrates the remote control and the requirement for two AAA batteries, which are not supplied with the product and must be purchased separately.
2. Initial Use
Once batteries are installed, the remote is ready for immediate use. It automatically pairs with your Xgimi Halo Plus projector, requiring no additional setup steps.
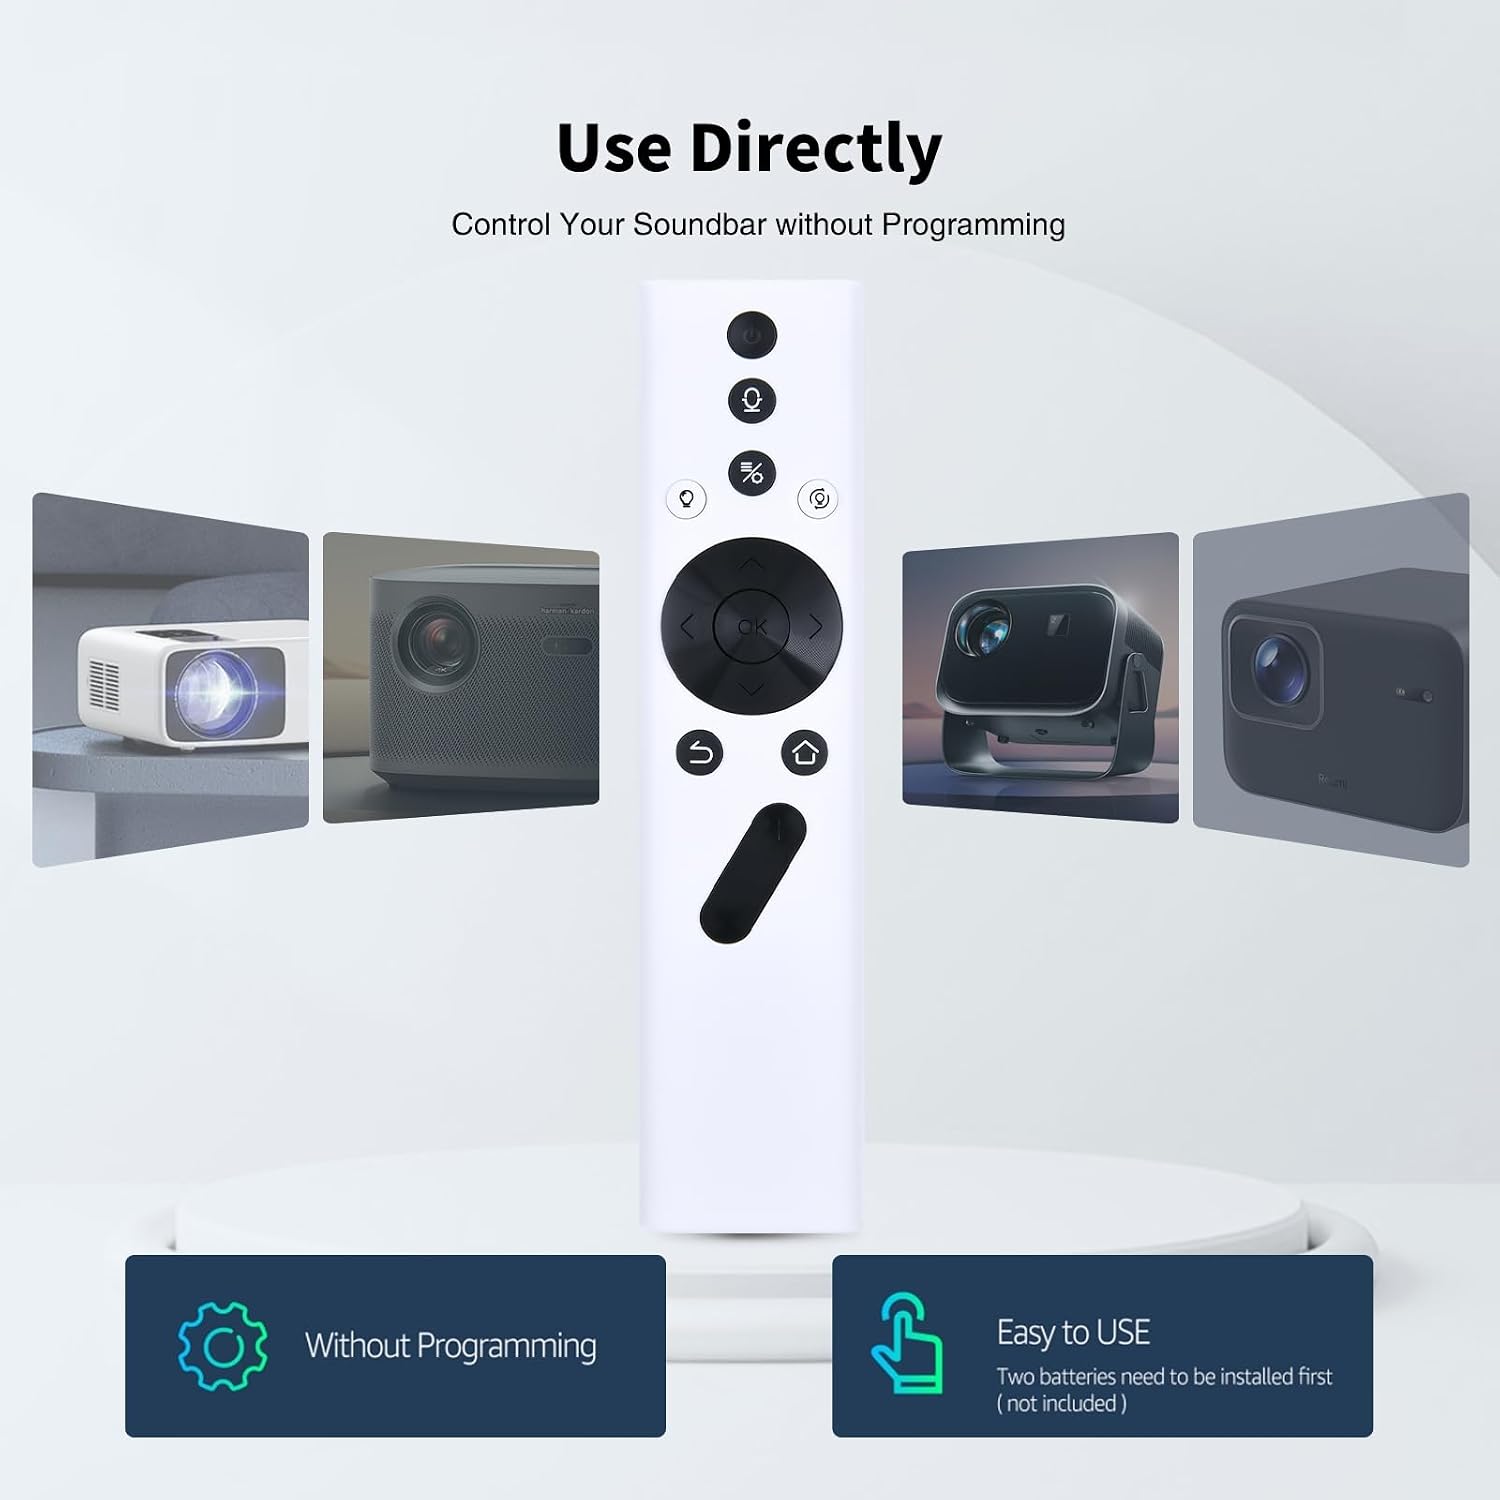
Figure 2: Plug-and-Play Operation
This image highlights the remote's direct usability without programming, showing its compatibility with projectors like the Xgimi Halo Plus.
Operating Instructions
The Snrigw Replacement Remote Control features an intuitive layout for easy navigation and control of your Xgimi Halo Plus projector.

Figure 3: Remote Control Features
This image details the ergonomic design and sensitive buttons of the remote, made from durable ABS material for a comfortable grip and reliable performance.
Button Functions:
- Power Button: Located at the top, use to turn the projector on or off.
- Navigation Pad (Up/Down/Left/Right/OK): Central circular pad for menu navigation and selection.
- Volume Buttons: Typically located on the side or near the navigation pad, for adjusting audio output.
- Back/Return Button: Usually an arrow icon, to go back to the previous screen or menu.
- Home Button: Often a house icon, to return to the main home screen of the projector.
- Menu/Settings Button: (If present) For accessing projector settings or specific menus.
Point the remote control directly towards the projector for optimal signal transmission. The remote is designed for long-distance and wide-angle use, providing stable signal up to 26 feet.

Figure 4: Signal Range and Stability
This image demonstrates the remote's capability for multi-angle control (120 degrees) and its effective operating range of up to 26 feet, ensuring reliable signal transmission.
Maintenance
To ensure the longevity and optimal performance of your remote control, follow these simple maintenance guidelines:
- Cleaning: Wipe the remote control regularly with a soft, dry cloth. For stubborn dirt, slightly dampen the cloth with water or a mild, non-abrasive cleaner. Avoid using harsh chemicals or solvents.
- Battery Replacement: Replace batteries promptly when the remote's responsiveness decreases or it stops functioning. Always replace both batteries at the same time with new ones of the same type (AAA).
- Storage: Store the remote in a cool, dry place away from direct sunlight, extreme temperatures, and high humidity. If the remote will not be used for an extended period, remove the batteries to prevent leakage.
- Avoid Drops: While durable, avoid dropping the remote control, as this can damage internal components.
Troubleshooting
If you encounter issues with your Snrigw Replacement Remote Control, try the following troubleshooting steps:
| Problem | Possible Cause | Solution |
|---|---|---|
| Remote is not responding. | Dead or incorrectly installed batteries. | Replace batteries with new AAA batteries, ensuring correct polarity. |
| Remote has limited range or intermittent response. | Obstruction between remote and projector; low battery power; interference. | Ensure a clear line of sight to the projector. Replace batteries. Move closer to the projector. |
| Specific buttons are not working. | Button stuck or internal fault. | Gently press the button multiple times. If the issue persists, contact customer support. |
| Remote does not control the projector at all. | Incorrect projector model; remote not compatible. | Verify that your projector is an Xgimi Halo Plus (Halo+). This remote is specifically designed for this model. |
Specifications
| Brand | Snrigw |
| Model Number | B0FGDFMMVG |
| Compatible Devices | Xgimi Halo Plus (Halo+) Portable Projector |
| Power Source | 2 x AAA Batteries (not included) |
| Material | Durable ABS Plastic |
| Color | Black |
| Item Weight | 1.44 ounces |
| Package Dimensions | 5.94 x 1.42 x 0.71 inches |
| Special Feature | Ergonomic Design |
Warranty and Support
Snrigw stands by the quality of its products. This replacement remote control is backed by our satisfaction guarantee.
If you have any questions, concerns, or require assistance with your remote control, please do not hesitate to contact our customer support team. We are committed to ensuring your satisfaction.
For support, please refer to the contact information provided with your purchase or on the Snrigw official website.