1. Introduction
Thank you for choosing the SeeVision Solar Security Camera CQ1F. This manual provides essential information for the proper installation, operation, and maintenance of your security camera. Please read it thoroughly before use and retain it for future reference.
Safety Guidelines
- Ensure the camera is installed in a stable location to prevent falls.
- Do not expose the camera to extreme temperatures outside its operating range.
- Use only the provided charging cable and accessories.
- Keep the camera and its components out of reach of children.
- Avoid direct exposure of the solar panel to shade for optimal charging performance.
2. Package Contents
Verify that all items listed below are included in your package:
- SeeVision Solar Security Camera CQ1F
- Solar Panel with Mounting Bracket
- USB Charging Cable
- Mounting Screws and Wall Anchors
- Instruction Manual (this document)

Image: Contents of the SeeVision Solar Security Camera CQ1F package.
3. Product Overview
The SeeVision CQ1F is a wireless outdoor security camera featuring solar power, 2K 3MP resolution, PTZ (Pan-Tilt-Zoom) capabilities, color night vision, two-way audio, and advanced motion detection.
Key Features:
- Solar Powered & Wire-Free: Integrated 9,000mAh battery with high-efficiency solar panel for continuous operation.
- 2K 3MP HD Video: Delivers clear and detailed video footage (2304 x 1296 resolution).
- 360° Pan & Tilt: Offers 355° horizontal and 90° vertical rotation for comprehensive coverage.
- Color Night Vision: Provides full-color video even in low-light conditions using built-in white lights.
- PIR Motion Detection with AI Analysis: Intelligently identifies people, vehicles, pets, and packages, reducing false alarms.
- Two-Way Audio: Built-in microphone and speaker for real-time communication.
- Smart Instant Multi-Siren: Features siren alert, spotlight alarm, and app notifications for deterrence.
- IP66 Weatherproof: Designed to withstand various outdoor weather conditions.

Image: Front view of the SeeVision CQ1F camera and solar panel.

Image: Diagram showing the camera's pan and tilt capabilities.

Image: Camera operating in rainy conditions, emphasizing its weatherproof design.
4. Setup
4.1 Initial Charging
Before installation, fully charge the camera using the provided USB cable. Connect the USB cable to the camera's charging port and a 5V/2A USB power adapter (not included). The indicator light will show charging status.
4.2 App Download and Account Registration
- Download the companion app (e.g., "VicoHome" as seen in product images) from your smartphone's app store (iOS App Store or Google Play Store).
- Open the app and follow the on-screen instructions to register a new account.
4.3 Device Pairing
- Ensure your smartphone is connected to a 2.4GHz Wi-Fi network. The camera does not support 5GHz Wi-Fi.
- In the app, tap "Add Device" or the "+" icon.
- Select your camera model or scan the QR code on the camera if prompted.
- Follow the app's instructions to connect the camera to your Wi-Fi network. This typically involves scanning a QR code generated by the app with the camera's lens.
- Once connected, name your camera and complete the setup process.
4.4 Physical Installation
- Choose a Location: Select an outdoor location with good Wi-Fi signal strength and direct sunlight exposure for the solar panel. Ensure the camera has a clear view of the area you wish to monitor.
- Mount the Camera: Use the provided mounting bracket, screws, and wall anchors to securely attach the camera to a wall or other stable surface.
- Mount the Solar Panel: Install the solar panel in a position that receives maximum direct sunlight throughout the day. Connect the solar panel cable to the camera's charging port.
- Adjust Angle: Adjust the camera and solar panel angles to optimize coverage and charging efficiency.
5. Operating Instructions
5.1 Live View and Playback
- Open the app and select your camera to access the live view.
- Use the timeline or event list to review recorded footage.
5.2 Pan and Tilt Control
From the live view interface in the app, use the directional controls to remotely adjust the camera's viewing angle (355° horizontal, 90° vertical).
5.3 Motion Detection Settings
The camera features PIR (Passive Infrared) motion detection with AI analysis to differentiate between people, vehicles, pets, and packages.
- Navigate to the camera settings in the app.
- Adjust motion detection sensitivity and detection zones.
- Enable or disable specific AI recognition types (e.g., human, vehicle).
- Configure notification preferences for motion events.

Image: Visual representation of AI motion detection capabilities.
5.4 Two-Way Audio
To use two-way audio:
- In the live view, tap the microphone icon to speak through the camera's speaker.
- Tap the speaker icon to listen to audio from the camera's microphone.
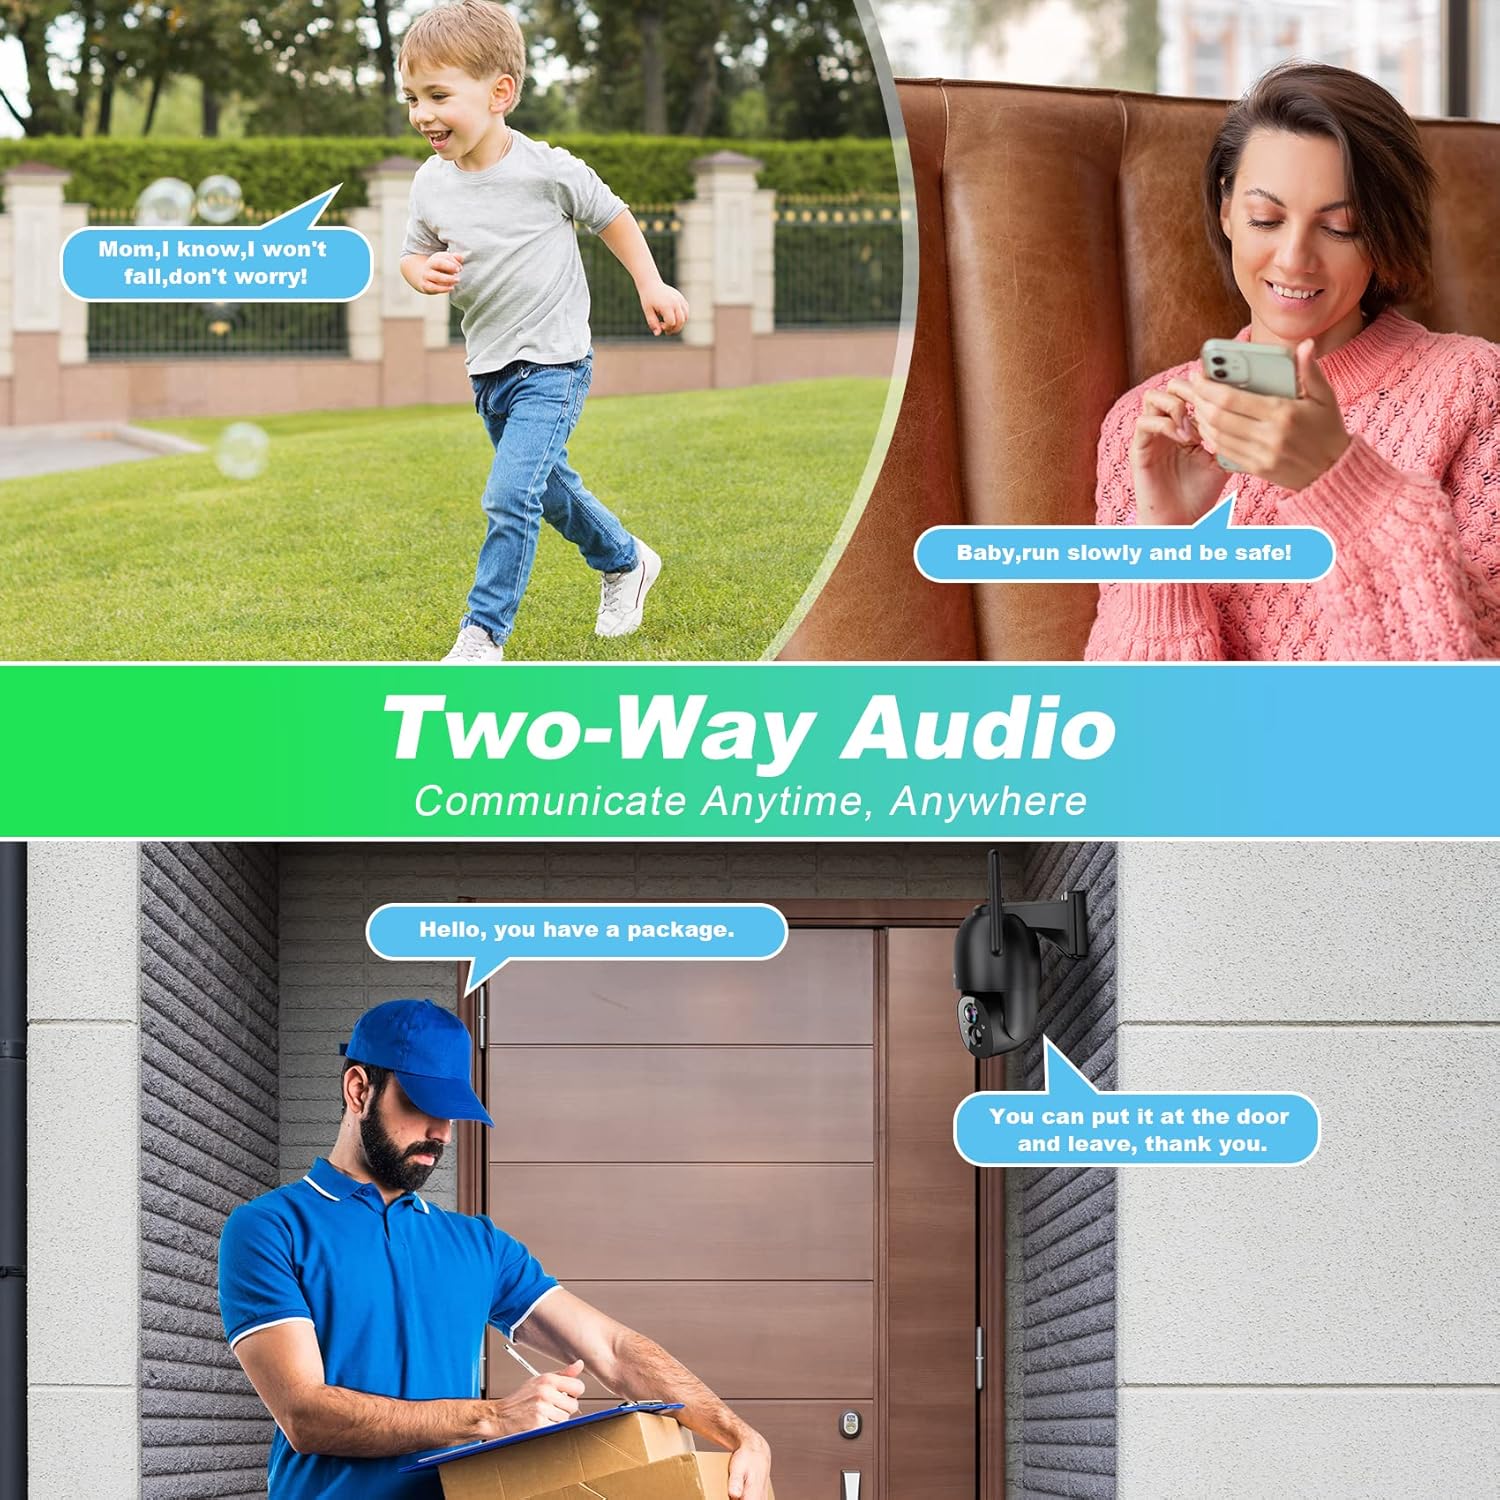
Image: Examples of two-way audio use cases.
5.5 Night Vision Modes
The camera automatically switches to night vision in low light. It offers:
- Infrared Night Vision: Standard black and white night vision.
- Color Night Vision: Activates built-in white lights to provide full-color video at night. This can be configured in the app settings.

Image: Comparison of day and color night vision.
5.6 Alarm Functions
When motion is detected, the camera can trigger various alarms:
- Siren Alert: An audible alarm from the camera.
- Spotlight Alarm: The camera's white lights flash.
- APP Notification Push: An alert sent to your smartphone.
These settings can be customized within the app.
Image: Illustration of the camera's smart instant multi-siren feature.
5.7 Storage Options
The camera supports two storage methods for recorded footage:
- Micro SD Card: Supports up to 128GB (not included). Insert the card into the designated slot on the camera.
- Cloud Storage: Offers rolling cycled cloud storage. Refer to the app for subscription details and advanced features.
6. Maintenance
6.1 Battery Charging
The camera's internal 9,000mAh battery is primarily charged by the solar panel. In periods of prolonged low sunlight or heavy usage, the battery level may drop. If this occurs, you can manually recharge the camera using the provided USB cable and a 5V/2A USB power adapter.
6.2 Cleaning
- Regularly wipe the camera lens and solar panel with a soft, damp cloth to remove dust, dirt, or debris.
- Ensure the solar panel is clean for optimal charging efficiency.
- Do not use harsh chemicals or abrasive cleaners.
7. Troubleshooting
| Issue | Possible Solution |
|---|---|
| Camera not powering on | Ensure the battery is charged. Connect the camera to a power source via USB for initial charging. Check solar panel connection. |
| Unable to connect to Wi-Fi | Confirm your Wi-Fi is 2.4GHz. Check Wi-Fi signal strength at the camera's location. Restart your router and the camera. Ensure correct Wi-Fi password is entered. |
| Poor image quality | Clean the camera lens. Ensure sufficient lighting. Check network connection speed. Adjust video resolution settings in the app. |
| Motion detection not working or too many false alarms | Adjust motion detection sensitivity in the app. Configure detection zones to exclude busy areas. Enable AI analysis for specific object detection. Ensure camera is positioned correctly. |
| Two-way audio issues | Check microphone and speaker permissions for the app on your smartphone. Ensure volume levels are adequate. Check network connection. |
| Solar panel not charging effectively | Ensure the solar panel is clean and free from obstructions. Reposition the panel to receive maximum direct sunlight. Check the connection cable between the panel and camera. |
8. Specifications
| Feature | Detail |
|---|---|
| Model Name | CQ1F |
| Brand | SeeVision |
| Indoor/Outdoor Usage | Outdoor |
| Power Source | Solar Powered (with 9,000mAh rechargeable battery) |
| Connectivity Technology | Wireless (Wi-Fi 2.4GHz only) |
| Video Capture Resolution | 2K 3MP (2304 x 1296) |
| Pan/Tilt Range | 355° Horizontal, 90° Vertical |
| Night Vision | Color Night Vision, Infrared Night Vision |
| Motion Detection | PIR with AI Analysis (people, vehicle, pet, package) |
| Audio | 2-Way Audio (built-in microphone and speaker) |
| Alarm Features | Siren Alert, Spotlight Alarm, APP Notification |
| Storage Options | Micro SD Card (up to 128GB, not included), Cloud Storage |
| Weather Resistance | IP66 Waterproof |
| Mounting Type | Wall Mount |
| Dimensions (Camera) | Approximately 6 x 6 x 5 inches |
| Item Weight | 2.2 pounds (approx. 1 kg) |
9. Warranty and Support
9.1 Warranty Information
SeeVision products are designed for reliability and performance. For specific warranty terms and conditions, please refer to the warranty card included with your product or visit the official SeeVision website. Keep your purchase receipt as proof of purchase for warranty claims.
9.2 Customer Support
If you encounter any issues or have questions regarding your SeeVision Solar Security Camera CQ1F, please contact our customer support team. You can typically find contact information (email, phone, or support portal) on the official SeeVision website or within the product's companion app.