Introduction
Thank you for choosing the EAFC 12V 6A Smart Battery Charger & Maintainer. This device is designed to efficiently charge and maintain various 12V lead-acid batteries, including Calcium, GEL, AGM, Wet, and EFB types. It features intelligent charging modes, pulse repair, and multiple protection functions to ensure safe and effective battery care. Please read this manual thoroughly before use to ensure proper operation and maximize the lifespan of your battery and charger.
Safety Instructions
Always observe the following safety precautions when using the battery charger:
- Ensure the charger is connected to a grounded power outlet.
- Do not charge non-rechargeable batteries.
- Avoid charging frozen batteries.
- Do not expose the charger to rain or excessive moisture.
- Operate in a well-ventilated area to prevent gas accumulation.
- Keep out of reach of children.
- Disconnect the AC power before connecting or disconnecting battery clamps.
- Wear eye protection and gloves when working with batteries.
- If the power cord is damaged, it must be replaced by the manufacturer or a qualified service agent to avoid hazards.
Product Features
The EAFC Smart Battery Charger offers advanced features for optimal battery care:
- Microprocessor Control: Professional automatic switch mode for efficient charging.
- Versatile Battery Compatibility: Suitable for 12V Calcium, GEL, AGM, Wet, and EFB lead-acid batteries.
- LCD Display: Provides real-time charging status, voltage, current, and battery percentage.
- Pulse Repair Function: Helps to restore lost battery performance and extend battery life.
- Multiple Protection Features: Includes overheat, overcharge, short circuit, and reverse polarity protection for safe operation.
- Automatic Temperature Compensation: Adjusts charging voltage based on ambient temperature (Winter/Summer modes).
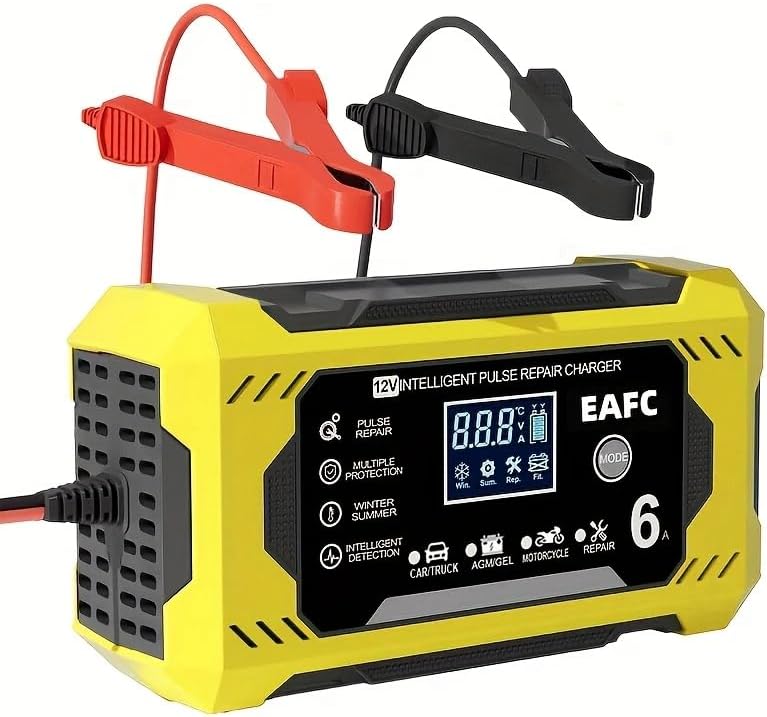
Image: The EAFC 12V 6A Smart Battery Charger in yellow, featuring an LCD display and battery clamps.
Setup
- Unpack: Carefully remove the charger and all accessories from the packaging. Inspect for any damage.
- Ventilation: Place the charger in a well-ventilated area, away from direct sunlight, heat sources, and flammable materials.
- Power Connection: Ensure the charger's AC power cord can reach a suitable 110-220V AC, 50-60Hz grounded power outlet. Do not plug it in yet.
Operating Instructions
1. Connecting the Charger to the Battery
- Identify Terminals: Locate the positive (+) and negative (-) terminals on your battery.
- Connect Red Clamp: Attach the RED (+) charger clamp to the positive (+) battery terminal.
- Connect Black Clamp: Attach the BLACK (-) charger clamp to the negative (-) battery terminal.
- Secure Connection: Ensure both clamps are securely attached to prevent sparks.

Image: The EAFC charger connected to a car battery, demonstrating proper clamp attachment for charging.
2. Powering On and Mode Selection
- Plug In: Once the battery clamps are securely connected, plug the charger's AC power cord into a wall outlet. The LCD display will illuminate.
- Automatic Detection: The charger will automatically detect the battery voltage and display the current status.
- Select Mode: Press the "MODE" button to cycle through the available charging modes:
- CAR/TRUCK Mode: Standard charging for automotive batteries.
- AGM/GEL Mode: Optimized charging for AGM and GEL batteries.
- MOTORCYCLE Mode: Lower current charging for smaller motorcycle batteries.
- REPAIR Mode: Pulse repair function for desulfation and restoring aged batteries.
- Temperature Compensation: The charger automatically adjusts for ambient temperature, displaying a snowflake icon for Winter Mode (below 10°C/50°F) or a sun icon for Summer Mode (above 27°C/80°F).
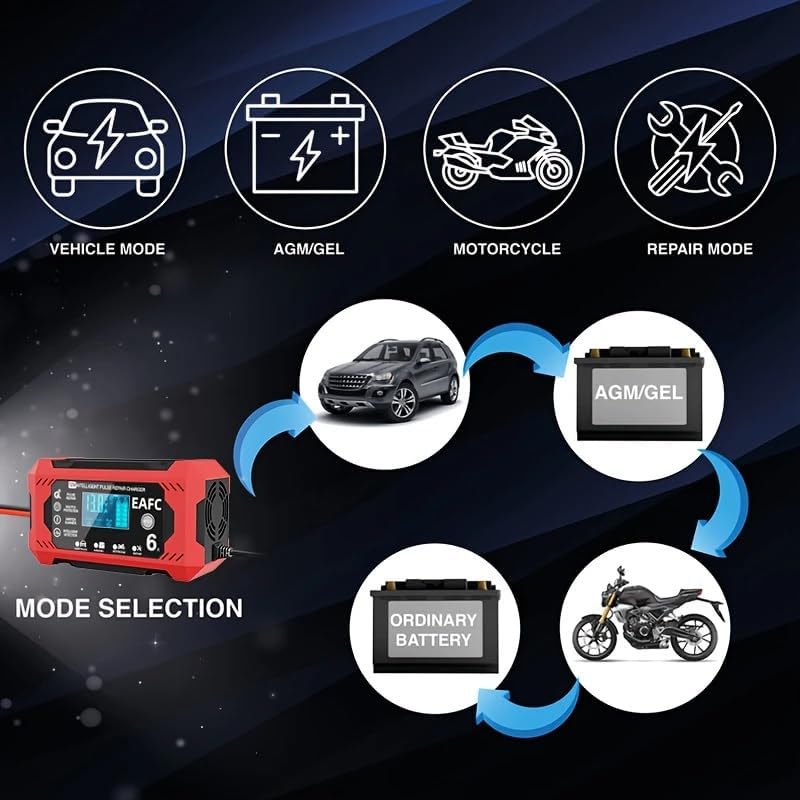
Image: The EAFC charger's display showing icons for different charging modes: Car/Truck, AGM/GEL, Motorcycle, and Repair.

Image: The EAFC charger displaying automatic temperature compensation with icons for Winter Mode (snowflake) and Summer Mode (sun).
3. Charging Process
- The charger will begin charging automatically after mode selection.
- The LCD display will show charging voltage, current, and battery charge percentage.
- Once the battery is fully charged, the charger will automatically switch to maintenance mode to prevent overcharging.
- To disconnect, first unplug the AC power cord, then remove the BLACK (-) clamp, followed by the RED (+) clamp.
Maintenance
- Cleaning: Wipe the charger casing with a soft, dry cloth. Do not use solvents or abrasive cleaners.
- Storage: Store the charger in a cool, dry place when not in use. Keep cables neatly coiled.
- Cable Inspection: Regularly inspect the power cord and battery clamps for any signs of damage. Do not use if damaged.
Troubleshooting
| Problem | Possible Cause | Solution |
|---|---|---|
| Charger not turning on. | No power from outlet; loose connection; charger fault. | Check power outlet; ensure AC cord is fully plugged in; contact support if issue persists. |
| Charger not charging. | Incorrect battery connection; battery too deeply discharged (below 8.0V); incorrect mode selected. | Verify correct polarity (+ to + / - to -); ensure battery voltage is above 8.0V; select appropriate charging mode. |
| "ERR" or error code on display. | Reverse polarity; short circuit; overheat protection activated. | Check battery clamp connections; inspect cables for damage; allow charger to cool down. |
| Battery not fully charged after extended time. | Battery capacity too large for charger; battery is faulty or sulfated. | Ensure battery capacity is within 4-100Ah range; try REPAIR mode; consider professional battery testing. |

Image: The EAFC charger's display indicating the pulse repair function, designed to restore performance to batteries affected by long idle times, lack of endurance, aging, or weak starting force.
Specifications
| Model Name | 12V 6A Intelligent Charger |
| Input Voltage | AC 110-220V, 50-60Hz |
| Output Voltage | DC 12V |
| Output Current | 6A |
| Minimum Start Voltage | 8.0V |
| Battery Range | 4-100Ah |
| Battery Types | Most types of 12V lead-acid batteries including Calcium, GEL, AGM, Wet, EFB. |
| Cooling | Fan |
| Product Dimensions | Approximately 5.59" (L) x 2.95" (W) x 2.01" (H) (142mm x 75mm x 51mm) |
| Item Weight | 1.06 pounds (approx. 480g) |

Image: The EAFC charger with its dimensions clearly marked: 142mm (5.59 inches) length, 75mm (2.95 inches) width, and 51mm (2.00 inches) height.
Warranty Information
Please refer to the warranty card included with your product or contact the manufacturer directly for detailed warranty information. Keep your purchase receipt as proof of purchase.
Customer Support
For technical assistance, troubleshooting not covered in this manual, or service inquiries, please contact EAFCAuto customer support. Refer to the product packaging or the manufacturer's official website for contact details.