Jurtmy K07YF5YJR7V11548N463
TWSCREW Compatible Stainless Steel Height Adjuster User Manual
Brand: Jurtmy | Model: K07YF5YJR7V11548N463
Product Overview
This manual provides essential information for the proper setup, operation, and maintenance of your TWSCREW Compatible Stainless Steel Height Adjuster. Designed for effortless CNC engraving tasks, this module offers precise manual control for enhanced workflow efficiency.
Key features include adjustable mounting holes for straightforward installation, manual Z-axis adjustment for precision, versatile applications in woodworking and CNC engraving, and a compact, portable design. Constructed from premium stainless steel, it ensures exceptional stability and resilience.
Package Contents
- 1 x Adjustable Lifting Module
Setup and Installation
The Z-axis bracket features adjustable mounting holes designed for easy installation. Follow these steps to set up your height adjuster:
- Identify Mounting Location: Choose a stable and appropriate location on your CNC engraving machine or workbench for installation.
- Align Mounting Holes: Position the height adjuster and align its adjustable mounting holes with the corresponding points on your equipment.
- Secure the Module: Use appropriate fasteners (not included, typically provided with your CNC machine or purchased separately) to securely attach the module. Ensure all screws are tightened to prevent movement during operation.
- Verify Stability: After installation, gently test the module's stability to ensure it is firmly mounted and does not wobble.

Figure 1: Top-down view of the height adjuster, showing the mounting holes and adjustment mechanism.

Figure 2: Angled view of the height adjuster, highlighting the manual adjustment knob and mounting points.
Operating Instructions
This lifting module allows for manual adjustment of the Z-axis, enhancing precision in your engraving tasks. Follow these steps for operation:
- Power On: Ensure your CNC engraving machine is powered on and ready for operation.
- Initial Positioning: Manually position your engraving tool close to the workpiece.
- Adjust Z-axis: Locate the manual adjustment knob on the height adjuster. Rotate the knob clockwise to lower the Z-axis (move the tool closer to the workpiece) or counter-clockwise to raise the Z-axis (move the tool away from the workpiece).
- Fine-tune Precision: Make small, incremental adjustments to achieve the desired engraving depth and precision. Observe the tool's position relative to the material.
- Begin Engraving: Once the Z-axis is set to the correct height, proceed with your engraving task according to your CNC machine's operating procedures.

Figure 3: Side view of the height adjuster, showing the Z-axis adjustment screw and guide rods.

Figure 4: Close-up view of the manual adjustment knob, used for precise Z-axis control.
Maintenance
To ensure the longevity and optimal performance of your height adjuster, regular maintenance is recommended:
- Cleaning: Periodically wipe down the module with a clean, dry cloth to remove dust and debris. Avoid using abrasive cleaners or solvents.
- Lubrication: For smooth operation of the Z-axis screw and guide rods, apply a small amount of light machine oil or grease to these components as needed. Do not over-lubricate.
- Inspection: Regularly inspect all fasteners and moving parts for any signs of wear, looseness, or damage. Tighten any loose screws.
- Storage: When not in use for extended periods, store the module in a clean, dry environment to prevent corrosion.
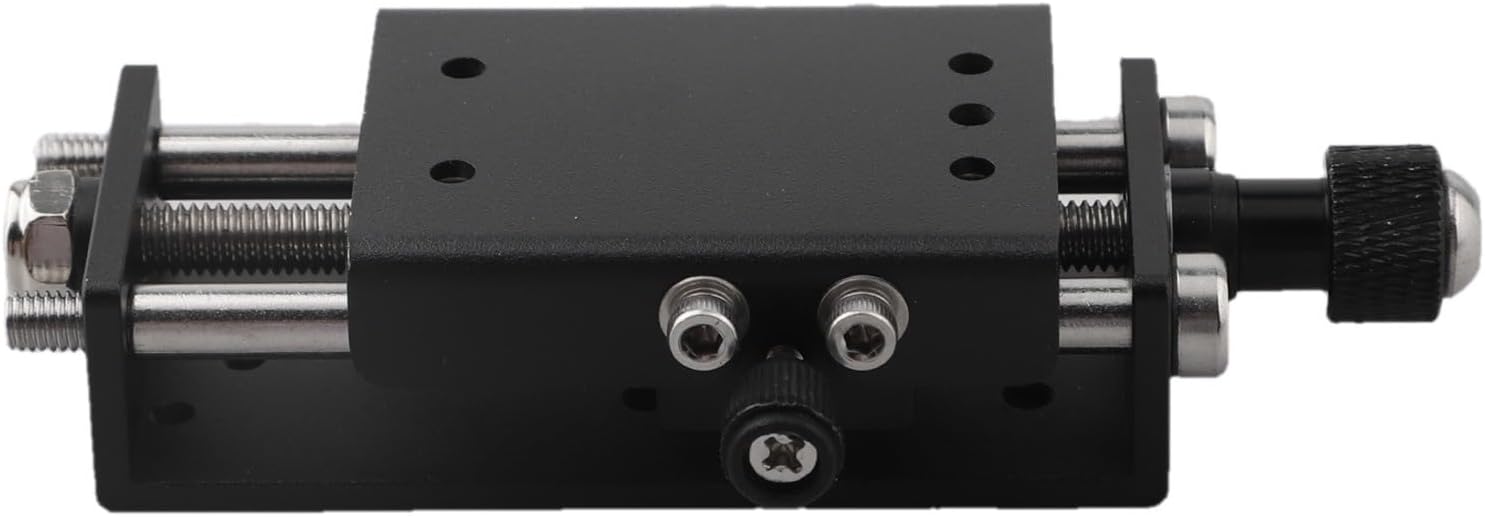
Figure 5: Underside view of the height adjuster, showing the robust stainless steel construction.
Troubleshooting
If you encounter issues with your height adjuster, consider the following common solutions:
| Problem | Possible Cause | Solution |
|---|---|---|
| Z-axis movement is stiff or rough. | Lack of lubrication; accumulation of dust/debris. | Clean the guide rods and screw mechanism. Apply a small amount of light machine oil. |
| Module feels loose after installation. | Mounting screws are not sufficiently tightened. | Check and tighten all mounting screws securely. |
| Inaccurate Z-axis positioning. | Excessive play in the mechanism; worn components. | Inspect for any loose parts or signs of wear. If components are worn, replacement may be necessary. |
Specifications
| Attribute | Detail |
|---|---|
| Product Name | Adjustable Lifting Module |
| Material | Metal (Premium Stainless Steel Construction) |
| Color | Black |
| Product Dimensions | 15 x 10 x 2 cm |
| Item Weight | 173 g |
| Model Number | K07YF5YJR7V11548N463 |
| Brand | Jurtmy |
| ASIN | B0FGC2HPBY |

Figure 6: Image illustrating the compact size and dimensions of the height adjuster.

Figure 7: Various perspectives of the height adjuster, showcasing its design and components.
Warranty and Support
This product is manufactured by Jurtmy. For any support inquiries or technical assistance, please refer to the seller's contact information on the platform where the product was purchased.
Return Policy: The product is subject to a 30-day return policy for refund or replacement, as per the terms of purchase.
For further assistance, please contact the seller directly through the Amazon platform.
Ask a question about this manual
Ask about setup, troubleshooting, compatibility, parts, safety, or missing instructions. Manuals+ will review the question and use this page’s manual context to help answer it.