
BERGER 269784
BERGER Foldable Solar Panel Set 100W
Model: 269784
Introduction
This user manual provides comprehensive instructions for the BERGER 100W Foldable Solar Panel Set. It covers setup, operation, maintenance, and troubleshooting to ensure optimal performance and longevity of your solar power system. This portable and efficient solar solution is designed to charge your power station or various battery types, making it ideal for camping, outdoor adventures, and off-grid power needs.
Package Contents
- 1 x 100 W foldable solar panel
- 1 x Charge controller
- 1 x 3 Meter extension cable with MC4 connectors (for direct connection, e.g., to a power station)
- 1 x Cable with crocodile clamps (for direct connection, e.g., to a LiFePO4 battery)
Setup Guide
Follow these steps to set up your BERGER Foldable Solar Panel Set:
1. Unfolding the Solar Panel
Carefully unfold the solar panel completely on a flat, stable surface. Ensure there are no obstructions that could damage the panel surface.

Image: The BERGER 100W foldable solar panel fully unfolded, showing the solar cells, integrated handles, and the included charge controller and connection cables.
2. Positioning for Optimal Sunlight
Utilize the integrated kickstands on the back of the panel to angle it towards the sun. Adjust the angle to maximize direct sunlight exposure throughout the day. The panel is designed to be stable even on uneven terrain.
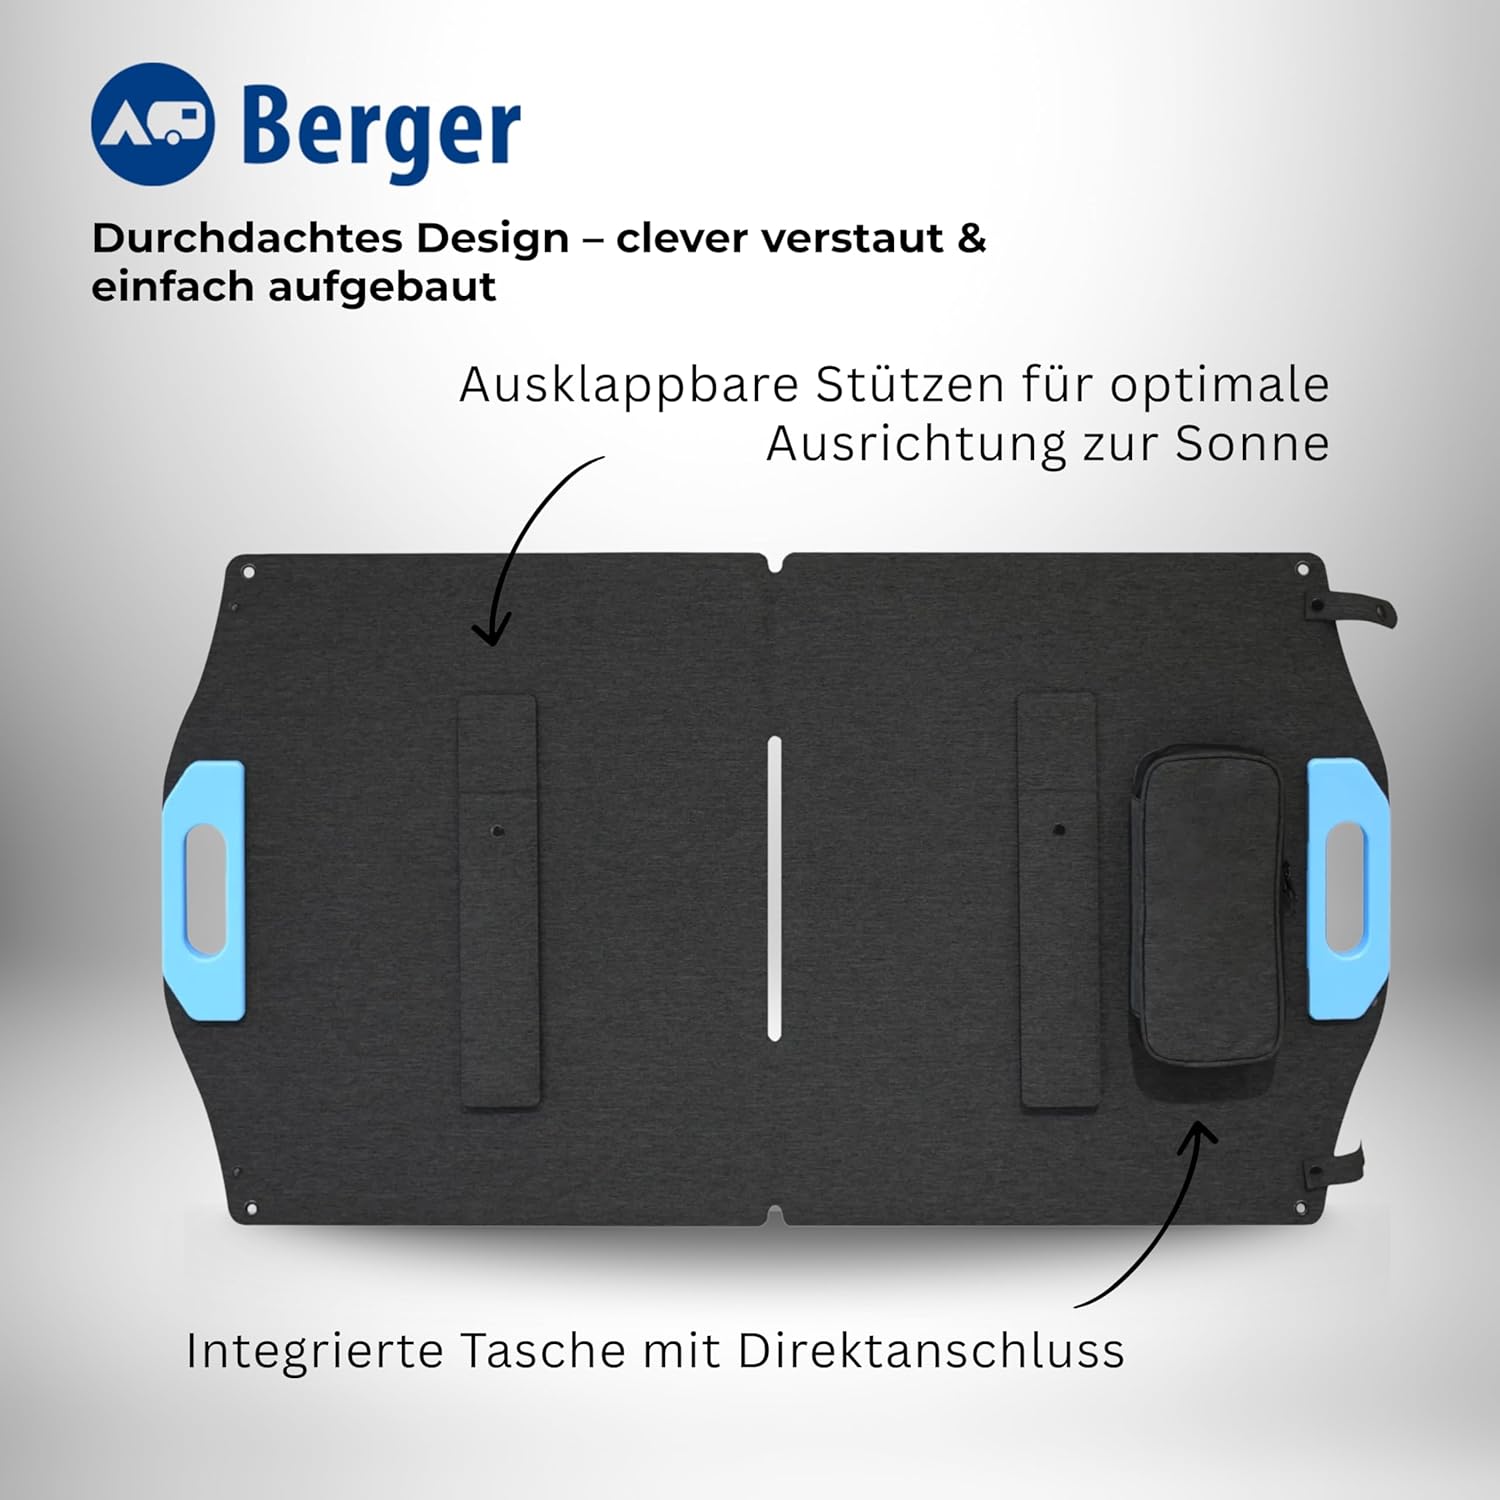
Image: Rear view of the solar panel, highlighting the foldable kickstands for optimal sun alignment and the integrated storage bag.

Image: The solar panel deployed on a grassy hill, demonstrating its stability and ease of setup in outdoor environments.
3. Connecting the Charge Controller
The solar panel features an integrated bag containing the MC4 connection cable. Connect this cable from the solar panel to the designated solar input terminals on the charge controller. Ensure the connections are secure.

Image: A close-up of the integrated storage bag on the solar panel, showing the MC4 cable ready for connection to the charge controller.
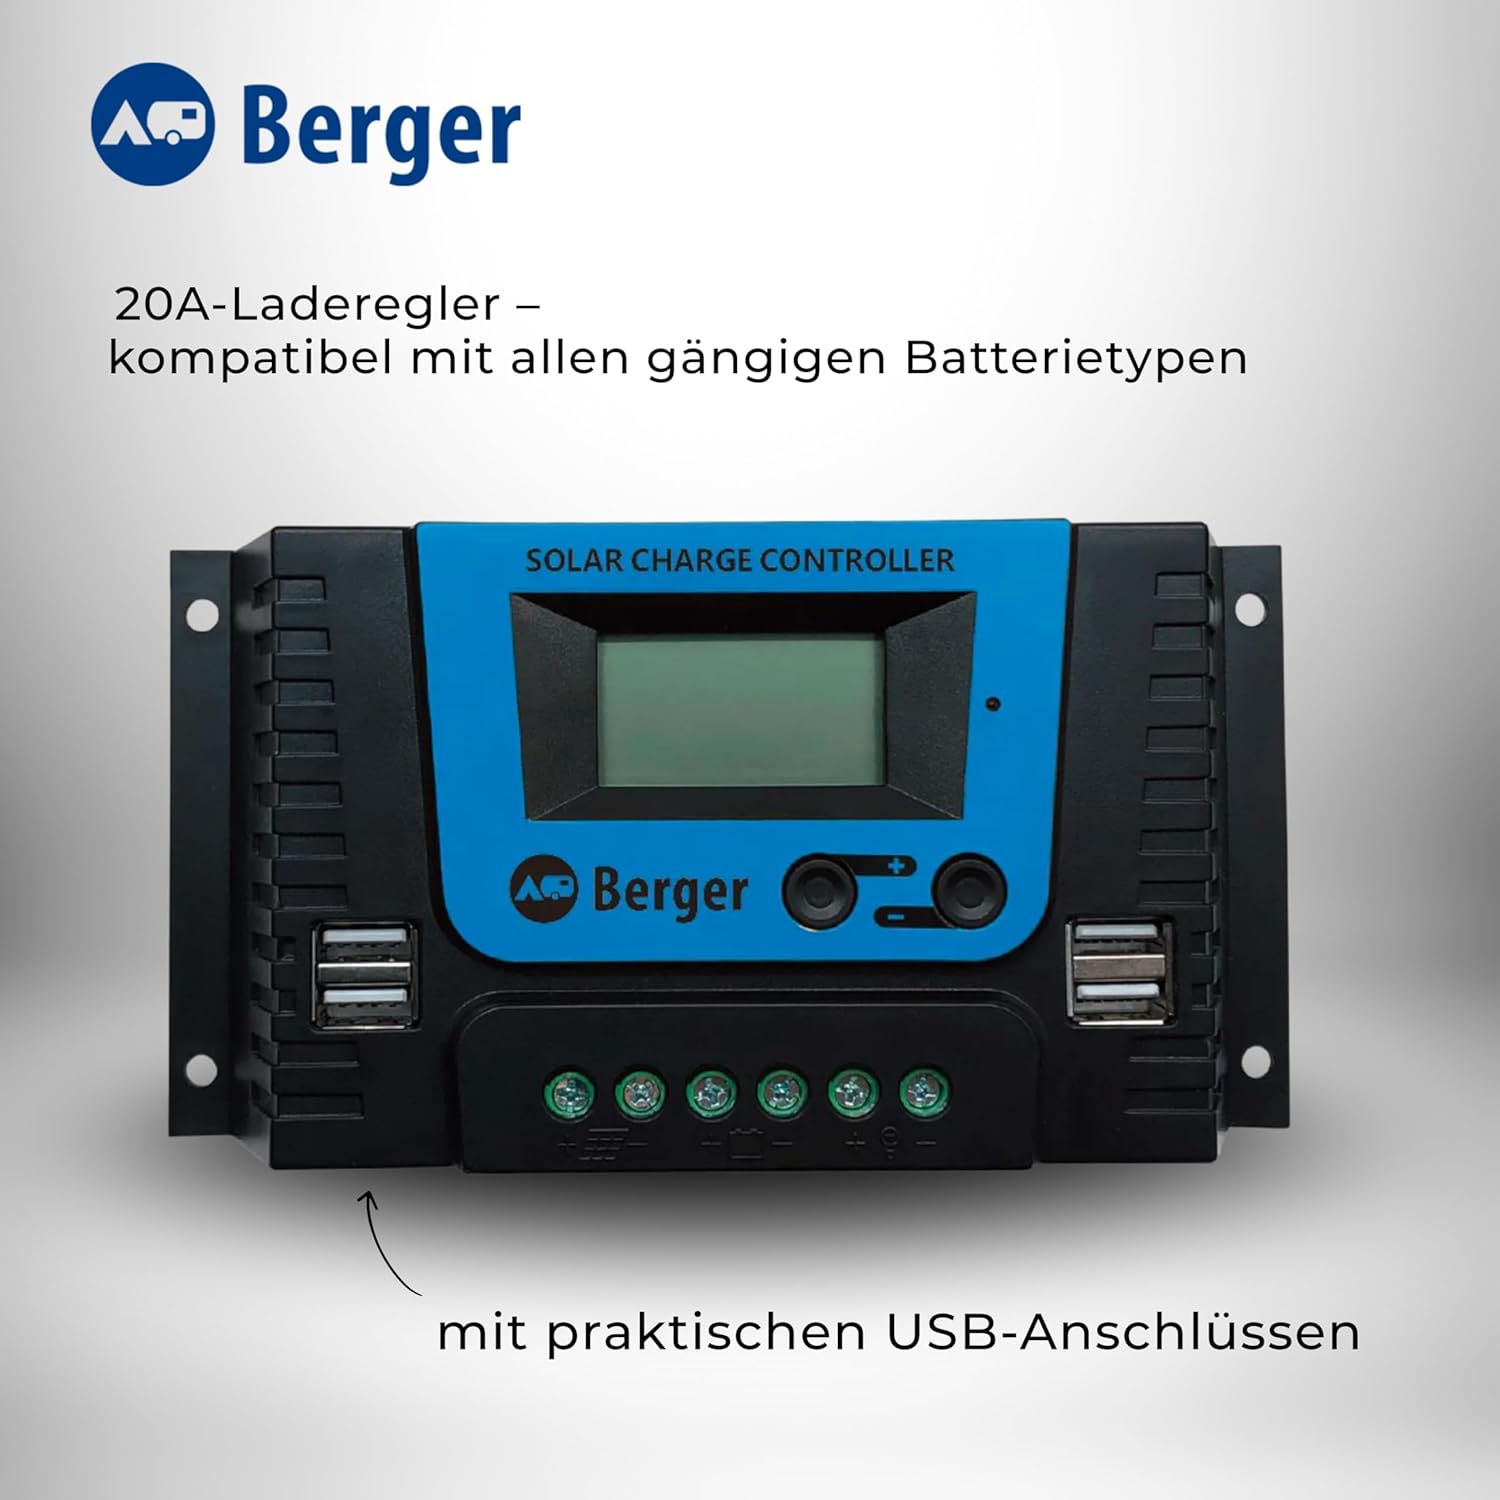
Image: The 20A solar charge controller, displaying its screen, buttons, and practical USB charging ports.
4. Connecting to Battery or Power Station
Connect the charge controller to your battery or power station using the appropriate cable:
- For direct connection to a power station, use the 3-meter extension cable with MC4 connectors.
- For direct connection to a LiFePO4, AGM, Gel, or Lead-Acid battery, use the cable with crocodile clamps.
Ensure correct polarity when connecting to batteries (positive to positive, negative to negative).
Operating Instructions
Once set up, the solar panel will begin generating power. The charge controller manages the charging process and protects your battery from overcharging or deep discharge.
Charge Controller Operation
The 20A charge controller is compatible with Lead-Acid, Gel, Flooded, and Lithium batteries. The default setting is for Lithium batteries. Refer to the charge controller's specific manual for instructions on adjusting battery type settings if needed.
The display on the charge controller will show charging status, battery voltage, and current. Monitor these readings to ensure proper operation.
Maximizing Efficiency
The monocrystalline cells provide an impressive efficiency of 24%. To achieve maximum power output, ensure the panel is positioned directly facing the sun and is free from shadows or obstructions.

Image: A detailed view of the solar panel's monocrystalline cells, emphasizing their high efficiency for reliable power generation even in low light conditions.
Maintenance
Regular maintenance ensures the longevity and efficiency of your solar panel set.
- Cleaning: Periodically clean the surface of the solar panel with a soft, damp cloth to remove dust, dirt, or debris. Avoid abrasive cleaners or harsh chemicals that could scratch the surface.
- Connections: Regularly inspect all cable connections (MC4, crocodile clamps, charge controller terminals) to ensure they are tight and free from corrosion. Loose connections can lead to power loss or damage.
- Storage: When not in use, fold the solar panel and store it in a dry, cool place, away from direct sunlight and extreme temperatures. The integrated bag provides convenient storage for cables.
- Physical Inspection: Check the panel for any physical damage, such as cracks, dents, or frayed cables. Do not use the panel if it is damaged.
Troubleshooting
If you encounter issues with your solar panel set, refer to the following common problems and solutions:
| Problem | Possible Cause | Solution |
|---|---|---|
| No power output / Battery not charging |
|
|
| Low power output |
|
|
| Charge controller display off |
|
|
Technical Specifications
| Parameter | Value |
|---|---|
| Power (Wp) | 100 W |
| Power (Wh/Day) | 400 Wh |
| Nominal Voltage (Vmp) | 23.9 V |
| Nominal Current (Imp) | 4.18 A |
| Open Circuit Voltage (Voc) | 28.6 V |
| Short Circuit Current (Isc) | 4.51 A |
| Standard Test Conditions (STC) | AM = 1.5, Temp=25 ± 2 ℃, 1000 W/m² |
| Dimensions (Open L x W x H) | 109.2 x 57.2 x 0.5 cm |
| Dimensions (Folded L x W x H) | 57.2 x 54.2 x 1.0 cm |
| Weight | 2.8 kg |
| Material | Crystalline Silicon |
| Connector Type | MC4 |
| Charge Controller Capacity | 20 Ampere |
| Compatible Battery Types | Lead-Acid, Gel, Flooded, Lithium (LiFePO4, AGM) |
Warranty and Support
For any support needs or inquiries regarding your BERGER Foldable Solar Panel Set, please contact the manufacturer directly. Our team is available to provide quick, friendly, and reliable assistance.
While specific warranty details are not provided in this manual, please retain your proof of purchase for any warranty claims. For the most up-to-date warranty information, refer to the official BERGER website or contact their customer service.
You can also visit the BERGER Store on Amazon for more information and contact options.
Related documents269784


Ask a question about this manual
Ask about setup, troubleshooting, compatibility, parts, safety, or missing instructions. Manuals+ will review the question and use this page’s manual context to help answer it.