1. Introduction
Thank you for choosing the ICEVOKE 3-in-1 Water Cooler Dispenser with Ice Maker. This appliance provides convenient access to hot, cold, and room-temperature water, along with a built-in ice maker. Please read this manual thoroughly before operation to ensure safe and efficient use.
2. Safety Instructions
WARNING: To reduce the risk of fire, electric shock, or injury, always follow basic safety precautions.
- Ensure the appliance is plugged into a grounded outlet.
- Do not immerse the appliance, cord, or plug in water or other liquids.
- Keep children away from the hot water dispenser. This unit features a child safety lock for hot water.
- Do not operate the appliance with a damaged cord or plug.
- Place the appliance on a flat, stable surface.
- Allow adequate ventilation around the unit. Do not block air vents.
- Use only 3 or 5-gallon water bottles designed for top-loading dispensers.
- Unplug the appliance before cleaning or maintenance.
- All materials in contact with water are food-grade certified.
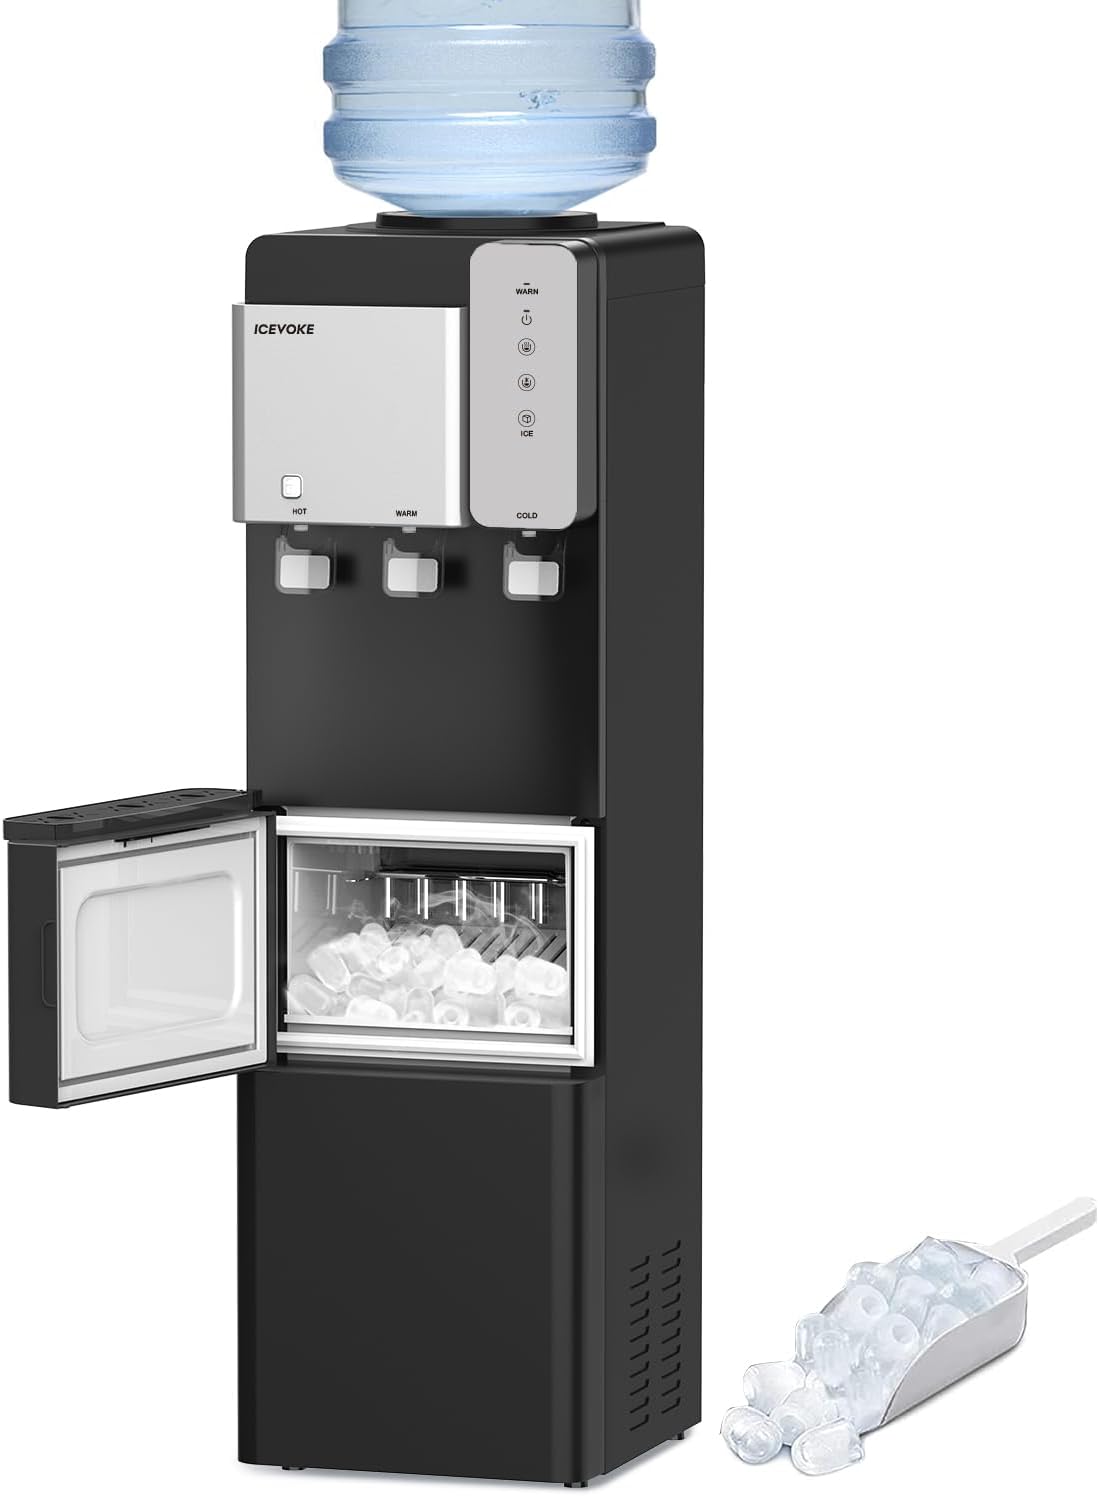
3. Product Overview
The ICEVOKE 3-in-1 Water Cooler Dispenser combines a water dispenser with an integrated ice maker, offering versatility and convenience.
Key Features:
- 3 Temperature Settings: Hot (>194°F), Cold (<50°F), and Room Temperature water.
- Built-in Ice Maker: Produces 9 bullet-shaped ice cubes in 7-15 minutes, up to 27 lbs per day.
- Child Safety Lock: Prevents accidental hot water dispensing.
- Nightlight: Illuminates the dispensing area for visibility in low light.
- Easy-to-Use Control Panel: Intuitive buttons for water dispensing and ice making.
- Removable Drip Tray: For easy cleaning.
- Top-Loading Design: Compatible with 3 or 5-gallon water bottles.
- ETL, FCC, UL Certified: Ensures safety and quality standards.
Components:


4. Setup
No installation is required for this water dispenser. It is a plug-and-play unit. Follow these steps to prepare your dispenser for first use:
- Unpacking: Carefully remove the dispenser from its packaging. Place it upright on a flat, stable surface.
- Positioning: Ensure there is adequate space around the unit for ventilation (at least 4 inches from walls).
- Water Bottle Installation:
- Remove the cap from a 3 or 5-gallon water bottle.
- Carefully lift the water bottle and place it upside down onto the top-loading receptacle of the dispenser. Ensure it is seated firmly.
- The dispenser will automatically begin filling its internal reservoirs.
- Power Connection: Plug the power cord into a grounded electrical outlet.
- Initial Priming: Before dispensing, allow the unit to sit for at least 30 minutes to allow the water to fill the internal tanks and the compressor to settle.
- Activate Functions: Turn on the heating, cooling, and ice-making functions using the respective buttons on the control panel. Allow sufficient time for water to reach desired temperatures and for ice production to begin (approx. 7-15 minutes for first ice batch).

5. Operating Instructions
5.1 Dispensing Water
Place your cup on the drip tray. Select your desired water temperature by pressing the corresponding button on the control panel.
- Cold Water: Press the "Cold Water Dispense" button. The water will flow until the button is released.
- Room Temperature Water: Press the "Fresh Water" button. The water will flow until the button is released.
- Hot Water: This function has a child safety lock. To dispense hot water, first press and hold the "Child Lock" button, then press the "Hot Water Dispense" button. Release both buttons once the desired amount is dispensed.

5.2 Ice Making
The built-in ice maker automatically produces bullet-shaped ice cubes. The "Ice-Making" indicator light will be on when the unit is actively making ice.
- Accessing Ice: Open the lower compartment door to access the ice bin. A scoop is provided for convenience.
- Automatic Shut-off: The ice maker will automatically stop producing ice when the ice bin is full, indicated by sensors. Production will resume once ice is removed.

5.3 Nightlight Function
The integrated nightlight illuminates the dispensing area, making it easy to use the dispenser in low-light conditions and preventing spills.
5.4 Energy Saving Mode
Activate the ECO mode (if available on your model) to optimize energy consumption. Refer to the control panel for the ECO indicator.
5.5 Add Water Indicator
The "Add Water" indicator light will illuminate when the water bottle is empty and needs to be replaced.
5.6 Official Product Videos
Video 5.1: An overview of the ICEPURE 3-in-1 Water Cooler Dispenser with Ice Maker, demonstrating its features and functionality. This video is provided by the seller.
Video 5.2: A brief demonstration of the BYCZ623 water cooler with ice maker, showcasing its operation. This video is provided by the seller.
Video 5.3: An overview of the 3-in-1 LYCZ628W model, highlighting its features and design. This video is provided by the seller.
Video 5.4: A short video demonstrating the ice making process of the water cooler dispenser. This video is provided by the seller.
6. Maintenance
Regular cleaning and maintenance will ensure the longevity and optimal performance of your dispenser.
- Cleaning the Exterior: Wipe the exterior surfaces with a soft, damp cloth. Do not use abrasive cleaners.
- Drip Tray: Regularly remove and empty the drip tray. Wash it with mild soap and water, then rinse and dry thoroughly before reinserting.
- Ice Bin: Periodically remove any remaining ice and clean the ice bin with a mild detergent solution. Rinse thoroughly to remove all soap residue.
- Descaling (Recommended Annually):
- Unplug the unit and remove the water bottle.
- Drain all water from the hot and cold tanks using the drain plugs at the back of the unit.
- Prepare a descaling solution (e.g., a mixture of white vinegar and water, or a commercial descaling agent).
- Pour the solution into the water reservoir and allow it to sit for 30-60 minutes.
- Drain the solution completely and rinse the tanks multiple times with fresh water until no odor remains.
- Air Vents: Keep the air vents at the back of the unit clear of dust and debris to ensure proper cooling.
7. Troubleshooting
| Problem | Possible Cause | Solution |
|---|---|---|
| No water dispensing. | Water bottle empty or not properly seated. Unit not plugged in or powered on. | Replace water bottle. Ensure unit is plugged in and power is on. |
| Water not hot/cold enough. | Heating/Cooling function not activated. Insufficient time for temperature change. | Ensure Heating/Cooling buttons are illuminated. Allow 15-30 minutes for water to reach desired temperature. |
| Ice maker not producing ice. | Ice-making function not activated. Water reservoir empty. Ice bin full. | Ensure Ice-Making button is illuminated. Check water bottle level. Empty ice bin if full. |
| Hot water child lock engaged. | Safety feature is active. | Press and hold the "Child Lock" button, then press the "Hot Water Dispense" button simultaneously. |
| Unit is noisy. | Normal compressor operation. Unit not level. | Ensure unit is on a level surface. Some noise during cooling/ice-making is normal. |
8. Specifications
| Feature | Detail |
|---|---|
| Brand | ICEVOKE |
| Model Number | BYCZ565B-0701 |
| Product Dimensions | 14.4"D x 12.2"W x 40.8"H |
| Material | Acrylonitrile Butadiene Styrene (ABS), Stainless Steel |
| Water Capacity | Supports 3 or 5 Gallon Bottles |
| Ice Production | Up to 27 lbs per 24 hours (9 cubes in 7-15 mins) |
| Water Temperatures | Hot (>194°F), Cold (<50°F), Room Temperature |
| Certifications | ETL, FCC, UL |
| Color | Black |
9. Warranty and Support
For warranty information, technical support, or service inquiries, please refer to the product packaging or contact ICEVOKE customer service directly. Keep your purchase receipt as proof of purchase.


