1. Introduction
This manual provides instructions for the safe operation and maintenance of your Riseon AAI10 Portable Evaporative Air Cooler. This 4-in-1 device functions as a cooler fan, humidifier, and evaporative air conditioner, designed for indoor use in various environments such as homes, bedrooms, living rooms, and offices.
2. Safety Information
Please read all safety instructions before operating the appliance to prevent injury or damage.
- Power Supply: Ensure the power outlet voltage matches the product's specifications (120 Volts). Do not use with damaged cords or plugs.
- Placement: Place the unit on a stable, level surface. Maintain adequate clearance around the unit to ensure proper airflow. Do not block air inlets or outlets.
- Water Tank: Only fill the bottom water tank with clean water. Do not exceed the maximum water level indicated. Always disconnect power before filling or emptying the tank.
- Cleaning: Always disconnect the unit from the power supply before performing any cleaning or maintenance.
- Children and Pets: Keep the appliance out of reach of children and pets. Do not allow them to play with or operate the unit.
- Usage Environment: Do not use this appliance in wet or damp environments, or near flammable materials.
3. Package Contents
Verify that all items are present in the packaging:
- Riseon AAI10 Evaporative Air Cooler Unit
- Remote Control
- Ice Pack (2)
- 360° Casters (4, 2 with brakes, 2 without brakes)
- Rubber Pads
- User Manual (This document)
4. Product Overview
Familiarize yourself with the main components of your evaporative air cooler.

Image: Front view of the Riseon AAI10 Evaporative Air Cooler, highlighting its air outlet and water tank. A polar bear is depicted interacting with the unit, symbolizing cooling.
- Control Panel: Located on the top of the unit for manual operation and display of settings.
- Air Outlet: Front grille through which cooled or fanned air is discharged. Features wide-angle oscillation.
- Water Tank: Detachable 2-gallon bottom tank for holding water and ice packs for evaporative cooling and humidification.
- Casters: Four wheels for easy mobility, two of which include brakes for stability.
- Aroma Box: Integrated compartment for adding essential oils to diffuse fragrance (essential oils not included).
- Cooler Pad: Evaporative cooling pad located behind the back panel, responsible for humidifying and cooling the air.
5. Setup Instructions
Follow these steps for initial setup of your evaporative air cooler.
- Unpacking: Carefully remove the unit and all accessories from the packaging. Retain packaging for future storage or transport.
- Attach Casters: Insert the four casters into the designated slots at the bottom of the unit. Ensure the two casters with brakes are placed at the front for stability when locked.
- Fill Water Tank: Pull out the detachable water tank from the bottom of the unit. Fill it with clean water. For enhanced cooling, place the included ice packs (pre-frozen) into the tank. Do not exceed the "MAX" fill line. Reinsert the tank securely.
- Insert Aroma Box (Optional): If desired, open the aroma box compartment (usually a small tray on the top or side) and add a few drops of your preferred essential oil. Close the compartment.
- Power Connection: Plug the power cord into a standard 120V electrical outlet. The unit is now ready for operation.

Image: Close-up view of the detachable 2-gallon water tank being filled with water, showing ice packs inside. The 'MAX' fill line is visible.

Image: A person sitting near the air cooler, with an inset showing essential oil being added to the aroma box. Note: Essential oils are not included.
6. Operating Instructions
The unit can be operated via the control panel on top or the included remote control. Ensure the remote control has working batteries (not included).
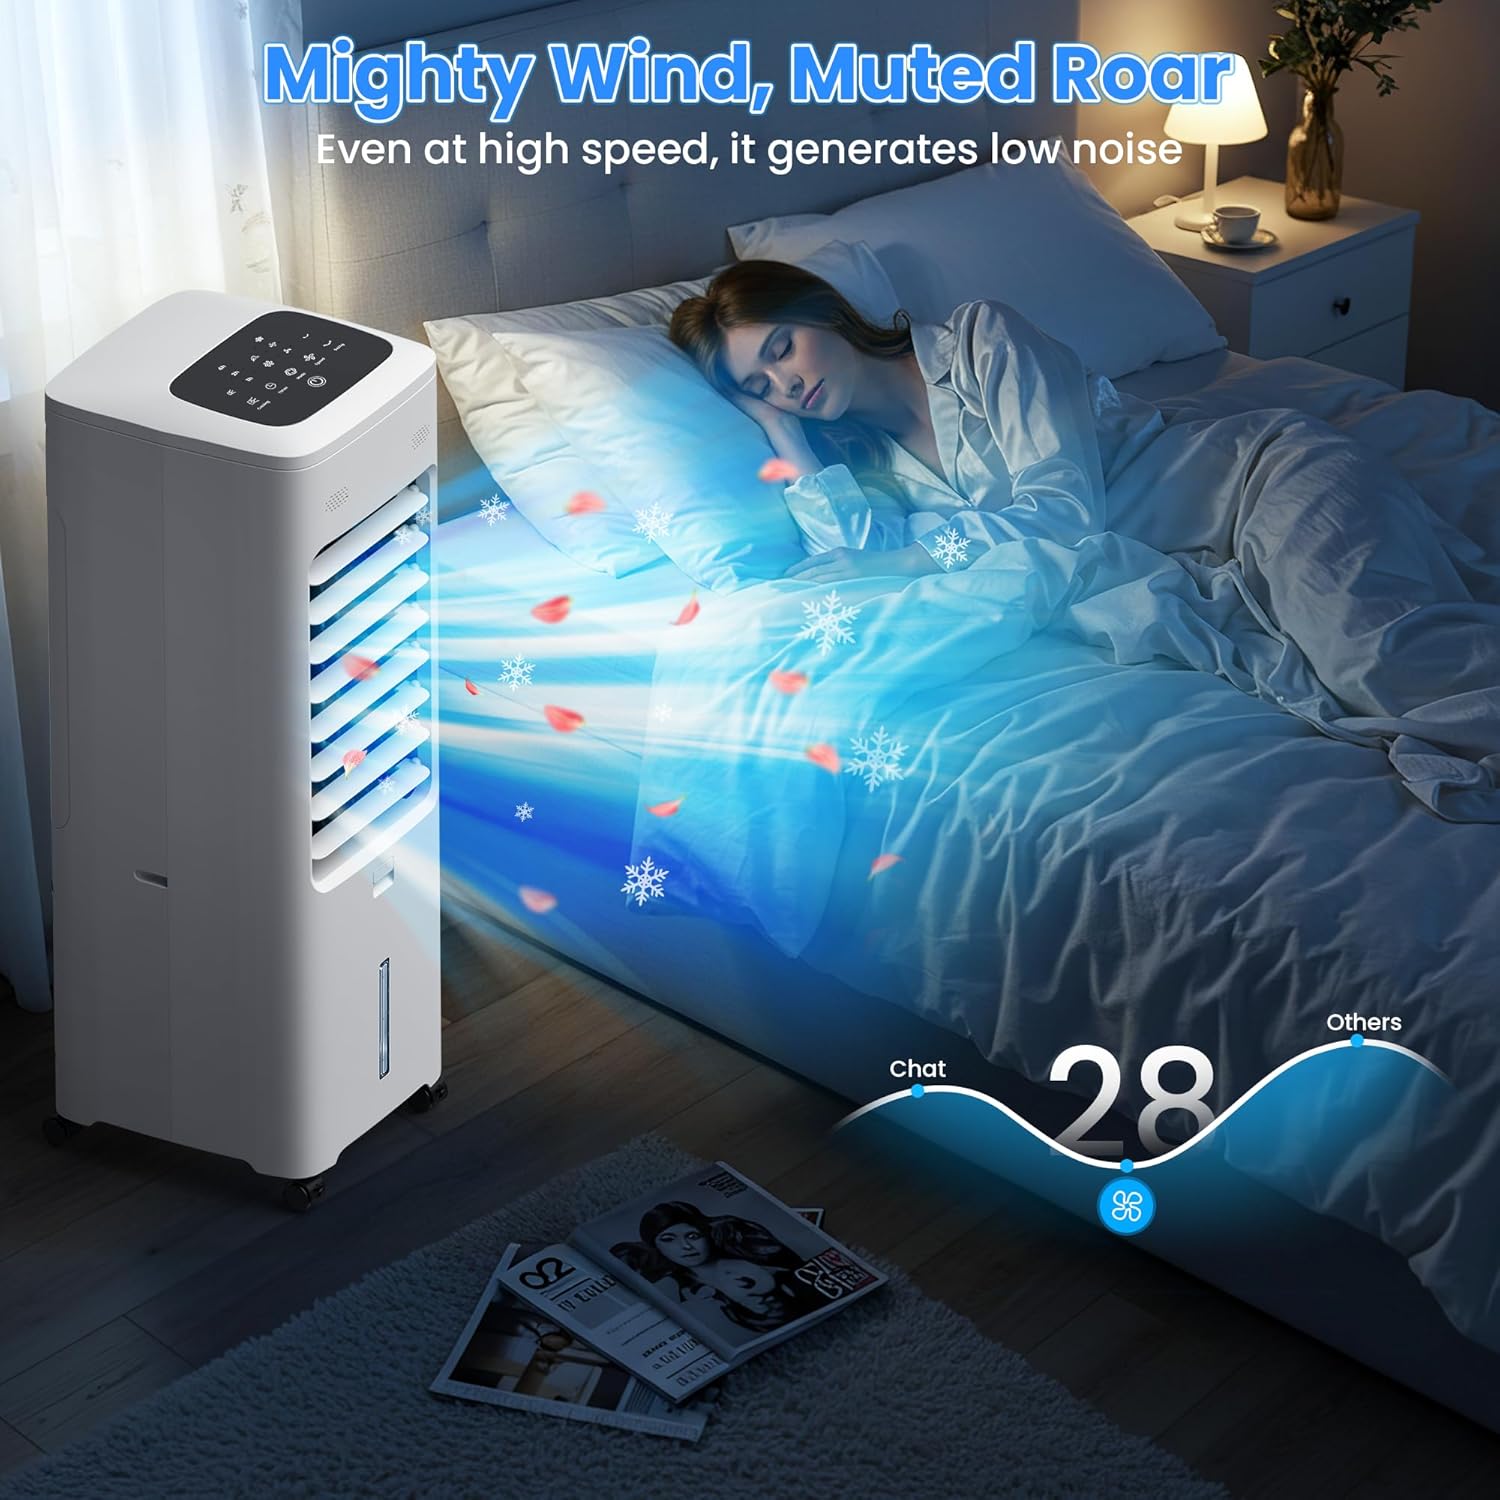
Image: Illustration showing the control panel buttons and the remote control with corresponding functions, indicating dual control options.
6.1. Control Panel & Remote Functions
- Power Button: Press to turn the unit ON or OFF.
- Mode Button: Cycles through the available operating modes: Fan (no water effect), Humidity Air (humidification with water), Cooling Air (evaporative cooling with water and ice).
- Speed Button: Adjusts the fan speed between Low, Medium, and High settings.
- Swing Button: Activates or deactivates the automatic oscillation function, which moves the air outlet from side to side for wider air distribution.
- Timer Button: Sets the operating timer. Multiple presses cycle through 1H, 2H, 4H, and combinations up to 7 hours. The unit will automatically turn off after the set time.
- Cooling Button: Activates or deactivates the evaporative cooling function. This requires water in the tank to operate.
6.2. Operating Modes Explained

Image: Diagram illustrating the four main functions: Fan (without water), Humidity Air (add water), Cooling Air (add water & ice), and Fragrant Air (add essential oil).
- Fan Mode: The unit operates as a standard fan, circulating air without adding moisture or cooling.
- Humidity Air Mode: When water is present in the tank, this mode adds moisture to the air, acting as a humidifier.
- Cooling Air Mode: Utilizes water from the tank and the evaporative cooler pad to provide a cooling effect. For best results, use frozen ice packs in the water tank.
- Fragrant Air Mode: When essential oils are added to the aroma box, this mode disperses a pleasant scent along with the airflow.
7. Maintenance
Regular maintenance ensures optimal performance, efficiency, and longevity of your evaporative air cooler.
7.1. Cleaning the Water Tank
- Disconnect Power: Always unplug the unit from the power outlet before cleaning.
- Remove Tank: Pull out the detachable water tank from the bottom of the unit.
- Empty & Clean: Empty any remaining water. Clean the tank thoroughly with mild soap and water. Use a soft brush if necessary to remove any residue. Rinse thoroughly to remove all soap.
- Dry & Reinstall: Allow the tank to air dry completely before reinserting it into the unit.
7.2. Cleaning the Cooler Pad & Back Panel

Image: Exploded view showing the detachable water tank, cooler pad, and back panel being removed for cleaning, illustrating the tool-free disassembly.
- Disconnect Power: Unplug the unit from the power outlet.
- Remove Back Panel: The back panel, cooler pad, and tank are designed for tool-free disassembly. Gently unclip and remove the back panel.
- Clean Components: Carefully remove the cooler pad. Wash both the cooler pad and the back panel with clean water. For stubborn mineral deposits on the cooler pad, a mild descaling solution can be used, followed by thorough rinsing.
- Dry & Reassemble: Ensure all parts are completely dry before reassembling them into the unit. Improper reassembly may affect performance.
8. Troubleshooting
Refer to this section for common issues and their solutions. If the problem persists, contact customer support.
| Problem | Possible Cause | Solution |
|---|---|---|
| Unit does not power on. | No power supply; Power cord not properly connected. | Check power outlet; Ensure power cord is securely plugged into both the unit and the wall outlet. |
| No cooling effect. | Water tank empty; Cooling mode not activated; Ice packs not used or frozen. | Fill water tank to the MAX line; Activate cooling mode using the control panel or remote; Use frozen ice packs for optimal cooling. |
| Weak airflow. | Fan speed set too low; Air inlets/outlets blocked; Cooler pad dirty. | Increase fan speed; Ensure clear space around the unit; Clean the cooler pad as per maintenance instructions. |
| Unusual noise. | Unit not on a level surface; Obstruction in fan or water pump. | Place the unit on a stable, level surface; Disconnect power and check for any obstructions in the air outlet or water tank area. |
| Water leakage. | Water tank overfilled; Tank not properly seated; Unit tilted. | Do not exceed the MAX fill line; Ensure the water tank is securely and correctly in place; Keep the unit upright and on a level surface. |
| Remote control not working. | Batteries depleted or incorrectly inserted; Obstruction between remote and unit. | Replace remote control batteries (ensure correct polarity); Ensure clear line of sight between the remote and the unit's receiver. |
9. Specifications
- Model: AAI10
- Brand: Riseon
- Type: 4-in-1 Evaporative Air Cooler (Fan, Humidifier, Cooler, Aroma Diffuser)
- Dimensions: 11"D x 10"W x 30"H (27.94 cm D x 25.4 cm W x 76.2 cm H)
- Weight: 16.9 pounds (7.67 kg)
- Water Tank Capacity: 2 Gallons (7.57 Liters)
- Voltage: 120 Volts
- Wattage: 50 Watts
- Air Flow Capacity: 1800 Cubic Feet Per Minute (CFM)
- Noise Level: 28 dB (at lowest setting)
- Timer: Up to 7 hours (1H, 2H, 4H options)
- Control: Remote Control & Touch Panel
- Special Features: 3 Modes, 3 Speeds, 30-inch Tall design, Ultra-Quiet operation, Ventless & Ductless design, Detachable Water Tank, Built-in Aroma Box.
- Included Components: Casters, Ice Packs, Remote Control, Rubber Pads, User Manual.
10. Warranty and Support
This Riseon AAI10 Portable Evaporative Air Cooler comes with a 1-year limited warranty from the date of purchase.
For warranty claims, technical support, or customer service inquiries, please contact Riseon customer support through the retailer where the product was purchased. Please retain your proof of purchase for warranty validation.