
1. Introduction
Thank you for purchasing the Daakro SR-3800 5.1 Channel Bluetooth Home Audio Amplifier. This amplifier is designed to provide a high-quality audio experience for your home theater, studio, or entertainment setup. Featuring a 300W rated power output, DSP display, Bluetooth 5.4 connectivity, and multiple input options, the SR-3800 offers versatility and robust performance. Please read this manual thoroughly before use to ensure proper setup and operation.

Image 1.1: Daakro SR-3800 Amplifier and Remote Control.
2. Safety Information
To reduce the risk of fire or electric shock, do not expose this appliance to rain or moisture. Do not open the casing; refer all servicing to qualified personnel. Always ensure proper ventilation and avoid blocking cooling vents.
- Power Source: Connect the unit to an AC power outlet of the specified voltage.
- Ventilation: Do not obstruct the ventilation openings. Ensure adequate space around the unit for proper airflow.
- Water and Moisture: Do not expose the unit to dripping or splashing water. Do not place objects filled with liquids, such as vases, on the unit.
- Heat: Do not place the unit near heat sources such as radiators, heat registers, stoves, or other apparatus (including amplifiers) that produce heat.
- Cleaning: Clean only with a dry cloth.
- Servicing: Do not attempt to service this product yourself. Refer all servicing to qualified service personnel.
3. Package Contents
Verify that all items are present in the package:
- Daakro SR-3800 5.1 Channel Bluetooth Home Audio Amplifier
- Remote Controller
- User Manual (this document)
- Power Cable
4. Product Overview
4.1 Front Panel
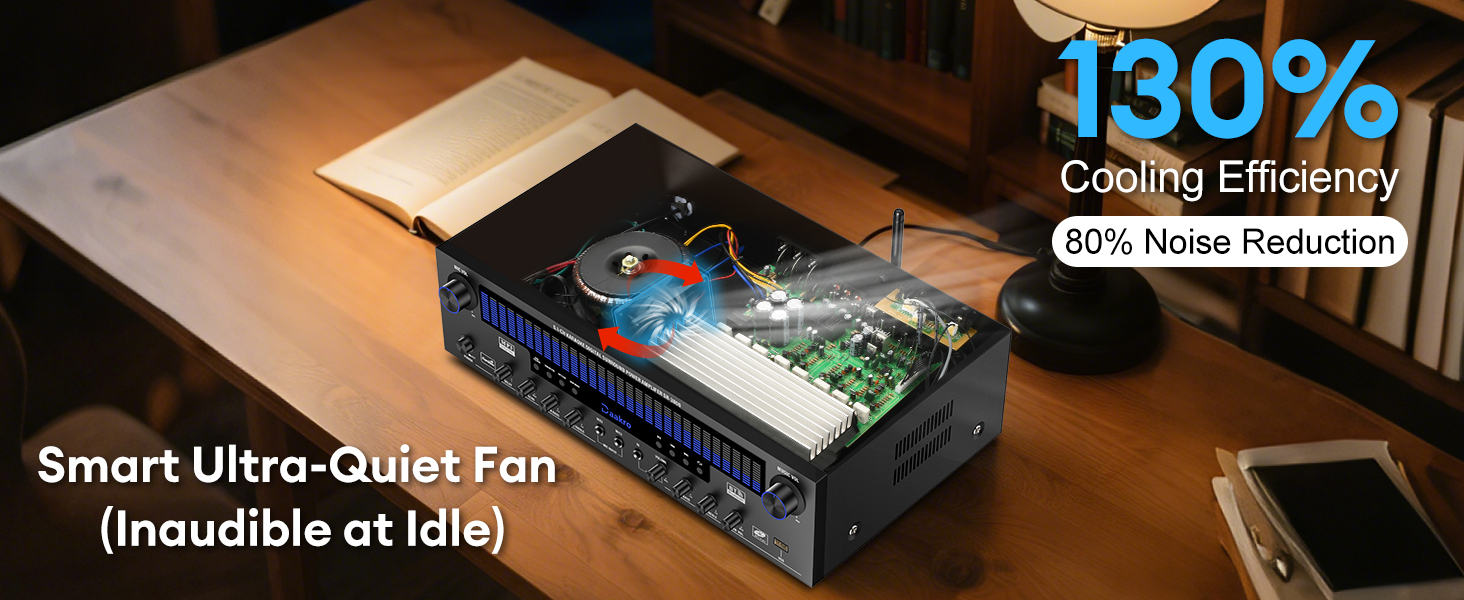
Image 4.1: Front Panel Controls and Display.
The front panel provides access to all primary controls and the DSP display:
- Mic Volume Knob: Adjusts the overall volume of connected microphones.
- Power ON/OFF: Toggles the amplifier's power.
- LCD Screen: Displays current input mode, volume levels, and DSP spectrum effects.
- Delay Knob: Adjusts the delay effect for microphones.
- Echo Knob: Adjusts the echo effect for microphones.
- Mic Bass Knob: Adjusts the bass level for microphones.
- Mic Treble Knob: Adjusts the treble level for microphones.
- Wireless Mic Volume Knob: Adjusts the volume for wireless microphones.
- Bass Knob: Adjusts the overall bass level for music playback.
- Treble Knob: Adjusts the overall treble level for music playback.
- DVD/CD/AUX Mode Knob: Selects DVD, CD, or AUX input.
- USB/BT/FM Mode Knob: Selects USB, Bluetooth, or FM radio input.
- OPT/COAX Mode Knob: Selects Optical or Coaxial digital input.
- DISP Mode Knob: Cycles through DSP display effects.
- Play/Pause Knob: Controls playback for USB/Bluetooth.
- Previous Knob: Skips to the previous track for USB/Bluetooth.
- Next Knob: Skips to the next track for USB/Bluetooth.
- Single Song/Playlist Loop Knob: Toggles repeat modes for USB playback.
- Subwoofer Volume Knob: Adjusts the output volume for the passive subwoofer.
- Music Volume Knob: Adjusts the overall music playback volume.
4.2 Back Panel
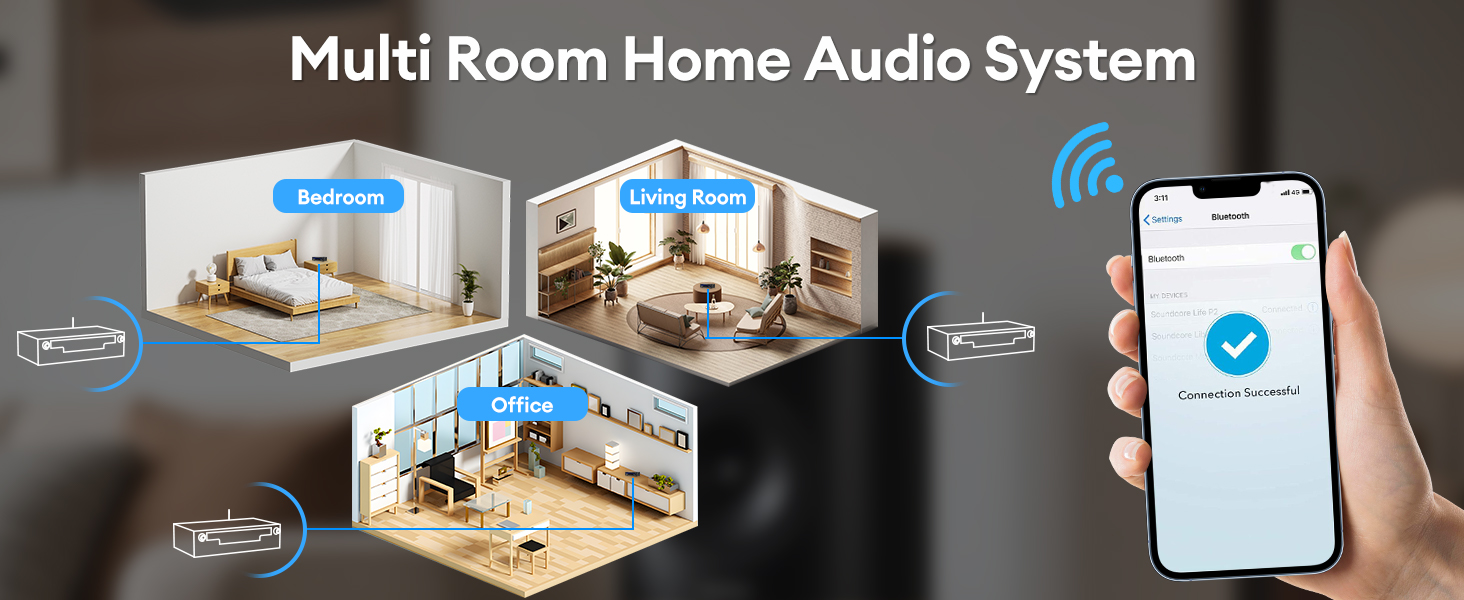
Image 4.2: Back Panel Input and Output Interfaces.
The back panel features various input and output connections:
- FM ANT: FM antenna connection.
- AUX IN: Stereo RCA input for external audio devices.
- OPT IN: Optical digital audio input.
- COAX IN: Coaxial digital audio input.
- BT ANT: Bluetooth antenna.
- AUDIO INPUT (DVD, CD, LINE): Stereo RCA inputs for DVD, CD players, and other line-level sources.
- SPEAKER OUTPUT (4-16Ω): Spring clip terminals for connecting passive speakers (Left, Right, Center, Left Surround, Right Surround).
- SUBWOOFER OUTPUT: RCA output for connecting a passive subwoofer.
- POWER INPUT: AC power cord connection.
5. Setup
5.1 Speaker Connection
The SR-3800 is compatible with 5-12 inch passive speakers with an impedance of 4 to 16 ohms. Ensure the amplifier is powered off before making any connections.
- Identify the speaker terminals on the back panel: Left, Right, Center, Left Surround, Right Surround.
- Connect the positive (+) terminal of each speaker to the corresponding positive (+) terminal on the amplifier.
- Connect the negative (-) terminal of each speaker to the corresponding negative (-) terminal on the amplifier.
- For a passive subwoofer, connect its RCA input to the SUBWOOFER OUTPUT on the amplifier.
Note: Incorrect polarity can result in poor sound quality. Ensure all connections are secure.
5.2 Input Connections
Connect your audio sources to the appropriate input ports on the back panel:
- DVD/CD/LINE: Use RCA cables to connect DVD players, CD players, or other analog audio sources.
- AUX IN: Use RCA cables for general auxiliary audio input.
- OPT IN / COAX IN: Use optical or coaxial digital cables for digital audio sources like TVs or game consoles.
- FM ANT: Connect the included FM antenna for radio reception.
- USB: Insert a USB drive into the front panel USB port for media playback.
- Microphones: Connect wired microphones to the MIC1 or MIC2 inputs on the front panel. The amplifier also supports wireless microphones.
5.3 Power Connection
After all audio and speaker connections are made, connect the power cable to the POWER INPUT on the back of the amplifier and then to a suitable AC power outlet.
6. Operation
6.1 Power On/Off
Press the Power ON/OFF button on the front panel to turn the amplifier on or off. The LCD screen will illuminate upon power-on.
6.2 Input Selection
Rotate the input selection knobs (DVD/CD/AUX, USB/BT/FM, OPT/COAX) on the front panel to choose your desired audio source. The selected input will be displayed on the LCD screen.
6.3 Bluetooth Pairing

Image 6.1: Bluetooth 5.4 Connectivity.
To connect a Bluetooth device:
- Select the 'BT' input mode using the USB/BT/FM knob. The LCD screen will show 'Bluetooth' or a similar indicator.
- Enable Bluetooth on your smartphone, tablet, or computer.
- Search for available devices and select 'Daakro SR-3800'.
- Once paired, the amplifier will indicate a successful connection, and you can stream audio wirelessly within a 30-foot range.
6.4 USB Playback
Insert a USB flash drive containing audio files into the USB port on the front panel. Select the 'USB' input mode. Use the Play/Pause, Previous, Next, and Single Song/Playlist Loop knobs to control playback.
6.5 FM Radio
Select the 'FM' input mode. The amplifier will automatically scan for available radio stations. Use the Previous/Next buttons (or corresponding remote control buttons) to navigate between stations.
6.6 Microphone Usage (Karaoke)

Image 6.2: Karaoke Setup with Microphones.
Connect wired microphones to the MIC1/MIC2 inputs. Adjust microphone volume, delay, echo, bass, and treble using the dedicated knobs on the front panel. For wireless microphones, use the Wireless Mic Volume knob.
Caution: External wired and wireless microphones may cause feedback noise if not positioned correctly or if gain levels are too high.
6.7 Audio Adjustments
Use the following knobs on the front panel to fine-tune your audio:
- Music Volume Knob: Controls the master volume for all music sources.
- Bass Knob: Adjusts the low-frequency response of the music.
- Treble Knob: Adjusts the high-frequency response of the music.
- Subwoofer Volume Knob: Controls the output level of the connected passive subwoofer.
6.8 DSP Display Modes
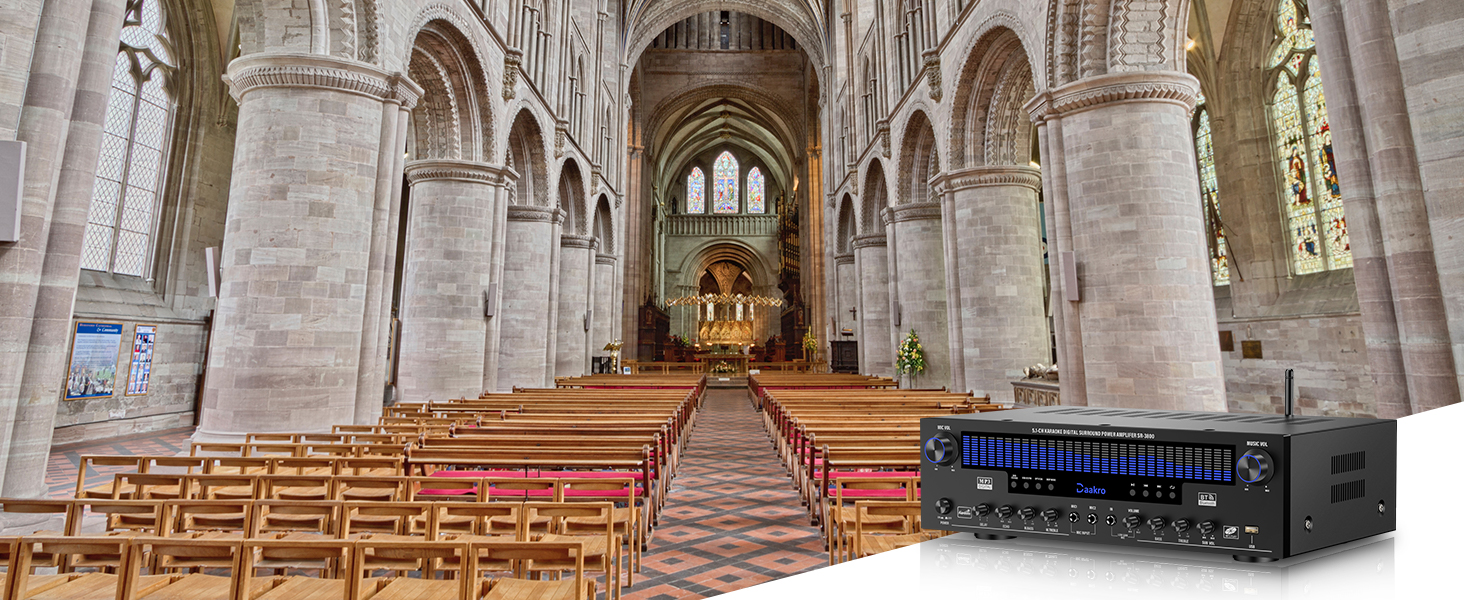
Image 6.3: Dynamic DSP Display in action.
The 19.8-inch LED display features 13 spectrum effects. Rotate the DISP Mode Knob to cycle through these visualizers, which analyze and display music rhythms in real-time within the 20 Hz to 20 kHz frequency response range.
6.9 Remote Control Usage
The included remote control provides convenient access to most amplifier functions, including power, input selection, volume adjustment, and playback controls. Ensure the remote has fresh batteries and is pointed towards the amplifier's front panel during use.
7. Maintenance
7.1 Cleaning
Wipe the exterior of the amplifier with a soft, dry cloth. Do not use liquid cleaners or aerosol sprays, as they may damage the finish or internal components.
7.2 Storage
If storing the amplifier for an extended period, disconnect it from the power outlet and store it in a cool, dry place away from direct sunlight and extreme temperatures.
7.3 Cooling System

Image 7.1: Internal Cooling System.
The amplifier features an ultra-quiet cooling system with built-in fans and heat sinks. Ensure that the side ventilation ports are not blocked to maintain optimal cooling efficiency and extend the equipment's lifespan.
8. Troubleshooting
| Problem | Possible Cause | Solution |
|---|---|---|
| No power | Power cable not connected; Power outlet faulty; Amplifier off. | Ensure power cable is securely connected. Test outlet with another device. Press Power ON/OFF button. |
| No sound output | Incorrect input selected; Volume too low; Speaker wires loose; Mute function active. | Select correct input. Increase Music Volume. Check speaker connections. Deactivate mute. |
| Bluetooth not connecting | Amplifier not in BT mode; Device too far; Bluetooth on device off. | Select BT input. Move device closer (within 30ft). Enable Bluetooth on your device. |
| Microphone feedback noise | Microphone too close to speakers; Mic volume too high. | Reposition microphones away from speakers. Reduce Mic Volume. |
| Remote control not working | Batteries depleted; Obstruction between remote and amplifier. | Replace remote batteries. Ensure clear line of sight to amplifier's front panel. |
9. Specifications
| Feature | Detail |
|---|---|
| Model Number | SR-3800 |
| Rated Power Output | 300W (50W per channel) |
| Surround Sound Configuration | 5.1 Channel |
| Speaker Impedance | 4-16 Ohms (Passive Speakers) |
| Subwoofer Compatibility | Passive Subwoofers Only |
| Bluetooth Version | 5.4 |
| Bluetooth Range | Up to 30 feet (stable connection) |
| DSP Display | 19.8-inch LED, 13 Spectrum Effects (20 Hz to 20 kHz) |
| Input Interfaces | Bluetooth, USB, Wireless Mic, 2x Wired Mic, FM, AUX, OPT, COAX, DVD, CD, LINE |
| Cooling System | Built-in fans, heat sinks, side ventilation (Ultra-Quiet) |
| Dimensions (Package) | 19.3 x 13.6 x 7.4 inches |
| Item Weight | 13.47 pounds |
10. Warranty and Support
Daakro is committed to providing high-quality products and customer satisfaction.
- Warranty: This product comes with a 30-day warranty from the date of purchase.
- Customer Service: For any questions, technical assistance, or warranty claims, please contact our online customer service. We offer 24-hour support to ensure 100% customer satisfaction.
Please refer to your purchase platform or Daakro's official website for detailed contact information and warranty terms.