1. Safety Information
Please read all instructions carefully before using this electric garage heater. Failure to follow these instructions may result in electric shock, fire, or serious injury.
- Electrical Connection: This unit requires a 240V hardwired electrical connection. Installation must be performed by a qualified electrician in accordance with all local and national electrical codes.
- Overheat Protection: The heater is equipped with an automatic overheat protection system. If the internal temperature exceeds 95°C (203°F), the unit will display "H--1" and automatically stop heating, while the fan continues to run to cool down the unit. Do not bypass this safety feature.
- Clearance: Maintain adequate clearance from combustible materials. Do not block air intake or exhaust vents.
- Indoor Use Only: This heater is designed for indoor use in garages, workshops, and similar spaces. Do not use outdoors or in wet environments.
- Children and Pets: Keep children and pets away from the heater during operation.
- Maintenance: Always disconnect power before performing any maintenance or cleaning.
2. Product Overview
The Omberr Electric Garage Heater (Model GHA70) provides efficient and rapid heating for indoor spaces. It features advanced graphene heating elements for fast heat conduction and high dissipation efficiency, ensuring quick and even warmth.
Key Features:
- Graphene Heating Elements: Offers fast heat-up times, energy efficiency, and rust resistance.
- Wide Airflow Coverage: Horizontal blades and a wider outlet ensure uniform heat distribution.
- Overheat Protection: Automatic shutdown and fan-only mode when internal temperature exceeds 95°C (203°F).
- Adjustable Design: Two adjustable height levels, four wall-mount angle options (0–40.5°), and directional louvers (0–130°).
- Intelligent Control System: Remote control for temperature setting (40–90°F / 4–35°C), Fahrenheit/Celsius display switch, and a 0.5-9 hour timer.

Figure 2.1: Main unit of the Omberr Electric Garage Heater.
3. Package Contents
Verify that all components are present and undamaged upon unpacking:
- Omberr Electric Garage Heater Unit (Model GHA70)
- Remote Control
- Mounting Brackets (2)
- Mounting Hardware (screws, anchors, etc.)
- Instruction Manual
4. Installation
Proper installation is crucial for safe and efficient operation. It is highly recommended that a qualified electrician performs the hardwired electrical connection.
4.1 Mounting Options
The heater can be mounted in various configurations:
- Ceiling Mount: Ideal for overhead heating and maximizing floor space.
- Wall Mount: Provides directional heating from a side wall.
- Tabletop/Floor Placement: For temporary or localized heating needs.

Figure 4.1: Heater dimensions, remote control layout, and adjustable mounting features.
4.2 Mounting Procedure (Ceiling/Wall)
- Select Location: Choose a mounting location that provides adequate clearance from walls, ceilings, and combustible materials. Ensure the mounting surface can support the heater's weight (approximately 11.8 kg).
- Install Brackets: Securely attach the mounting brackets to the ceiling or wall using the provided hardware. The brackets offer two adjustable height levels and four angle options (0–40.5°).
- Attach Heater: Carefully lift and attach the heater unit to the installed brackets. Ensure it is firmly secured.
- Adjust Angle: Adjust the heater's angle using the bracket mechanisms to direct heat as desired.

Figure 4.2: Various installation placements including ceiling, desktop, and ground.
4.3 Electrical Connection (Hardwired)
This heater requires a 240V dedicated circuit. Consult a qualified electrician for proper wiring and connection to your electrical panel. Ensure the power is OFF at the circuit breaker before beginning any electrical work.
5. Operating Instructions
The Omberr Electric Garage Heater can be operated using the included remote control or the control panel on the unit.
5.1 Remote Control Functions
- Power Button (⏻): Turns the heater ON or OFF.
- Temperature Up/Down (▲ / ▼): Adjusts the desired temperature between 40–90°F (4–35°C).
- °C/°F Switch: Toggles the temperature display between Fahrenheit and Celsius.
- Timer Button (◷): Sets the automatic shut-off timer from 0.5 to 9 hours. Press repeatedly to cycle through time settings.

Figure 5.1: Remote control for convenient operation.
5.2 Adjusting Louvers
The heater features directional louvers that can be adjusted from 0–130° to control the airflow direction and optimize heat distribution within your space.
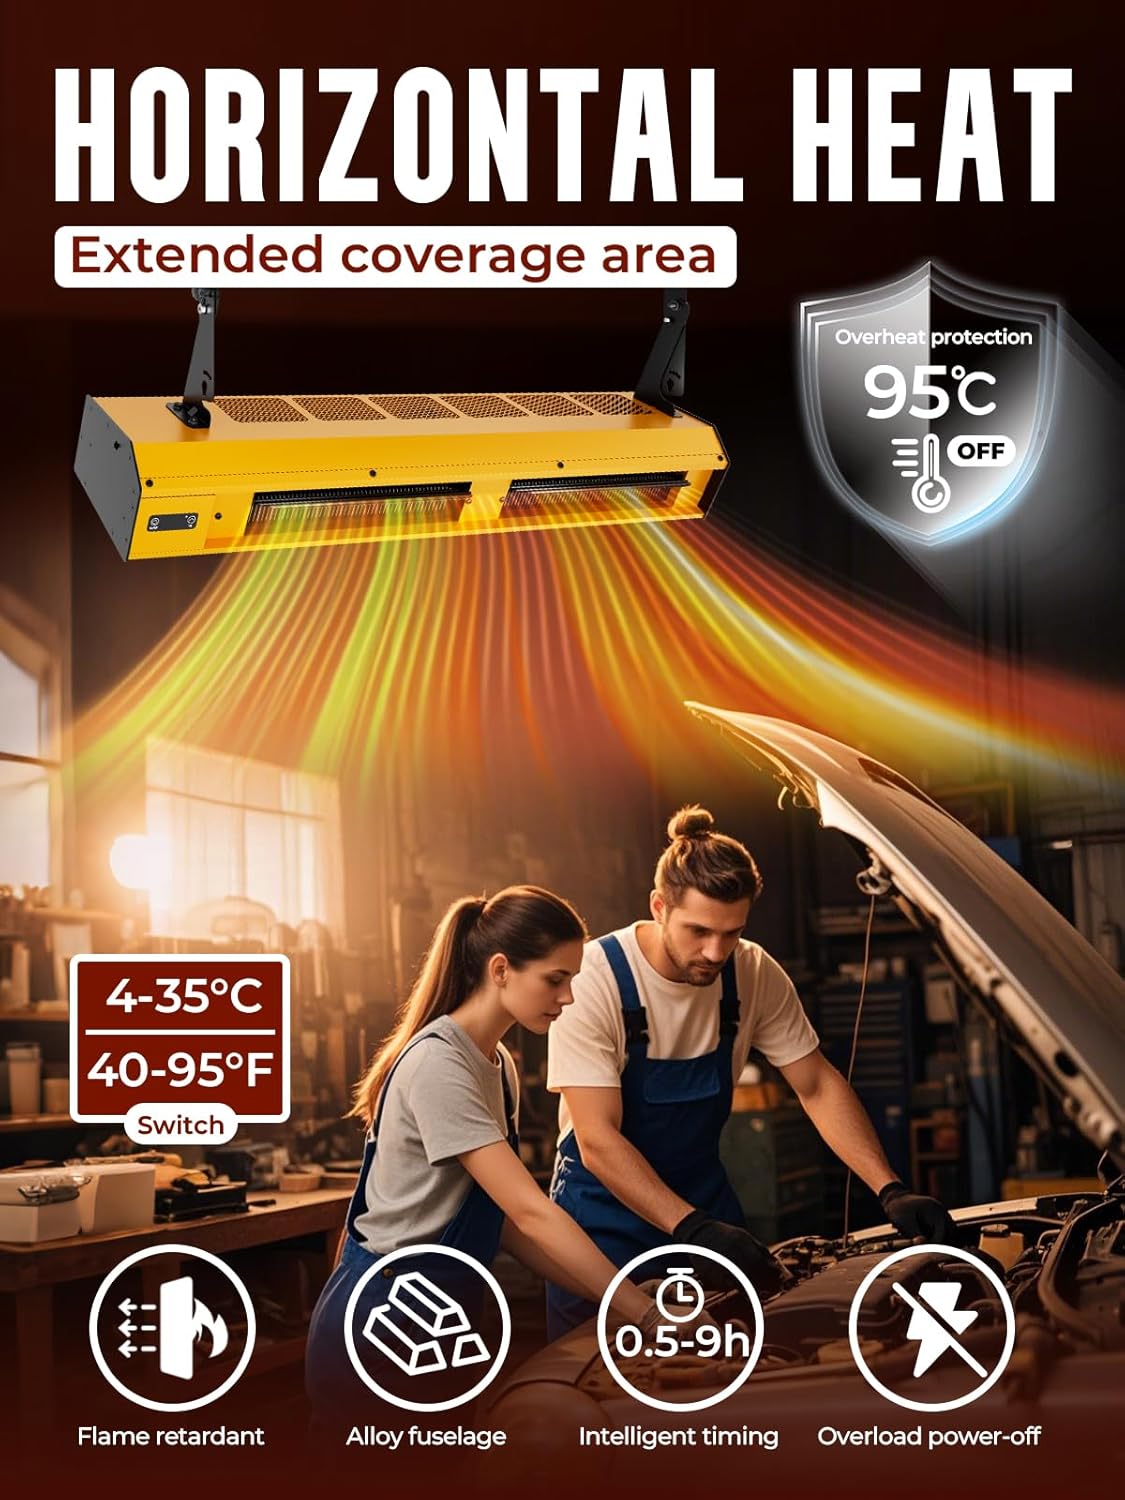
Figure 5.2: Horizontal heat distribution for extended coverage.
6. Maintenance
Regular maintenance ensures optimal performance and longevity of your heater. Always disconnect the power supply before cleaning or servicing.
6.1 Cleaning
- Exterior: Wipe the exterior surfaces with a soft, damp cloth. Do not use abrasive cleaners or solvents.
- Air Vents: Use a vacuum cleaner with a brush attachment to remove dust and debris from the air intake and exhaust vents. Ensure vents are clear to prevent overheating.
6.2 Storage
If storing the heater for an extended period, ensure it is clean and dry. Store in a cool, dry place, preferably in its original packaging, to protect it from dust and damage.
7. Troubleshooting
Refer to this section for common issues and their solutions.
| Problem | Possible Cause | Solution |
|---|---|---|
| Heater does not turn on. | No power supply. Circuit breaker tripped. Remote control batteries are dead. | Check electrical connection. Reset the circuit breaker. Replace remote control batteries. |
| Display shows "H--1". | Overheat protection activated. | Ensure air vents are not blocked. Allow the unit to cool down. The fan will continue to run until the temperature drops. If the issue persists, contact support. |
| Insufficient heating. | Temperature setting too low. Room size too large for heater capacity. Airflow blocked. | Increase the set temperature. Ensure the heater is appropriate for the space. Clear any obstructions from air vents and adjust louvers. |
| Remote control not working. | Batteries are dead or incorrectly inserted. Obstruction between remote and heater. | Replace batteries, ensuring correct polarity. Remove any obstructions. Ensure direct line of sight. |
8. Specifications
| Feature | Detail |
|---|---|
| Brand | Omberr |
| Model Number | GHA70 |
| Power Source | 240V AC |
| Heating Method | Electric, Graphene Heating |
| Wattage | 7000 Watt |
| Product Dimensions | 19.3D x 96.5W x 13.8H Centimetres |
| Item Weight | 11.8 kg |
| Temperature Range | 40–90°F (4–35°C) |
| Timer | 0.5-9 hours |
| Mounting Type | Ceiling Mount, Wall Mount, Tabletop/Floor |
| Special Features | Adjustable Height, Fast Heating, Overheat Protection, Remote Control |
| Material | Metal |
| Indoor/Outdoor Usage | Indoor |
9. Warranty and Support
For warranty information, technical support, or any inquiries regarding your Omberr Electric Garage Heater, please contact Omberr customer service.
- Phone: (866)716-8668
- Email: support@omberr.com
- Website: www.omberr.com