Introduction
Thank you for choosing the CUNPU 32 Inch 4K Gaming Monitor. This manual provides essential information for setting up, operating, and maintaining your monitor. Please read it thoroughly before use to ensure optimal performance and longevity of your device.

Image: The CUNPU 32 Inch 4K Gaming Monitor, showcasing its sleek design alongside a gaming console and headphones, highlighting its key features like 4K UHD, 144Hz refresh rate, 1ms GTG response time, Adaptive Sync, 120% sRGB, IPS Panel, HDR, and height adjustment.
Video: An overview of the CUNPU 32 inch 4K monitor, demonstrating its features and design. This video is provided by the seller, Cunpu-US.
Key Features
- Ultra Smooth Gaming Experience: Equipped with a fast IPS panel, 144Hz refresh rate, and 1ms (GtG) response time for fluid visuals and reduced motion blur.
- Vibrant Display: Features a 32-inch UHD (3840 x 2160) display with 99% DCI-P3 and 120% sRGB color coverage, 1.07 billion colors, 1000:1 static contrast ratio, and HDR technology for enhanced picture quality.
- Adaptive Sync Technology: Compatible with AMD FreeSync Premium and NVIDIA G-Sync for tear-free and stutter-free gameplay with low latency.
- Customizable Stand: Ergonomic design allows for tilt (-5 to 15°), swivel (-15 to 15°), and height adjustment (130 mm). Supports 75x75 mm VESA mounting.
- Extensive Connectivity: Includes 2x HDMI 2.1 and 2x DisplayPort 1.4 interfaces, supporting 4K at 120Hz (HDMI) or 144Hz (DP). Compatible with Xbox, PS5, PC, Mac Mini, and laptops.
Setup Instructions
1. Monitor Assembly
Follow these steps to assemble the monitor stand and attach it to the display panel.
- Carefully remove the monitor panel from its packaging, keeping it protected on a soft surface.
- Attach the stand base to the stand column. Ensure it clicks securely into place or is fastened with the provided screws.
- Align the assembled stand with the mounting area on the back of the monitor panel. Gently push until it locks into position.

Image: Visual guide showing the quick installation steps for the monitor stand, including attaching the base to the column and then securing the column to the monitor panel.
2. Connecting to Devices
The monitor offers multiple connectivity options. Choose the appropriate cable for your device.
- HDMI Connection: Use an HDMI 2.1 cable to connect your PC, Xbox, or PS5 to one of the monitor's HDMI 2.1 ports.
- DisplayPort Connection: Use a DisplayPort 1.4 cable to connect your PC or other compatible devices to one of the monitor's DP 1.4 ports.
- Audio Output: Connect external speakers or headphones to the 3.5mm audio output jack if desired.
- Power: Connect the power adapter to the monitor's DC input and then to a power outlet.

Image: Rear view of the CUNPU monitor, illustrating the available ports including two HDMI 2.1, two DisplayPort 1.4, Audio Out, and DC power input. The image also highlights the backlight RGB light effect.
Operating Instructions
1. Power On/Off
Press the power button located on the monitor to turn it on or off. The power indicator light will show the monitor's status.
2. On-Screen Display (OSD) Menu
Use the control buttons on the monitor to navigate the OSD menu. This menu allows you to adjust various settings such as brightness, contrast, color modes, input source, and gaming features.
3. Picture-by-Picture (PBP) and Picture-in-Picture (PIP)
The monitor supports PBP and PIP modes, allowing you to display content from two different sources simultaneously. PBP displays sources side-by-side, while PIP shrinks one source into a corner of the screen.
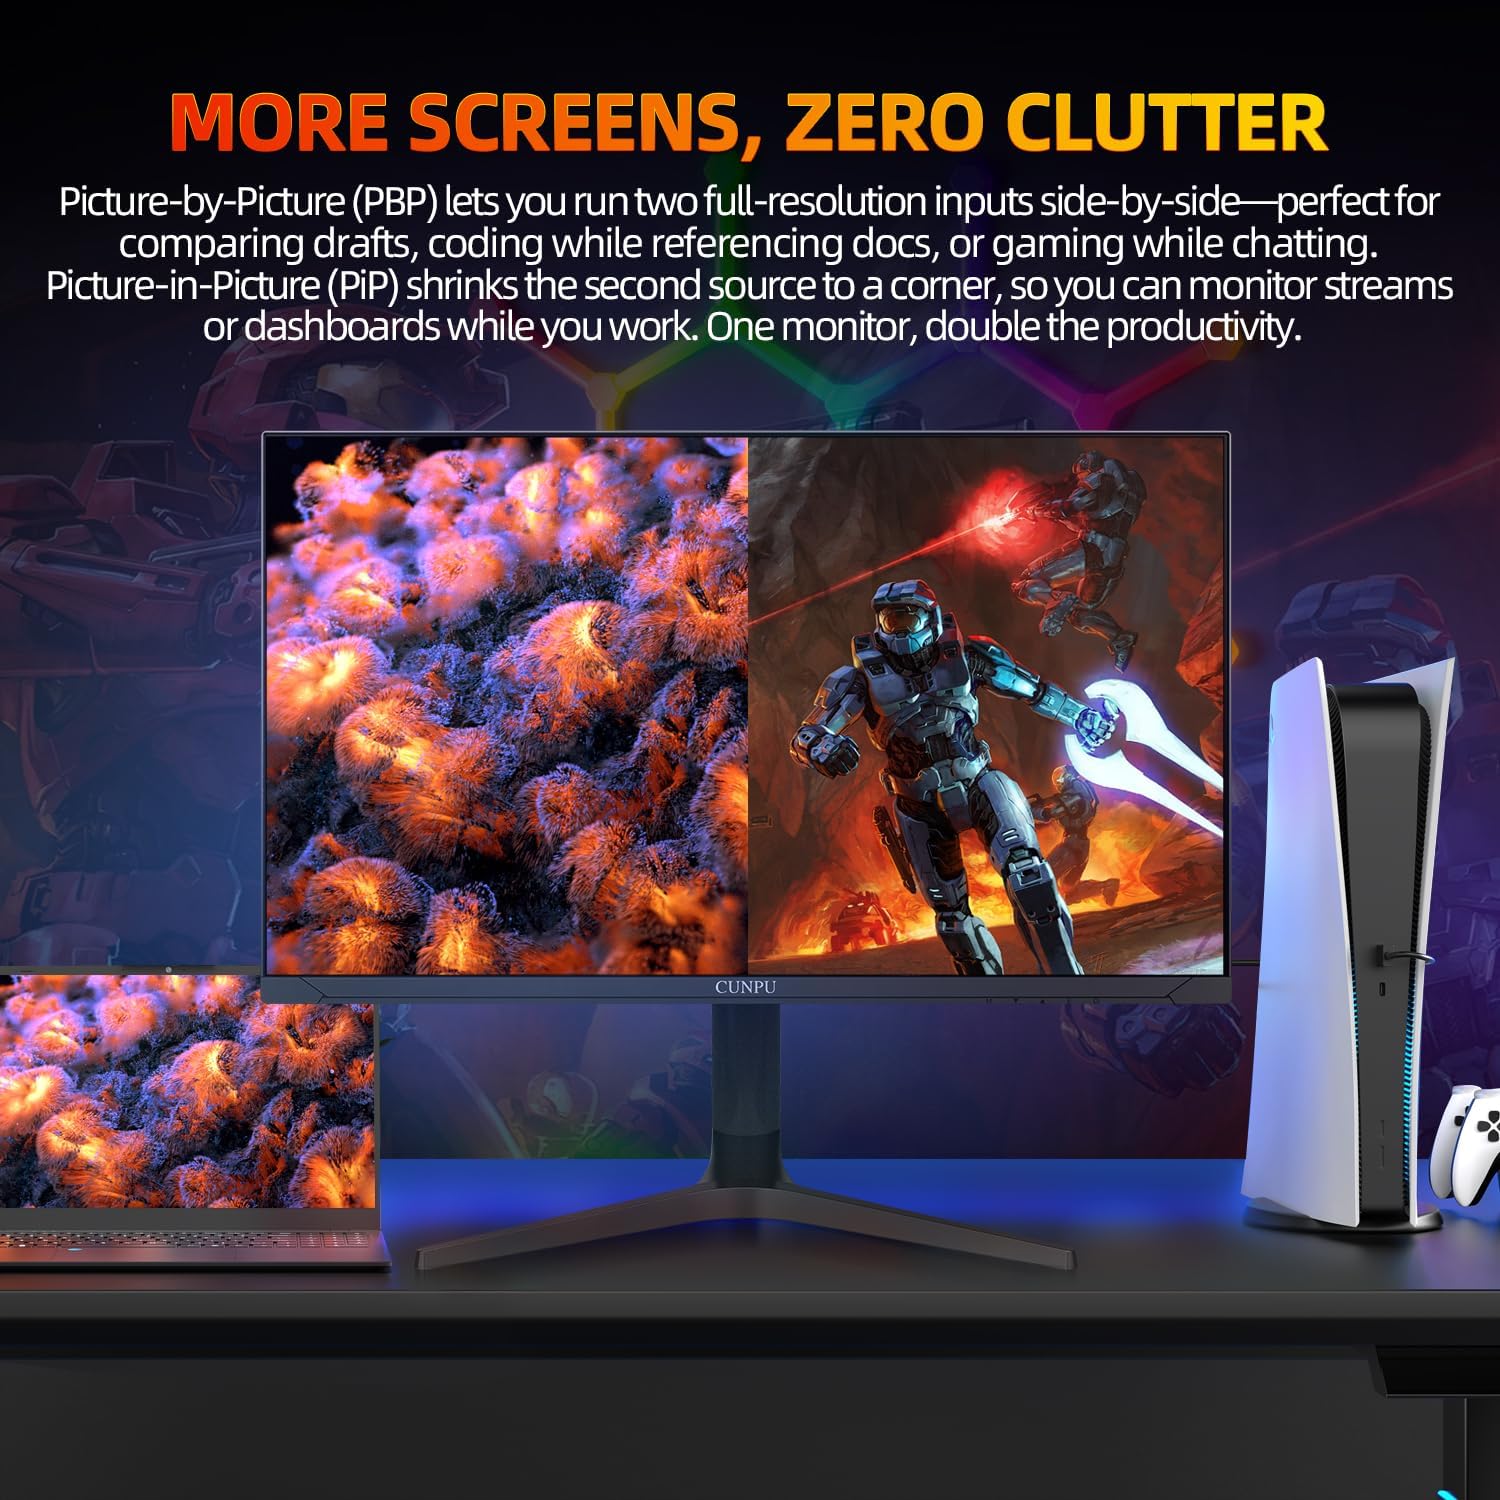
Image: The monitor demonstrating Picture-by-Picture (PBP) functionality, showing two distinct input sources displayed side-by-side, ideal for multitasking or comparing content.
4. Adaptive Sync (FreeSync/G-Sync)
Enable Adaptive Sync in the OSD menu and on your graphics card settings to synchronize the monitor's refresh rate with your GPU's frame rate, eliminating screen tearing and stuttering for smoother gameplay.

Image: A visual comparison demonstrating the effect of Adaptive Sync technology, showing a smooth image when 'on' versus a torn image when 'off', highlighting its benefit in gaming.
5. Crosshair Assist
Activate the Crosshair Assist feature through the OSD menu to display an on-screen crosshair, which can aid in aiming during gaming.

Image: A demonstration of the Crosshair Assist feature, showing various crosshair options displayed on the screen to help with aiming in games.
Adjustments
The monitor stand allows for ergonomic adjustments to suit your viewing preferences.
- Height Adjustment: Gently push or pull the monitor panel up or down to adjust its height within a 130mm range.
- Tilt Adjustment: Tilt the monitor panel forward or backward to adjust the viewing angle (-5 to 15°).
- Swivel Adjustment: Rotate the monitor panel left or right on its base (-15 to 15°).
- Pivot (Portrait Mode): The monitor can be rotated 90 degrees for portrait orientation.

Image: Illustrations demonstrating the various adjustment capabilities of the monitor stand, including height adjustment (0-130mm), tilt (-5/15°), and swivel (±30°), and pivot (±90°).
Specifications
| Feature | Specification |
|---|---|
| Model Number | S027/32/34ES |
| Screen Size | 32 Inches |
| Resolution | 4K UHD (3840 x 2160 Pixels) |
| Refresh Rate | 144Hz (DP), 120Hz (HDMI) |
| Response Time | 1ms GTG |
| Panel Type | Fast IPS |
| Color Gamut | 99% DCI-P3, 120% sRGB |
| Color Depth | 10 Bit (1.07 Billion Colors) |
| Contrast Ratio | 1000:1 (Static) |
| Brightness | 300 cd/m² |
| HDR Support | Yes |
| Adaptive Sync | FreeSync Premium, G-Sync Compatible |
| Connectivity | 2x HDMI 2.1, 2x DisplayPort 1.4, Audio Out |
| VESA Mounting | 75x75 mm |
| Product Dimensions | 7.48 x 31.1 x 19.68 inches |
| Item Weight | 19.06 pounds |

Image: A diagram illustrating the physical dimensions of the CUNPU 32 Inch 4K Gaming Monitor in both front and side views, with measurements in centimeters and inches.
Troubleshooting
If you encounter issues with your monitor, please refer to the following common solutions:
- No Power: Ensure the power cable is securely connected to both the monitor and a working power outlet. Check if the power adapter is functioning correctly.
- No Signal: Verify that the video cable (HDMI or DisplayPort) is firmly connected to both the monitor and your source device. Ensure the correct input source is selected in the OSD menu.
- Flickering/Tearing: Confirm that Adaptive Sync (FreeSync/G-Sync) is enabled in both the monitor's OSD and your graphics card settings. Update your graphics card drivers to the latest version.
- Poor Image Quality/Color: Adjust brightness, contrast, and color settings in the OSD menu. Ensure your graphics card is outputting the correct resolution and refresh rate.
- Stand Stability: Ensure all stand components are correctly assembled and tightened.
Maintenance
To ensure the longevity and optimal performance of your CUNPU monitor, follow these maintenance guidelines:
- Cleaning the Screen: Use a soft, lint-free cloth lightly dampened with water or a specialized screen cleaner. Do not spray cleaner directly onto the screen. Avoid using abrasive cloths or harsh chemicals.
- Cleaning the Casing: Wipe the monitor casing with a soft, dry cloth.
- Ventilation: Ensure the monitor's ventilation openings are not blocked to prevent overheating.
- Storage: When not in use for extended periods, store the monitor in a cool, dry place, ideally in its original packaging.
Warranty and Support
For warranty information and technical support, please refer to the warranty card included with your product or contact CUNPU customer service. Keep your purchase receipt as proof of purchase for warranty claims.