1. Introduction
This manual provides detailed instructions for the setup, operation, and maintenance of your OmninexHub 86 Inch 4K UHD Touchscreen Interactive Whiteboard. This device is designed for diverse usage scenarios, including classrooms, business offices, and home environments, offering advanced features such as a dual operating system, precise touch control, and multi-device connectivity.
2. What's in the Box
Carefully unpack the contents and ensure all items listed below are present. If any items are missing or damaged, please contact customer support.
- 1x 86-inch Smart Board
- 1x Wall Mount Bracket (60"-120")
- 1x Remote Control
- 1x User Manual
- 1x Warranty Card
- 1x Magnetic Pen
- 1x Stylus Pen
- 2x PC-Antenna
- 3x Android-Antenna
- 1x Power Cord

Image: All components included in the OmninexHub 86 Inch Smart Board package.
3. Setup
3.1 Wall Mount Installation
The OmninexHub 86 Inch Smart Board includes a wall mount bracket for secure installation. Follow these steps for wall mounting:
- Identify a suitable wall location that can support the weight of the smart board (approximately 135.6 pounds).
- Use the provided wall mount bracket and hardware. Ensure proper stud finding and secure attachment to the wall.
- Carefully lift and attach the smart board to the installed wall mount bracket. It is recommended to have at least two people for this step due to the size and weight of the unit.
- Verify that the smart board is securely fastened and level.

Image: The smart board installed using a wall mount, blending into a home environment.
3.2 Mobile Stand Usage (Optional)
For flexible placement and mobility, the smart board can be used with a compatible mobile stand (not included). Ensure the mobile stand is rated to support the weight and dimensions of the 86-inch smart board.

Image: The smart board on a mobile stand, demonstrating ease of movement in a meeting room.
4. Operating Instructions
4.1 Power On/Off
Connect the power cord to the smart board and a power outlet. Press the power button, usually located on the side or bottom of the display, to turn the device on or off.
4.2 Dual Operating System
The OmninexHub Smart Board supports a dual-boot system, allowing you to switch between Android and Windows operating environments. This provides versatility for various applications and tasks.
Video: Demonstrates the dual operating system functionality, showing the transition between Android and Windows interfaces.
Video: A preview of the dual-boot system, highlighting the ability to switch between operating systems.

Image: The smart board showcasing its dual system capability with Android and Windows interfaces.
4.3 Touch Control and Gestures
The smart board features a 20-point precise infrared touch system, allowing for multiple users and intuitive gesture commands. Use the provided stylus pens or your fingers for interaction.
- Multi-point writing: Write simultaneously with multiple touch points.
- Palm erase: Erase content by using your palm.
- Zoom and pan: Use pinch-to-zoom and two-finger drag gestures to navigate images and documents.
Video: A preview demonstrating 20-point precise touch control and various gestures on the smart board.

Image: A hand demonstrating multi-touch gestures on the interactive whiteboard.

Image: Two individuals collaborating by writing on the interactive whiteboard simultaneously.
4.4 Whiteboard Functionality
The built-in digital whiteboard allows for free-form writing, drawing, and annotation. You can change pen colors, sizes, and use various tools for presentations or brainstorming sessions.
- Saving Notes: Notes can be saved directly to the device or exported.
- QR Code Sharing: Easily share your whiteboard content by scanning a QR code, allowing others to access notes on their devices.
Video: A preview demonstrating how to save notes to cloud storage using a QR code.

Image: Participants scanning a QR code displayed on the smart board to save meeting notes or ideas.
4.5 Multi-Device Connection and Screen Mirroring
The smart board supports wireless screen mirroring from various devices, including laptops, tablets, and smartphones. This allows for seamless content sharing and collaboration.
- Wireless Casting: Connect your devices wirelessly to display content on the smart board.
- QR Code Casting: Scan a QR code on the smart board with your mobile device to quickly initiate screen mirroring.
Video: Demonstrates intelligent interactive whiteboard features, including wireless screen projection from various devices.
Video: A preview showing one-click screen casting start and end functionality.
Video: A preview demonstrating multi-device screen mirroring, displaying content from several devices simultaneously.
Video: A preview showing how to scan a QR code to cast your screen to the smart board.
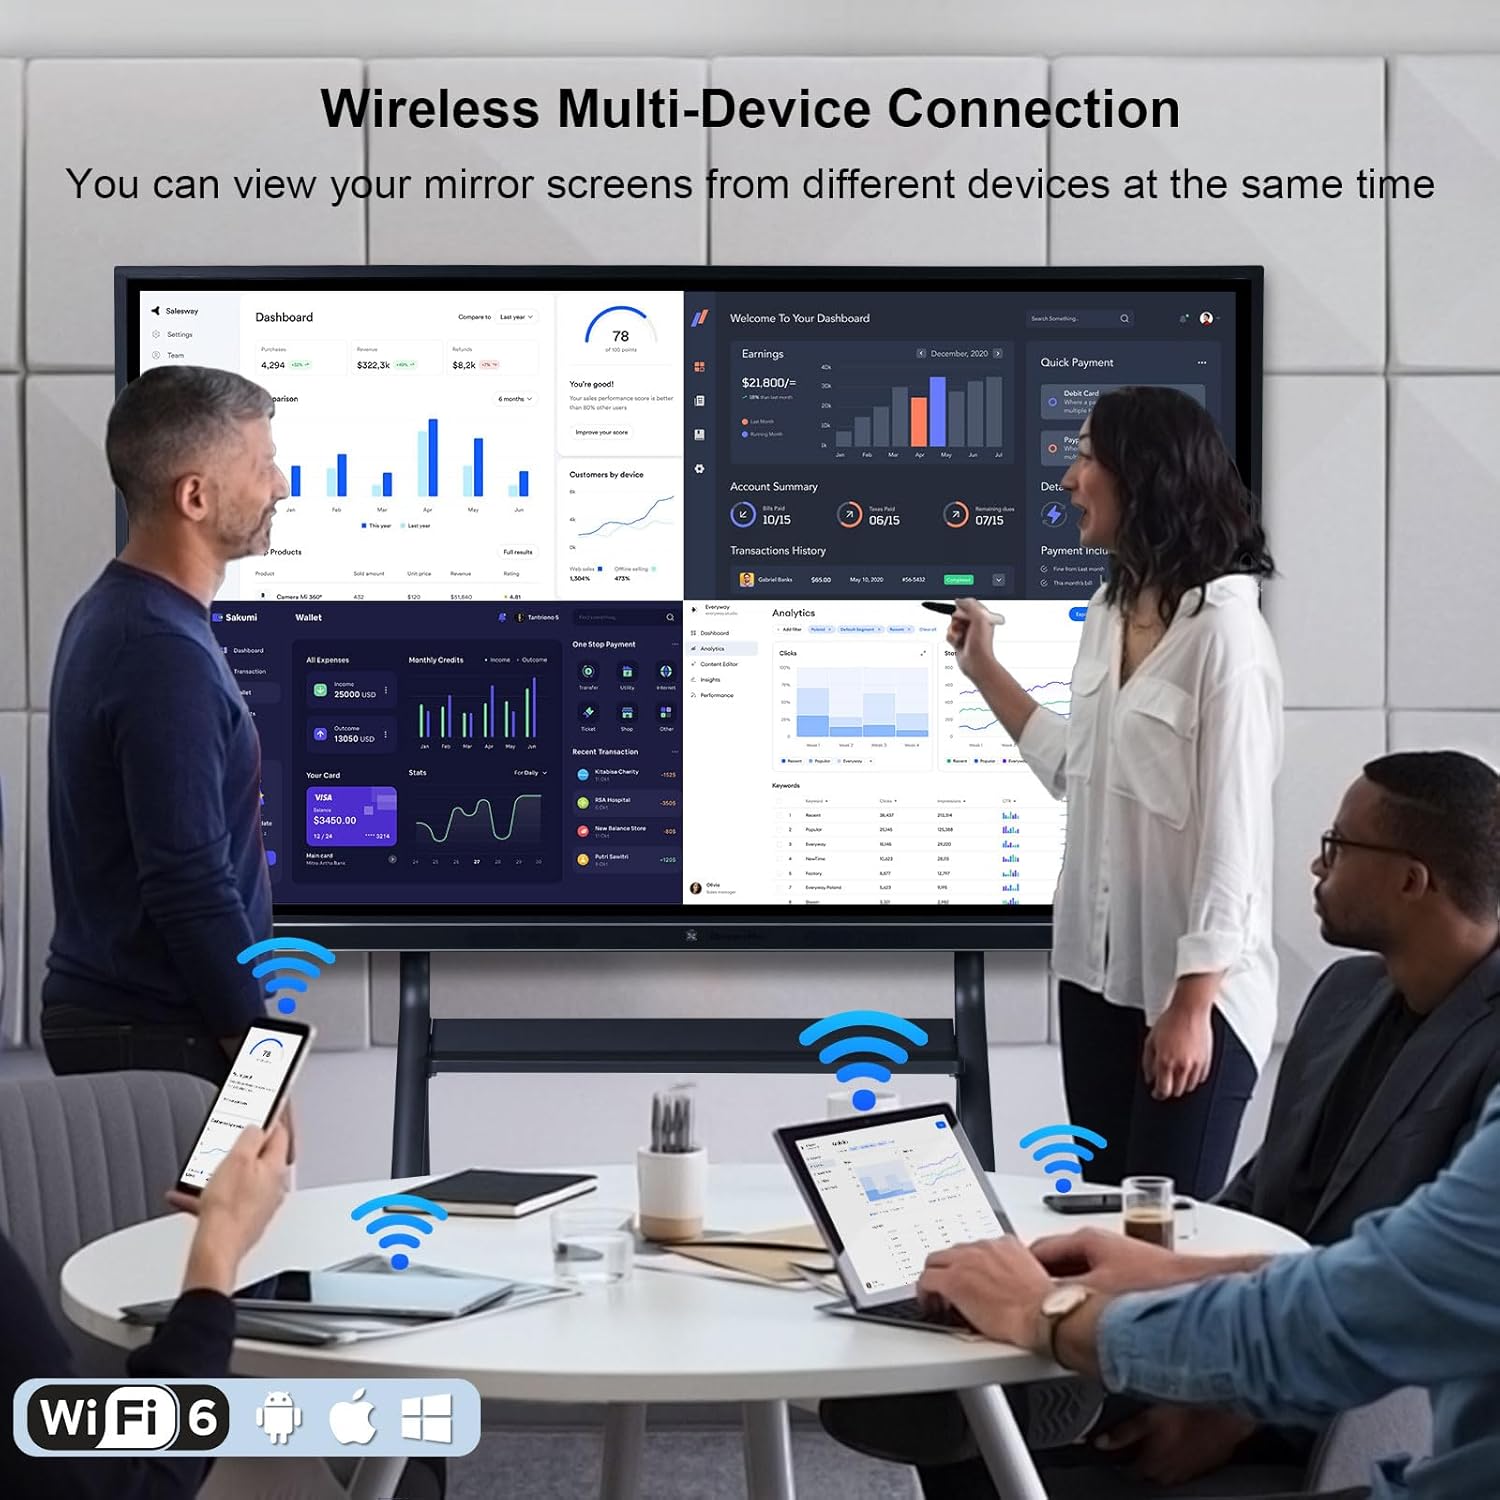
Image: The smart board displaying content from multiple wirelessly connected devices.

Image: Multi-device screen sharing in an office environment, enhancing collaboration.
4.6 App Ecosystem and Google Play Store
The smart board comes with a robust app ecosystem, including access to the Google Play Store (when in Android mode). This allows you to download and install a wide range of applications for productivity, education, and entertainment.
Video: A preview demonstrating the built-in Google Play Store for app installation.

Image: The smart board showcasing its robust app ecosystem with various applications.
4.7 Split-Screen Feature
Utilize the split-screen feature to run two applications or display two different content sources simultaneously, enhancing multitasking and comparative analysis.
Video: A preview demonstrating the split-screen feature, showing two applications running side-by-side.
Image: The interactive whiteboard in split-screen mode, allowing simultaneous display and interaction with two distinct content areas.
4.8 Additional Features
The smart board includes several other useful functions:
- Screen Recording: Record your presentations or lessons directly on the device.
- Screenshot: Capture images of the screen content.
- Magnifier: Zoom in on specific areas of the screen for detailed viewing.
- Timing Function: Use the built-in timer for presentations or activities.
- Child Lock: Secure the device with a password to prevent unauthorized access or changes.
- Theme Cover: Customize the interface with various themes.
- VisionCare: Features designed to reduce eye strain.
- ECO Mode: Power-saving mode for energy efficiency.
- Mute: Quickly mute audio output.
Video: A preview demonstrating the timing function on the smart board.
Video: A preview demonstrating the child lock feature for securing the smart board.
Video: A preview demonstrating how to change the theme cover on the smart board.

Image: Icons representing various functions and features available on the smart board.
4.9 Connectivity Ports
The smart board is equipped with multiple ports for external device connectivity:
- USB 2.0 ports
- USB 3.0 ports
- HDMI input
- Touch output
- Type-C port
- RJ45 (Ethernet) port
- SPDIF (Optical Audio) output
- Line Out (Audio)

Image: Detailed view of the smart board's various input and output ports.
5. Maintenance
5.1 Cleaning
To maintain optimal performance and appearance, regularly clean the smart board:
- Use a soft, lint-free cloth to wipe the screen. For stubborn marks, dampen the cloth with a screen-safe cleaning solution.
- Keep the frame clean, especially around the infrared touch sensors. Long-term dust accumulation can decrease touch screen sensitivity.
- Avoid using harsh chemicals, abrasive cleaners, or solvents, as these can damage the screen and frame.
5.2 Temperature Tips
Observe the following temperature guidelines for optimal device longevity:
- If the smart board is in an environment with high humidity, it is recommended to turn it on for at least one month.
- Proper startup of the whiteboard can help keep the motherboard healthy.

Image: Temperature tips for maintaining the smart board's performance and longevity.
6. Troubleshooting
If you encounter issues with your OmninexHub Smart Board, refer to the following common troubleshooting steps:
- No Power: Ensure the power cord is securely connected to both the smart board and a working power outlet. Check if the power button is pressed.
- No Display: Verify that the correct input source is selected if using external devices. If using the internal system, try restarting the device.
- Touch Inaccuracy: Clean the screen and the edges of the frame to remove any dust or obstructions that might interfere with the infrared sensors. Recalibrate the touch screen if an option is available in settings.
- Wireless Connection Issues: Ensure Wi-Fi and Bluetooth antennas are properly connected. Check network settings and ensure your devices are within range.
- Slow Performance: Close unnecessary applications, clear cache, or restart the device. If using Windows, ensure sufficient storage and RAM are available.
For persistent issues or technical support, please contact OmninexHub customer service.
7. Specifications
| Feature | Detail |
|---|---|
| Brand | OmninexHub |
| Model Number | JYX-86 |
| Screen Size | 86 Inch |
| Display Resolution | 4K UHD (3840x2160) |
| Touch System | 20-Point Infrared Touch |
| Operating System | Dual System (Android, Windows) |
| Internal Storage | 8GB RAM + 256GB ROM |
| Material | Metal, Tempered Glass |
| Glass Type | 4mm Tempered High Transparency Glass, Anti-glare |
| Viewing Angle | 178° Ultra-Wide |
| Connectivity | Wi-Fi 6, Bluetooth, Hotspot, USB 2.0, USB 3.0, HDMI, Type-C, RJ45 |
| Audio | Dual 20W Speakers, 8-Microphone Setup |
| Product Dimensions | 77.32 x 77.32 x 45.98 inches |
| Item Weight | 135.6 pounds |
| Mounting Type | Wall Mount (included) |
| Recommended Uses | Office, School |
Image: The smart board showcasing its 4K UHD display and interactive capabilities.
8. Warranty and Support
Your OmninexHub 86 Inch Smart Board comes with a 3-year standard warranty. For any inquiries, technical assistance, or warranty claims, please contact OmninexHub customer support.
- Customer Support: OmninexHub provides responsive and knowledgeable customer support.
- Technical Support: Assistance is available for setup, troubleshooting, and feature utilization.
Refer to the included Warranty Card for specific terms and conditions.