1. Introduction
This manual provides detailed instructions for the proper installation, operation, and maintenance of the Kenmore Refrigerator Water Inlet Valve Kit. This component is crucial for ensuring a consistent water supply to your refrigerator's ice maker and water dispenser. Please read this guide thoroughly before beginning any installation or maintenance procedures.
2. Safety Information
WARNING:
- Always disconnect the refrigerator from its power source before attempting any repairs or installations. Failure to do so can result in electric shock or serious injury.
- Turn off the main water supply to the refrigerator before disconnecting any water lines. Failure to do so can result in water damage.
- Wear appropriate personal protective equipment, such as gloves and eye protection, during installation.
- If you are unsure about any step, consult a qualified appliance technician.
3. Package Contents
Verify that all components are present and undamaged before proceeding with installation.
- 1 x Refrigerator Water Inlet Valve (Double Coil Design)
- 1 x Section of Tubing
- 1 x Fitting
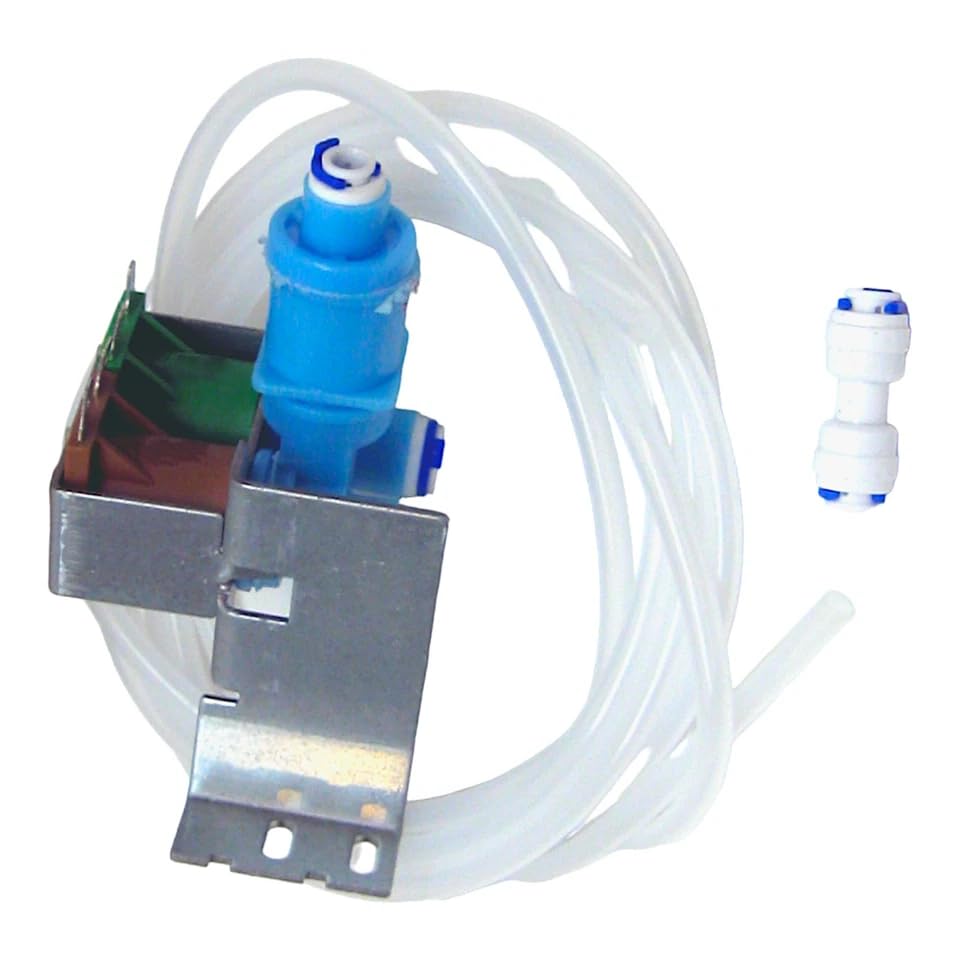
Image 3.1: Complete Water Inlet Valve Kit, including the valve, tubing, and a connector fitting.
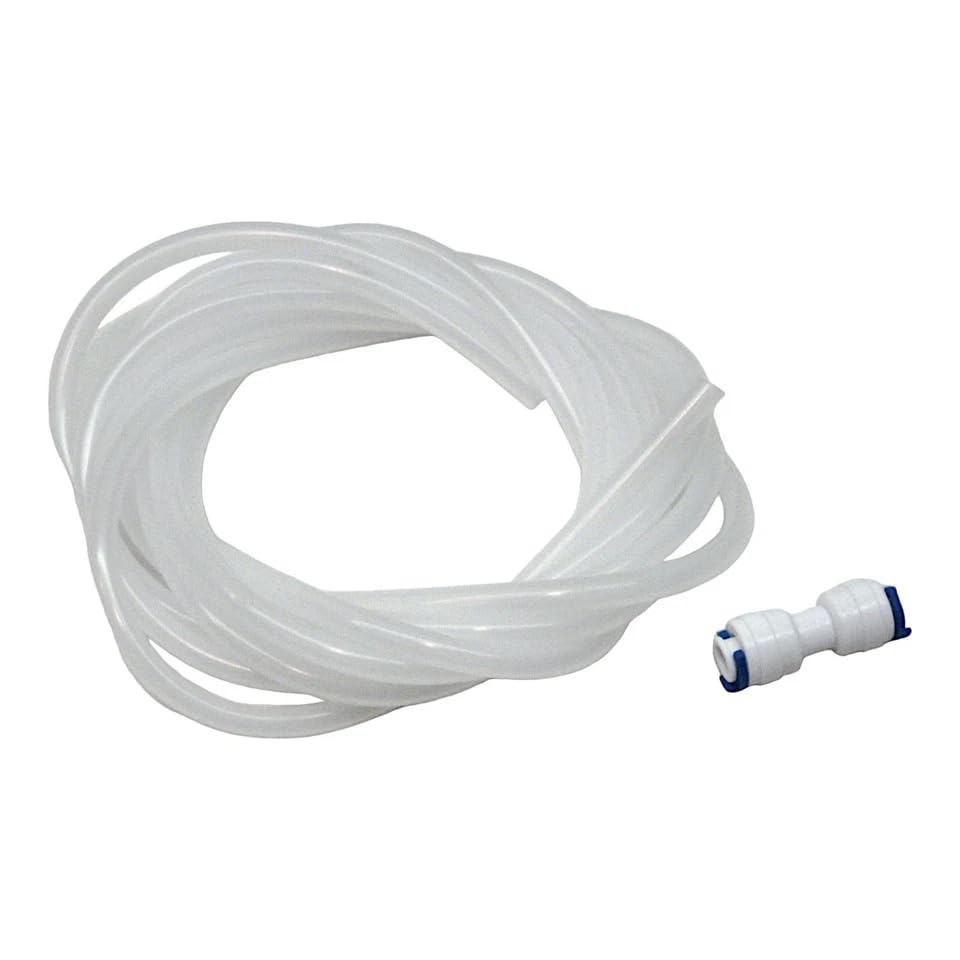
Image 3.2: Close-up of the clear plastic tubing and the white push-fit connector fitting included in the kit.
4. Setup and Installation
This water inlet valve is designed to replace older "in-the-grill filter" type valves and features a double coil design for reliable performance.
- Prepare the Refrigerator:
- Disconnect the refrigerator from the electrical outlet.
- Turn off the water supply to the refrigerator. This is typically done via a shut-off valve behind or near the refrigerator, or at the main household water supply.
- Move the refrigerator away from the wall to access the rear panel.
- Access the Old Valve:
- Remove the rear access panel of the refrigerator, usually secured by screws.
- Locate the existing water inlet valve.
- Disconnect the Old Valve:
- Carefully disconnect the water lines from the old valve. Be prepared for a small amount of residual water.
- Disconnect the electrical connectors from the old valve's coils. Note the position of each wire for correct re-connection.
- Remove the mounting screws or clips securing the old valve and remove it from the refrigerator.
- Install the New Valve:
- Mount the new water inlet valve in the same location as the old one, securing it with the original screws or clips.
- Connect the electrical wires to the new valve's coils. The valve features two coils: a green coil with 3/16" male terminals and a red coil with 1/4" male terminals. Ensure correct polarity if specified by your refrigerator's wiring diagram.
- Connect the water lines to the new valve. This valve has three connections: one inlet and two outlets. Use the provided tubing and fitting as needed to ensure secure, leak-free connections.
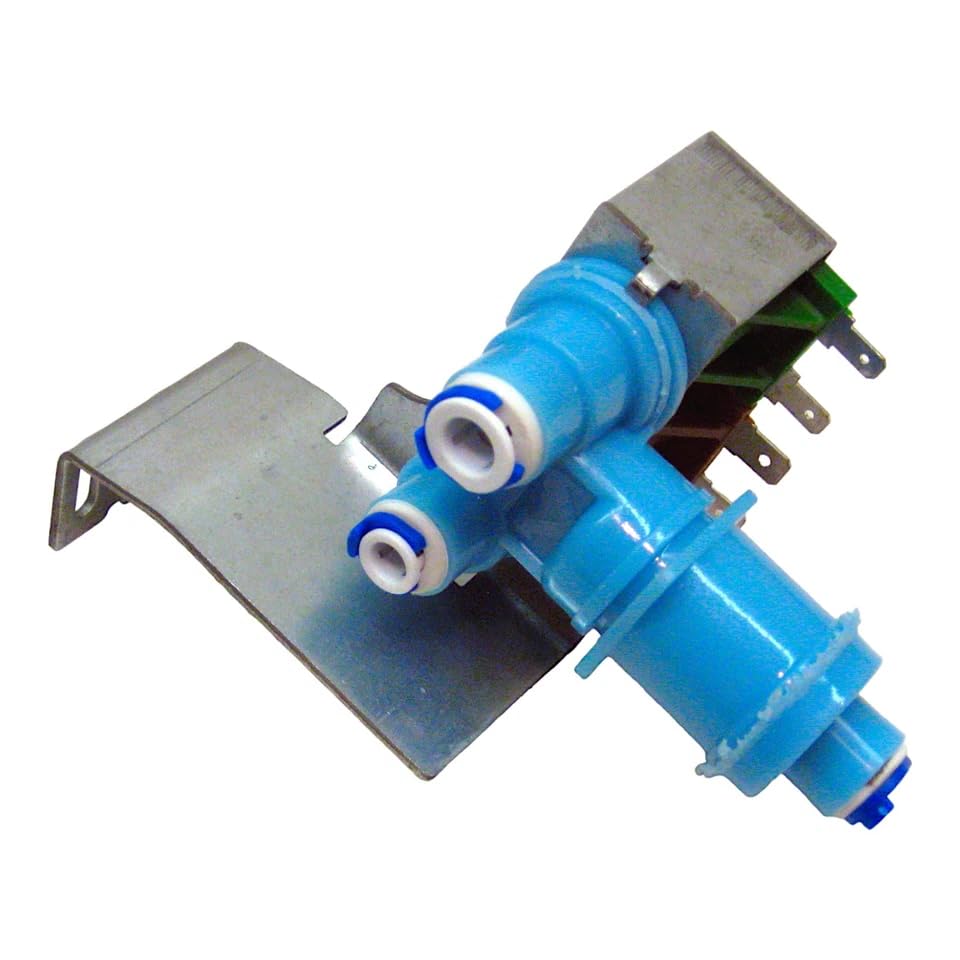
Image 4.1: Rear view of the water inlet valve, illustrating the three water line connection points (one inlet, two outlets).
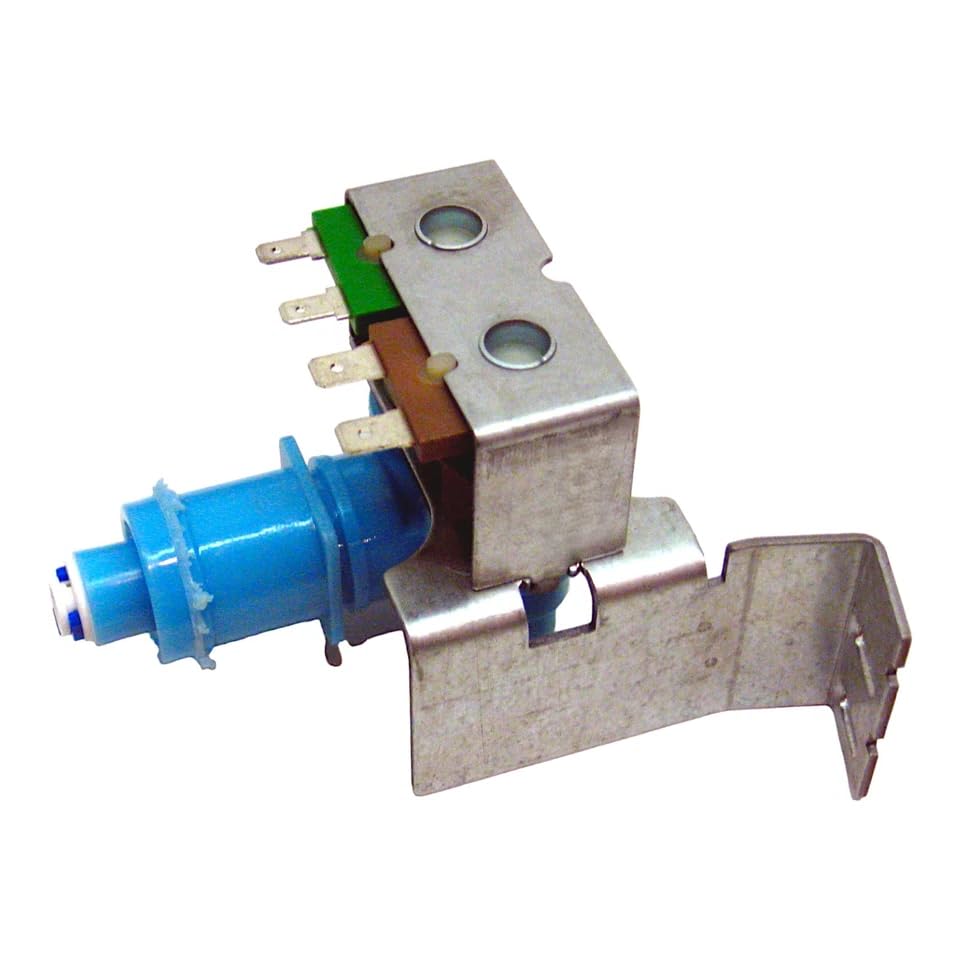
Image 4.2: Side view of the water inlet valve, highlighting the electrical terminals for the green and red coils.
- Test for Leaks:
- Before replacing the rear panel, slowly turn on the water supply to the refrigerator.
- Carefully inspect all connections for any signs of leaks. Tighten connections as necessary.
- Once no leaks are detected, plug the refrigerator back into the electrical outlet.
- Final Steps:
- Replace the rear access panel.
- Push the refrigerator back into its original position.
- Allow several hours for the ice maker to produce ice and for the water dispenser to purge any air from the lines.
5. Operating Instructions
Once properly installed, the water inlet valve operates automatically to control the flow of water to your refrigerator's ice maker and water dispenser. No manual operation is required for the valve itself.
- Ensure the refrigerator is plugged in and the water supply is turned on.
- Dispense water from the refrigerator's dispenser for a few minutes to clear any air from the lines.
- The ice maker will begin producing ice once the water lines are filled and the freezer compartment reaches the appropriate temperature.
6. Maintenance
The water inlet valve is designed for long-term, maintenance-free operation. However, periodic checks can help ensure its continued performance:
- Leak Inspection: Periodically check the water lines and valve connections behind the refrigerator for any signs of leaks or moisture. Address any leaks immediately to prevent water damage.
- Water Quality: If your household water supply has high sediment content, consider installing an external water filter to protect the valve and other refrigerator components.
7. Troubleshooting
If you encounter issues after installing the water inlet valve, refer to the following troubleshooting guide:
| Problem | Possible Cause | Solution |
|---|---|---|
| No water from dispenser / No ice production |
|
|
| Water leak at valve connections |
|
|
| Valve contains water upon arrival | Factory testing residue. | This is normal and safe. The valve is factory-tested under water pressure to ensure functionality. |
8. Specifications
| Feature | Detail |
|---|---|
| Product Type | Refrigerator Water Inlet Valve Kit |
| Brand | Generic (Compatible with Kenmore) |
| Compatible Models | 106.56199500, 106.56342500, 106.56344500, 106.56346500, 106.56349500, 106.56352500, 106.56354500, 106.56356500, 106.56359500, 106.56502400, 106.56532400, and others. |
| Valve Type | Double Coil Ice-Maker Water Fill Valve |
| Coil 1 (Green) | 3/16" Male Terminals, 35W (W1) |
| Coil 2 (Red) | 1/4" Male Terminals, 20W (W2) |
| Voltage | 120V |
| Water Connections | 1 Inlet, 2 Outlets |
| Product Dimensions | 1 x 1 x 1 inches (Approximate) |
| Manufacturer | khaihoanvn |
9. Warranty and Support
For warranty information or technical support, please refer to the retailer or manufacturer from whom you purchased this product. Keep your purchase receipt as proof of purchase.
Manufacturer: khaihoanvn