1. Introduction
This manual provides detailed instructions for the installation, operation, and maintenance of your ZOHGVSEXS Kamoer X1 PRO T2 Dosing Pump. This device is designed for precise liquid dosing in marine coral reef fish tanks and aquariums, ensuring stable water parameters. Please read this manual thoroughly before use to ensure proper function and longevity of the product.
2. Safety Instructions
- Always disconnect the power supply before performing any maintenance or cleaning.
- Ensure the pump is placed on a stable, level surface away from direct water splashes.
- Do not operate the pump if the power cord or plug is damaged.
- This product is designed for indoor use only and specifically for aquarium applications.
- Keep out of reach of children and pets.
- Use only original or approved replacement parts.
3. Package Contents
Please check the package contents upon receipt. If any items are missing or damaged, contact your retailer.
- Kamoer X1 PRO T2 Dosing Pump
- Power Adapter
- Dosing Tubing
- User Manual (this document)
4. Product Overview
The Kamoer X1 PRO T2 is a compact and precise peristaltic dosing pump featuring WiFi connectivity for app control. It is equipped with a KPAS100 peristaltic pump head, offering reliable and accurate dosing at up to 110ml/min.

Figure 4.1: Front-angled view of the Kamoer X1 PRO T2 Dosing Pump. This image shows the main unit with its display, control knob, and the visible blue peristaltic pump head.
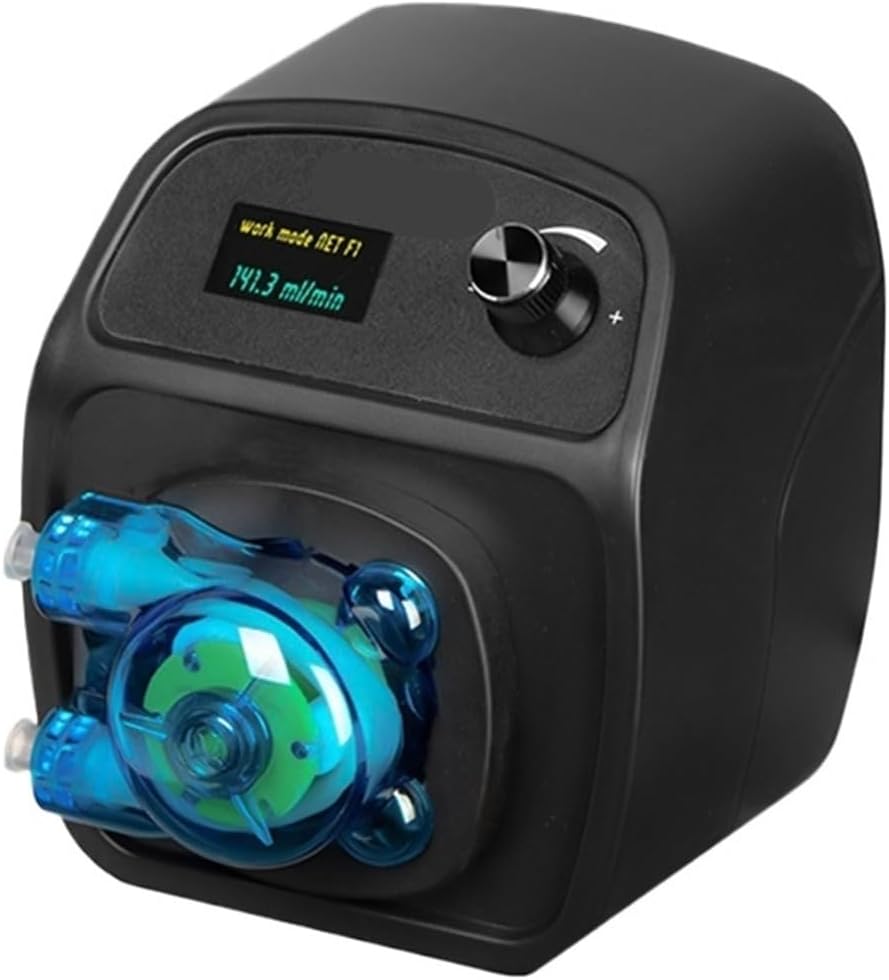
Figure 4.2: Top-down view of the Kamoer X1 PRO T2 Dosing Pump. This perspective highlights the display screen and the control knob on the top panel.

Figure 4.3: Side view of the Kamoer X1 PRO T2 Dosing Pump. This image provides a clear view of the peristaltic pump head and its tubing connections.

Figure 4.4: Kamoer X1 PRO T2 Dosing Pump held in a hand, illustrating its compact size and portability.
5. Setup
5.1 Unpacking
Carefully remove the dosing pump and all accessories from the packaging. Inspect for any visible damage.
5.2 Placement
Position the dosing pump on a dry, stable surface near your aquarium. Ensure it is above the water level of your dosing containers to prevent siphoning. Maintain adequate ventilation around the unit.
5.3 Tubing Connection
- Connect one end of the dosing tubing to the inlet port of the pump (typically marked 'IN' or indicated by an arrow).
- Place the other end of the inlet tubing into your desired liquid supplement container.
- Connect a separate piece of tubing to the outlet port of the pump (typically marked 'OUT' or indicated by an arrow).
- Secure the outlet tubing into your aquarium or sump, ensuring it is above the water line to prevent back-siphoning and securely fastened to prevent it from falling out.
5.4 Power Connection
Connect the power adapter to the pump's power input port, then plug the adapter into a suitable electrical outlet. The pump display should illuminate.
5.5 WiFi App Connection
Download the official Kamoer app from your smartphone's app store. Follow the in-app instructions to connect your dosing pump to your home WiFi network. This typically involves putting the pump into pairing mode and entering your WiFi credentials.
6. Operating Instructions
6.1 Initial Power On
Once powered, the pump will display its current status. Use the control knob to navigate menus on the pump's display for basic settings or manual operations.
6.2 Manual Dosing
From the pump's menu or via the app, you can initiate a manual dose. Specify the volume and confirm. This is useful for priming the lines or testing.
6.3 App Control and Scheduling
The primary method of operation is through the Kamoer app. Within the app, you can:
- Set Dosing Schedules: Create daily, weekly, or custom schedules for each channel.
- Define Dosing Volumes: Specify the exact volume (e.g., ml) for each dose.
- Adjust Dosing Frequency: Set how many times per day or week the pump should dose.
- Monitor Status: View current pump status, remaining liquid levels (if sensors are connected and configured), and dosing history.
- Calibration: Periodically calibrate the pump to ensure dosing accuracy. Refer to the app's calibration guide for detailed steps.
7. Maintenance
7.1 Cleaning the Pump Head
Over time, residues may build up in the peristaltic pump head. Disconnect power, remove the tubing, and carefully open the pump head (refer to app or online resources for specific instructions if needed). Clean components with warm water and a soft brush. Ensure all parts are dry before reassembly.
7.2 Tubing Replacement
The peristaltic tubing (KPAS100) is a wear-and-tear item and should be replaced periodically (e.g., every 6-12 months, depending on usage) to maintain dosing accuracy and prevent leaks. Use only genuine Kamoer replacement tubing.
7.3 General Care
Wipe the exterior of the pump with a damp cloth as needed. Avoid using harsh chemicals or abrasive cleaners. Ensure the pump remains dry and free from salt creep.
8. Troubleshooting
- Pump Not Dosing: Check power connection. Verify tubing is not kinked or blocked. Ensure the dosing schedule is active in the app. Check for error messages on the display or in the app.
- Inaccurate Dosing: Perform a calibration through the app. Check for air bubbles in the tubing. Ensure the tubing is not worn out and replace if necessary.
- App Connection Issues: Ensure the pump is within WiFi range. Restart the pump and your router. Re-attempt the WiFi pairing process in the app.
- Leaking: Check all tubing connections for tightness. Inspect the peristaltic tubing for cracks or damage and replace if found.
If problems persist, consult the Kamoer app's help section or contact customer support.
9. Specifications
| Feature | Specification |
|---|---|
| Brand | ZOHGVSEXS |
| Model Number | X1 PRO T2 |
| Power Source | Battery Powered (Note: Typically refers to internal battery for settings retention, main operation is via AC adapter) |
| Voltage | 110-240V (via power adapter) |
| Dosing Rate | Up to 110ml/Min |
| Connectivity | WiFi App Control |
| Pump Head Type | KPAS100 Peristaltic |
| Unit Count | 1.0 Count |
10. Warranty and Support
For warranty information and technical support, please refer to the documentation provided with your purchase or contact the retailer/manufacturer directly. Keep your proof of purchase for warranty claims.