Important Safety Information
Please read all instructions carefully before assembly and use. Failure to follow these instructions may result in injury or damage to the product.
- Always secure the carport with the provided wind ropes and sandbags when in use, especially in windy conditions.
- Do not use the carport in thunderstorms or lightning conditions.
- Keep flammable materials away from the solar light and light strip when in use.
- Ensure the installation area is level and clear of obstructions.
- At least 2-3 people are recommended for safe and efficient assembly.
Product Overview
The Benass 20x20 Heavy Duty Carport Canopy is designed to provide ample shelter for vehicles or serve as a temporary storage solution. Constructed with durable materials, it offers protection from various weather conditions.
Key Features
- Large Capacity: Measures 20'L x 20'W x 12.14'H, suitable for multiple vehicles or storage.
- Enhanced Airflow: Features roll-up zipper doors and four side mesh roll-up windows for optimal air circulation.
- Heavy Duty Construction: Utilizes a 1.5" galvanized steel frame and a 170gms PE canopy top for increased durability.
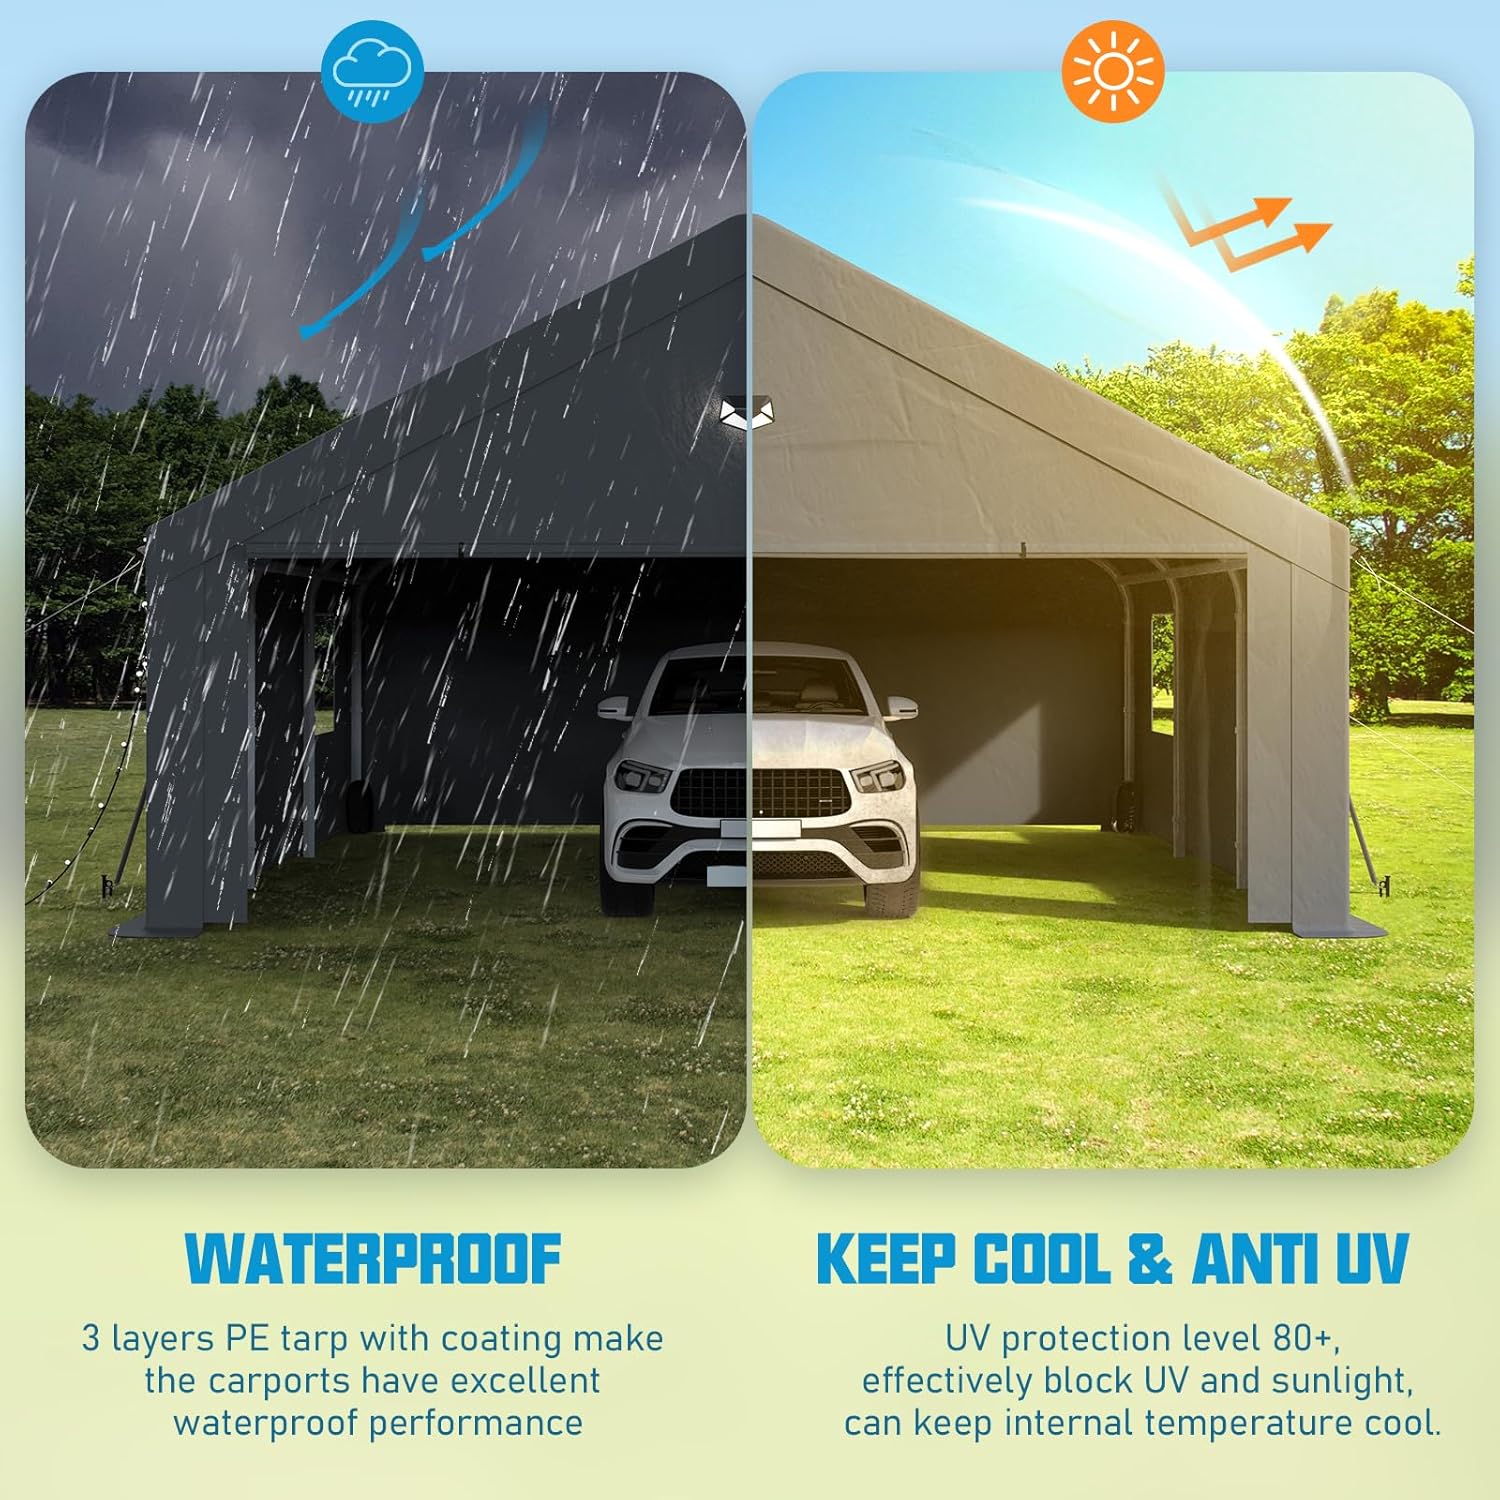
- Weather Protection: The 3-layer PE tarp with coating provides excellent waterproof performance and UV protection (level 80+).
- Integrated Lighting: Includes a solar light and a light strip for night indication.
Package Contents
The package includes all necessary components for assembly and securing the carport:
- Galvanized Steel Frame Components
- 170gms PE Canopy Top
- 2 Roll-Up Zipper Drive-Through Doors
- 4 Side Mesh Roll-Up Windows
- 2 Wind Ropes (6mm nylon rope)
- 2 Binding Straps (3.75" PE binding)
- 4 Sandbags
- Alloy Ground Nails with Hocks
- Alloy Screwed Base Nails
- Highly Extensible Buckles (max 23LBS)
- 1 Solar Light
- 1 Light Strip
- Assembly Hardware (bolts, nuts, etc.)


Setup Instructions
Due to the large size of this carport, 2-3 people are recommended to assist in the installation process. Ensure you have adequate space and all components are present before beginning.
Assembly Steps
- Step 1: Assemble the Top Frame. Connect the horizontal and angled pipes to form the roof structure.
- Step 2: Install Top Reinforced Steel Pipes. Add the reinforced support bars to the top frame for increased stability.
- Step 3: Assemble Small Support Beams. Attach any smaller crossbeams or support elements as indicated in the diagram.
- Step 4: Install the Cover and Secure It. Carefully drape the PE canopy cover over the assembled frame. Ensure it is centered and aligned.
- Step 5: Install Steel Pipes at Four Corners. Attach the vertical corner posts to the base of the top frame.
- Step 6: Install Supporting Legs and Side Fabric. Connect the remaining vertical support legs and attach the side panels, including the mesh windows.
- Step 7: Install Base and Fix it with Nails. Secure the base of the carport to the ground using the provided alloy screwed base nails and ground nails with hocks.
- Step 8: Secure the Perimeter and Fix the Carport. Use the wind ropes, binding straps, and sandbags to firmly anchor the entire structure, especially in areas prone to wind.

Operating Instructions
Roll-Up Zipper Doors
The carport features two roll-up zipper doors at each end. To open, unzip the door completely and roll it upwards, securing it with the attached straps. This provides easy drive-through access for vehicles and enhances ventilation.
Mesh Windows
The four side mesh windows can be rolled up to allow for additional air circulation, preventing heat buildup inside the canopy, especially during warmer periods. Secure them in the rolled-up position using the integrated fasteners.

Solar Light and Light Strip
The included solar light and light strip are designed to provide illumination during nighttime. Ensure the solar panel for the light is positioned to receive adequate sunlight during the day for optimal charging. The light strip can be draped along the side for ambient lighting.
Maintenance
- Regular Inspection: Periodically check all frame connections, ropes, straps, and ground anchors to ensure they are secure and in good condition. Tighten any loose connections.
- Canopy Cleaning: Clean the PE canopy with mild soap and water. Avoid harsh chemicals or abrasive brushes that could damage the material or its protective coating. Rinse thoroughly and allow to air dry.
- Weather Preparedness: In anticipation of severe weather conditions (heavy winds, snow, or ice), it is recommended to temporarily dismantle the carport or take extra precautions to secure it. Clear any accumulated snow from the roof to prevent structural damage.
- Zipper Care: Keep zippers clean and lubricated with a silicone-based spray to ensure smooth operation and prevent sticking.

Troubleshooting
| Issue | Possible Cause | Solution |
|---|---|---|
| Carport instability in wind | Insufficient anchoring; loose connections. | Ensure all wind ropes, binding straps, and sandbags are properly installed and taut. Verify all frame connections are tight. Consider additional anchoring in very windy areas. |
| Difficulty during assembly | Parts misalignment; incorrect order of steps; insufficient manpower. | Refer to the installation steps and diagrams carefully. Ensure all parts are correctly oriented before tightening. Work with at least 2-3 people. |
| Water pooling on canopy | Canopy not taut enough; improper frame assembly. | Adjust the canopy to ensure it is stretched tightly over the frame. Recheck frame assembly to ensure correct angles and support. |
| Zippers sticking or difficult to operate | Dirt/debris in zipper teeth; lack of lubrication. | Clean zipper teeth with a small brush. Apply a silicone-based lubricant to the zipper teeth and pull tab. |
Specifications
| Attribute | Detail |
|---|---|
| Brand | Benass |
| Model Number | 20x20-SW-GY-7 |
| Material | Alloy Steel (Frame), 170gms PE (Canopy) |
| Color | Gray |
| Product Dimensions (L x W x H) | 240"L x 240"W x 145"H (20'L x 20'W x 12.14'H) |
| Assembly Required | Yes |
| Recommended Uses | Outdoor Activities, Storage, Vehicle Cover |
Warranty and Support
Benass offers a one-year 100% satisfactory after-sales service for this product. If you encounter any problems during the receipt or use of your carport, please contact Benass customer support for assistance.
For support inquiries, please visit the official Benass website or refer to the contact information provided with your purchase documentation. Please have your model number (20x20-SW-GY-7) and purchase date ready when contacting support.


