1. Product Overview
The ARES WING GDT1006 is a heavy-duty single monitor arm designed for large and ultrawide displays. It features a gas spring system for smooth adjustments and offers versatile mounting options to optimize your workspace.
- Ultrawide Monitor Support: Compatible with 24-inch to 57-inch displays, supporting up to 66 lbs for flat screens and 52.8 lbs for curved screens. Includes VESA adapter kit for 75x75 mm, 100x100 mm, 100x200 mm, 200x100 mm, and 200x200 mm VESA patterns. Note: Non-VESA displays require a separate VESA adapter, typically included with your monitor package.
- Robust Construction: Engineered with premium aluminum and steel for enhanced stability and durability. The gas spring system is tested for 20,000 cycles to ensure consistent performance and reduce screen wobble.
- Full-Range Adjustability: Offers extensive positioning flexibility with +70° to -45° tilt, ±90° swivel, and 360° rotation. The height is adjustable up to 22.4 inches via the gas spring system.
- Dual Installation Options: Provides both C-clamp mounting for desktops between 0.47 inches and 1.77 inches (1.2-4.5 cm) thick, and grommet mounting.
- Space-Saving Design: Frees up valuable desk space and includes an integrated cable management system to keep wires organized.
2. Setup and Installation
Before beginning installation, ensure all parts are present and refer to the included hardware list. It is recommended to install the arm to the desk before attaching the monitor.
2.1 Check Monitor Compatibility
Verify your monitor has VESA mounting holes. If your monitor does not have built-in VESA compatibility or requires a specific adapter (e.g., for Samsung G9), ensure you have the necessary adapter before proceeding.

Image: Check for VESA holes and prepare VESA adapter if needed.
2.2 Mounting Options
The monitor arm offers two primary mounting methods: C-clamp and Grommet.

Image: Two mounting options: C-clamp and Grommet. C-clamp supports 0.47"-1.77" desktop thickness. Grommet supports 0.5"-2.0" desktop thickness.
C-Clamp Mounting:
Attach the C-clamp to the edge of your desk. Ensure the desktop thickness is between 0.47 inches and 1.77 inches. Tighten the clamp securely.
Grommet Mounting:
For grommet mounting, your desktop must have an existing through-hole (diameter 0.4-2.4 inches) or you may need to drill a 3/8 inch (10mm) hole. Ensure the desktop thickness is between 0.5 inches and 2.0 inches.

Image: Desktop thickness compatibility for C-clamp and grommet mounting.
2.3 Assembly Steps
Follow these general steps for assembly. A detailed animation is available in the video section.

Image: Easy 3-step installation overview.
- Mount the base to your desk using either the C-clamp or grommet method.
- Assemble the monitor arm sections, ensuring they are securely connected.
- Attach the VESA plate to your monitor, then slide the monitor onto the arm's mounting head.
2.4 Installation Videos
Video: Detailed installation animation for the ARES WING GDT1006 monitor arm.
Video: Installation tips for the GDT1006 heavy-duty monitor arm, including VESA adapter usage and initial tension adjustment.
3. Operating Instructions
The ARES WING GDT1006 monitor arm allows for flexible positioning to achieve optimal viewing angles and ergonomic comfort.
3.1 Adjusting Monitor Position
The arm provides full-range motion for tilt, swivel, and rotation:
- Tilt: +70° to -45°
- Swivel: ±90°
- Rotation: 360° (portrait to landscape)
- Height Adjustment: Up to 22.4 inches maximum height.
- Extension: Up to 23.3 inches maximum extension.

Image: Monitor arm showing full range of motion: tilt, swivel, rotation, max height, and max extension.
3.2 Gas Spring Tension Adjustment
The gas spring tension must be adjusted to match the weight of your monitor. This ensures the arm holds its position securely and allows for smooth movement.
- If the arm drops, turn the adjustment screw in the '+' direction until it remains in a horizontal position.
- If the arm rises, turn the adjustment screw in the '-' direction until it remains in a horizontal position.
Caution: Before adjusting the spring tension and during the adjustment process, position and hold the arm horizontally as shown. Use the supplied Allen key for adjustment. Ask for assistance should you require it.
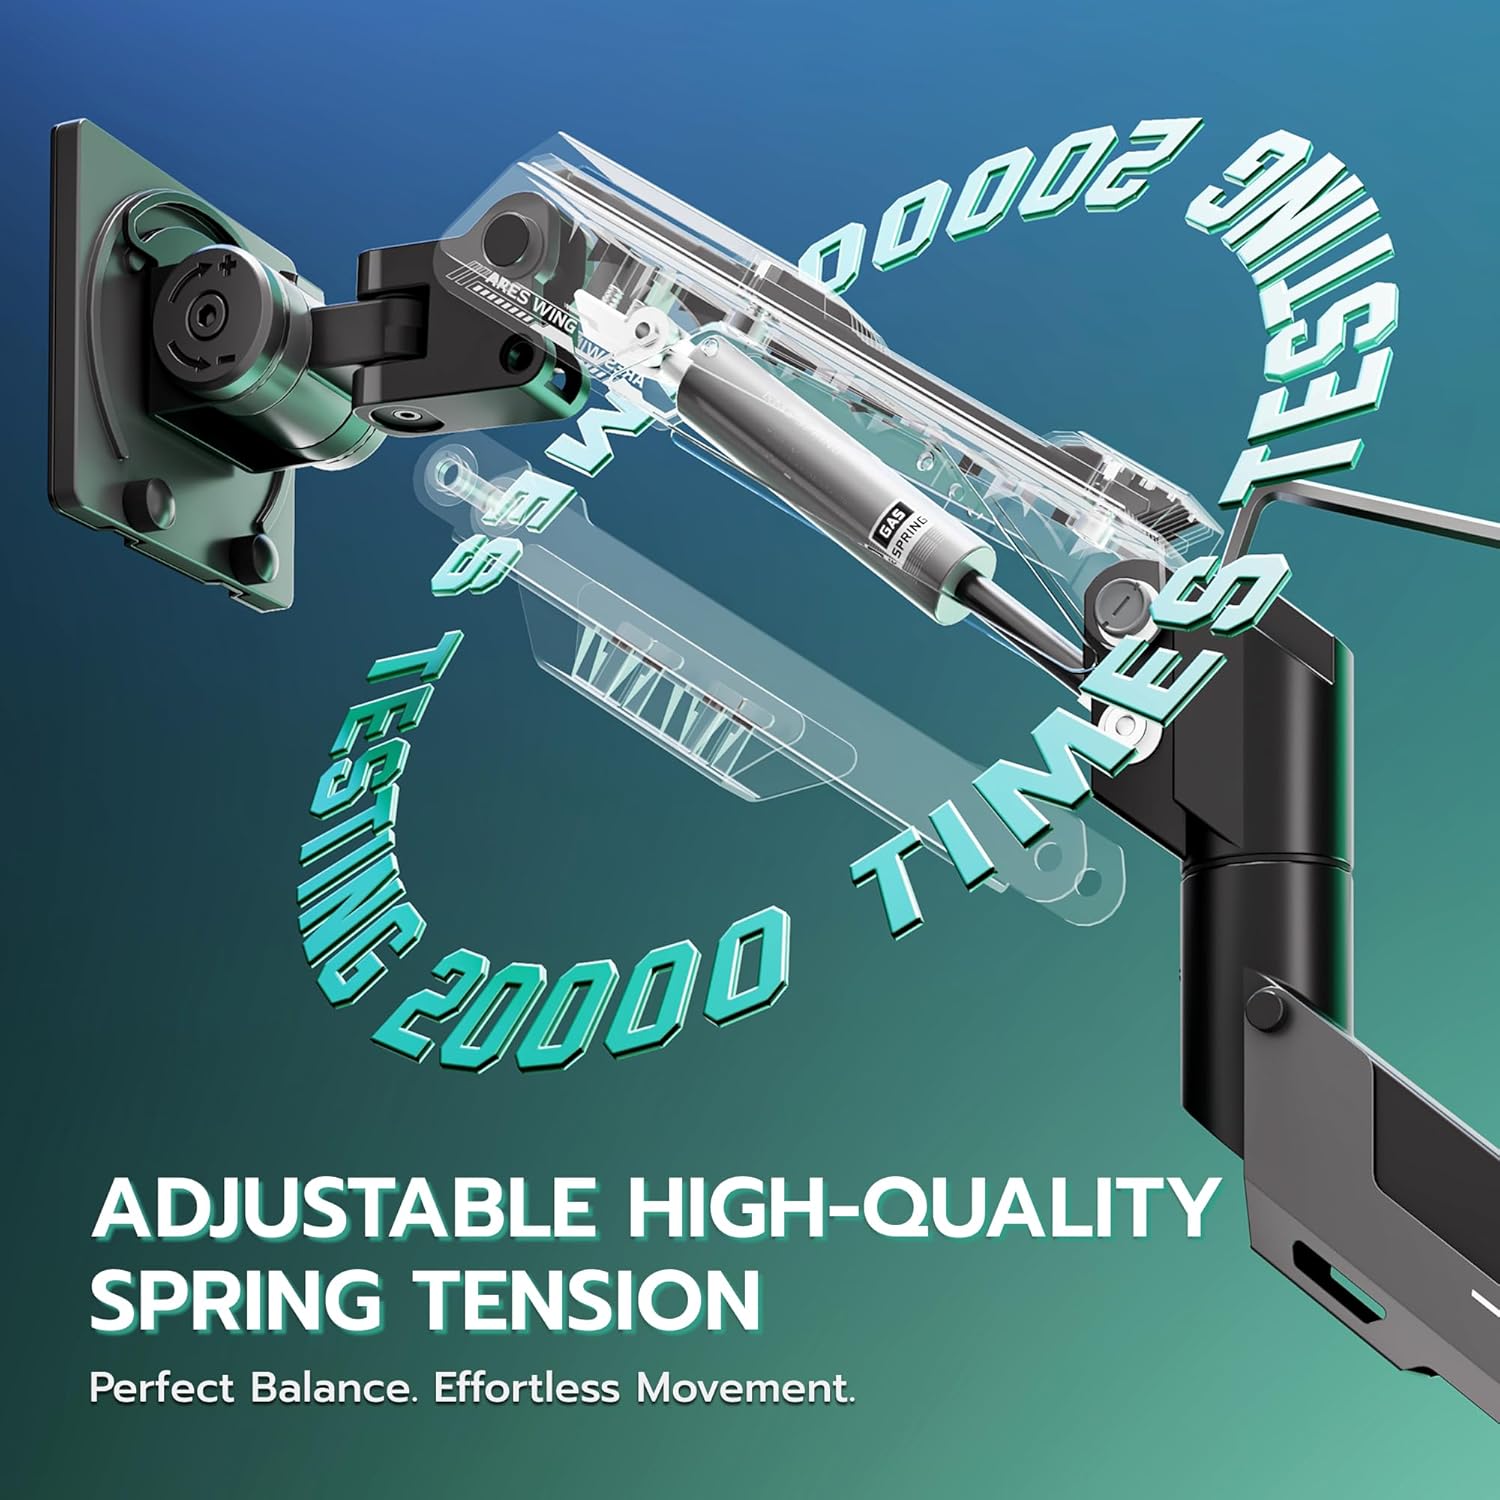
Image: Adjustable high-quality gas spring tension for perfect balance and effortless movement.
3.3 Cable Management
Utilize the integrated cable management system to route and conceal your monitor cables, contributing to a cleaner and more organized workspace.

Image: Integrated cable management for a clean setup.
3.4 Operation Video
Video: Overview of the ARES WING heavy-duty monitor arm's features and adjustability for 57-inch ultrawide screens.
4. Maintenance
To ensure the longevity and optimal performance of your ARES WING monitor arm, follow these maintenance guidelines:
- Regular Cleaning: Wipe down the arm and base with a soft, damp cloth. Avoid abrasive cleaners or solvents that could damage the finish.
- Check Connections: Periodically inspect all screws and connections to ensure they remain tight. Re-tighten if necessary.
- Gas Spring Adjustment: If you notice the monitor arm sagging or rising unexpectedly, re-adjust the gas spring tension as described in Section 3.2.
- Avoid Overloading: Do not exceed the maximum weight capacity of 66 lbs (flat screen) or 52.8 lbs (curved screen) to prevent damage to the arm and monitor.
5. Troubleshooting
If you encounter issues with your monitor arm, refer to the following common solutions:
- Monitor Sags or Rises: This is typically due to incorrect gas spring tension. Refer to Section 3.2 for instructions on how to adjust the tension to match your monitor's weight.
- Arm is Loose/Wobbly: Ensure all mounting screws (both at the desk and the VESA plate) are securely tightened. Check the desk clamp or grommet mount for stability.
- Difficulty Tilting Monitor: If the monitor cannot be tilted, loosen the adjustment screw on the head of the arm until it can be tilted to the desired position.
- Monitor Rotation Issues: If the monitor does not rotate smoothly or is stuck, check for any obstructions and ensure the rotation mechanism is not overly tightened.
- Arm Does Not Move Smoothly: Ensure the gas spring tension is correctly set for your monitor's weight. Lubrication is generally not required for gas springs.
- Tipping Hazard: Caution: Do not rotate the monitor past the rear edge of the desk to avoid an unstable situation that may cause tipping.
6. Specifications
| Feature | Specification |
|---|---|
| Brand | ARES WING |
| Model | GDT1006 |
| Mounting Type | Tabletop Mount (C-Clamp / Grommet) |
| Movement Type | Rotate, Tilt, Swivel, Height Adjustment |
| Material | Aluminum |
| Color | Black |
| Compatible Devices | Monitor |
| Minimum Supported Screen Size | 24 Inches |
| Maximum Supported Screen Size | 57 Inches |
| Weight Capacity (Flat Screen) | Up to 66 lbs |
| Weight Capacity (Curved Screen) | Up to 52.8 lbs |
| Maximum Tilt Angle | 70 Degrees (Up) / -45 Degrees (Down) |
| Swivel Range | ±90 Degrees |
| Rotation | 360 Degrees |
| Max Height Adjustment | 22.4 Inches |
| Max Extension | 23.3 Inches |
| Desktop Thickness (C-Clamp) | 0.47"-1.77" (1.2-4.5cm) |
| Desktop Thickness (Grommet) | 0.5"-2.0" |
7. Warranty and Support
ARES WING products are manufactured with quality and reliability in mind. This product comes with a standard manufacturer's warranty against defects in materials and workmanship.
For warranty claims, technical support, or assistance with installation and operation, please contact ARES WING customer service through the retailer where the product was purchased or visit the official ARES WING website for contact information.
Please retain your proof of purchase for warranty purposes.