Gawfolk GF270M
Gawfolk 27 Inch 4K UHD Monitor (Model GF270M) User Manual
Comprehensive instructions for setup, operation, and maintenance.
1. Introduction
This manual provides detailed instructions for the proper installation, operation, and maintenance of your Gawfolk 27 Inch 4K UHD Monitor, model GF270M. Please read this manual thoroughly before using the product to ensure optimal performance and safety.
2. Safety Information
Observe the following safety precautions to prevent damage to the monitor and to ensure your personal safety:
- Do not expose the monitor to rain or moisture to avoid fire or electric shock.
- Do not open the monitor casing. High voltage components inside pose a risk of electric shock.
- Place the monitor on a stable, flat surface to prevent it from falling.
- Ensure proper ventilation around the monitor. Do not block ventilation openings.
- Use only the power adapter supplied with the monitor.
- Disconnect the power cable from the outlet during lightning storms or when unused for long periods.
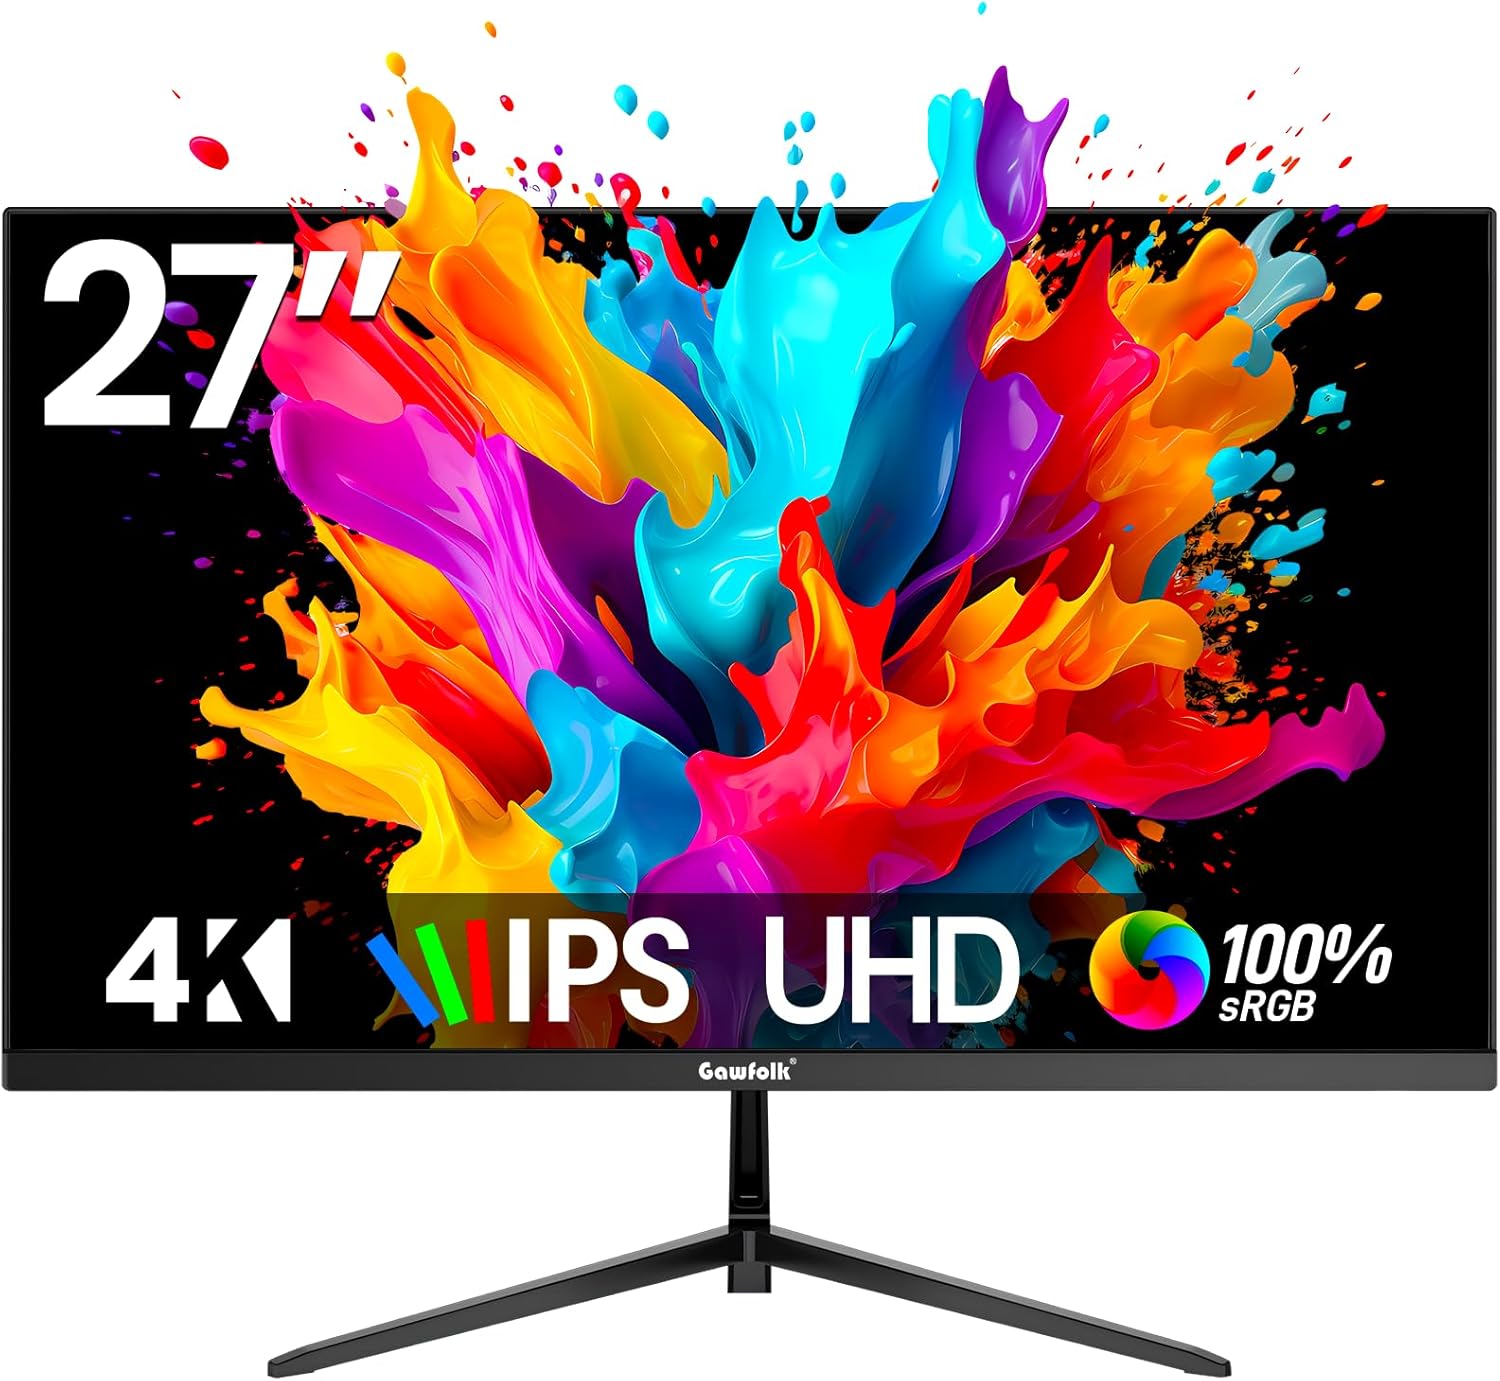
Image: Front view of the Gawfolk 27 Inch 4K UHD Monitor, showcasing its display.
3. Package Contents
Verify that all items are present in the package:
- Gawfolk 27 Inch 4K UHD Monitor
- Monitor Stand (Base and Neck)
- Power Adapter
- HDMI Cable
- DisplayPort (DP) Cable
- User Manual (this document)
4. Setup Instructions
4.1 Assembling the Stand
- Carefully remove the monitor from its packaging, keeping it protected on a soft surface.
- Attach the stand neck to the monitor panel. Ensure it clicks securely into place or is fastened with screws if provided.
- Connect the stand base to the stand neck. Tighten any screws firmly.
- Place the assembled monitor on a stable desk.

Image: Illustration of the monitor stand being assembled.
4.2 Wall Mounting (Optional)
The monitor supports VESA wall mounts (75mm x 75mm). To wall mount:
- Remove the stand from the monitor if it is already attached.
- Attach a VESA-compatible wall mount bracket (not included) to the four screw holes on the back of the monitor.
- Follow the instructions provided with your wall mount for secure installation.

Image: Rear view of the monitor showing VESA mounting points.
4.3 Connecting to Devices
The monitor features multiple input ports for versatile connectivity:
- HDMI (2.0) x 2: Connect to PCs, laptops, gaming consoles (PS5, Xbox), and other HDMI-enabled devices.
- DisplayPort (1.4) x 2: Connect to PCs, laptops, and other DP-enabled devices for higher refresh rates and resolutions.
- Audio Out x 1: Connect external speakers or headphones.
- Connect one end of the HDMI or DisplayPort cable to the corresponding port on your computer or device.
- Connect the other end of the cable to an available HDMI or DisplayPort input on the monitor.
- Connect the power adapter to the monitor's DC input, then plug the power cable into a wall outlet.
- (Optional) Connect external speakers or headphones to the Audio Out port.
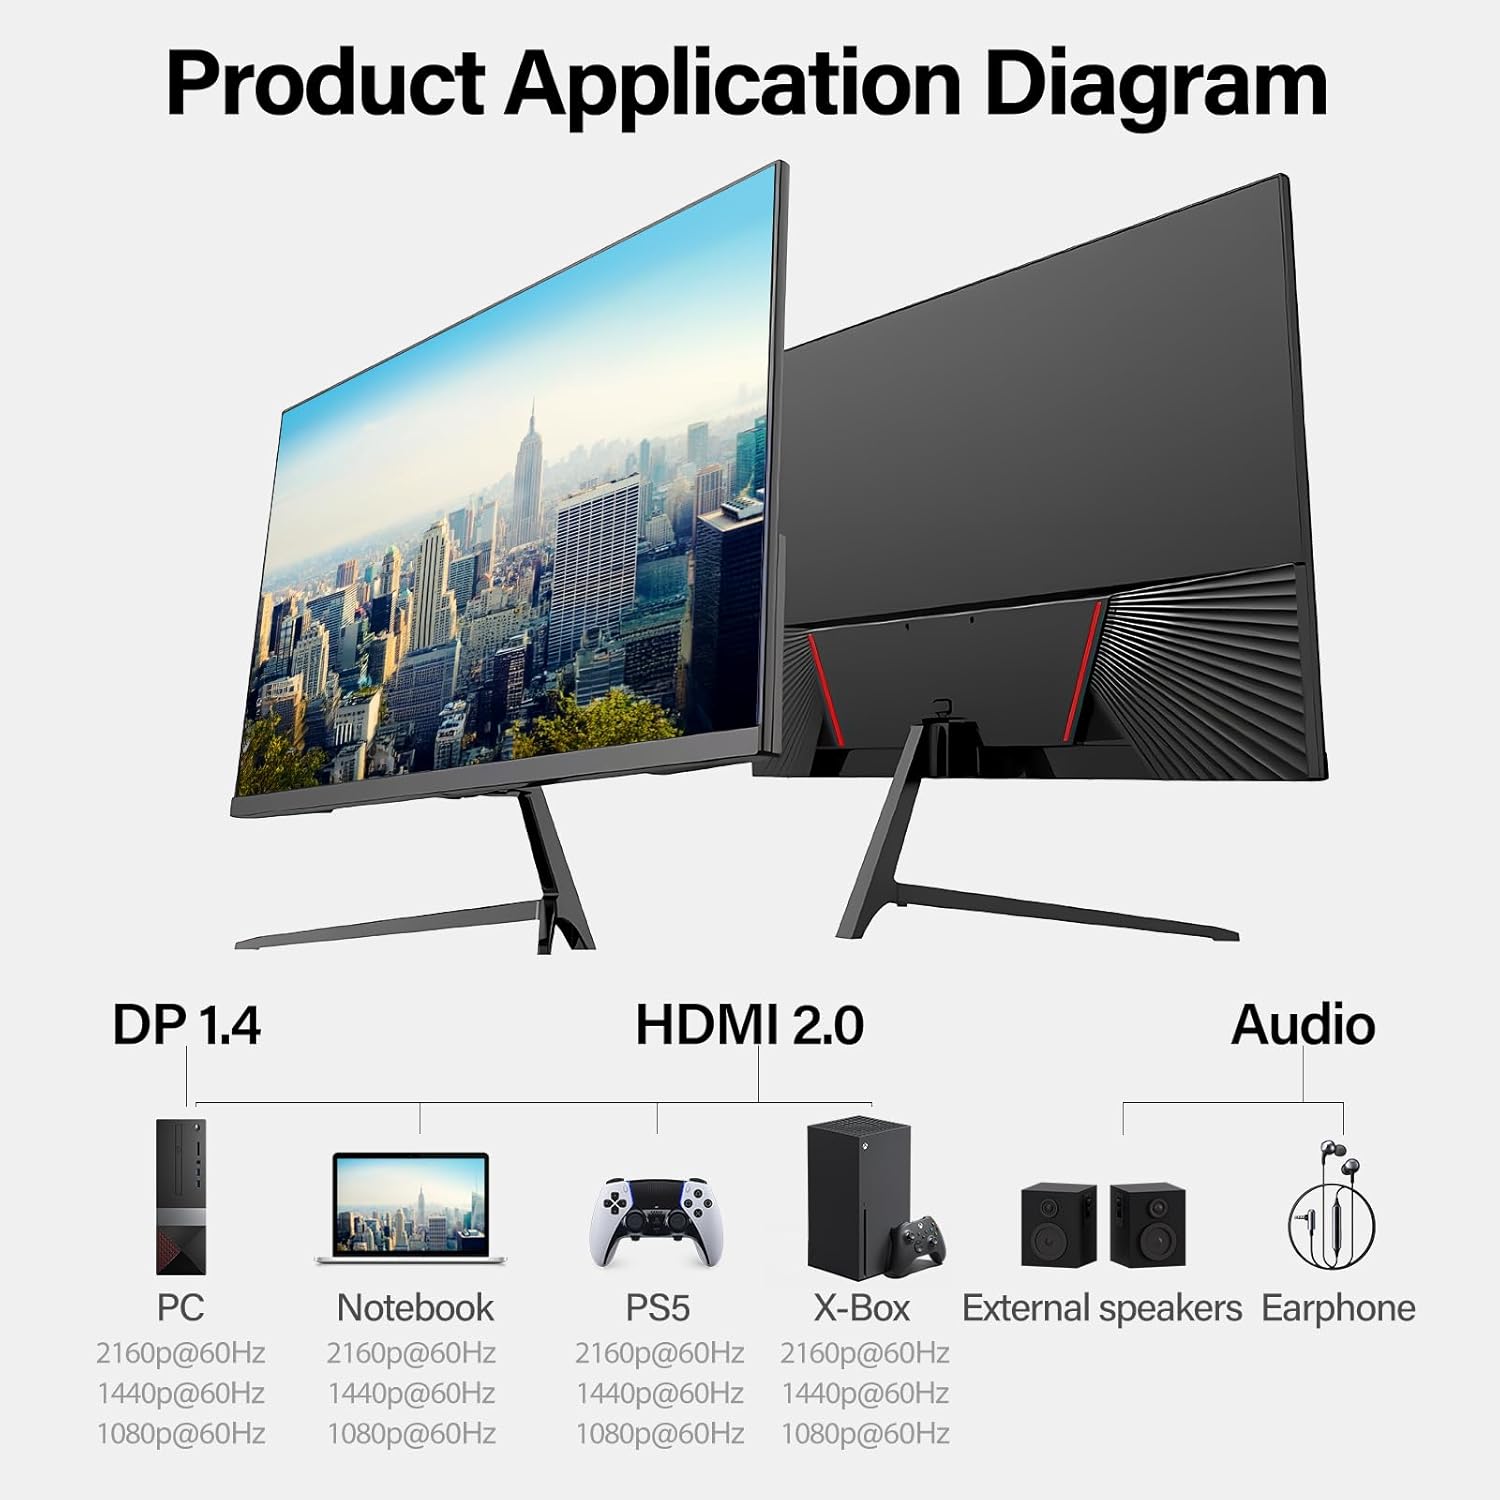
Image: Rear view of the monitor showing the input ports (DC, HDMI, DP, Audio Out).

Image: Diagram illustrating how to connect the monitor to various devices like PCs, notebooks, PS5, Xbox, external speakers, and earphones.
5. Operating Instructions
5.1 Powering On/Off
Press the power button located on the back of the monitor to turn it on or off.
5.2 On-Screen Display (OSD) Menu
The OSD menu allows you to adjust various monitor settings. Use the control buttons on the back of the monitor to navigate:
- "M" Menu Key: Enters or exits the OSD menu.
- "∇" Front Sight / Down direction selection key: Navigates down or adjusts values.
- "△" Brightness / Up direction selection key: Navigates up or adjusts values.
- "E" Return key: Returns to the previous menu level.
- "⏻" Power switch key: Powers the monitor on/off.

Image: Close-up of the monitor's OSD control buttons on the back.
5.3 Key OSD Settings
- Brightness/Contrast: Adjust the display's luminance and contrast levels.
- Color Settings: Modify color temperature, gamma, and individual RGB values.
- Input Source: Manually select between HDMI 1, HDMI 2, DisplayPort 1, or DisplayPort 2.
- Picture Mode: Select from preset modes (e.g., Standard, Game, Movie, Text).
- Low Blue Light: Activates a filter to reduce blue light emission, promoting eye comfort.
- Adaptive Sync: Enables or disables Adaptive Sync technology for smoother visuals, reducing screen tearing and stuttering.
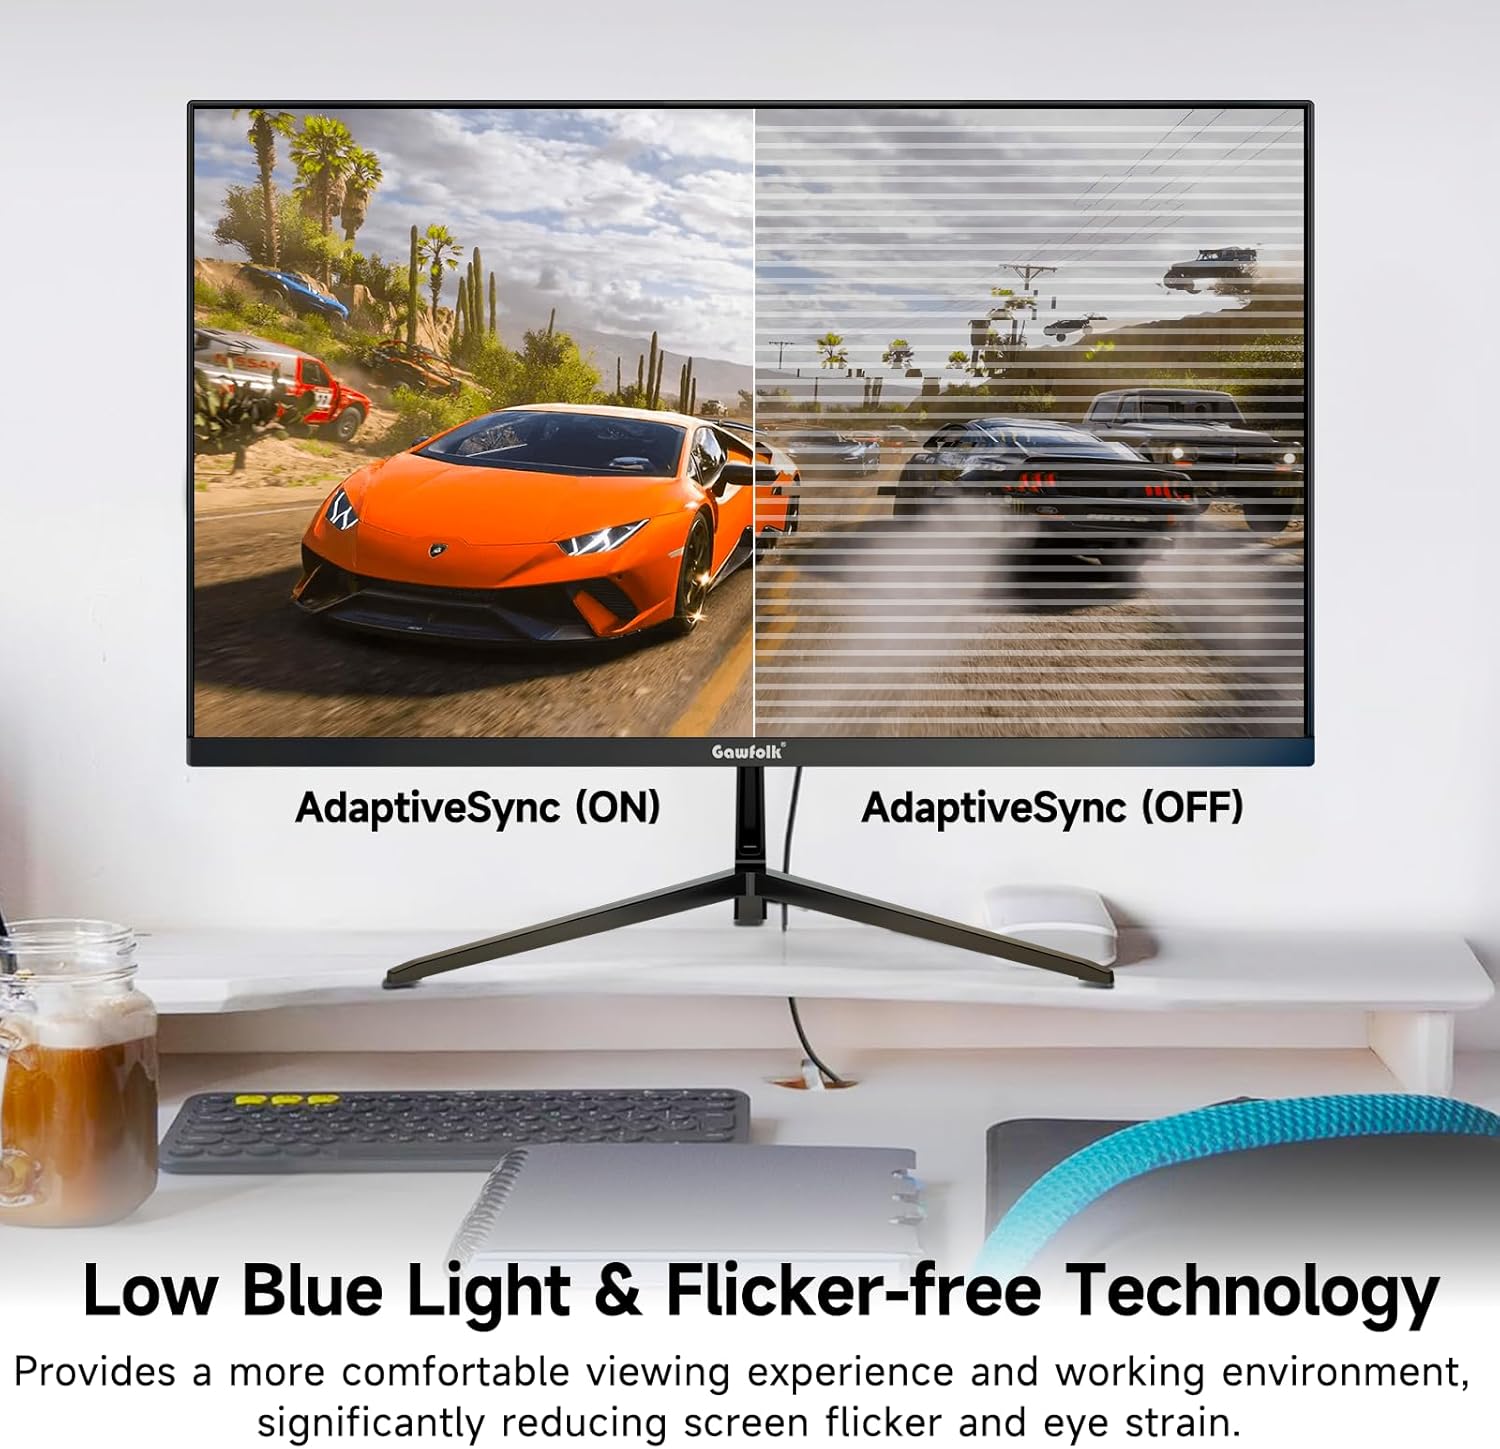
Image: Side view of the monitor demonstrating its tilt adjustment capability (-5° to 15°).
Image: Visual comparison showing the effect of Adaptive Sync being ON (smooth image) versus OFF (screen tearing and stuttering).
6. Maintenance
6.1 Cleaning the Monitor
- Always unplug the monitor from the power outlet before cleaning.
- Use a soft, lint-free cloth slightly dampened with water or a mild, non-abrasive screen cleaner.
- Do not spray cleaner directly onto the screen. Apply it to the cloth first.
- Avoid using benzene, thinner, ammonia-based cleaners, or abrasive pads, as these can damage the screen or casing.
6.2 Storage
If storing the monitor for an extended period, disconnect all cables and store it in a cool, dry place, preferably in its original packaging to protect it from dust and physical damage.
7. Troubleshooting
| Problem | Possible Cause | Solution |
|---|---|---|
| No image on screen |
|
|
| Image is blurry or distorted |
|
|
| No sound from external speakers/headphones |
|
|
| Screen flickering or tearing |
|
|
8. Specifications
| Feature | Detail |
|---|---|
| Model Number | GF270M |
| Screen Size | 27 Inches |
| Panel Type | IPS |
| Resolution | UHD 3840 x 2160p |
| Refresh Rate | 60Hz |
| Aspect Ratio | 16:9 |
| Dynamic Contrast Ratio | 3000:1 |
| Image Brightness | 292 Candela (cd/m²) |
| Viewing Angle | 178° (Horizontal/Vertical) |
| Connectivity | 2 x HDMI 2.0, 2 x DisplayPort 1.4, 1 x Audio Out |
| Wall Mount Compatible | VESA 75mm x 75mm |
| Special Features | Flicker-Free, Low Blue Light, Adaptive Sync |
| Product Dimensions (L x W x H) | 26.7 x 4.7 x 17.7 inches |
| Item Weight | 7.7 pounds |
9. Warranty Information
Gawfolk provides a warranty for this product. For specific warranty terms and conditions, please refer to the warranty card included in your product packaging or visit the official Gawfolk website. The warranty typically covers manufacturing defects and malfunctions under normal use.
Note: Physical damage, misuse, or unauthorized modifications are not covered under warranty.
10. Customer Support
If you encounter any issues, require technical assistance, or have questions regarding your Gawfolk monitor, please contact our customer support team:
- Online Support: Visit the Gawfolk Store on Amazon for FAQs and contact options.
- Email Support: Refer to your product packaging or warranty card for the specific support email address.
When contacting support, please have your monitor model number (GF270M) and purchase information ready.
Related Documents - GF270M
 |
Gawfolk GF240D 24-Inch Gaming Monitor User Manual Comprehensive user manual for the Gawfolk GF240D 24-inch gaming monitor, covering setup, features, troubleshooting, and specifications. This 165Hz, 144Hz FHD 1080P curved monitor offers VA display with 99% sRGB and Eye-Care technology. |
 |
Gawfolk GF320A Monitor User Manual User manual for the Gawfolk GF320A 32-inch computer monitor, detailing setup, features, and specifications for this Full HD 1920x1080p curved display with 75Hz refresh rate. |
 |
Gawfolk GF270C Monitor User Manual This user manual provides instructions for the Gawfolk GF270C 27-inch curved gaming monitor, covering setup, operation, precautions, and troubleshooting. |
 |
Gawfolk Monitor User Manual: Setup, Operation, and Troubleshooting Comprehensive user manual for Gawfolk monitors, covering important precautions, setup instructions, control menu operation, troubleshooting, and FAQs. Learn how to connect, install, and optimize your Gawfolk monitor for the best viewing experience. |
 |
Gawfolk GF240I-GF240D Monitor User Manual Comprehensive user manual for the Gawfolk GF240I-GF240D monitor, covering setup, operation, troubleshooting, and specifications. Includes safety information and warranty details. |
 |
Gawfolk GF340F Electronic Display Product Information Sheet - Energy Labeling Product information sheet for the Gawfolk GF340F electronic display, detailing energy efficiency, power consumption, screen specifications, and supplier information according to EU Regulation 2019/2013. |
Ask a question about this manual
Ask about setup, troubleshooting, compatibility, parts, safety, or missing instructions. Manuals+ will review the question and use this page’s manual context to help answer it.