1. Introduction
This manual provides detailed instructions for the installation, operation, and maintenance of your VORGUT Solar Camera Outdoor Wireless Security System. Please read this manual thoroughly before using the product to ensure proper function and safety. Keep this manual for future reference.
2. Product Overview
2.1 Package Contents
The VORGUT Solar Camera Outdoor Wireless Security System (Two Camera Kit) includes the following components:
- 2 x Dual Lens Solar Powered Cameras
- 2 x Solar Panels
- 1 x 16-Channel 12-inch Monitor with 500GB HDD (NVR)
- 2 x USB-C Cables
- 1 x Monitor Power Adapter
2.2 Key Features
- 100% Wireless & Solar Powered: Each camera operates on a rechargeable battery and solar panel for continuous power.
- 4MP+4MP Dual-Lens HD Clarity: Provides sharp 2.5K HD video with both fixed and PTZ lenses for comprehensive coverage.
- 12-inch HD Monitor (NVR): Pre-paired cameras for plug-and-play setup, supporting up to 16 channels.
- 360° Pan-Tilt-Zoom (PTZ): Control camera angles remotely via monitor or app.
- Smart Human Detection: AI-powered motion detection reduces false alarms.
- Dual-Band WiFi (2.4G/5G): Ensures stable and fast wireless connection.
- 500GB Local Storage: Built-in HDD for 24/7 recording without monthly fees.
- Color Night Vision: Switches to full-color mode upon human detection, otherwise infrared.
- Two-Way Talk: Communicate through the camera with built-in microphone and speaker.
- IP66 Weatherproof: Designed for outdoor use in various weather conditions.

Figure 1: Overview of the VORGUT Solar Camera Outdoor Wireless Security System, including two solar-powered cameras, a 12-inch monitor with NVR, and a 500GB hard drive.

Figure 2: Key features of the VORGUT security system, highlighting dual lens, solar power, 500GB HDD, 12-inch monitor, and IP66 waterproofing.
3. Setup Instructions
3.1 Initial Power-Up and Connection
- Unpack Components: Carefully remove all items from the packaging.
- Connect NVR Monitor: Plug the monitor's power adapter into an electrical outlet. The NVR system will power on automatically.
- Power On Cameras: Ensure the solar cameras are switched ON. They come with a partial charge. For optimal performance, fully charge cameras via USB-C cable before initial solar use, especially if installing in low-light areas.
- Automatic Pairing: The cameras are pre-paired with the NVR. Once powered on, they should automatically connect and display video on the monitor.
- Wi-Fi Setup (Optional for Remote Access):
- Access the NVR's system settings on the monitor.
- Navigate to Network settings and select your 2.4G or 5G Wi-Fi network.
- Enter the Wi-Fi password to connect the NVR to your home network. This enables remote viewing via the mobile application.
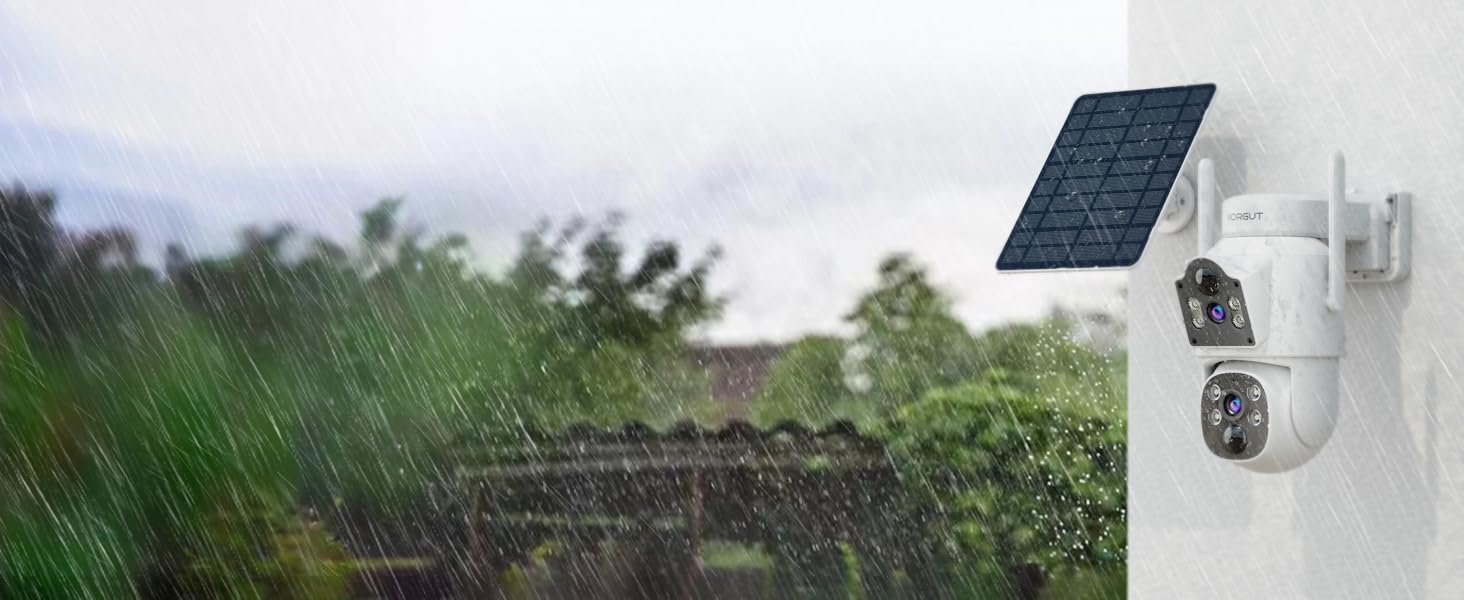
Figure 3: Visual guide for the plug-and-play setup process, showing NVR monitor and camera connection.
3.2 Camera Installation
Choose a location for each camera that provides optimal sunlight exposure for the solar panel and the desired viewing angle. Ensure the camera is within Wi-Fi range of the NVR.
- Mounting Location: Select a sturdy surface (wall, eaves) that allows the solar panel to receive direct sunlight for several hours daily.
- Secure Mounting: Use the provided screws and anchors to securely mount the camera bracket.
- Attach Camera: Fasten the camera to the mounted bracket.
- Adjust Solar Panel: Position the solar panel to maximize sun exposure. The panel can be adjusted 360 degrees.
- Final Check: Verify the camera's view on the NVR monitor or mobile app to ensure it covers the intended area.
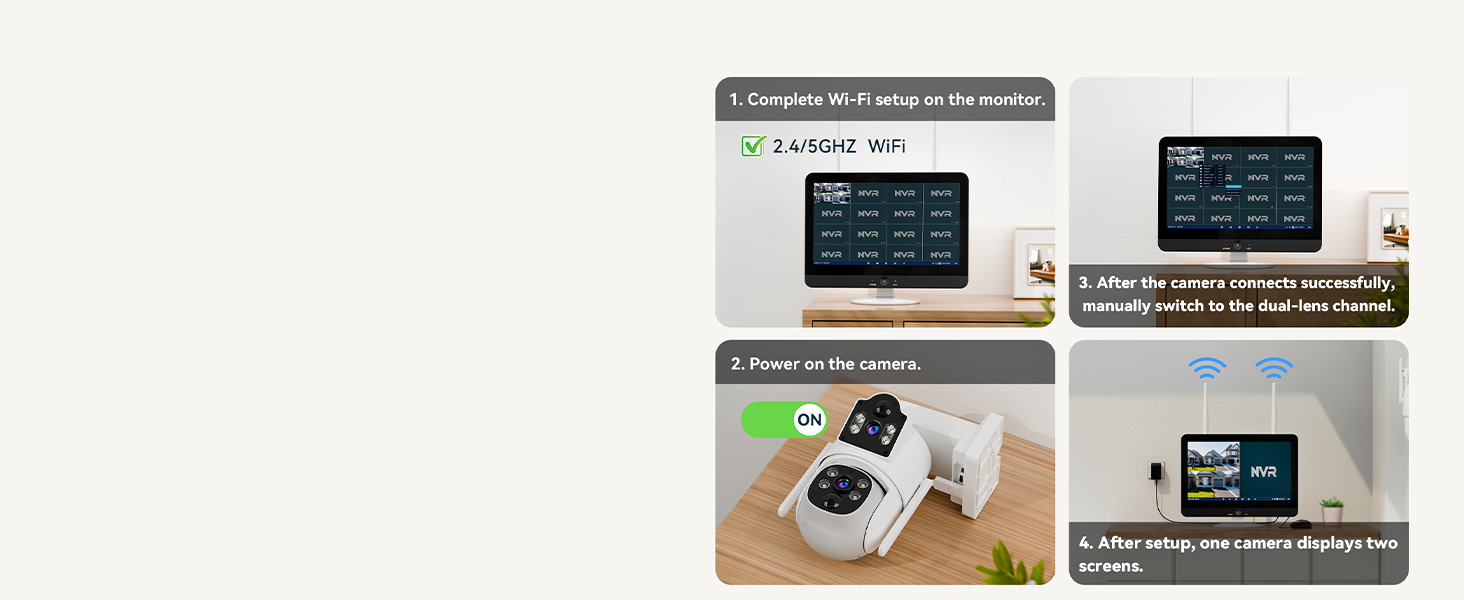
Figure 4: Illustration of the solar panel and camera mounting, showing the adjustable solar panel for optimal sunlight.
4. Operating Instructions
4.1 Live View and Recording
- NVR Monitor: The 12-inch monitor displays live feeds from all connected cameras. Use the NVR interface to switch views, access recordings, and configure settings.
- Mobile Application: Download the Eseecloud app (or specified app in product documentation) from your app store. Register an account and add your NVR system using the QR code or device ID. This allows remote live viewing, playback, and system control from your smartphone.
- Continuous Recording: The built-in 500GB HDD provides 24/7 continuous recording. Older footage will be overwritten automatically when the disk is full.
4.2 Pan-Tilt-Zoom (PTZ) Control
Each camera features a PTZ lens (3.6mm) that can rotate 355° horizontally and tilt 75° vertically. The fixed lens (4mm) provides a stable wide-angle view.
- Control: Use the NVR monitor's controls or the mobile app to adjust the PTZ camera's viewing angle.
- Presets: Set specific preset positions for quick navigation to frequently monitored areas.

Figure 5: Explanation of the fixed lens and PTZ lens capabilities, showing how they provide comprehensive coverage.
4.3 Smart Human Detection & Alerts
The system uses AI to detect human shapes, reducing false alarms from animals or environmental factors.
- Alert Notifications: Receive instant notifications on your mobile app when human motion is detected.
- Alarm Actions: Configure the system to trigger a siren, flash alarm lights, or send app push notifications upon detection.
- Detection Zones: Customize specific areas within the camera's view for motion detection to focus on critical zones.
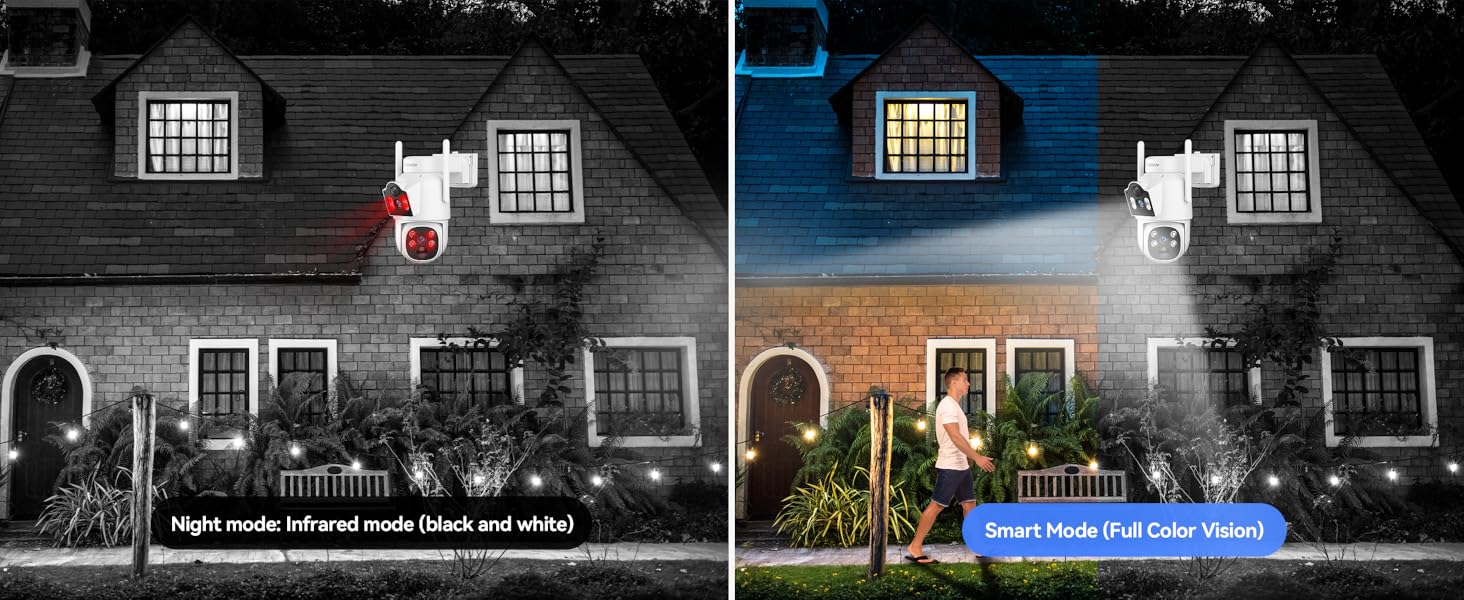
Figure 6: Visual representation of PIR human detection, showing an alert notification on a smartphone and the camera's alarm light.
4.4 Night Vision Modes
The cameras offer intelligent night vision capabilities:
- Infrared Mode: Default black and white night vision for general low-light conditions.
- Color Night Vision (Smart Mode): When human motion is detected at night, the camera can automatically switch to full-color mode, providing clearer, more detailed images.

Figure 7: Comparison of infrared night mode and smart color night mode when a person is detected.
4.5 Two-Way Talk
Utilize the built-in microphone and speaker to communicate with individuals near the camera.
- Activation: Activate the two-way talk feature through the mobile app or NVR interface.
- Applications: Useful for greeting visitors, deterring intruders, or communicating with delivery personnel.
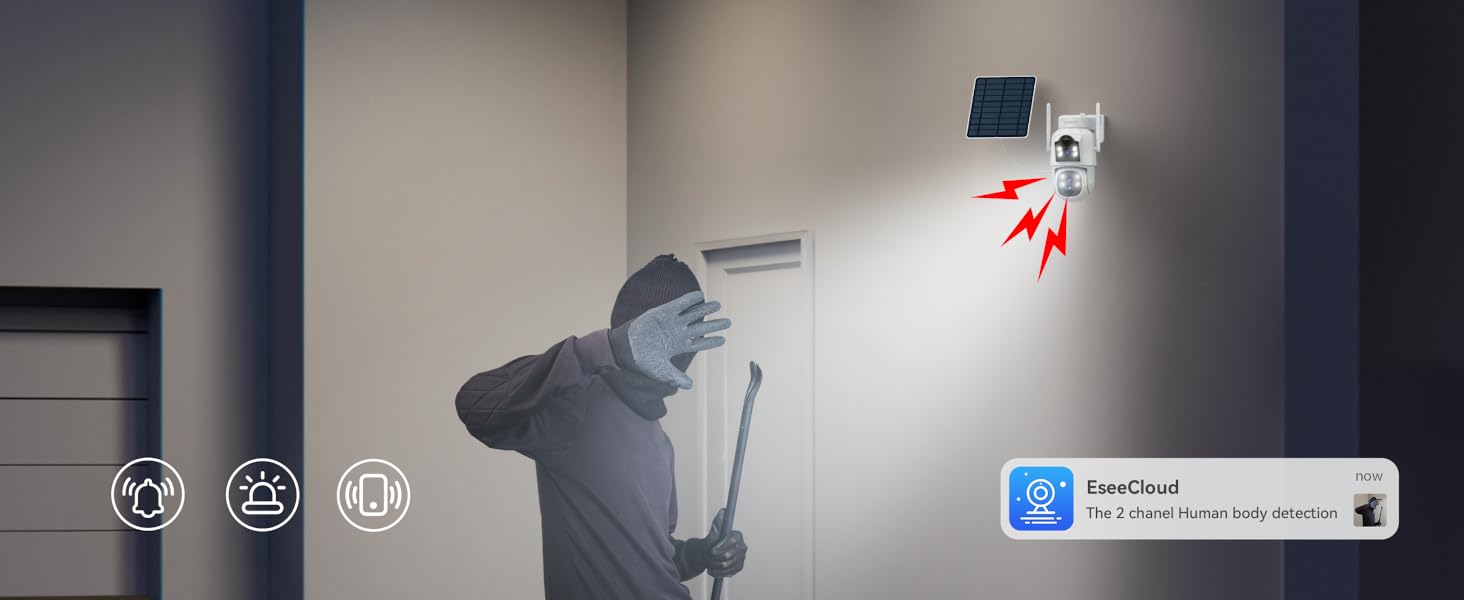
Figure 8: Demonstrates the two-way talk feature with a delivery person and the ability for multiple users to view the feed simultaneously.
5. Maintenance
5.1 Solar Panel Care
- Regular Cleaning: Periodically wipe the solar panel surface with a soft, damp cloth to remove dust, dirt, or debris that may obstruct sunlight absorption.
- Obstruction Removal: Ensure no tree branches, leaves, or other objects are shading the solar panel.
5.2 Camera Lens Cleaning
- Gentle Cleaning: Use a soft, lint-free cloth to clean the camera lenses. Avoid abrasive materials or harsh chemicals.
5.3 Hard Drive Management
- Automatic Overwrite: The 500GB HDD automatically overwrites the oldest footage when full. No manual intervention is typically required for continuous recording.
- Backup Important Footage: If specific events need to be preserved, back them up to an external storage device via the NVR's USB port before they are overwritten.

Figure 9: The camera's IP66 weatherproof rating ensures durability in various outdoor conditions, requiring minimal weather-related maintenance.
6. Troubleshooting
| Problem | Possible Cause | Solution |
|---|---|---|
| No image on monitor / Camera offline |
|
|
| Poor video quality at night |
|
|
| Frequent false alarms |
|
|
| Mobile app connection issues |
|
|
7. Specifications
| Feature | Detail |
|---|---|
| Brand | VORGUT |
| Model Name | SQ01 |
| Connectivity Technology | Wireless (2.4G/5G Wi-Fi) |
| Power Source | Solar Powered |
| Camera Resolution | 4MP + 4MP Dual Lens (2.5K HD) |
| PTZ Capability | Pan 355°, Tilt 75° |
| Night Vision Range | 20 Meters (Color Night Vision available) |
| NVR Monitor Size | 12 inches |
| NVR Channels | 16 Channels |
| Local Storage | 500GB HDD (Built-in) |
| Human Detection | PIR Human Detection |
| Two-Way Audio | Yes |
| Weatherproof Rating | IP66 |
| Compatible Devices | Android, iOS |
| Item Weight | 8.91 pounds (Total package) |
| Manufacturer | Guangzhou Juan Intelligent Tech Joint Stock Co.,Ltd |
8. Warranty and Support
For warranty information and technical support, please refer to the documentation included with your product or contact VORGUT customer service directly.
- Manufacturer: Guangzhou Juan Intelligent Tech Joint Stock Co.,Ltd
- Brand: VORGUT
- Online Support: Visit the official VORGUT store on Amazon for additional resources and contact options: VORGUT Amazon Store
Please have your model number (SQ01) and purchase details ready when contacting support.


