
1. Introduction
Thank you for choosing the Melitta Aroma Enhance 10-Cup Drip Coffee Maker. This manual provides essential information for the safe and efficient operation, maintenance, and troubleshooting of your new coffee maker. Please read these instructions thoroughly before first use and keep them for future reference.
2. Important Safety Instructions
- Read all instructions before using the appliance.
- Do not touch hot surfaces. Use handles or knobs.
- To protect against fire, electric shock, and injury to persons, do not immerse cord, plugs, or appliance in water or other liquid.
- Close supervision is necessary when any appliance is used by or near children.
- Unplug from outlet when not in use and before cleaning. Allow to cool before putting on or taking off parts, and before cleaning the appliance.
- Do not operate any appliance with a damaged cord or plug, or after the appliance malfunctions or has been damaged in any manner. Return appliance to the nearest authorized service facility for examination, repair, or adjustment.
- The use of accessory attachments not recommended by the appliance manufacturer may result in fire, electric shock, or injury to persons.
- Do not use outdoors.
- Do not let cord hang over edge of table or counter, or touch hot surfaces.
- Do not place on or near a hot gas or electric burner, or in a heated oven.
- Always attach plug to appliance first, then plug cord into the wall outlet. To disconnect, turn any control to “off,” then remove plug from wall outlet.
- Do not use appliance for other than intended use.
- The carafe is designed for use with this appliance. It must never be used on a range top.
- Do not place a hot carafe on a wet or cold surface.
- Do not use a cracked carafe or a carafe having a loose or weakened handle.
- Do not clean carafe with cleansers, steel wool pads, or other abrasive materials.
- All food-contact parts are BPA-free and FDA cleared as food contact safe.
3. Package Contents
Please check that all items are present and in good condition:
- Melitta Aroma Enhance 10-Cup Drip Coffee Maker
- Glass Carafe
- Washable Strainer Basket
- Filter Starter Pack (5 Melitta #4 coffee filters)
- Instruction Manual
4. Product Overview
Familiarize yourself with the components of your Melitta Aroma Enhance coffee maker.
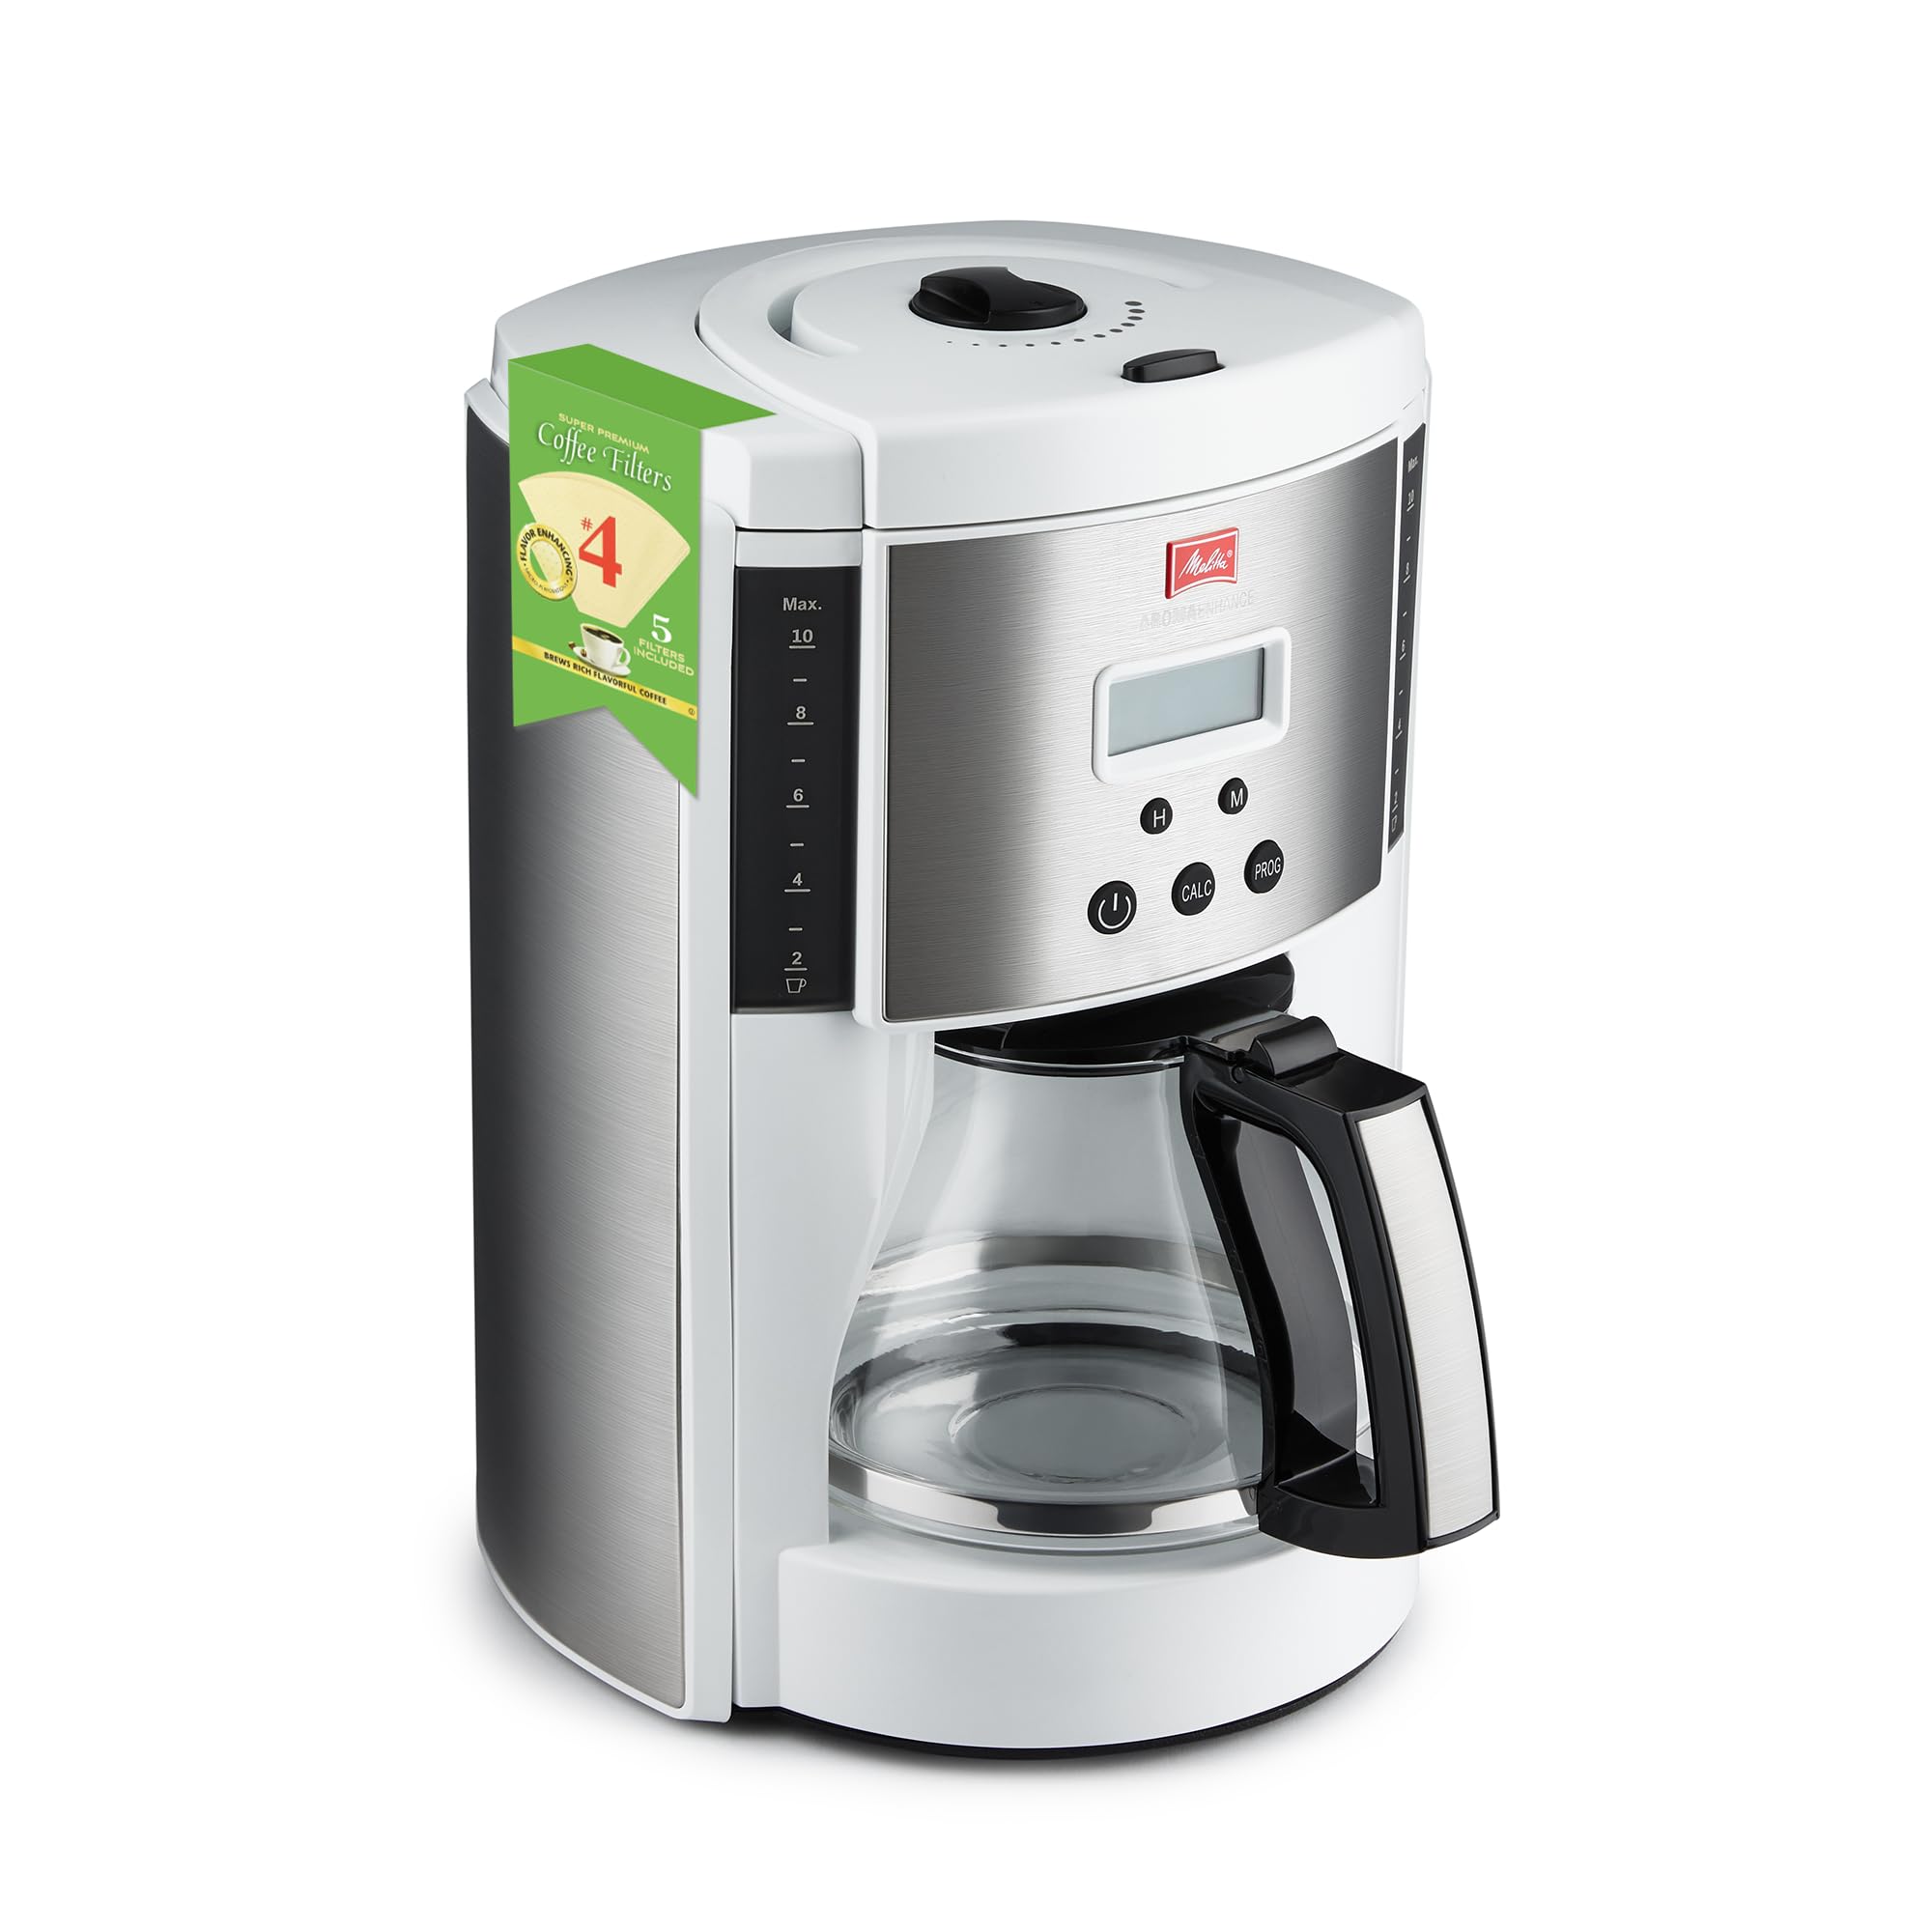
Front view of the Melitta Aroma Enhance 10-Cup Drip Coffee Maker, showing the control panel, glass carafe, and water level indicator.

Diagram illustrating the dimensions of the Melitta Aroma Enhance coffee maker: approximately 13 inches high, 9 inches wide, and 8.5 inches deep.
Control Panel Functions
- Power Button (On/Off): Turns the coffee maker on or off.
- H (Hour) Button: Adjusts the hour for the clock and program timer.
- M (Minute) Button: Adjusts the minute for the clock and program timer.
- CALC Button: Indicates when descaling is needed and initiates the descaling cycle.
- PROG (Program) Button: Sets the automatic brewing start time.
- AromaSelector Dial: Located on the top, this dial allows you to adjust coffee strength.
5. Setup and First Use
- Unpack: Carefully remove all packaging materials and dispose of them properly.
- Clean: Wash the glass carafe, lid, and washable strainer basket in warm, soapy water. Rinse thoroughly and dry. Wipe the exterior of the coffee maker with a damp cloth.
- Initial Rinse Cycle: Before brewing coffee for the first time, run a full cycle with only water to clean the internal components. Fill the water reservoir to the MAX line with fresh, cold water. Place the empty carafe on the warming plate. Press the Power button to start. Discard the water after the cycle.
- Set Clock: Plug the coffee maker into a standard electrical outlet. The display will flash. Press the 'H' button to set the hour and the 'M' button to set the minute. The clock will automatically set after a few seconds of inactivity.
6. Operating Instructions
6.1 Brewing Coffee
- Fill Water Reservoir: Open the lid and fill the water reservoir with fresh, cold water to your desired number of cups (up to 10 cups). The water level indicator on the side will guide you.
- Insert Filter: Place a Melitta #4 cone coffee filter into the washable strainer basket.
- Add Coffee Grounds: Add your desired amount of ground coffee into the filter. A general guideline is one tablespoon of coffee per cup, but adjust to your taste.
- Adjust AromaSelector: Use the AromaSelector dial on top to choose your preferred coffee strength. Turn towards the '+' for stronger coffee or '-' for milder coffee.
- Place Carafe: Ensure the glass carafe with its lid is correctly placed on the warming plate.
- Start Brewing: Press the Power button. The indicator light will illuminate, and brewing will begin.
- Pause and Serve: The coffee maker features a pause-and-serve system. You can temporarily remove the carafe during brewing to pour a cup. Replace the carafe within 20 seconds to prevent overflow.
- Keep Warm: After brewing, the warming plate will keep the coffee hot for approximately 2 hours before automatically shutting off.
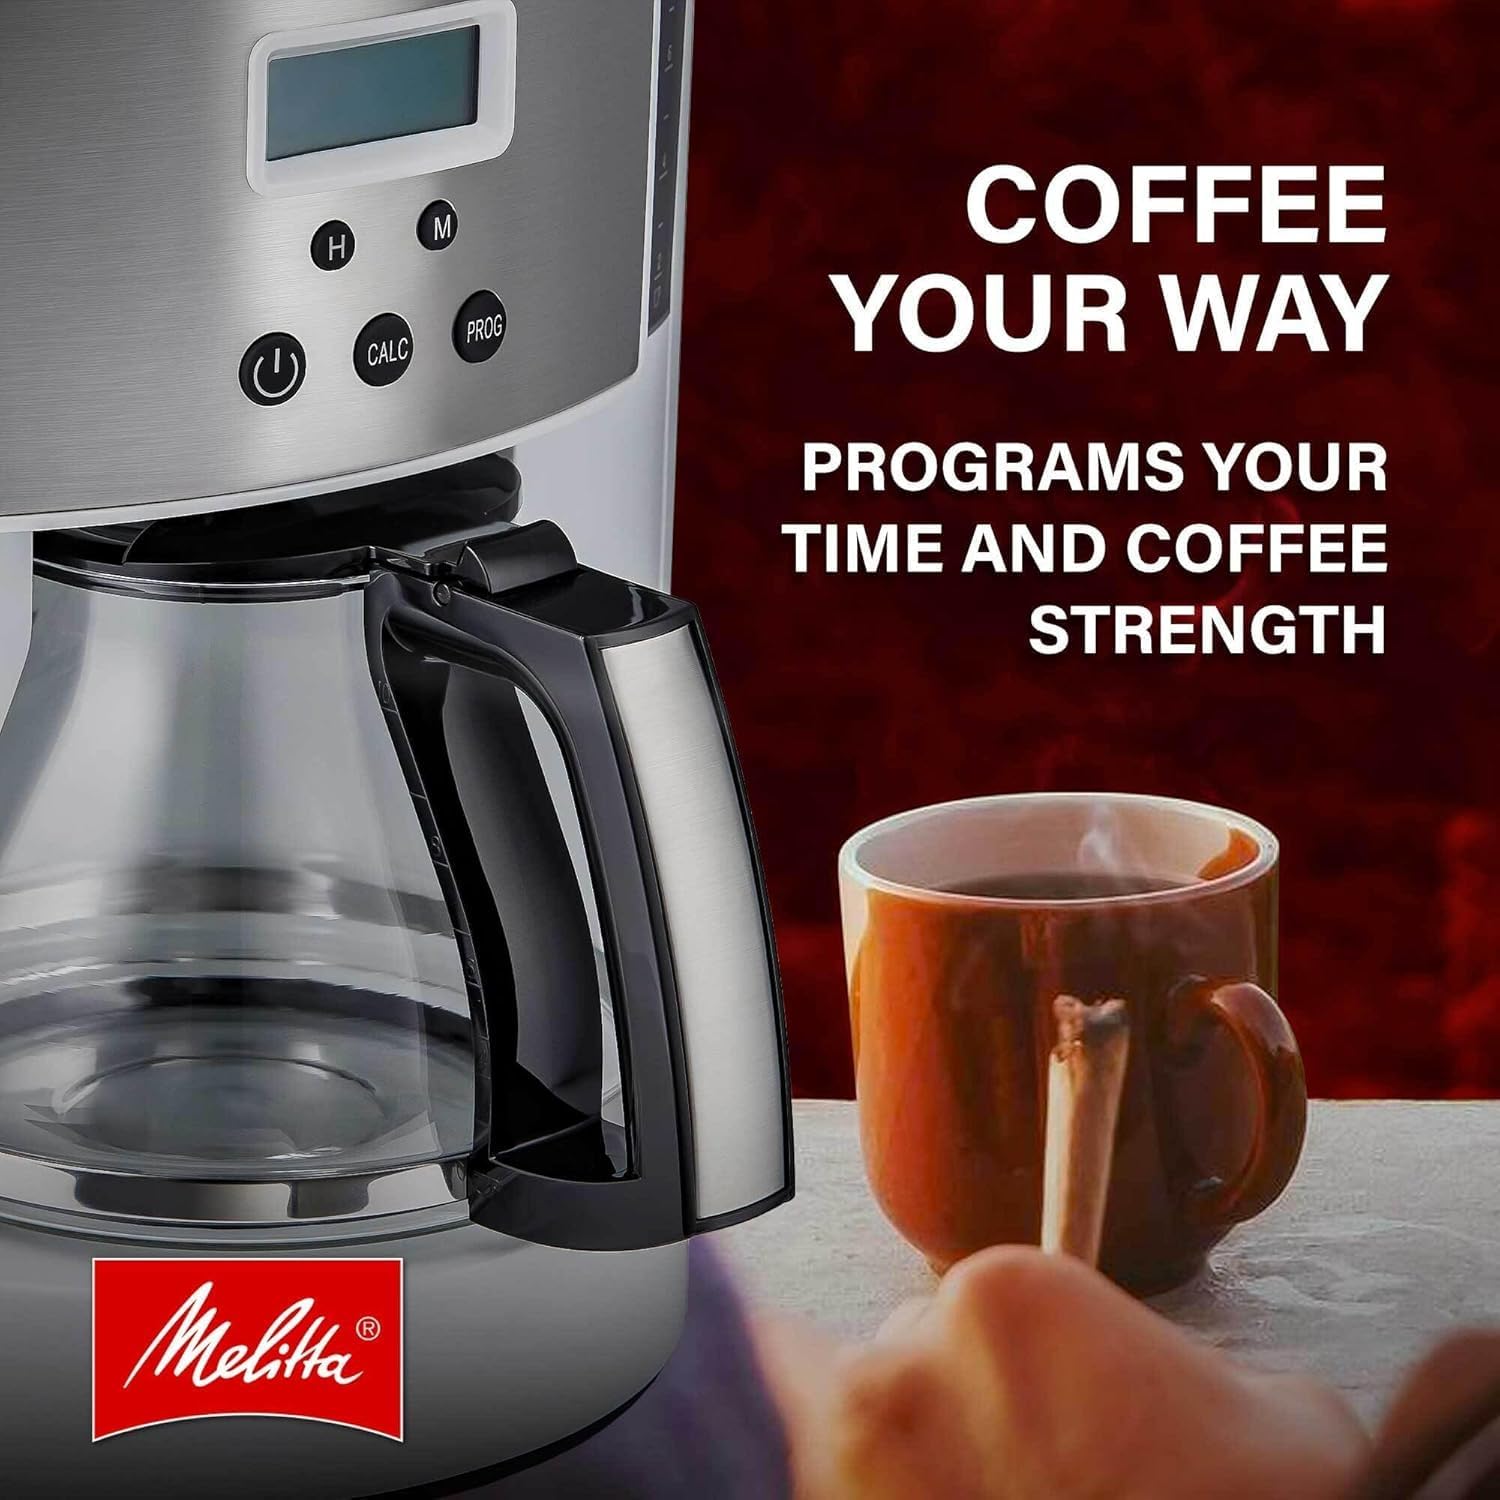
The Melitta Aroma Enhance coffee maker allows you to customize your brewing time and coffee strength for a personalized experience.
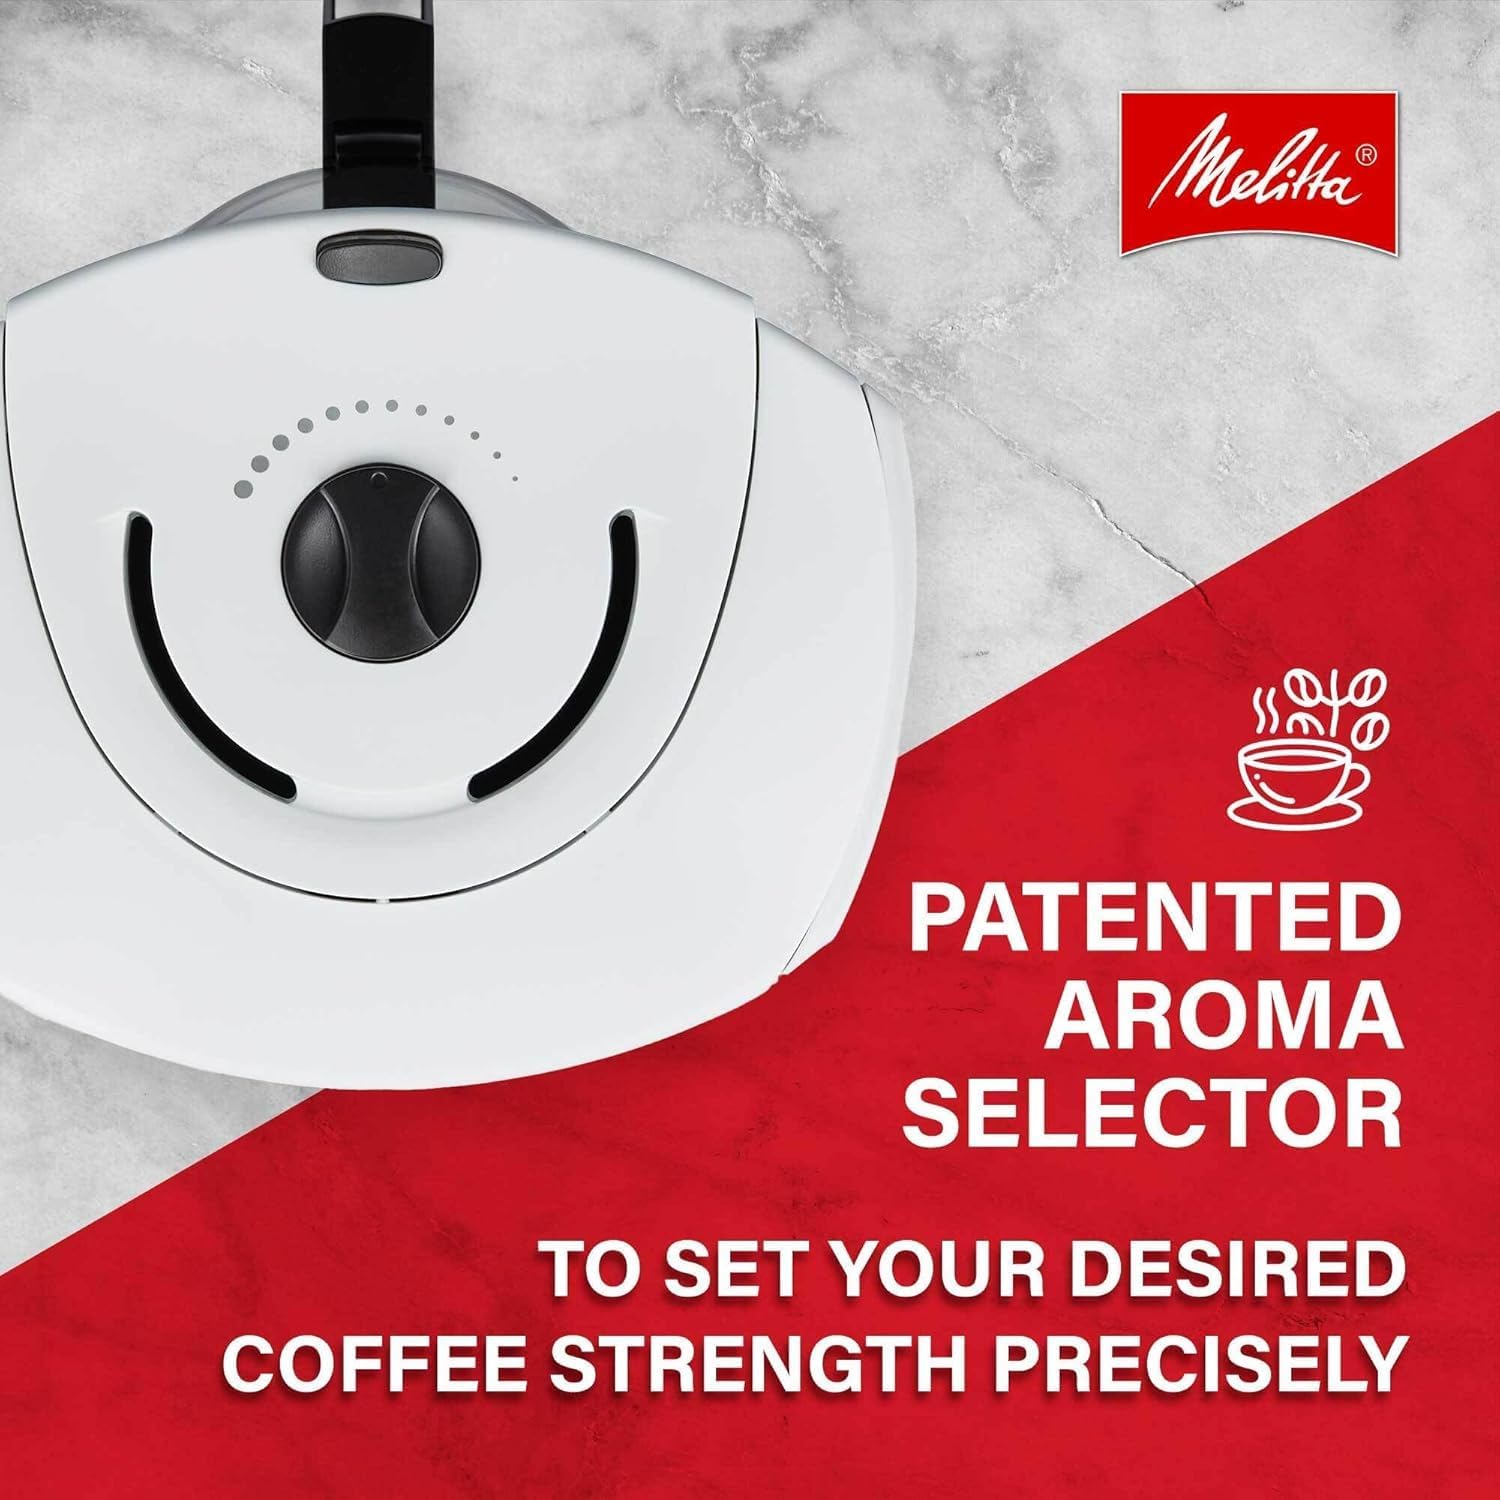
Close-up of the patented AromaSelector feature on the Melitta Aroma Enhance, used to precisely set desired coffee strength.
6.2 Programming Auto-Brew
The 24-hour programmable timer allows you to set the coffee maker to start brewing at a specific time.
- Prepare Coffee Maker: Follow steps 1-4 from the 'Brewing Coffee' section (fill water, add filter and grounds, adjust AromaSelector).
- Set Program Time: Press the 'PROG' button. The display will show 'PROG' and the time will flash.
- Adjust Time: Use the 'H' and 'M' buttons to set your desired brew start time.
- Confirm Program: Press the 'PROG' button again to confirm. The 'PROG' indicator light will illuminate, indicating the program is set.
- Start Program: Ensure the Power button is pressed (light on). The coffee maker will automatically start brewing at the set time.

The digital display of the Melitta Aroma Enhance coffee maker, showing the programmable timer feature for setting a future brew time.
Video demonstrating how to program the Melitta Aroma Enhance coffee maker to wake up to freshly brewed coffee.
7. Cleaning and Maintenance
Regular cleaning and maintenance will ensure optimal performance and extend the life of your coffee maker.
7.1 Daily Cleaning
- Always unplug the coffee maker before cleaning and allow it to cool completely.
- Wash the glass carafe, lid, and washable strainer basket after each use in warm, soapy water. These parts are not dishwasher safe.
- Wipe the exterior surfaces of the coffee maker with a soft, damp cloth. Do not use abrasive cleaners or scouring pads.
- Do not immerse the coffee maker base, cord, or plug in water or any other liquid.
7.2 Descaling (Calcium Removal)
Mineral deposits (calcium) can build up in your coffee maker over time, affecting performance and coffee taste. The 'CALC' indicator light will illuminate when descaling is recommended.
- Prepare Descaling Solution: Mix 4 cups of white vinegar with 6 cups of cold water, or use a commercially available descaling solution designed for coffee makers, following the product instructions.
- Fill Reservoir: Pour the descaling solution into the water reservoir.
- Start Descaling Cycle: Place the empty carafe on the warming plate. Press and hold the 'CALC' button for 3 seconds to start the descaling cycle. The 'CALC' light will flash.
- Rinse Cycles: After the descaling cycle is complete, discard the solution. Run two full brewing cycles with fresh, cold water only to rinse out any remaining descaling solution.
- Reset CALC Indicator: After the rinse cycles, the 'CALC' light should turn off. If it remains on, repeat the descaling process.
8. Troubleshooting
Refer to this section for common issues and their solutions.
| Problem | Possible Cause | Solution |
|---|---|---|
| Coffee maker does not turn on. | Not plugged in; power outage; faulty outlet. | Ensure the power cord is securely plugged into a working outlet. Check circuit breaker. |
| Coffee does not brew. | Water reservoir empty; carafe not placed correctly; brew cycle not initiated. | Fill water reservoir. Ensure carafe is centered on the warming plate. Press the Power button. |
| Coffee tastes weak or too strong. | Incorrect coffee-to-water ratio; AromaSelector setting. | Adjust the amount of coffee grounds. Adjust the AromaSelector dial to your preference. |
| Water overflows from filter basket. | Too much coffee grounds; filter clogged; carafe removed too long during brewing. | Use recommended amount of coffee. Ensure filter is not collapsed. Replace carafe quickly during pause-and-serve. |
| 'CALC' light is on. | Mineral buildup (calcium) in the system. | Perform a descaling cycle as described in section 7.2. |
9. Specifications
| Feature | Detail |
|---|---|
| Brand | Melitta |
| Model Name | Drip Coffee Maker |
| Model Number | MCM003PULAW0 |
| Capacity | 10 Cups (96 oz) |
| Color | White and Stainless Steel |
| Product Dimensions | 8.46"D x 9.06"W x 13"H |
| Special Features | Auto Shut-Off, Programmable, AromaSelector |
| Coffee Input Type | Ground Coffee |
| Power Source | AC adapter |
| Item Weight | 7.13 pounds |
| UPC | 850034919157 |
10. Warranty and Support
Melitta provides a limited warranty for this product. Please refer to the warranty card included in your package for specific terms and conditions. For technical support, replacement parts, or warranty claims, please contact Melitta customer service.
- Online Support: Visit the official Melitta website for FAQs and support resources.
- Contact Information: Refer to your product packaging or the Melitta website for current customer service contact details.


