1. Introduction
This manual provides detailed instructions for the installation, operation, and maintenance of your Techtex WiFi 6 Extender Signal Booster. This device is designed to expand your existing Wi-Fi network coverage, eliminate dead zones, and provide high-speed internet access throughout your home or office. Featuring WiFi 6 technology, dual-band support (2.4GHz and 5GHz), and Gigabit Ethernet ports, it ensures a stable and fast connection for multiple devices.
2. Product Overview
2.1 Key Features
- Extended Coverage: Expands Wi-Fi signal up to 10,000 sq.ft, suitable for multi-story homes, garages, and outdoor areas.
- High Speed & Capacity: Supports up to 2400Mbps data transfer rates with WiFi 6 technology, handling up to 100 simultaneous device connections.
- Dual-Band Technology: Operates on both 2.4GHz and 5GHz bands for optimal performance and reduced interference.
- Gigabit Ethernet Ports: Two 1000Mbps Ethernet ports for reliable wired connections to devices like gaming PCs or smart TVs.
- Easy Setup: One-key WPS button for quick connection to your existing router.
- Advanced Security: Supports WPA3 encryption for enhanced network protection.
- High-Gain Antennas: Equipped with four external 5dBi high-gain antennas for improved signal strength and range.
2.2 Package Contents
- Techtex WiFi 6 Extender Signal Booster
- Cat 6 Ethernet Cable
- Quick Installation Guide (this document)
2.3 Physical Description
The Techtex WiFi 6 Extender is a compact, white device featuring four adjustable external antennas. The front panel includes indicator lights for network status and a WPS button for quick setup. The bottom of the device houses the Gigabit Ethernet ports and a reset button.

Figure 1: A white Techtex WiFi 6 Extender with four adjustable antennas and a central indicator panel.
3. Setup Instructions
There are two primary methods to set up your Techtex WiFi 6 Extender: using the WPS button or through manual configuration.
3.1 WPS (Wi-Fi Protected Setup) Method
- Power On: Plug the WiFi Extender into an electrical outlet near your main router. Wait for the power indicator light to turn solid.
- Activate WPS on Router: Press the WPS button on your main Wi-Fi router. Refer to your router's manual for the exact location and timing.
- Activate WPS on Extender: Within two minutes, press the WPS button on the front panel of your Techtex WiFi Extender.
- Connect: The extender's Wi-Fi indicator light will blink and then turn solid, indicating a successful connection. You can now unplug the extender and move it to a more central location.
3.2 Manual Setup Method
- Power On: Plug the WiFi Extender into an electrical outlet near your main router.
- Connect to Extender's Wi-Fi: On your computer or mobile device, connect to the extender's default Wi-Fi network (e.g., "Techtex_Extender" or similar, usually found on a label on the device). No password is required initially.
- Access Setup Page: Open a web browser and enter the default IP address or domain name (e.g., http://192.168.10.1 or http://reapeter.net) into the address bar.
- Log In: Enter the default username and password (usually "admin" for both, or as specified in the quick installation guide).
- Select Mode: Choose "Repeater Mode" to extend your existing Wi-Fi network or "Access Point Mode" if you want to create a new Wi-Fi network from a wired connection.
- Configure Network: Follow the on-screen instructions to select your main Wi-Fi network, enter its password, and configure the extender's network name (SSID) and password.
- Relocate: Once configured, unplug the extender and move it to a location halfway between your router and the Wi-Fi dead zone. Ensure the signal indicator lights show a strong connection.

Figure 2: A detailed view of the extender's internal dual-core processor, signal indicators, WPS/Reset button, and LAN/Ethernet port, useful for understanding setup points.
3.3 Access Point Mode
The Techtex WiFi 6 Extender can also function as an Access Point (AP). In this mode, it connects to your router via an Ethernet cable and broadcasts a new Wi-Fi signal, effectively turning a wired connection into a wireless hotspot.
- Connect Ethernet: Plug one end of the provided Cat 6 Ethernet cable into one of the extender's Gigabit Ethernet ports and the other end into a LAN port on your router.
- Power On: Plug the extender into an electrical outlet.
- Configure: Follow the manual setup steps (3.2) and select "Access Point Mode" during configuration.
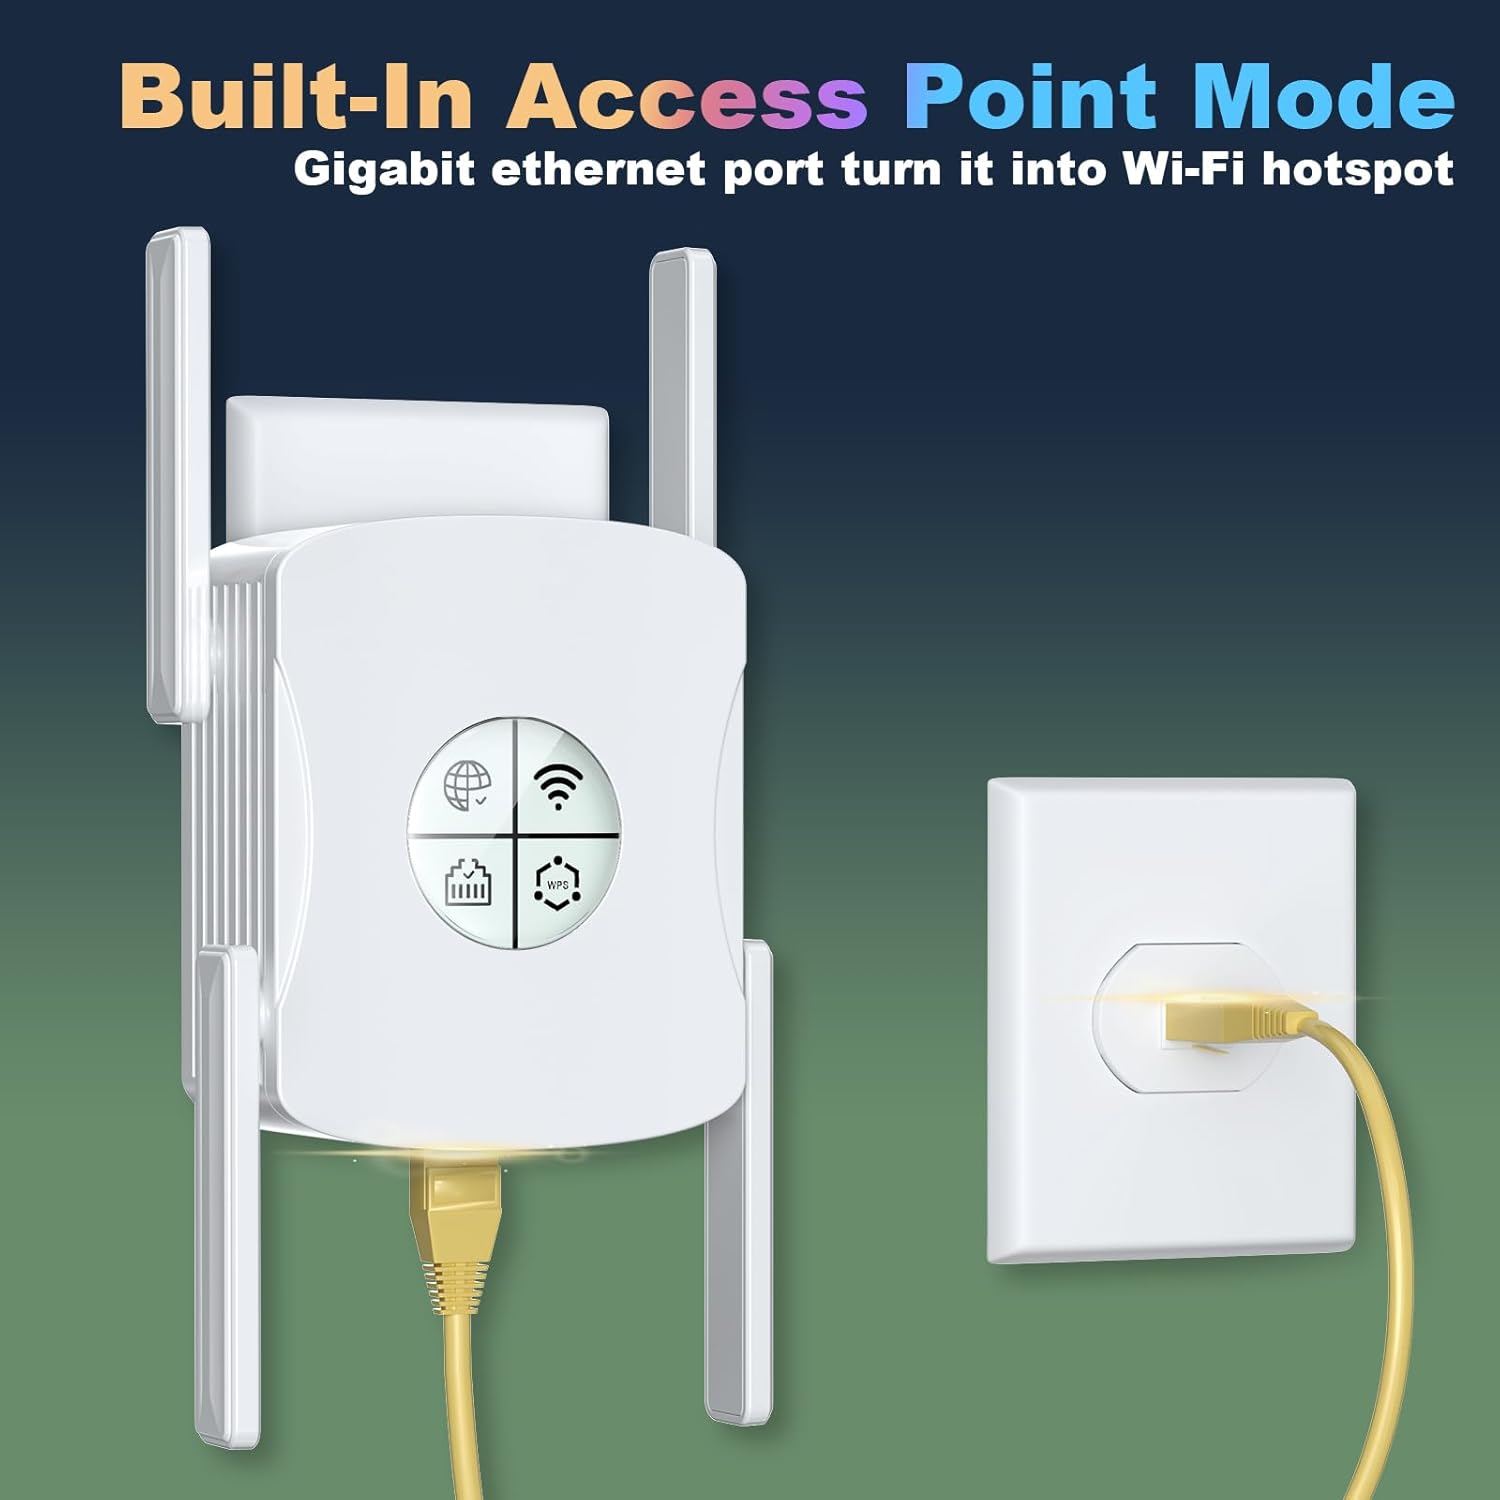
Figure 3: The WiFi extender connected via an Ethernet cable, illustrating its use in Access Point mode to create a Wi-Fi hotspot.
4. Operating Instructions
4.1 Connecting Devices
Once the extender is successfully set up, its extended Wi-Fi network will appear with a new SSID (e.g., your_router_name_EXT or the name you configured). Connect your wireless devices (smartphones, tablets, laptops, smart speakers, cameras, game consoles) to this new network using the password you set during configuration.

Figure 4: An illustration demonstrating how the WiFi extender expands network coverage throughout a multi-story home, eliminating dead zones.
4.2 Dual-Band Functionality
The extender supports both 2.4GHz and 5GHz Wi-Fi bands. The 2.4GHz band offers wider coverage and better penetration through walls, while the 5GHz band provides faster speeds for devices closer to the extender. Your devices will automatically connect to the optimal band, or you can manually select a preferred band if your extender broadcasts separate SSIDs for each.
4.3 Gigabit Ethernet Ports
Use the two Gigabit Ethernet ports to connect wired devices directly to the extender for maximum speed and stability. This is ideal for devices like desktop computers, gaming consoles, or smart TVs that benefit from a direct, low-latency connection.
4.4 MU-MIMO Technology
The integrated MU-MIMO technology allows the extender to communicate with multiple devices simultaneously, improving overall network efficiency and reducing buffering, especially in environments with many connected devices.

Figure 5: An illustration showing how MU-MIMO technology improves network efficiency by allowing simultaneous communication with multiple devices, reducing latency.
5. Maintenance
5.1 General Care
- Keep the extender in a well-ventilated area, away from direct sunlight, heat sources, and moisture.
- Clean the device periodically with a soft, dry cloth. Do not use liquid cleaners or aerosols.
- Avoid placing the extender near large metal objects or appliances that emit electromagnetic interference (e.g., microwaves, cordless phones).
5.2 Firmware Updates
Periodically check the Techtex official website for firmware updates. Firmware updates can improve performance, add new features, and enhance security. Follow the instructions provided on the website for updating the firmware.
5.3 Resetting the Extender
If you encounter persistent issues or wish to reconfigure the extender from scratch, you can perform a factory reset. Locate the reset button (often a small pinhole) on the device. With the extender powered on, use a paperclip or similar pointed object to press and hold the reset button for approximately 5-10 seconds until the indicator lights flash. The extender will then restart with factory default settings.
6. Troubleshooting
If you experience issues with your WiFi Extender, refer to the following common problems and solutions:
| Problem | Possible Cause | Solution |
|---|---|---|
| No power/Indicator lights off | Extender not plugged in or power outlet faulty. | Ensure the extender is securely plugged into a working electrical outlet. Try a different outlet. |
| Cannot connect to extender's Wi-Fi | Incorrect network name (SSID) or password. Extender not broadcasting. | Verify the SSID and password. Perform a factory reset and reconfigure. Ensure the extender is powered on. |
| Weak or no internet signal from extender | Extender is too far from the main router. Interference. | Relocate the extender closer to your main router. Ensure it's positioned halfway between the router and the desired coverage area. Avoid obstacles and interference sources. |
| Slow speeds even with extender | Network congestion. Extender placed in a suboptimal location. | Try connecting to the 5GHz band if available. Ensure the extender is placed where it receives a strong signal from the main router. Reduce the number of active devices if possible. |
| WPS setup fails | Timing issue or router WPS not enabled. | Ensure you press the WPS buttons on both devices within the specified timeframe (usually 2 minutes). Check your router settings to confirm WPS is enabled. Try manual setup. |
6.1 Security Features
The Techtex WiFi 6 Extender supports WPA3 security, offering enhanced protection for your wireless network. It is recommended to use WPA3 encryption on your router and extender for the highest level of security.

Figure 6: A graphic depicting the progression of Wi-Fi security protocols from WEP to WPA3, highlighting the advanced security features of the extender.
7. Specifications
| Feature | Specification |
|---|---|
| Product Dimensions | 6.1 x 3.1 x 4.3 inches |
| Item Weight | 14.4 ounces |
| Wireless Communication Standard | 802.11ac, 802.11ax (WiFi 6) |
| Data Transfer Rate | 2400 Megabytes Per Second |
| Frequency Band Class | Dual-Band (2.4GHz and 5GHz) |
| Special Features | Dual Band 5G and 2.4Ghz, MU-MIMO, WiFi 6, 4 High Gain Antennas |
| Ethernet Ports | 2x Gigabit Ethernet Ports |
| Security Protocol | WPA3 |
8. Warranty and Support
Techtex products are designed for reliability and performance. This product comes with a standard manufacturer's warranty. For specific warranty terms, registration, or technical support, please refer to the official Techtex website or contact their customer service directly. Keep your purchase receipt for warranty claims.
Online Support: Visit the Techtex support page for FAQs, troubleshooting guides, and firmware downloads.
Contact Information: Refer to the packaging or official website for the latest customer service contact details.