
Introduction
This instruction manual provides comprehensive guidance for assembling and operating your MIOYOOW HC-SR04 Ultrasonic Ranging Alarm and Line Following Car DIY Kits. These kits are designed to enhance soldering skills, familiarize users with electronic components, and introduce fundamental electronic principles. They are suitable for STEM students, hobbyists, and educational settings.
The package includes two distinct DIY kits: an Ultrasonic Distance Measurer with an alarm function and a Line Following Car. Both projects offer engaging challenges and educational value, promoting hands-on learning in electronics.
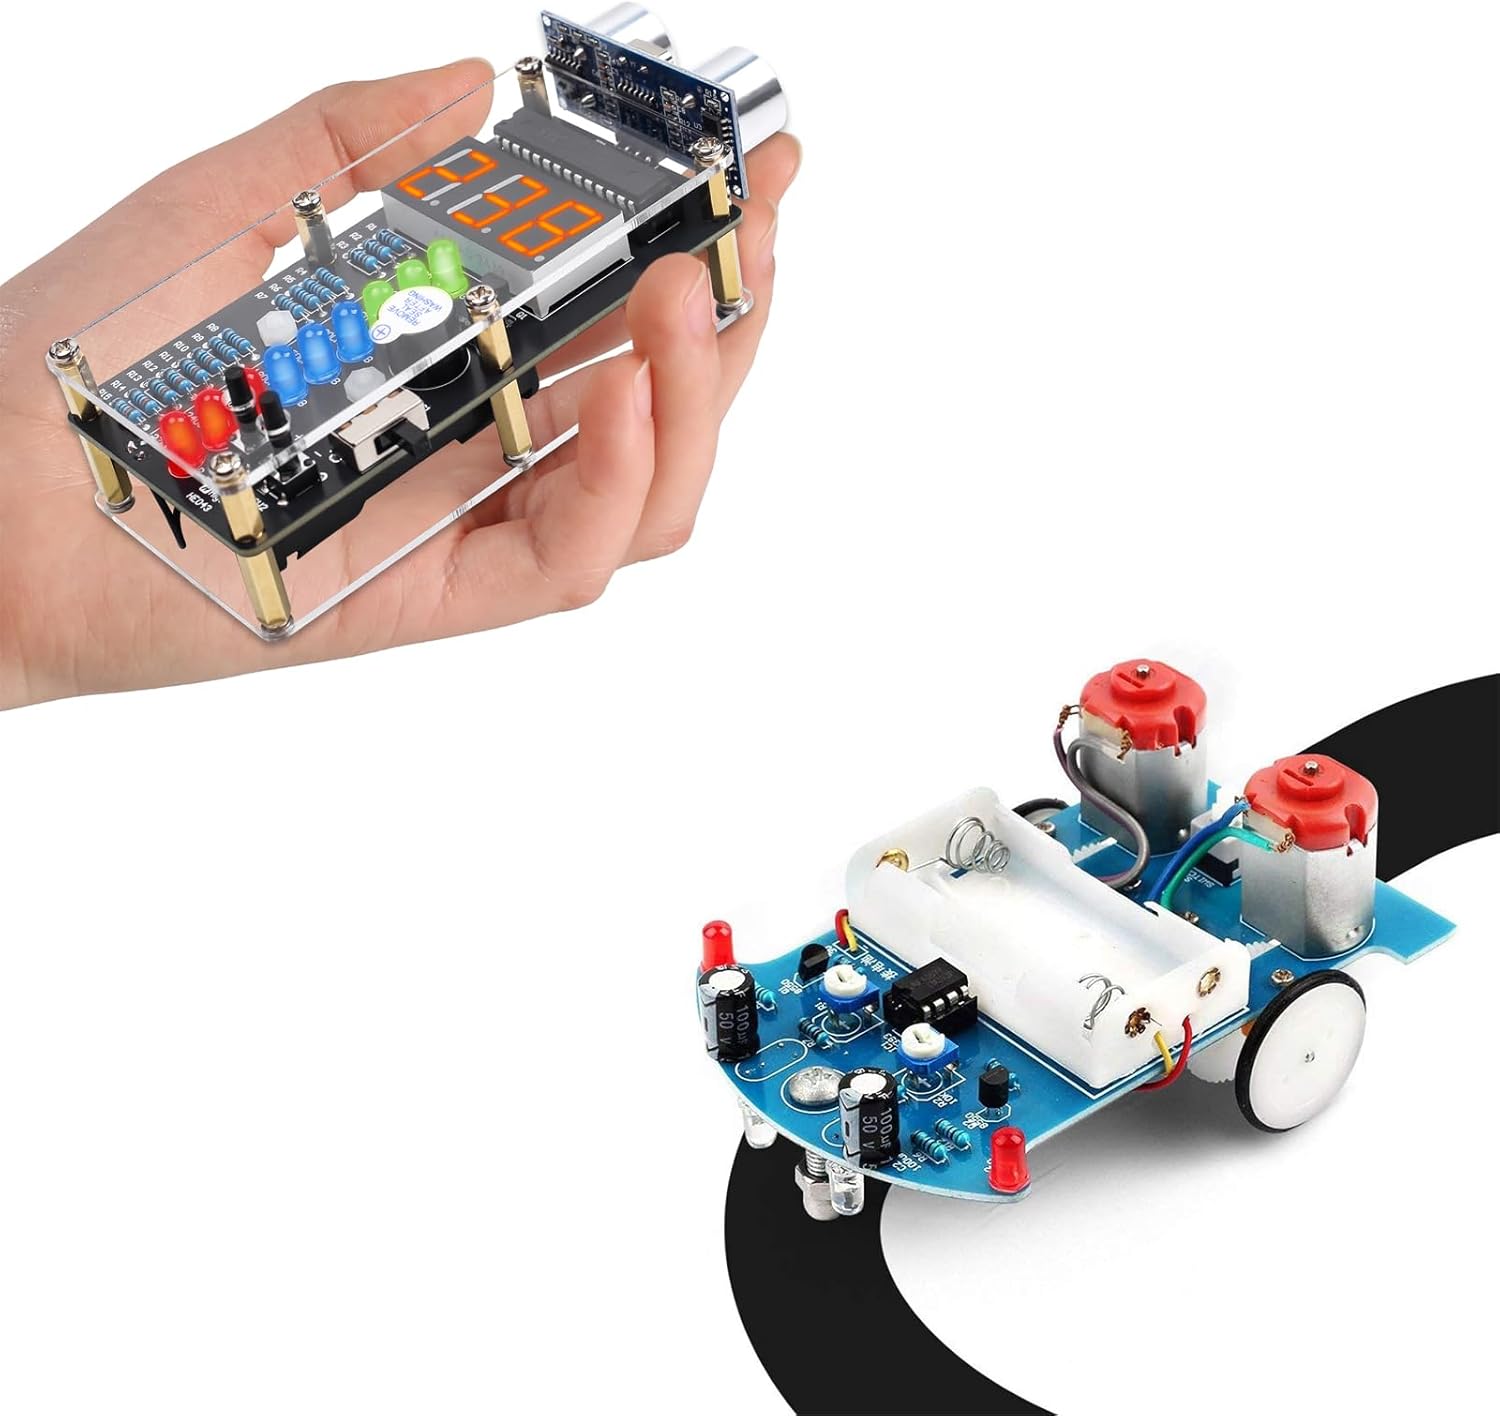
Image: The MIOYOOW HC-SR04 Ultrasonic Ranging Alarm DIY Kit (left) and the Line Following Car DIY Kit (right). The ultrasonic kit features a digital display and LED indicators, while the car kit is shown tracking a black line.
Product Overview
Ultrasonic Ranging Alarm Kit
This kit allows you to build a practical ultrasonic distance measurer. It utilizes an HC-SR04 ultrasonic module to detect distances, displaying real-time measurements on a 3-digit digital tube. Corresponding LED lights illuminate to provide an intuitive visual readout. An adjustable alarm function emits a warning beep when the measured distance falls below a user-defined threshold. The kit measures distances from 0 to 270 cm.

Image: A close-up of the assembled Ultrasonic Distance Measuring Kit, highlighting the 3-digit digital tube display and the array of LED indicators that provide visual feedback for distance measurements.
Line Following Car Kit
The Line Following Car kit is designed to autonomously track a black line on a light-colored surface. It uses photoresistors to detect differences in light reflectivity between black and white surfaces, enabling it to navigate along a designated path. Users can design custom runways using 1.5 to 2.0 cm wide black electrical tape.

Image: A detailed view of the Line Following Car Kit's circuit board, showing key components such as the DC motors, battery holder, LM393 chip, non-slip rubber wheels, metal universal wheel, and photoresistors.
Setup and Assembly
Both kits require soldering for assembly. The circuit boards are clearly mapped and labeled, making the soldering process straightforward for beginners and educational purposes. A basic understanding of electronic theoretical knowledge and hands-on soldering ability is recommended.
General Soldering Tips:
- Ensure your soldering iron is at the correct temperature.
- Clean the soldering iron tip regularly.
- Apply solder to the joint, not directly to the iron.
- Heat both the component lead and the PCB pad simultaneously.
- Allow solder joints to cool naturally without disturbance.
- Verify component orientation (e.g., polarity of LEDs, diodes, electrolytic capacitors, ICs).

Image: A group of individuals, likely students, actively participating in a DIY soldering project, demonstrating the hands-on nature of assembling these electronic kits.
Component Identification (Ultrasonic Ranging Alarm):

Image: A detailed diagram labeling the various components of the Ultrasonic Ranging Alarm Kit, including the HC-SR04 Ultrasonic Module, STC15W408AS microcontroller, Digital Tube display, Buzzer, Power Switch, and control Buttons.
Component Identification (Line Following Car):
Image: A detailed diagram labeling the various components of the Line Following Car Kit, including DC Motors, Power Switch, Battery Holder (batteries not included), LM393 Chip, Photoresistors, Non-slip Rubber Wheels, and a Metal Universal Wheel.
Refer to the included color-printed user manual for step-by-step assembly instructions with clear graphics and text.
Operating Instructions
Ultrasonic Ranging Alarm
- Power On: Ensure the kit is powered correctly (e.g., via a USB cable or appropriate battery source, not specified in product data, assume standard small electronics power). Flip the power switch to the ON position.
- Distance Measurement: The 3-digit digital tube will display the real-time distance measured by the HC-SR04 ultrasonic module. The measurement range is 0 to 270 cm.
- LED Indicators: A series of LED lights will illuminate corresponding to specific distance ranges (e.g., 30cm, 60cm, 90cm, etc.), providing a visual representation of the measured distance.
- Setting Alarm Threshold: Use the two buttons on the kit to adjust the alarm distance threshold. Press one button to increase the threshold and the other to decrease it.
- Alarm Function: When the measured distance falls below the set threshold, the integrated buzzer will emit a warning sound.
- Disabling Alarm: To disable the alarm function, set the alarm distance threshold to 0 using the adjustment buttons.
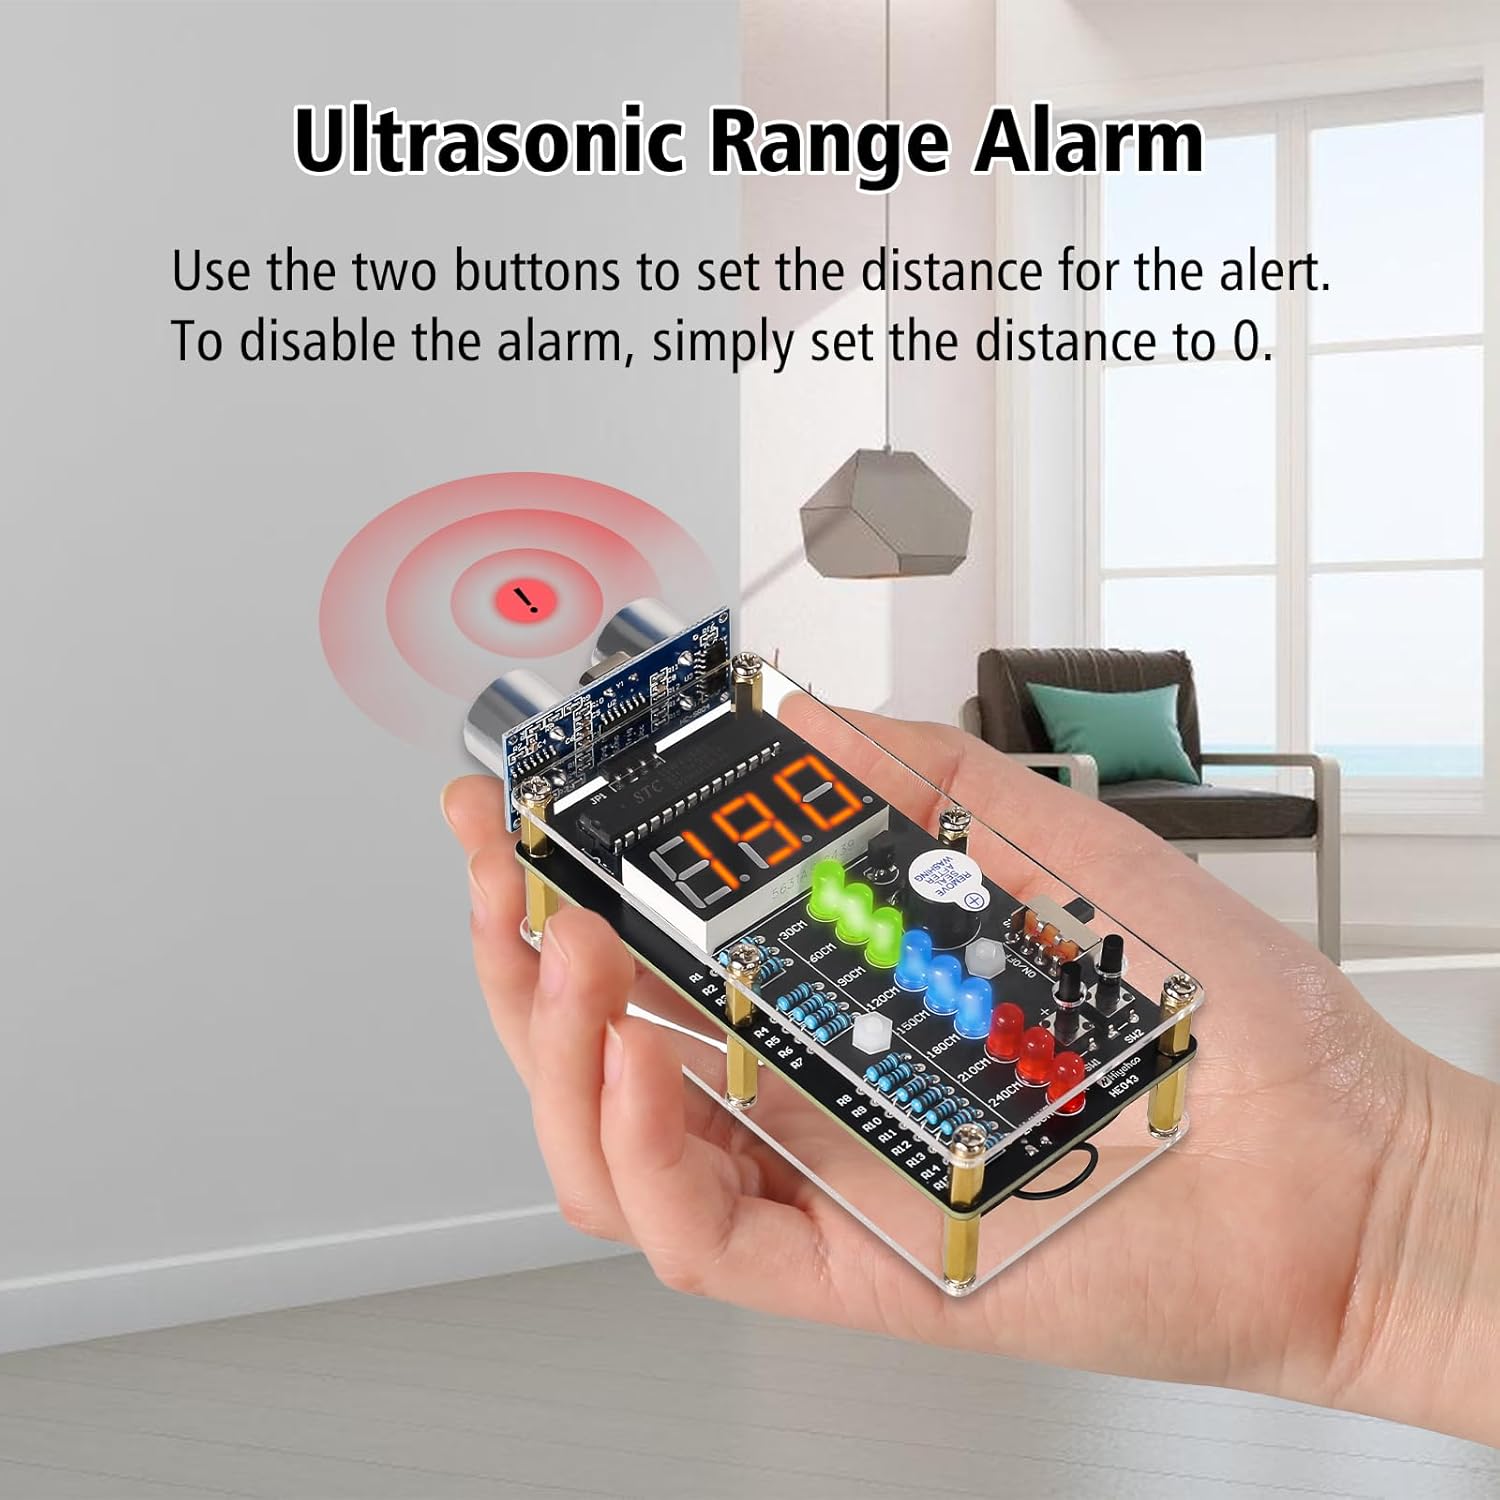
Image: The Ultrasonic Range Alarm kit in operation, showing a red warning symbol indicating that an object is within the set alarm range, triggering the audible alert.
Line Following Car
- Prepare the Track: Create a track on a light-colored surface (e.g., floor, large paper) using 1.5 to 2.0 cm wide black electrical tape. Ensure the lines are clear and distinct.
- Install Batteries: Insert the required batteries (not included) into the battery holder on the car kit.
- Power On: Flip the power switch on the car to the ON position.
- Placement: Place the car on the black line of your designed track.
- Operation: The car will automatically detect the black line using its photoresistors and follow the path. The photoresistors differentiate between the light reflectivity of the black line and the lighter surface.
- Experimentation: Design various complex runways to observe the car's tracking capabilities.

Image: Children observing a Line Following Car as it navigates a custom-designed track made with black tape, illustrating the interactive and educational aspect of the kit.
Maintenance
- Cleaning: Keep the circuit boards and components free from dust and debris. Use a soft, dry brush or compressed air for cleaning. Avoid using liquids directly on electronic components.
- Storage: Store the kits in a dry, cool environment away from direct sunlight and extreme temperatures.
- Handling: Handle the assembled kits with care to prevent damage to soldered joints or delicate components.
- Battery Care: If using batteries, remove them from the Line Following Car when not in use for extended periods to prevent leakage.
Troubleshooting
| Problem | Possible Cause | Solution |
|---|---|---|
| Ultrasonic Alarm not powering on. | Incorrect power connection, faulty switch, or cold solder joint. | Check power source and connections. Verify the power switch is correctly soldered and functional. Inspect all solder joints for continuity. |
| Ultrasonic Alarm not measuring distance accurately. | HC-SR04 module incorrectly connected or faulty, obstruction, or environmental interference. | Ensure the HC-SR04 module is correctly oriented and connected. Clear any obstructions in front of the sensors. Test in a quiet environment. |
| Line Following Car not moving. | No batteries, low batteries, motor connection issues, or faulty motors. | Install fresh batteries. Check motor wiring and ensure motors are securely connected and functional. |
| Line Following Car not tracking the line. | Photoresistors incorrectly positioned or faulty, track too narrow/wide, or insufficient contrast. | Verify photoresistor placement and soldering. Ensure the black line is 1.5-2.0 cm wide and has good contrast with the surface. Clean photoresistors if dusty. |
| Intermittent operation for either kit. | Loose connections, cold solder joints, or component damage. | Carefully inspect all solder joints for cracks or poor adhesion. Re-solder any suspicious connections. Check for any visible damage to components. |
Specifications
- Product Name: MIOYOOW HC-SR04 Ultrasonic Ranging Alarm and Line Following Car DIY Kit
- Model: HC-SR04
- Ultrasonic Ranging Alarm Range: 0 - 270 cm
- Line Following Car Track Width: Recommended 1.5 - 2.0 cm black electrical tape
- Power Source: (Not explicitly stated for alarm, assume standard 5V for HC-SR04; Car requires batteries, type not specified, typically AA or AAA)
- Educational Focus: STEM, Electronic Soldering, Basic Electronic Principles
- ASIN: B0FF9JX1B8
- Date First Available: December 19, 2024
Warranty and Support
For any questions, technical assistance, or support regarding your MIOYOOW DIY kits, please refer to the contact information provided with your purchase or visit the official MiOYOOW store on Amazon.
While specific warranty details are not provided in this manual, please retain your proof of purchase for any potential warranty claims.