
1. Introduction
Welcome to the RIXOC E8/E8 Pro Electric Bike user manual. This guide provides essential information for the safe and efficient operation, assembly, and maintenance of your new electric bike. Please read this manual thoroughly before your first ride to ensure optimal performance and safety.
The RIXOC E8/E8 Pro is designed for both urban commuting and light off-road adventures, featuring a powerful 1000W motor, a long-lasting 48V removable battery, and a robust dual suspension system for a comfortable and stable ride.
2. What's in the Box
Upon unboxing your RIXOC E8/E8 Pro Electric Bike, please verify that all components listed below are present and undamaged. Refer to the assembly video for a visual guide to the box contents.
Video Description: A short clip showing the various components included in the electric bike packaging, such as pedals, charger, and tools.
- RIXOC E8/E8 Pro Electric Bike Frame (partially assembled)
- Front Wheel
- Handlebar Assembly
- Pedals (Left and Right)
- Kickstand
- Front Fender
- 48V Removable Lithium Battery
- Battery Charger
- Tool Kit (wrenches, hex keys, screwdriver)
- Riding Bag
- User Manual (this document)
3. Assembly Guide
The RIXOC E8/E8 Pro Electric Bike comes partially assembled. Follow these steps carefully to complete the assembly. For a detailed visual guide, please watch the official assembly video below.
Video Description: A comprehensive assembly guide for the RIXOC E8 and E8 Pro electric bikes, demonstrating each step from unboxing to final setup.
Step 1: Fork & Handle Bar Assembly
Carefully remove the protective packaging from the fork and handlebar components. Insert the handlebar stem into the fork tube, ensuring proper alignment. Tighten the top bolt and side bolts securely using the provided hex keys. Connect any electrical cables, ensuring the connectors click into place and are color-matched if applicable.

Image Description: The RIXOC E8/E8 Pro electric bike, showcasing the main frame, fork, and handlebar components.
Step 2: Front Wheel Assembly
Remove the protective spacer from the front brake caliper. Align the front wheel with the fork dropouts, ensuring the brake rotor slides smoothly into the brake caliper. Insert the axle through the wheel hub and fork, then secure it with the provided nuts. Ensure the wheel spins freely without rubbing against the brake pads.

Image Description: A detailed view of the front wheel and the dual hydraulic disc brakes, highlighting the brake caliper and rotor.
Step 3: Kickstand & Pedal Assembly
Attach the kickstand to the designated mounting points on the bike frame using the provided bolts. Ensure it is stable and can support the bike's weight. For the pedals, note that the left pedal (marked 'L') threads counter-clockwise, and the right pedal (marked 'R') threads clockwise. Apply a small amount of grease to the pedal threads before screwing them into the crank arms. Tighten firmly with a wrench.

Image Description: A rider on the RIXOC E8/E8 Pro electric bike demonstrating the effectiveness of the dual shock absorption system on uneven terrain.
Step 4: Front Fender Assembly
Mount the front fender to the fork using the provided screws and brackets. Ensure it is securely fastened and provides adequate clearance over the tire. This helps protect against splashes and debris during rides.

Image Description: Close-up views of the bright LED headlight and the rear brake light, emphasizing their role in rider safety and visibility.
Step 5: Remove/Install Battery
To remove the battery, unlock it with the provided key and slide it out from its compartment. To install, slide the battery back into the compartment until it clicks into place, then lock it with the key. Ensure the battery is fully charged before your first ride.

Image Description: A detailed view of the 48V 15.6Ah removable lithium battery, highlighting its UL certification and features like fast charging and lockability.
4. Operating Instructions
Your RIXOC E8/E8 Pro Electric Bike offers versatile riding modes and intuitive controls for an enjoyable experience.
Power & Speed
The 1000W/2000W high-power motor (1500W/2500W peak) allows the bike to effortlessly tackle hills and rough terrains, reaching speeds of 30+ MPH for fast urban commuting and adventurous light off-road rides.

Image Description: A cutaway view of the 1000W high-speed brushless motor, illustrating its internal components and power delivery.
Long-Lasting Freedom
The 48V 15.6/31.2Ah removable lithium battery provides 30+ miles per charge. It can be detached for convenient charging anywhere, perfect for home, office, or travel.
Dual-Scenario Versatility
Built for both city streets and light trails, the bike features 20x4.0 rugged tires and shock absorption to handle urban potholes and gravel paths with confidence.
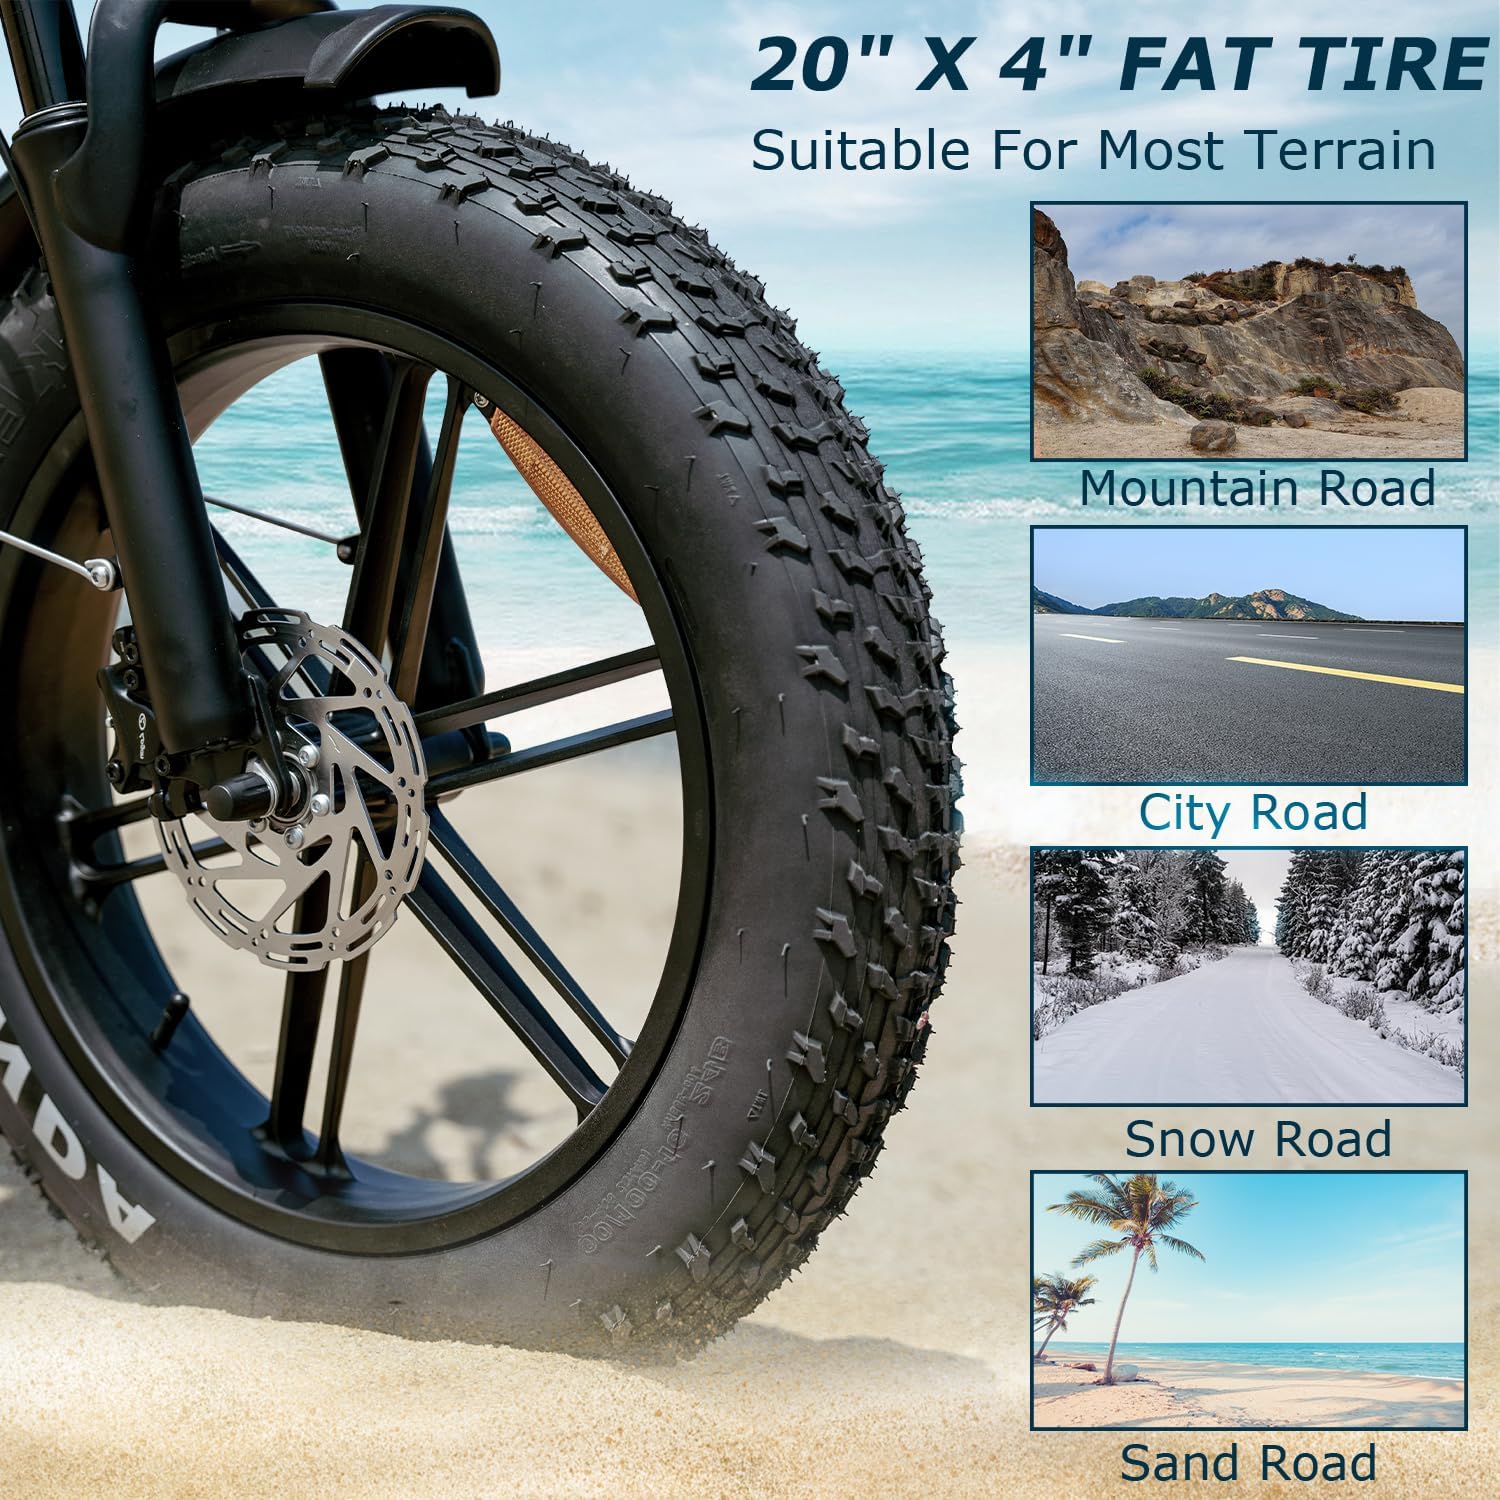
Image Description: A close-up of the 20" x 4" fat tire, with smaller images showing its suitability for mountain roads, city roads, snow roads, and sand roads.
Precision Control with 7-Speed Gears
Smooth-shifting 7-speed gears optimize energy efficiency on flat roads and allow you to conquer steep slopes seamlessly. Switch between commute and adventure modes effortlessly.
Riding Modes
The RIXOC E8/E8 Pro offers three distinct riding modes to suit your needs:
- Electric Mode: Full electric power, no pedaling required.
- Pedal Assist Mode: Motor provides assistance as you pedal, extending range and reducing effort.
- Riding Mode: Traditional bicycle mode, no motor assistance.

Image Description: An illustration depicting the three riding modes (Electric, Pedal Assist, Riding) with corresponding rider scenarios.
Integrated LED Display
The integrated LED display shows essential riding data such as speed, battery life, and gear status at a glance, ensuring you are always informed during your ride.

Image Description: A view from the rider's perspective showing the LED display mounted on the handlebar, indicating speed, battery level, and current gear.
5. Maintenance
Regular maintenance is crucial for the longevity and safe operation of your RIXOC E8/E8 Pro Electric Bike.
- Battery Care: Charge the battery regularly, even when not in use, to maintain its health. Avoid fully discharging the battery. Store in a cool, dry place.
- Tire Pressure: Check tire pressure before each ride. Maintain recommended PSI for optimal performance and safety.
- Brakes: Regularly inspect brake pads and rotors for wear. Adjust brake levers for proper tension and responsiveness.
- Chain & Gears: Keep the chain clean and lubricated. Ensure smooth gear shifting and adjust if necessary.
- Fasteners: Periodically check all bolts and nuts for tightness, especially on critical components like the handlebars, wheels, and seat post.
- Cleaning: Clean the bike with a damp cloth. Avoid high-pressure washing directly on electrical components.
6. Troubleshooting
Here are some common issues and their potential solutions:
| Problem | Possible Cause | Solution |
|---|---|---|
| Bike not powering on | Battery not charged or not properly installed; Power button not pressed correctly. | Ensure battery is fully charged and securely installed. Press and hold the power button. |
| Motor not assisting | Battery low; Pedal assist level set to zero; Loose motor cable connection. | Charge battery; Increase pedal assist level on display; Check motor cable connections. |
| Brakes feel weak | Worn brake pads; Loose brake cable; Air in hydraulic system (if applicable). | Inspect and replace brake pads; Adjust brake cable tension; Consult a professional for hydraulic brake bleeding. |
| Unusual noises | Loose components; Dry chain; Misaligned gears. | Check all fasteners; Lubricate chain; Adjust derailleur. |
If you encounter issues not listed here or if solutions do not resolve the problem, please contact RIXOC customer support.
7. Specifications
| Feature | Specification |
|---|---|
| Bike Type | Electric Bike |
| Age Range (Description) | Adult |
| Brand | RIXOC |
| Number of Speeds | 7 |
| Color | E8 (1000w/1500w) |
| Wheel Size | 20 Inches |
| Frame Material | Carbon Steel |
| Suspension Type | Dual |
| Special Feature | Digital Display |
| Included Components | Riding Bag |
| Size | E8/E8 Pro |
| Brake Style | Disc |
| Item Weight | 50 Kilograms |
| Theme | Motorcycle |
| Model Name | EE88E8 |
| Power Source | Electric Motor |
| Wheel Material | Aluminum |
| Lithium Battery Energy Content | 15 Milliampere Hour (mAh) |
| Seat Material Type | Plastic |
| Warranty Type | Limited |
| Maximum Weight Recommendation | 330 Pounds |
| Assembly Required | No |
| Bicycle Gear Shifter Type | Trigger |
| Minimum User Height | 64 Inches |
| Bicycle Drivetrain Type | Derailleur |
| Electric Assist Type | Pedal Assist |
| Manufacturer | Rixoc |
| Battery Life | 30 Hours |
| Item Dimensions LxWxH | 66 x 27 x 46 inches |
| Warranty Description | 1 year |
| Material | Aluminum |

Image Description: A side profile of the RIXOC E8/E8 Pro electric bike with key dimensions labeled, including total length, total height, seat height, seat length, and handlebar length.
8. Warranty and Support
Your RIXOC E8/E8 Pro Electric Bike comes with a 1-year limited warranty as described in the product specifications. For any warranty claims, technical support, or inquiries, please contact RIXOC customer service.
You may also visit the official RIXOC store for additional information and support resources: RIXOC Store
Protection plans are also available for extended coverage:
- 2-Year Protection Plan
- Complete Protect: One plan covers all eligible past and future purchases