1. Product Overview
The Acegeek Stratus Mesh is a Mid-Tower gaming case designed for optimal airflow and aesthetic appeal. It features a mesh front panel, a tempered glass side panel, and comes equipped with three 120mm ARGB fans, including a dedicated controller for lighting effects. This case supports a variety of motherboard form factors and offers ample space for components and cable management.
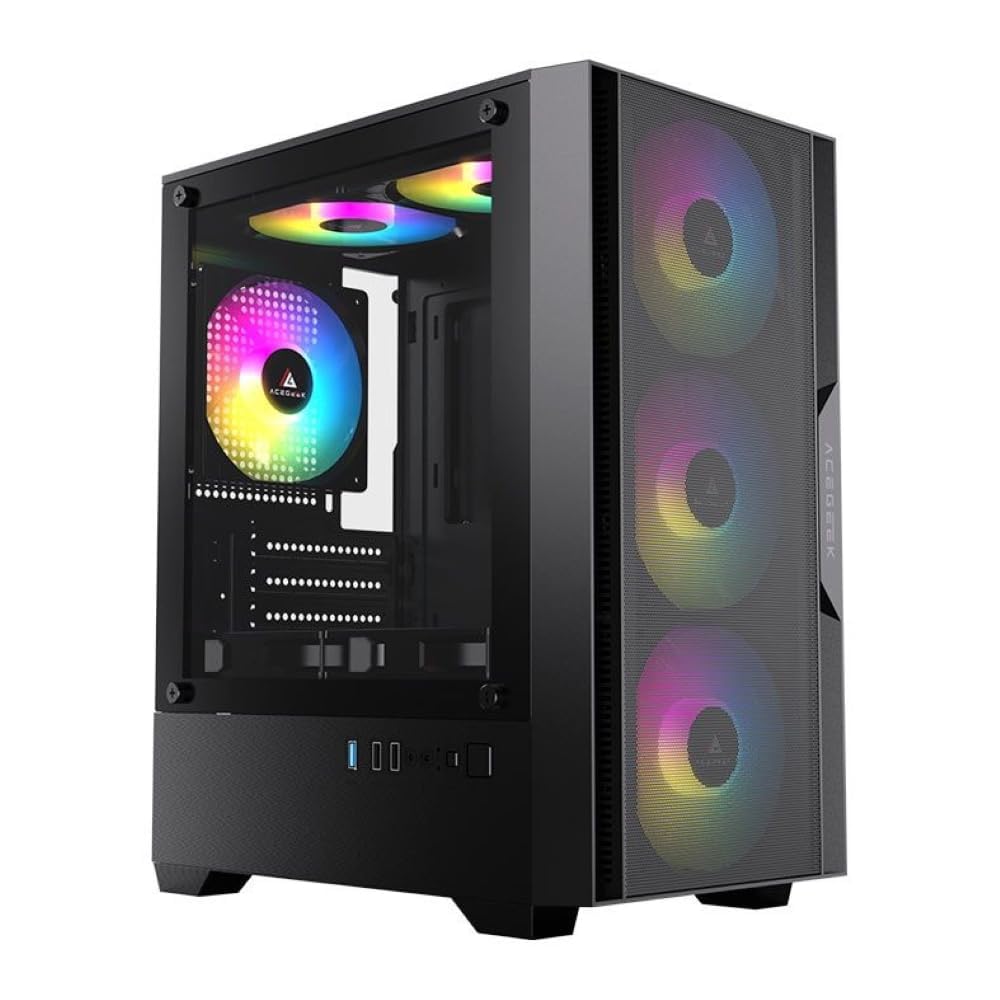
Figure 1: Front-side view of the Acegeek Stratus Mesh Gaming Case, showcasing the mesh front panel and illuminated ARGB fans.
2. Specifications
| Feature | Detail |
|---|---|
| Brand | Acegeek |
| Model | AG-STRATUS-MESH-BK-I3F |
| Material | SPCC (metal), ABS, Tempered Glass, Mesh |
| Motherboard Support | ATX, Micro-ATX, Mini-ITX |
| Drive Bays | 1 x HDD + 1 x SSD or 2 x SSD |
| Expansion Slots | 5 |
| Included Fans | 3 x 120mm ARGB (with controller) |
| Fan Support (Front) | 3 x 120mm |
| Fan Support (Top) | 2 x 120mm |
| Fan Support (Rear) | 1 x 120mm |
| Fan Support (Bottom) | 2 x 120mm |
| Radiator Support (Front) | Up to 360mm |
| Radiator Support (Top) | Up to 240mm (with memory height < 28mm) |
| Max CPU Cooler Height | 165mm |
| Max VGA Length | 280mm |
| Cable Management Space | 20mm |
| Max PSU Length | 190mm |
| Dimensions (D x W x H) | 37cm x 21cm x 47cm |
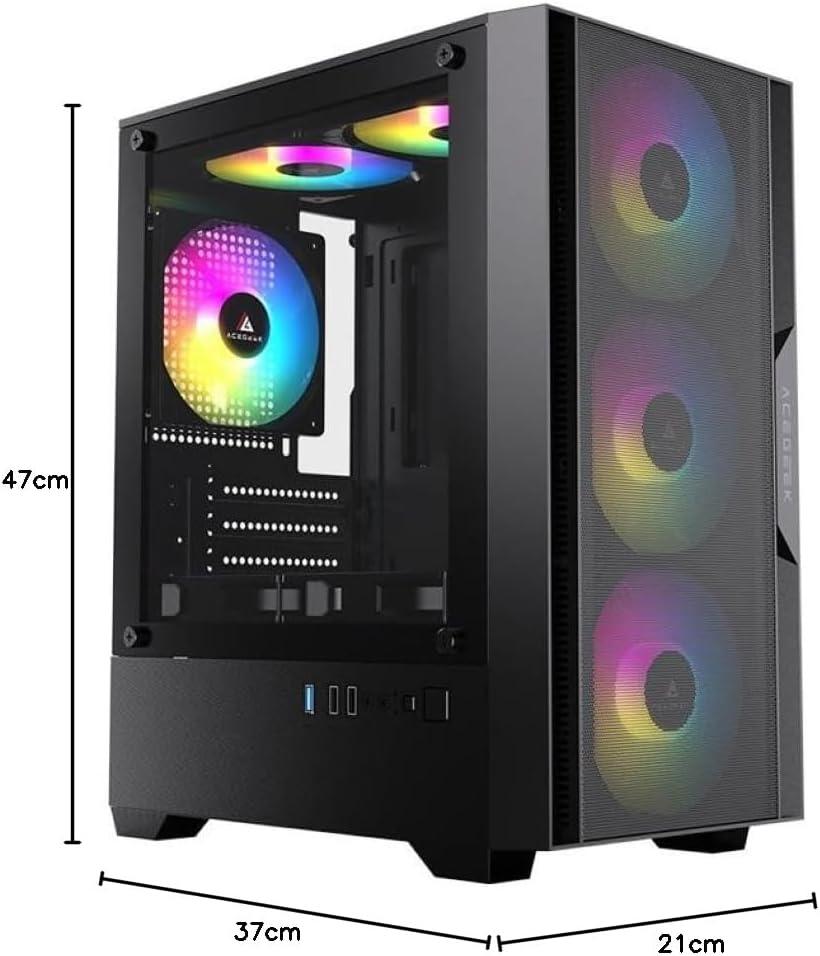
Figure 2: Case dimensions for planning component compatibility.
3. Setup Instructions
Follow these steps to assemble your PC components within the Acegeek Stratus Mesh case:
- Prepare the Case: Carefully remove the tempered glass side panel by unscrewing the four thumb screws. Lay the case on its side on a stable, flat surface.
- Install the Power Supply (PSU): Locate the PSU shroud at the bottom rear of the case. Slide your PSU into the designated area and secure it with screws from the rear of the case. Ensure the PSU fan faces downwards for optimal cooling, if the case bottom has ventilation.
- Install the Motherboard: Install the necessary standoffs for your motherboard form factor (ATX, Micro-ATX, or Mini-ITX). Carefully place your motherboard onto the standoffs, aligning the screw holes, and secure it with screws.
- Install Storage Drives:
- HDDs: Locate the HDD bay, typically near the PSU shroud. Slide the HDD into the bay and secure it with screws or tool-less clips if available.
- SSDs: Mount SSDs to the designated SSD brackets, usually located behind the motherboard tray or on the PSU shroud. Secure with screws.
- Install Graphics Card (VGA): Open the necessary expansion slot covers at the rear of the case. Insert your graphics card into the PCIe slot on the motherboard and secure it with screws.
- Connect Front Panel Cables: Connect the front panel connectors (USB, audio, power switch, reset switch, LED indicators) to their corresponding pins on the motherboard. Refer to your motherboard manual for pin layout.
- Connect Fan and ARGB Cables: Connect the pre-installed ARGB fans to the included ARGB controller. Connect the controller to your power supply via a SATA power connector. If your motherboard supports ARGB, you may also connect the controller to the motherboard's ARGB header for software control (consult controller and motherboard manuals).
- Cable Management: Utilize the 20mm cable management space behind the motherboard tray to route and tie down cables. This improves airflow and aesthetics.
- Close the Case: Once all components are installed and cables are managed, reattach the tempered glass side panel and secure it with the thumb screws.

Figure 3: Interior layout for component installation and cable management.
4. Operating Instructions
After successful assembly, follow these steps to operate your system:
- Power On: Connect your monitor, keyboard, mouse, and power cable to the PC. Flip the power switch on your PSU to the 'ON' position. Press the power button on the front panel of the case.
- ARGB Lighting Control: The included ARGB fans are connected to a controller. Use the physical button on the case (if available) or the included remote control (if applicable) to cycle through various lighting modes, colors, and effects. If connected to a compatible motherboard ARGB header, use the motherboard's software to customize lighting.
- Airflow Optimization: The mesh front panel is designed for high airflow. Ensure no obstructions block the front intake fans or the top/rear exhaust areas.

Figure 4: The case with its ARGB fans and the remote control for lighting customization.
5. Maintenance
Regular maintenance helps ensure optimal performance and longevity of your PC components:
- Dust Filters: The case features dust filters (e.g., on the top, bottom, and front). Periodically remove and clean these filters using compressed air or by washing them with water and allowing them to dry completely before reinstallation.
- Interior Cleaning: With the system powered off and unplugged, carefully open the side panel and use compressed air to remove dust buildup from fans, heatsinks, and other components. Avoid touching components directly.
- Tempered Glass Panel: Clean the tempered glass panel with a soft, lint-free cloth and a glass cleaner. Avoid abrasive materials that could scratch the surface.
6. Troubleshooting
If you encounter issues, consider the following common troubleshooting steps:
- System Not Powering On:
- Ensure the PSU switch is in the 'ON' position.
- Verify all power cables (24-pin ATX, 8-pin CPU, PCIe for GPU) are securely connected.
- Check front panel power switch connection to the motherboard.
- Fans Not Spinning / ARGB Not Lighting Up:
- Confirm the ARGB controller is receiving power from the PSU (SATA power connector).
- Ensure all fans are correctly connected to the ARGB controller.
- If using motherboard software for ARGB, verify the controller is connected to the motherboard's ARGB header and the software is correctly configured.
- No Display Output:
- Ensure your monitor is connected to the graphics card (not the motherboard, if a dedicated GPU is installed).
- Reseat the graphics card in its PCIe slot.
- Check RAM modules are properly seated.
7. Warranty and Support
The Acegeek Stratus Mesh Gaming Case comes with a 12-month warranty from the date of purchase. This warranty covers manufacturing defects under normal use. It does not cover damage caused by misuse, accidents, unauthorized modifications, or improper installation.
For technical support, warranty claims, or further assistance, please contact Acegeek customer service through their official website or the retailer where the product was purchased. Please have your proof of purchase and product model number (AG-STRATUS-MESH-BK-I3F) ready when contacting support.